Oh my gosh, you guys! I can’t even tell you how excited I am to be a contributor here on All Things Thrifty! I am McKenzie and I am a lifestyle and beauty blogger at Girl Loves Glam, where I share great beauty tips, modest fashion, home decor, and my adventures as a wife and mother.

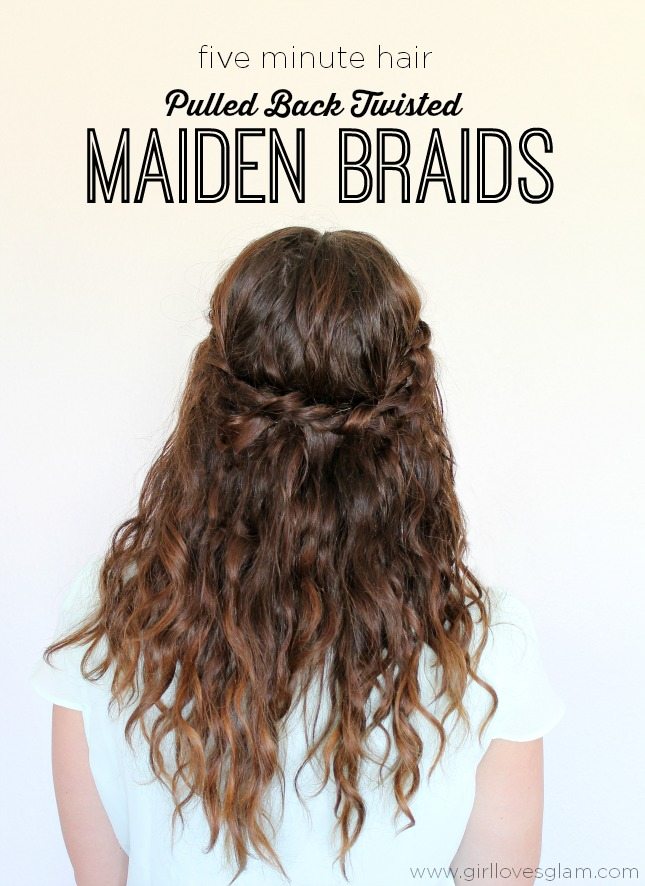
All Things Thrifty was literally one of the very first blogs that I fell in love with. I couldn’t believe how many awesome ideas there were to make a house a home, while keeping things all in a budget. Brooke rocks, right? Well, because I know all of you All Things Thrifty readers have awesome DIY projects in mind that you need to get to, the last thing you want to fuss with is your hair. That is why I am excited to tell you that I am starting a fun series each time I contribute to All Things Thrifty; I will be sharing some of my favorite hair styles that take around 5 minutes! Yep, I said FIVE minutes! Let’s get the party started with this awesome twisted maiden braid tutorial.
For this hairstyle, you will need bobby pins. I can’t really tell you an exact amount because it will be different for each person depending on the hair, but just a handful of them and you will be taken care of!

To start out, dry your hair and part it in the middle. My hair is naturally curly so this is what my hair looks like when I dry it, but this style will work with stick straight hair. This style will work if you don’t have bangs too. You will just braid the hair right from the front of your hair instead of just after the bangs.
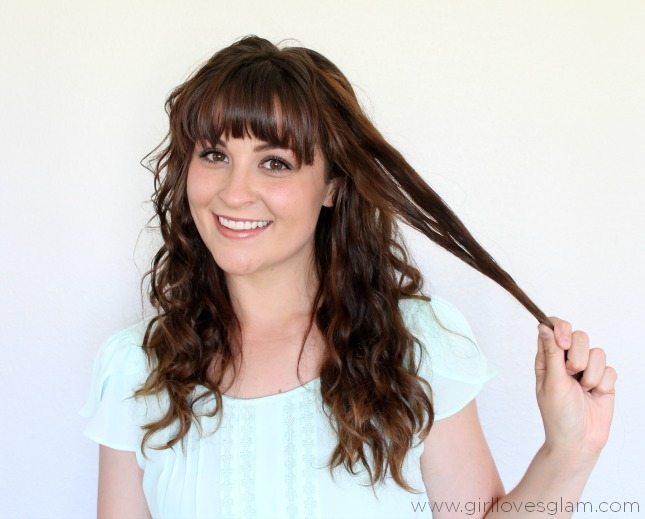
Take a small section from the top/side part of your hair. It will kind of make a triangle against a center part.
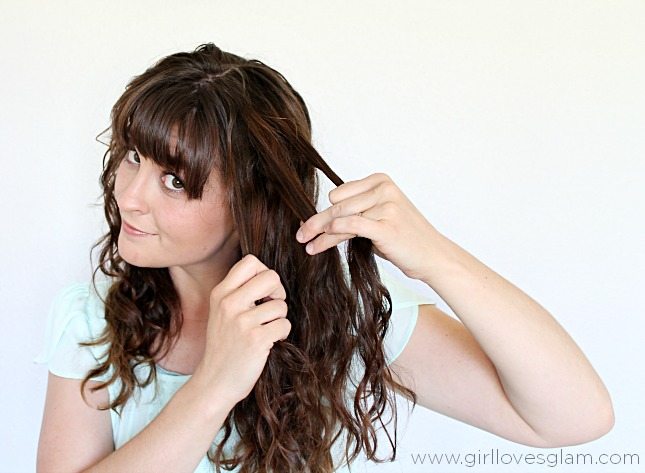
Split that section into three parts and braid it. Put a bobby pin at the end of the braid to keep it in place.
Take the same sized section from the other side of your head and braid it too. Put a bobby pin in to secure the braid.
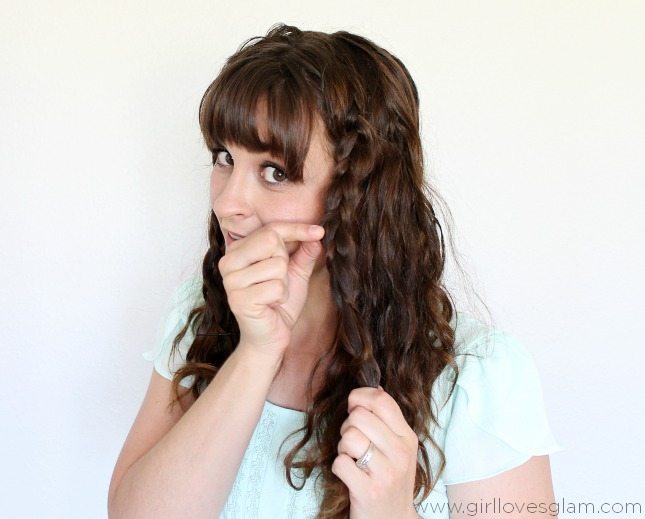
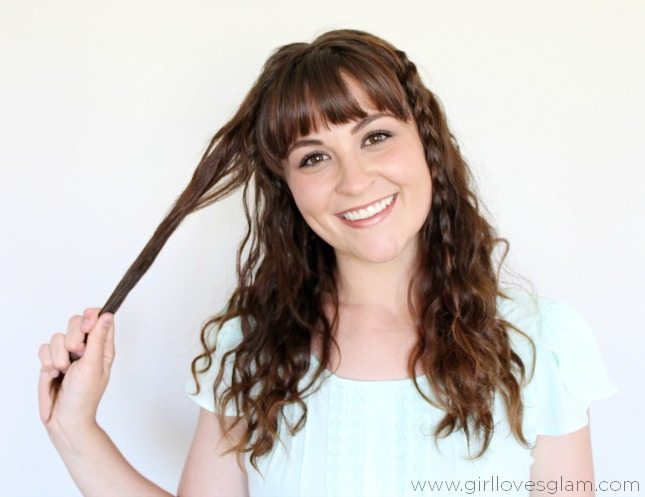
Then you are going to do what is called “pancaking” to your braid. To pancake your braid, you will just tug at the sections to pull them out a little and make the braid appear thicker. Hold on to the bottom part of your braid and tug at the sections from the top and work your way down. This can be skipped if you don’t have enough time, but it can add a lot to the look if you do have the time to do it.
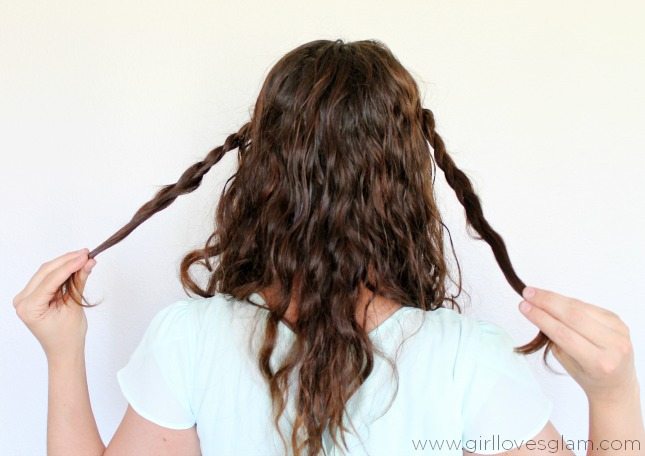
Take the bobby pins out of the ends of the braids, if they didn’t already fall out while you were pancaking your braids. Pull both of your braids back with one braid in each hand.

Tie your hair around each other, like you are starting a knot. Then, wrap each of the ends around 2-3 more times to create the twisted look.
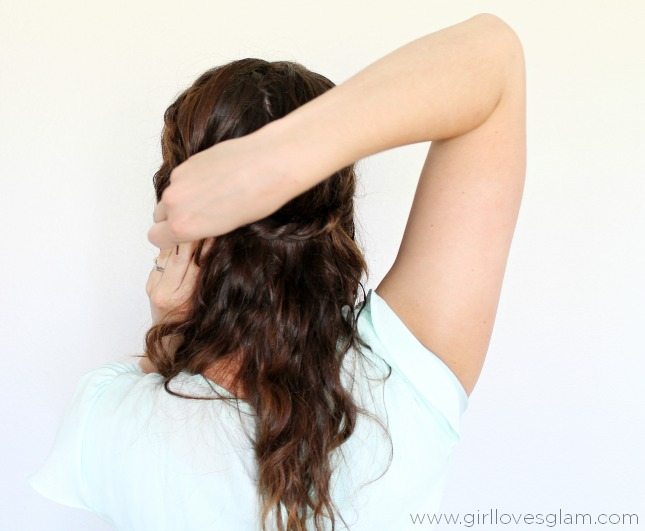
Bobby pin the braid to your head and pin the ends so they tuck back into the braid and are hidden from view. I usually use about 6 bobby pins total, but depending on the day I can use more like 10 bobby pins too.
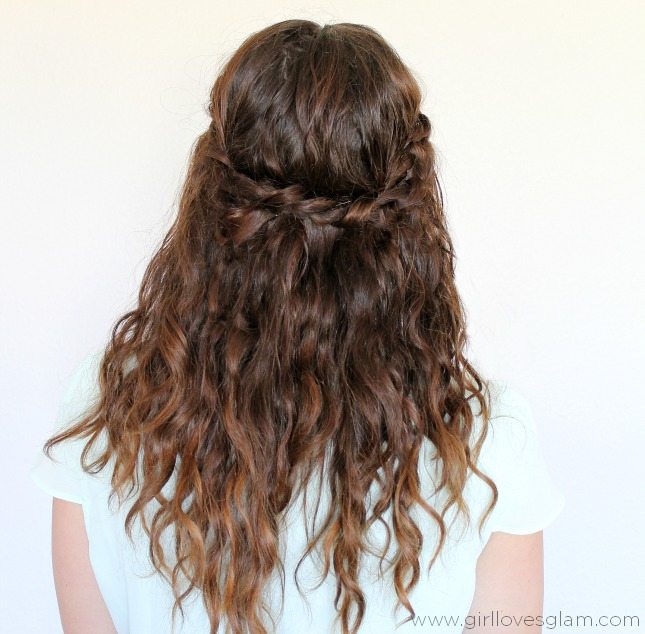
Now you are done with your hairstyle and you still have time for all of those great DIY projects you have going through your head!
Make sure to check out these other great beauty tutorials on my blog too!


I love this hairstyle! I am definitely going to give it a try too 🙂 Thank you for sharing!
This is so simple and pretty! I love this idea,,,
thank you for sharing
Dress Review at HAPPY MEDLEY
Love this! I’ve let my hair grow long so I can do fun things with it–and then I never do! Here’s a good start 🙂
This looks great. I always do two braids back and then use a small clear band to hold it together, but this would look much more finished off.
So lovely hairstyle <3
http://labloguerapelirroja.blogspot.com
This look is so pretty and simple! I love that it takes only five minutes… it’s perfect for when I am running late 🙂
emmasbeginning.blogspot.com