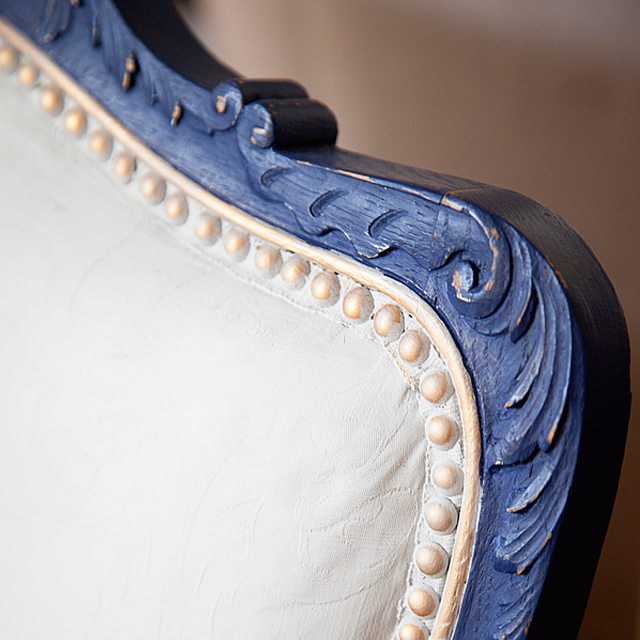
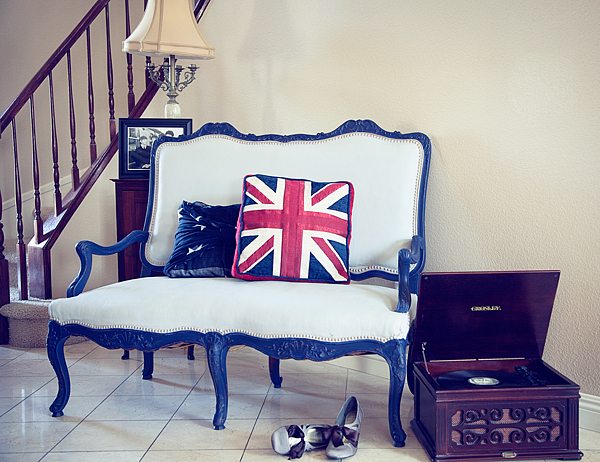
I recently acquired a lovely turn-of-the-century settee. When Kennadi begged to have it in her room, it was challenging to “Imagine” (stay with me, it’ll click) how this…
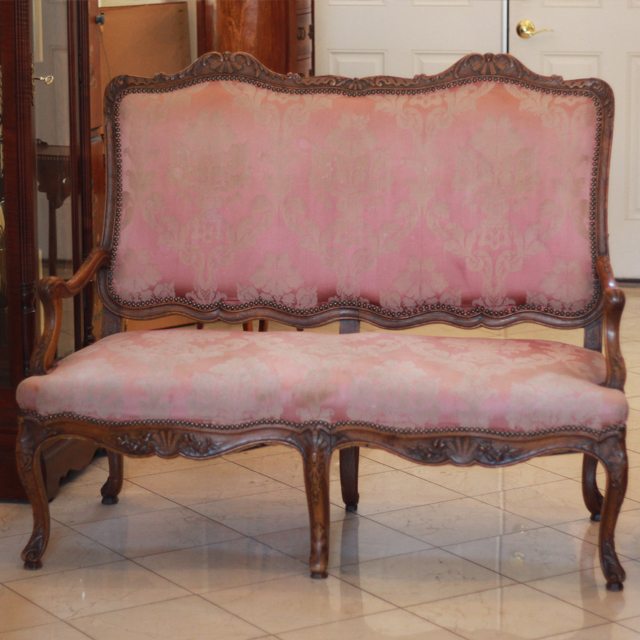
could possibly be made to go in a room that looks like this…
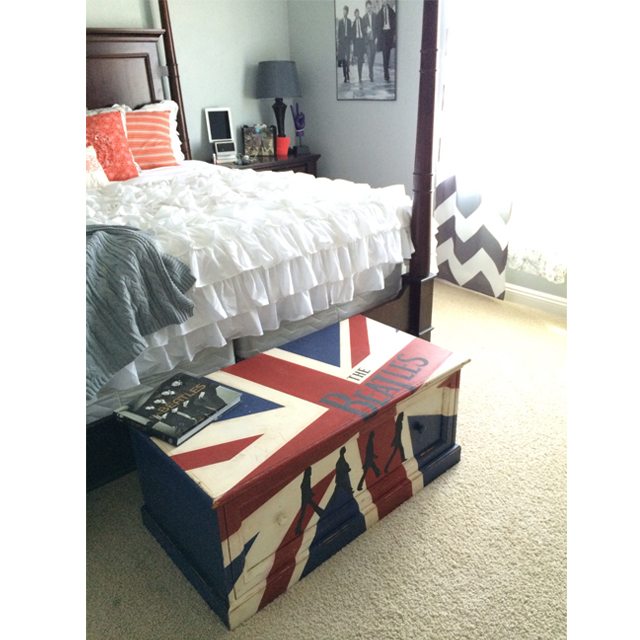
We couldn’t just “Let it Be,” so I told Kennadi “We Can Work it Out!” (see what I did there? You know, the Beatles…)
Anyone who knows me knows that most problems in my life are solved with BB Frösch Chalk Paint Powder.
For real.
It “Can’t Buy Me Love,” but it can do virtually everything else…
Including turn a french settee with stained and faded silk into a hip new piece fit for a teenager with a tiny thing for the Beatles. Yay!
Time to “Come Together” (okay, I’m done with the references…) and get this painted-fabric-party started!
Step One: Start with a piece that has good bones and fairly decent fabric. What I mean by “decent fabric” is this: a chenille couch from the 80s will always be a chenille couch from the 80s. No amount of chalk paint can turn an old beast into a french settee. So, your fabric can have wild and crazy colors, but you’ll have better luck with fabric that is somewhat smooth.
Step Two: Pick a color, ANY color paint. My favorite thing about chalk paint made with BB Frösch Chalk Paint Powder is that I can make chalk paint in ANY COLOR I want. Even if it’s the color of a “Yellow Submarine.” Sorry, last reference, I promise.
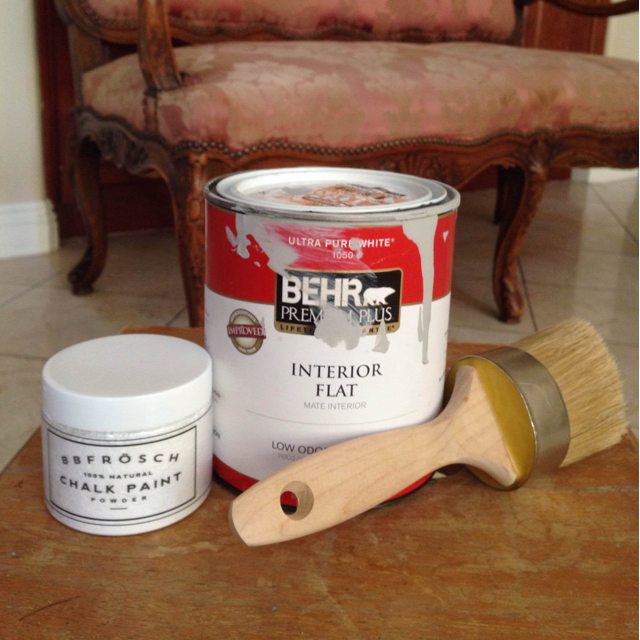
I went with a custom-matched shade of gray I just happened to have on hand from a previous project. As always, start with a FLAT finish paint. I like Behr interior flat, low odor, zero-voc, without primer.
Step Three: With BB Frösch Chalk Paint Powder, I can mix up only as much as I need. I only needed about a cup of paint from my quart because chalk paint has such awesome coverage. Click here for easy mixing directions.
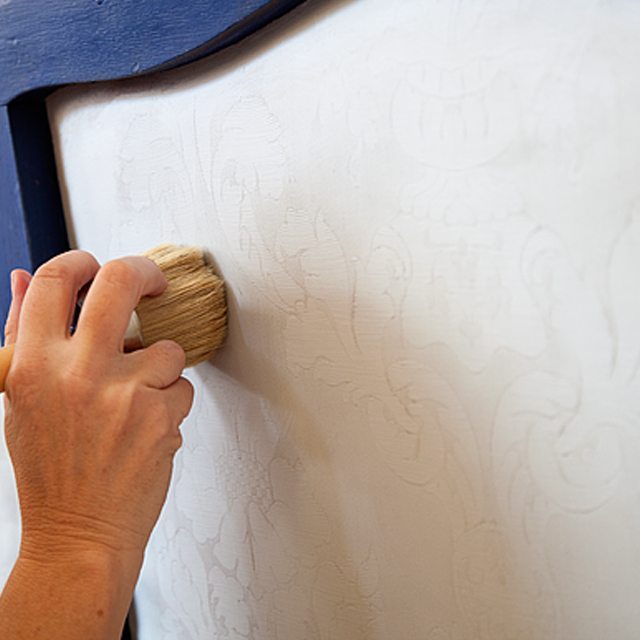
Step Four: Paint the fabric! I used the same “hashtag” strokes I always use with chalk paint–no painting with the grain for this girl! I preferred using a slightly wetter brush than usual because it seemed to make my paint go further. Just keep a jar of water handy to dip your brush in. I got pretty impressive coverage with one coat, but there were a few spots I went over again once the paint was dry.
The nice thing was, I didn’t have to tape off the wood frame because I knew I was going to paint the frame a different color anyway. Even if I decided not to paint the wood, I knew I could use a wet cloth to wipe off any chalk paint that hadn’t been sealed. Yay for no taping off!
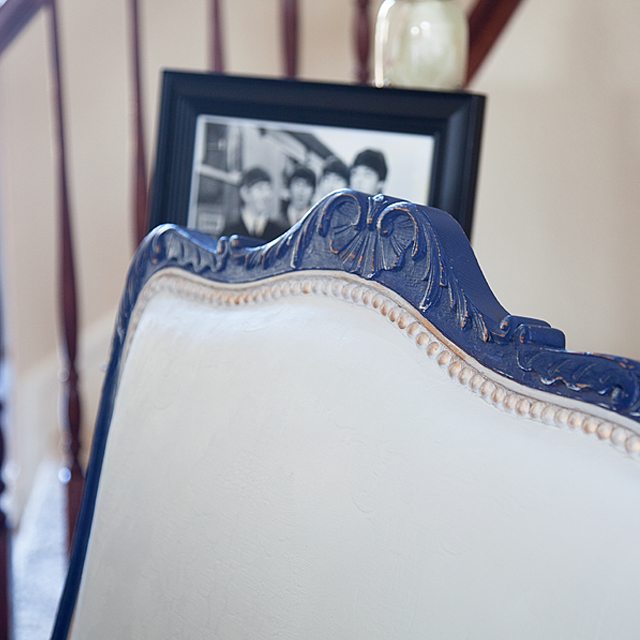
Step Five (Optional): Paint the frame. Two coats of chalk paint in navy did the trick for me, but I also think a piece like this looks amazing with the original wood frame left as-is.
Step Six (Optional): Distress painted frame. The painted fabric, of course, doesn’t need any distressing. I know not every piece calls for distressing, and I wasn’t necessarily going for a shabby look, but I wanted to highlight some of the detail work in the wood. With a dark color like navy, a good way to get the intricate grooves to show up is to lightly “sand” (wet-distress) with a damp cloth.
Did you catch that? I said “sand” with a damp cloth! How easy is that?
Step Seven (NOT Optional): Using a wax brush, wax away! That’s right, wax the fabric! BB Frösch has the most incredible wax EVER! Seriously, it’s enough to make you “Twist and Shout!” Sorry, couldn’t help myself with the totally fitting reference!
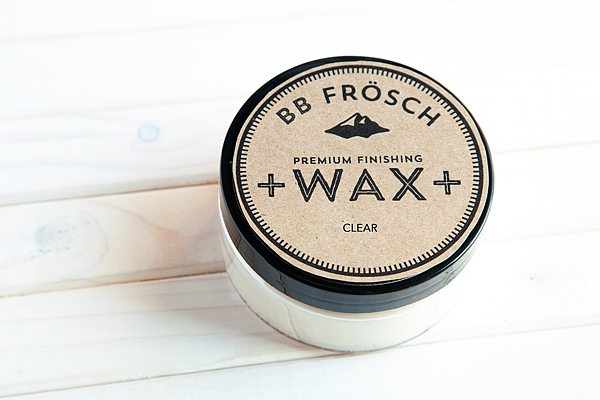
This creamy goodness glides on like butter, and it dries quickly. The best part is, the wax CURES IN MINUTES–not weeks like some other brands. I’m telling you, you will never want to use another wax again for your chalk paint projects!
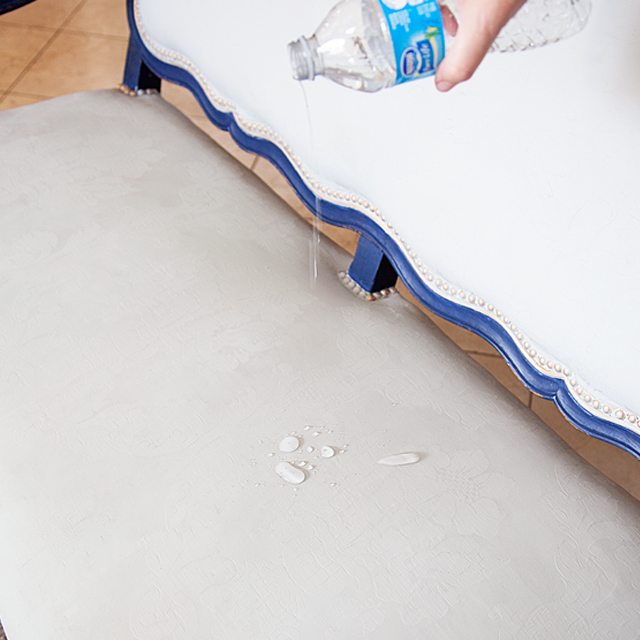
Waxing not only protects, it makes the chalk painted fabric feel a little like soft leather–especially over time, after a few bums have parked on it. Trust me on this one! Check out the sweet action shot of me pouring water onto my “new” settee just to demonstrate for all of you the cool protection properties of waxed fabric.
Step Eight (Optional): Since I’m not a fan of taping off, I painted over the awesome nail head trim. I didn’t love how the nail head trim blended in, so I grabbed a pot of copper gilding paste and rubbed it on the nail heads with my finger. This step took about three minutes.
Hello gorgeous nail head trim, nice to see you again, looking better than ever!

Step Nine: Kick back with your feet up and enjoy your latest transformation!
There you have it! Now go rescue something with ugly fabric!
Need a little help getting started? Check out BB Frösch on Facebook or Instagram.

And it’s not crunchy?! This is mind blowing to me because I’ve seen some pretty badly botched painted fabric projects! I don’t know if I could ever muster the courage to paint fabric but I do feel like I need this piece “In My Life”….oooooh! haha
I love it!! Wonderful tutorial!
That looks so cool, what an awesome settee you’ve created for your daughter. Thank you for the fab tutorial, I want to go find something with ugly fabric now just so I can try to make it look really cool like your settee. Love that your daughter is so into the Beatles, too, she has brilliant taste like her mum!
Looks great. I need to do this.
Just wondering, Did you went the fabric before painting? I have seen where you wet the fabric to encourage absorbtion of the paint. I am totally excited to do this to a chair I have!!
Megan
ladybug_megan@yahoo.com
Megan–
I did not wet the fabric but I did wet my brush a little. I didn’t have any issues with absorption, but wetting my brush helped spread the paint further. Hope this helps!
This is really interesting, You are a very skilled blogger.
I have joined your feed and look forward to seeking more of your excellent post.
Also, I have shared your web site in my social networks!
Brillant! I’m a big fan of Your blog!
Unfortunately they can’t ship paints to Europe! ;(
Maybe know some replacement?
Gosia
Gosia–
Since BB Frösch is a powder that is added to paint, not an actual paint, they are able to ship just about anywhere!
i take issue with the practically one coat coverage promise. I have done several of these upholstered paint projects using four different brands of chalk paint . Each required a MINIMUM of 4 (FOUR) coats of paint. This is a great project and lots of fun, please don’t be discouraged when you’ve completed 2 coats and your project looks blotchy. Push thru and you will have a beautiful piece.
Jennifer–
You are correct that many brands of chalk paint will require extra coats of paint. However, with chalk paint powder, you get a little more flexibility with bonding and opacity because you can always add more powder. That’s another reason I love BB Frösch!
Having said that, the type of fabric also plays a big role in how many coats you’ll need. Plush fabrics (not my favorite!) take more paint whereas canvas, dense cottons, etc. require much less. One trick is to make sure your first coat is nice and dry to create a barrier between the fabric and paint so subsequent coats don’t just soak into your fabric but actually bond to the first coat. It helps to not overwork your paint–just get it on and let it dry before doing another coat.
How is the fabric holding up after a year? Did you need to re-wax?
Stephanie–
I have painted MANY fabric pieces over the years, and they have held up great! I always seal and protect the painted fabric with BB Frösch Premium Finishing Wax, which makes for easy clean up of spills. It also makes the fabric more and more like soft leather over time. The only thing I have changes since this post when painting fabric, is that I now do it with a sprayer. It goes so much faster!