If your coffee table is a dated, glass-topped smudge-magnet that looks like this…

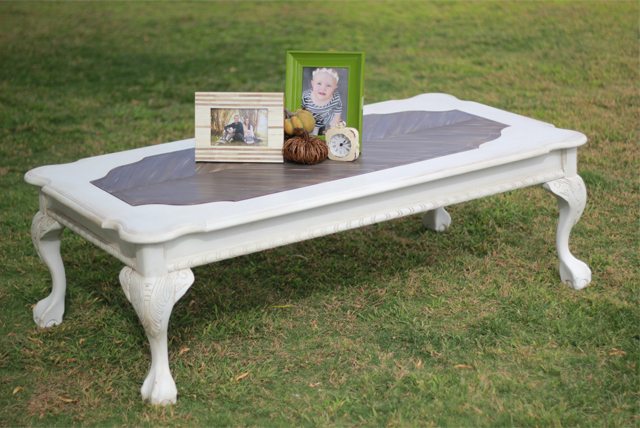
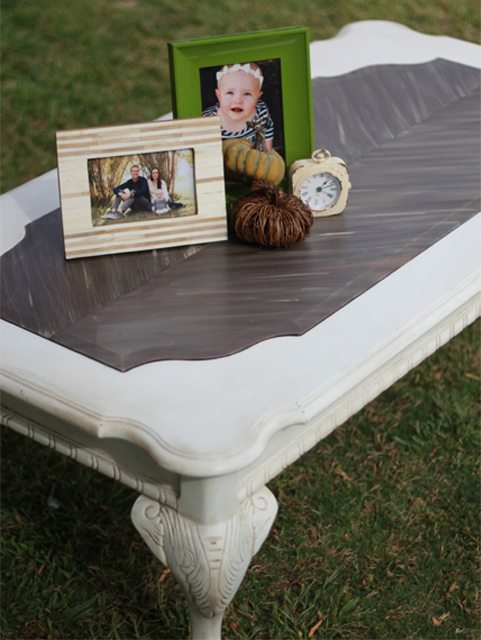
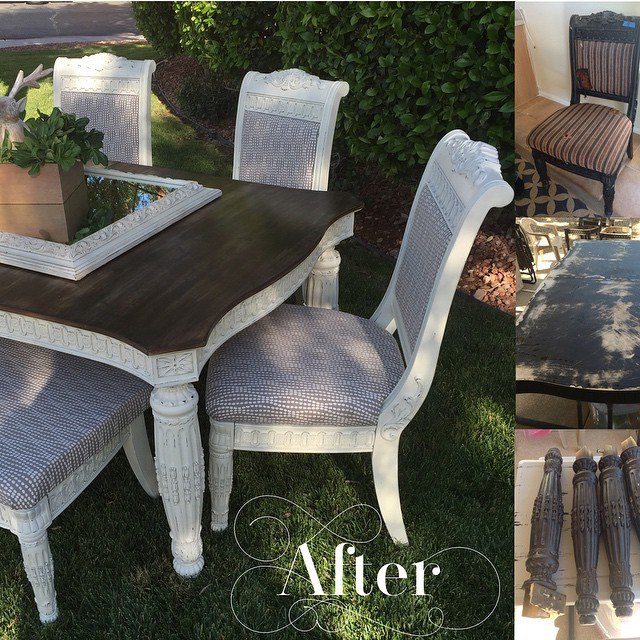
And you wish it looked like this…
Then you need to keep reading! 😉
“Weathered Wood” is one of my favorite chalk paint techniques. It’s an awesome solution for surfaces without a visible wood grain—EVEN IF THE SURFACE IS GLASS!
For real! You can PAINT ON GLASS with BB Frösch!
This hand-me-down coffee table was a perfect first chalkpaint project when Kacey gave it a cheery yellow makeover two years ago. Even though the chalk paint held up gloriously, and the yellow wasn’t bad, it no longer matched Kacey’s decor.
So, the table just sat there, sad and out of place, embarrassed about it’s fingerprinted glass—jealous of all the tables getting weathered-wood makeovers.
Something I whole-heartedly believe came to mind…
We couldn’t just slap on a fresh coat of neutral paint—we had to make this little yellow table AWESOME.
Here’s what we did:
***NOTE***All paint used for this project is flat paint mixed with BB Frösch Chalk Paint Powder to create chalk paint. If you do not mix your paint with the powder, this technique will NOT work!

You will need:
- Five colors of flat paint mixed with BB Frösch Chalk Paint Powder (click here for easy mixing instructions.) We used black, white, light grey, light brown, and a dark chocolate brown.
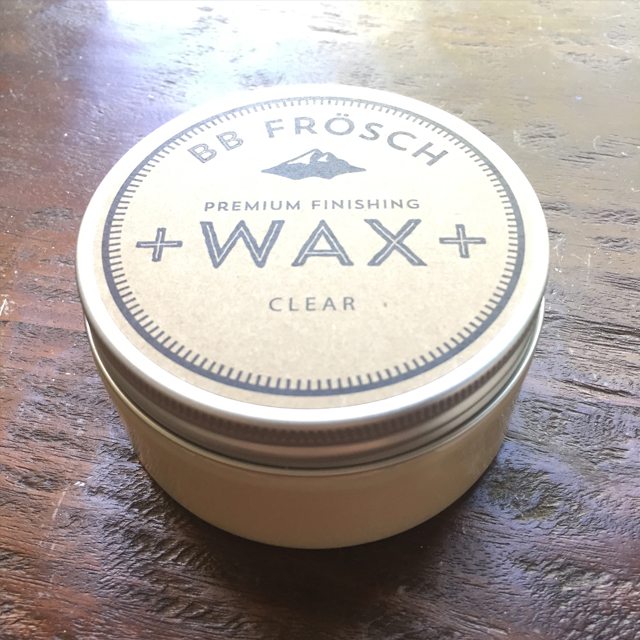
- BB Frösch Premium Finishing Wax. We used clear wax on the glass top. We used clear and dark on the wood part of the table.
- Chalk paint brush
- Wax Brush
- Blue Painters Tape
We removed the glass for me to work on while Kacey and Blaire gave the table two coats of Behr paint color-matched to Valspar’s “Bistro” (mixed with BB Frösch.) We didn’t have to sand, prime or strip the yellow first, and the coverage was amazing!
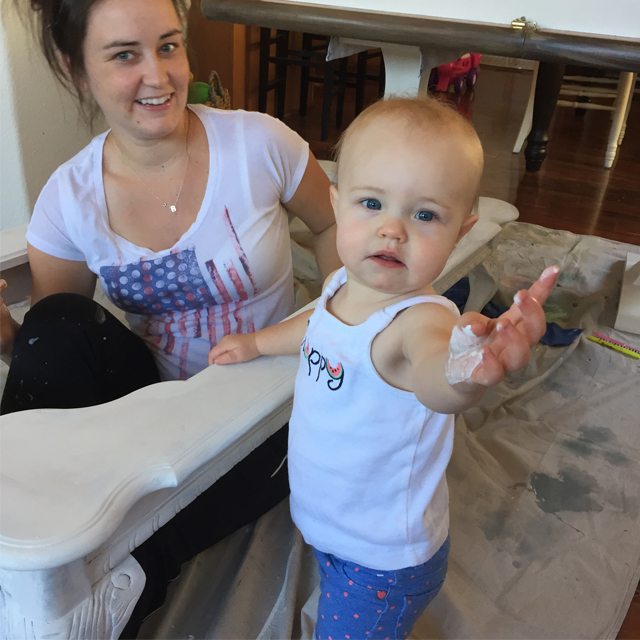
***NOTE*** If you paint inside, and have any little assistants, choose a no-voc paint with BB Frösch for non-toxic chalk painting. Most no-voc lines are about the same price as regular paint lines.
Meanwhile…
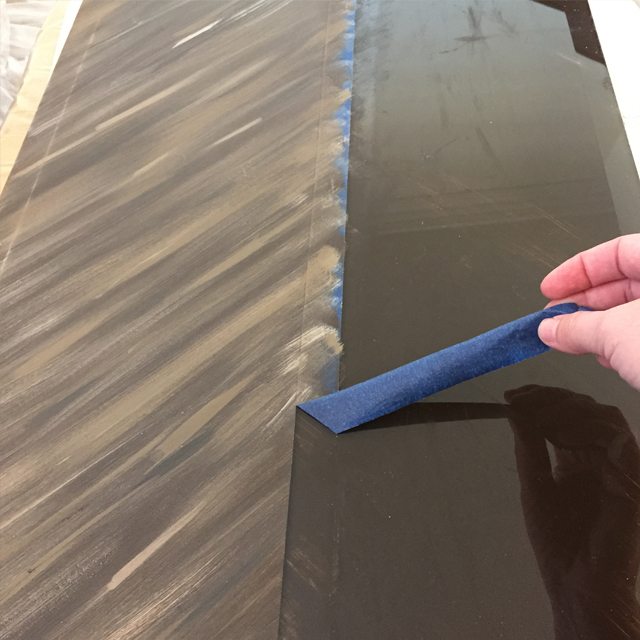
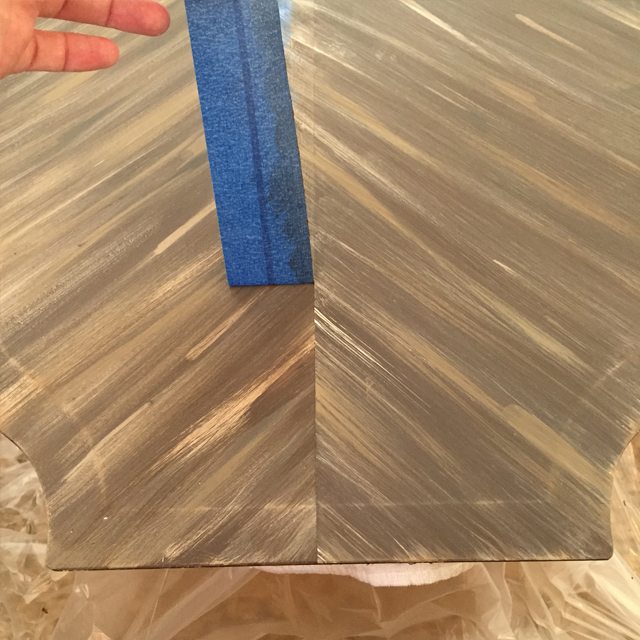
To give the painted glass little visual interest, I decided to make the “wood” appear to meet in the center. To do this, I found the center of the glass, and lined up the edge of a piece of blue tape like this:
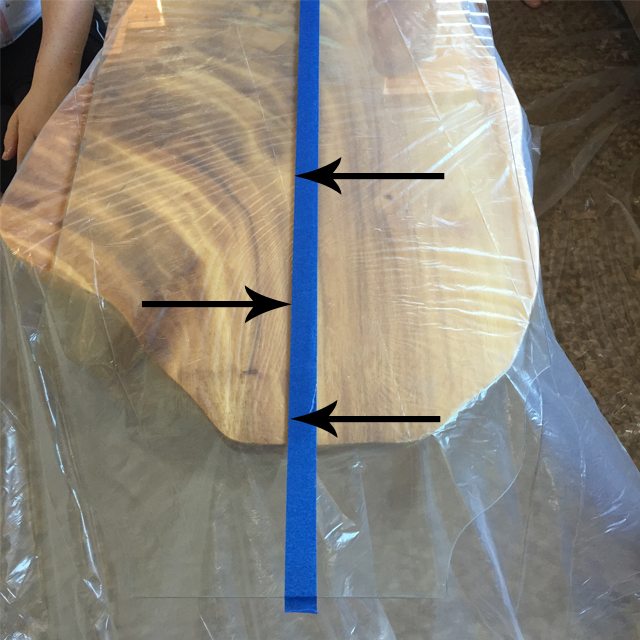
Try to ignore the weirdly-shaped wood table underneath that I used to support the glass while I painted, and note that the arrows are pointing to the edge of the blue tape that runs along the center of the glass top.
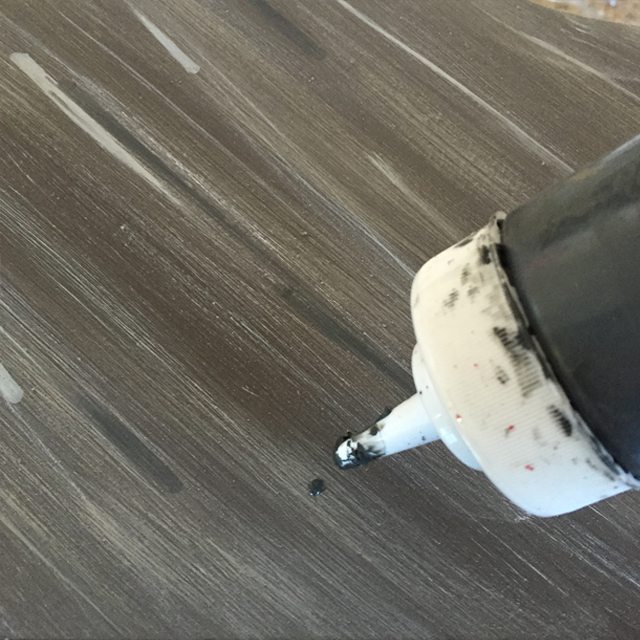
STEP 1. With the center marked, I painted one coat of dark brown (I used Benjamin Moore “Mink” mixed with BB Frösch Chalk Paint Powder) on one half of the table. I used long even strokes that angled from the edge of the glass toward the center of the blue tape.
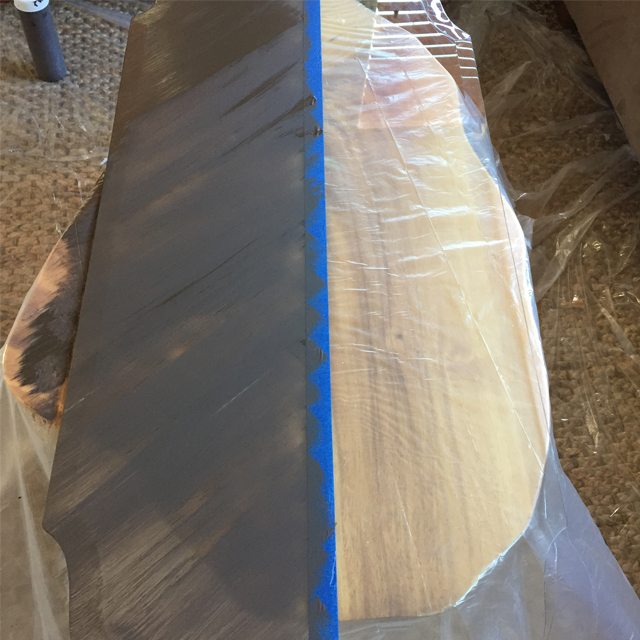
Notice how you can kind of see the glass through the brown? To remedy this, I painted the underside of the glass. This is why the next photo shows shiny brown on the right and “dull” brown on the left. The right side just has brown painted on the underside of the glass—no paint on top yet.
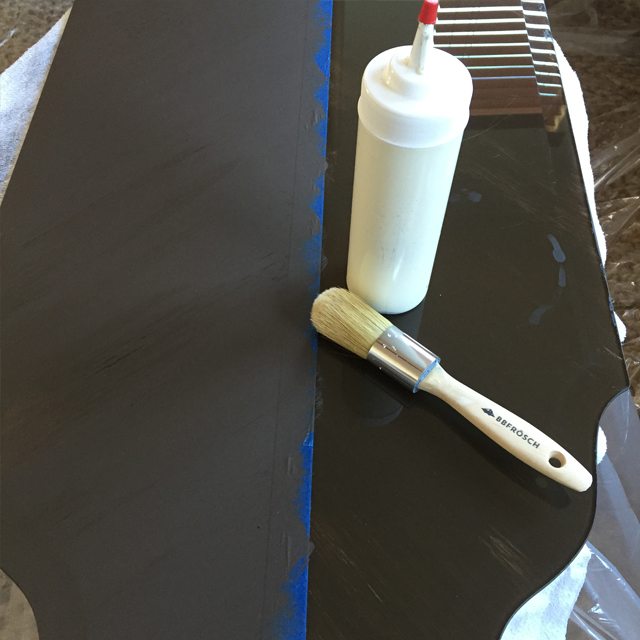
STEP 2. Once this was dry (about ten minutes), I dry-brushed white along the same lines as the brown lines. To dry brush, dip the end of your brush in a small amount of paint, then dab onto a paper towel to remove much of the paint. Your brush will look and feel kind of dry, not “wet” with paint.
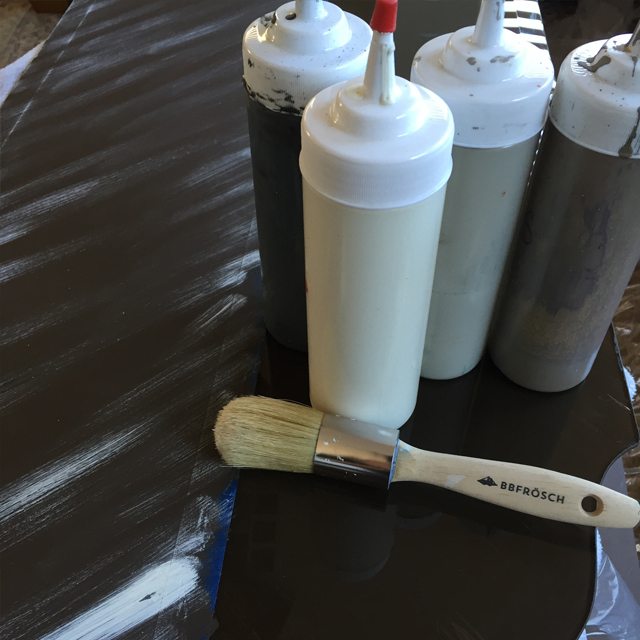
STEP 3. I did the same thing with a light grey color, then a light brown color. I just used leftover paint from other projects for these. Any light grey and light brown will work. The only important thing here is to make sure all your brush strokes go the same direction—the way wood grain goes all the same direction.
STEP 4. I dabbed small spots of black paint in a few places, then ran my brush through the spots to create a few small black lines.
STEP 5. Next, I used BB Frösch Clear Premium Finishing Wax, to wax the half of the glass I’d just painted. I thought I would follow up with a coat of dark wax, but I liked the tones as they were, so I just applied a second coat of clear wax.
This next step is one of my favorite parts of projects like these! Does anyone else get giddy when it’s time to pull tape off?
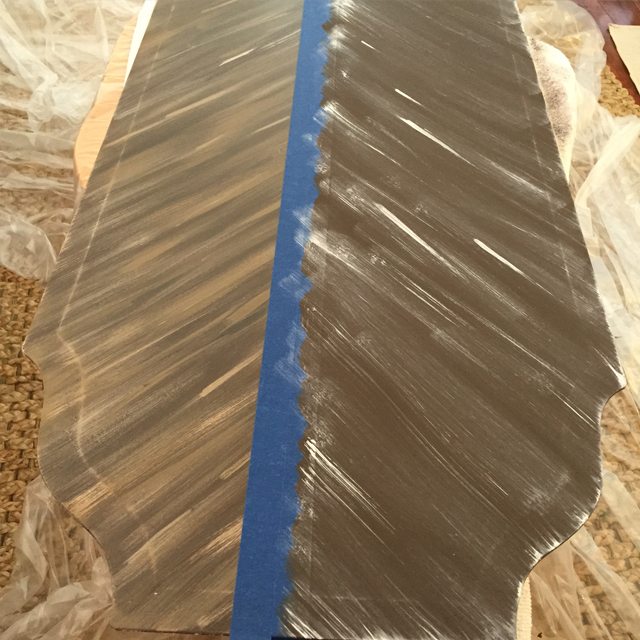
With one half of the glass fully painted and waxed, I placed blue painter’s tape on top of the painted side so the edge was now on the OTHER side of the center of the glass (If you didn’t wax the first half, your tape can pull up your paint, so don’t skip step 5!)
This time, I made the blue tape double-wide, so I wouldn’t accidentally paint over the side I’d already painted.
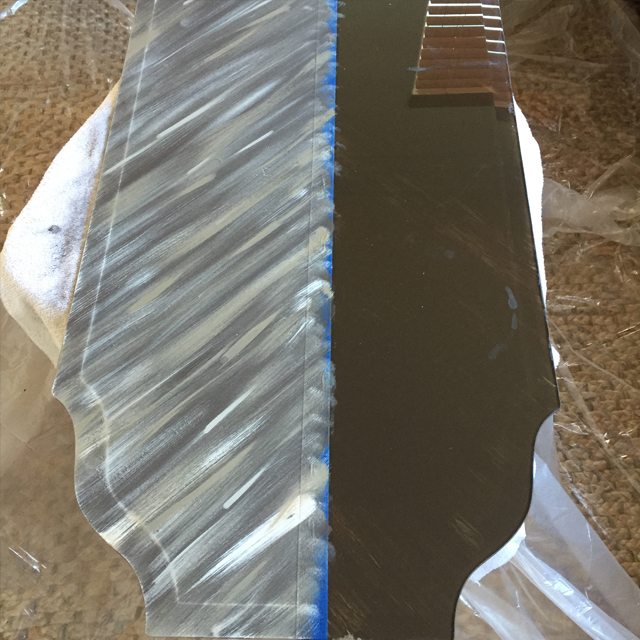
I repeated steps 1-5 on the other half of the glass, like this (Kennadi pointed out that it kind of looks like a feather):
Then I pulled off the tape…
…and I fell in love!
Side note…Kacey opted not to distress the wood very much. Instead, after she clear-waxed, she used dark wax to highlight the details of the table and give it a little “age.”
Since I know everyone is wondering…
How is this going to hold up?
So far, this beauty is holding up great. Honestly, though, I can’t say I would use this technique on glass that receives daily wear and tear from toddlers banging their toys and husbands who use coffee tables as a foot-rest. Although the chalk paint does bond well (don’t forget to wax for protection!), I would save painting on glass for pieces that are more decorative. In this case, the table was free, we didn’t love the color or the glass, and the whole process only took a couple of hours–totally worth it!
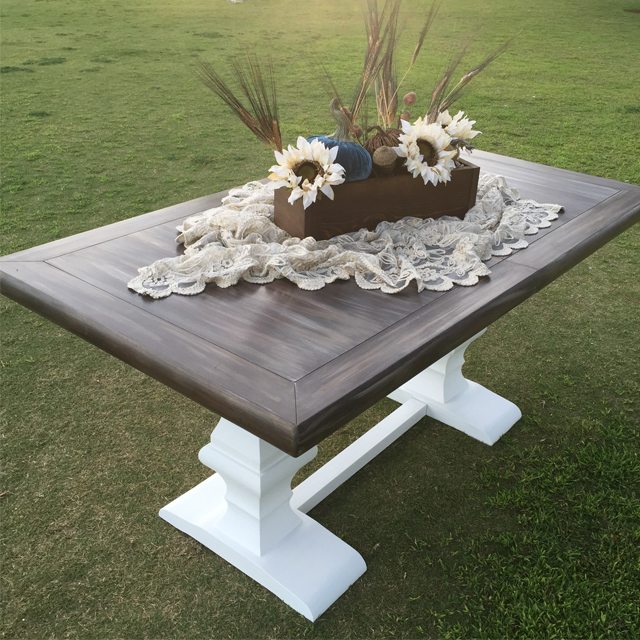
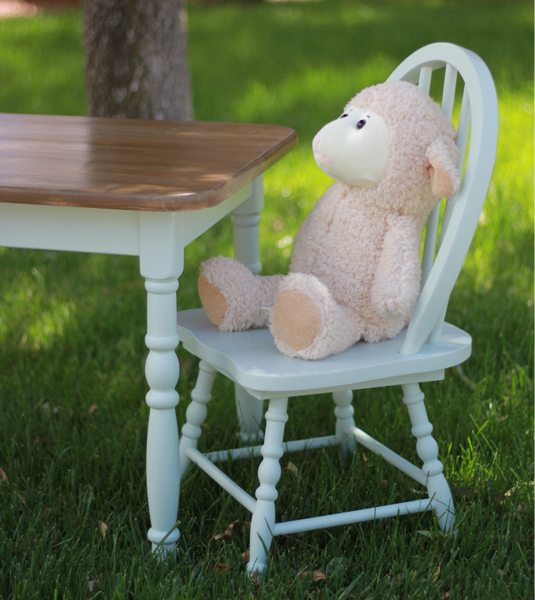
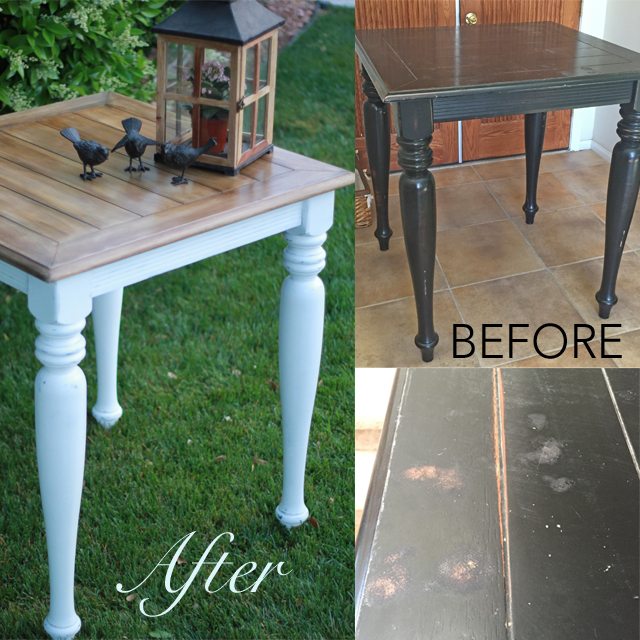
Visit here for details on achieving a weathered wood look on actual wood, like these projects:
Looking for more BB Frösch Inspiration? Check out BB Frösch on Facebook, Pinterest and Instagram.

All of your projects turned out fabulous!! Now if I could just get myself to love painting or even just like it, I’d be all set. I’m more of a quick spray paint type. Still, I’d PAY for something like this if I came across it. Great job!
I love the update you gave this table! It’s so gorgeous!
Paige
http://thehappyflammily.com
Love this tutorial! I just received a free glass top table too, and it has chairs with cute bright fabric seats. Only problem is the cushions fabric had a backdrop of gray so brown wouldn’t work but I’m hoping to do a gray paint and hopefully it’ll look as good as yours! Thanks 🙂