My creativity tends to be born more from hoarding and frugality than from actual creativity itself. When threatened with the prospect of throwing away perfectly good leftover crap from previous projects, I suddenly find myself filled with all kinds of ideas about how I could possibly repurpose said crap.
This was the case last week when my husband tried to toss a chipped mirror we’d scored for free from the side of someone’s house. It just so happened that the chipped mirror stood in the garage next to a box full of leftover blocks from a dice project I’d done last year…
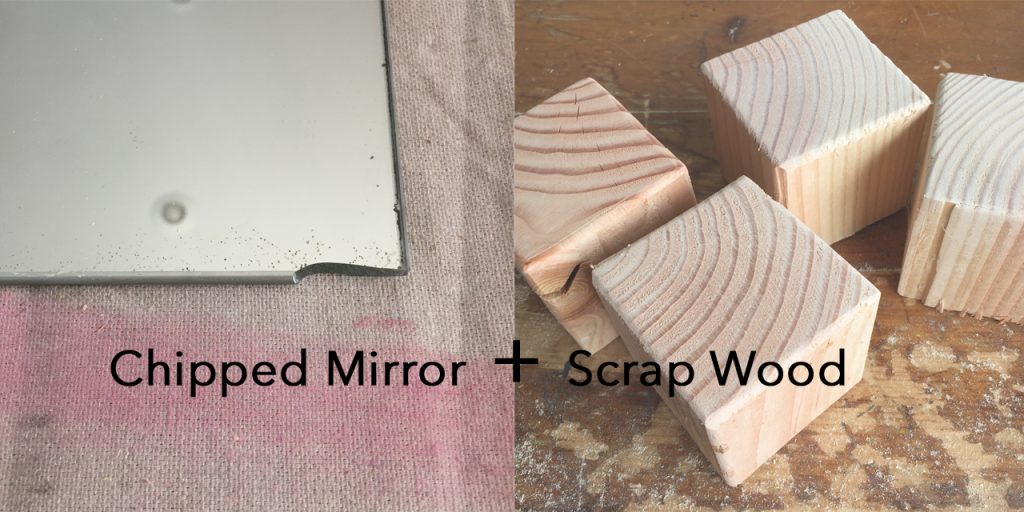
…and an idea was born!
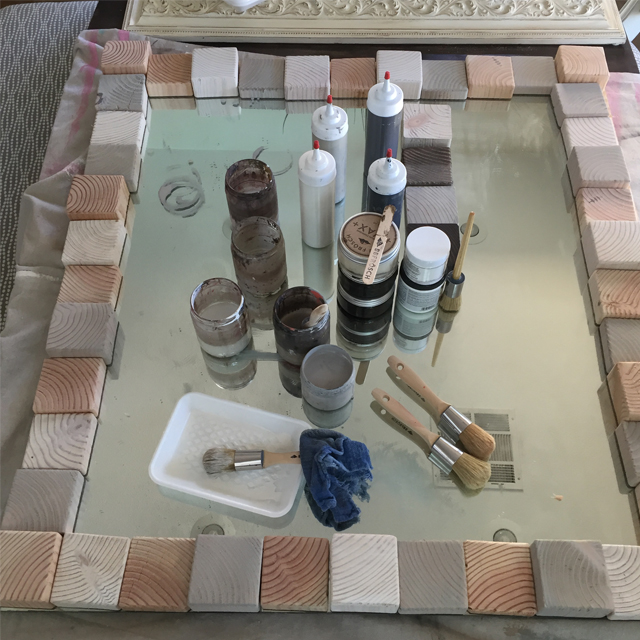
I gathered up a few miscellaneous supplies I had laying around and got to work.
Each block measured 4×4 and had already been routered from the previous dice project:
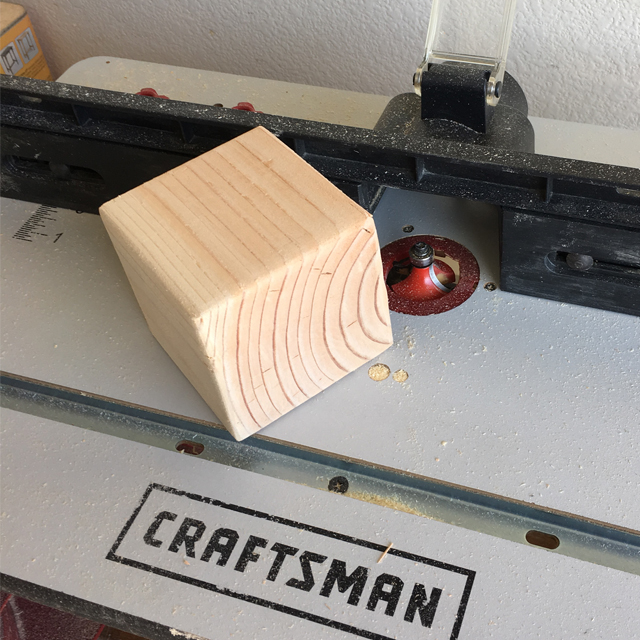
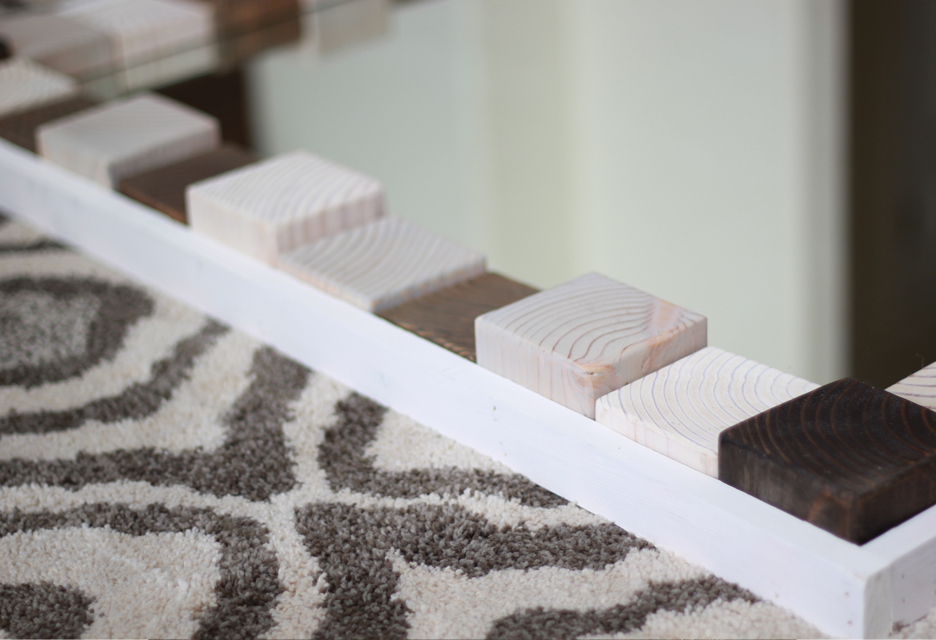
I had Jason cut the blocks into varying widths. If you don’t happen to have any blocks laying around, just buy a 6’ length of 4×4” pine and cut into varying widths approximately 1”, 2” and 3”:

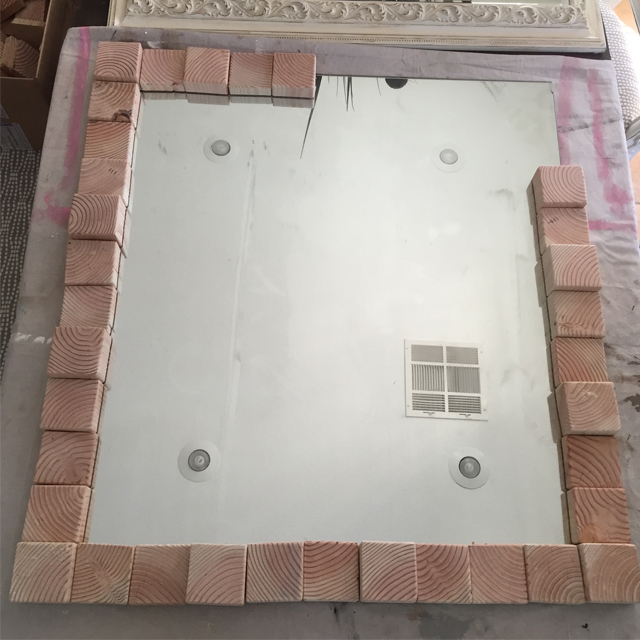
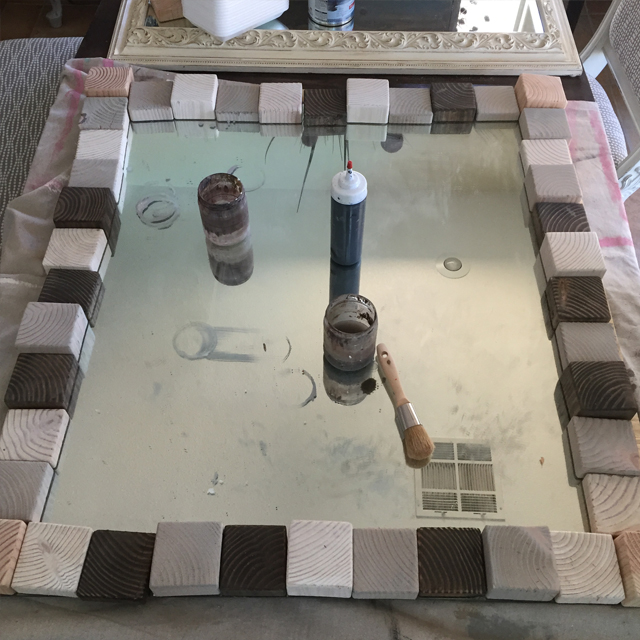
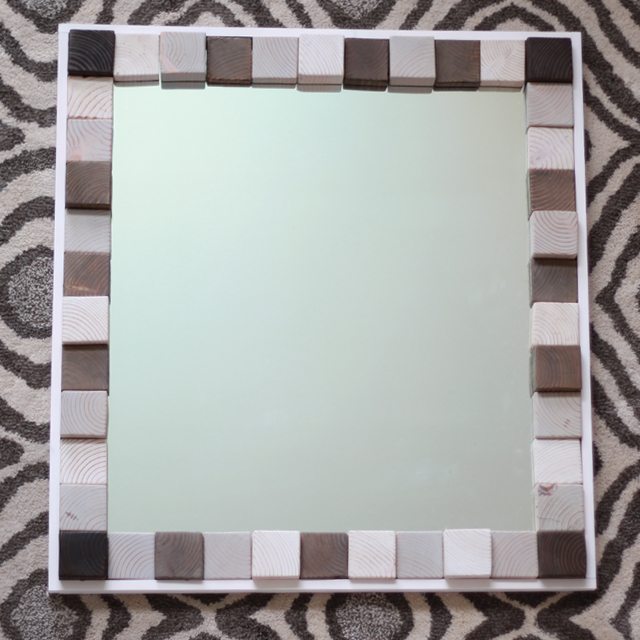
Then I placed the cut blocks around my mirror in a random pattern so that no two blocks of the same height were next to each other:
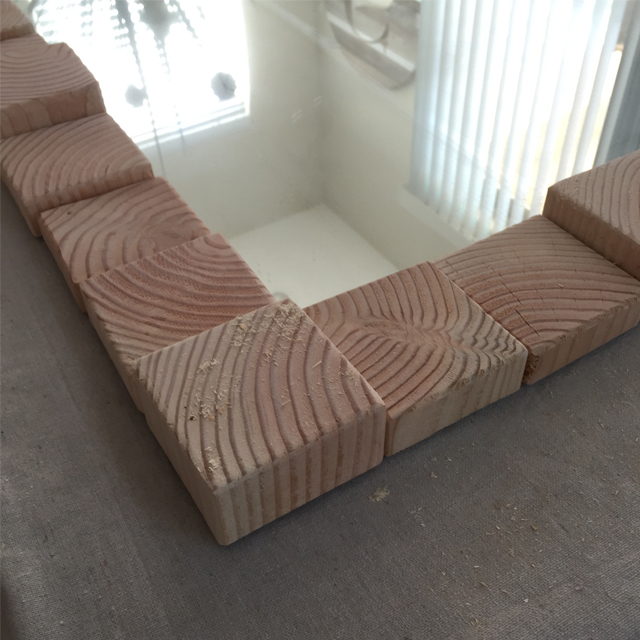
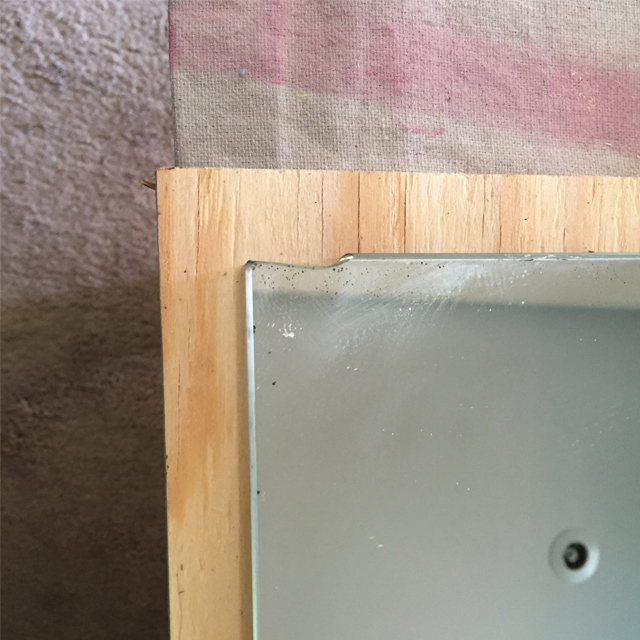
Of course, the blocks didn’t magically line up to the exact dimensions of my mirror! They hung over the edges by a couple of inches.
So, we cut a piece of plywood to the dimension of the wood squares when laid out, and we centered the mirror on the plywood. Say good-bye to this chip, because it’s about to get covered!
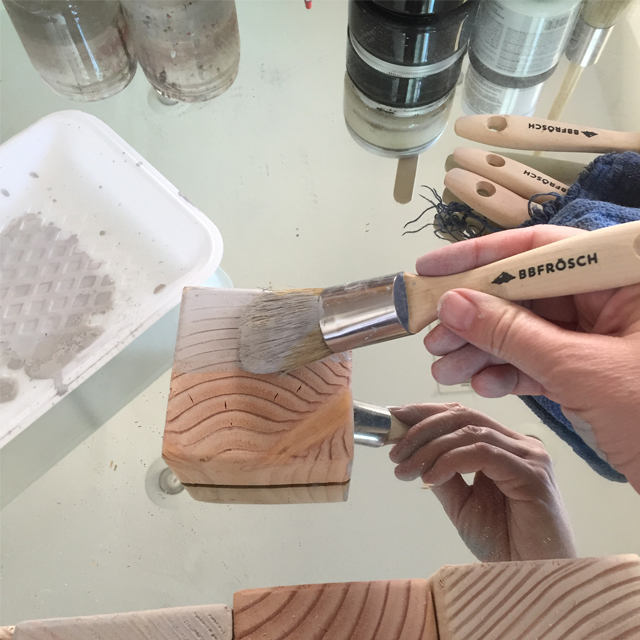
Once the squares were laid out, I noticed how gorgeous the grain of each piece was! I had originally planned to paint my blocks in several shades of grey and white. That plan didn’t change, but I decided to use my favorite faux stain technique instead, so I would still be able to see the grain.
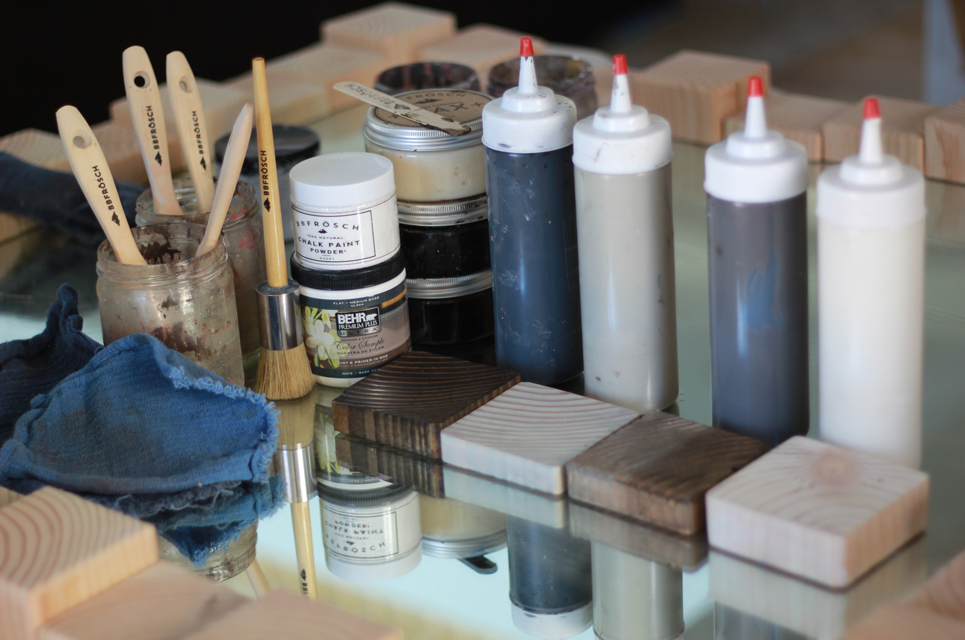
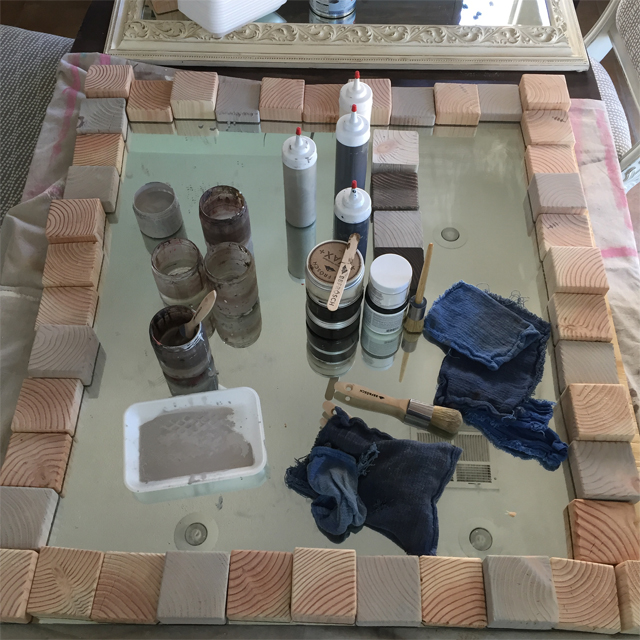
I just used leftover chalk paint from previous projects. This technique will not work with regular paint, it needs to be chalk paint. I especially love BB Frösch for making my own chalk paint, because I can choose ANY COLOR I WANT, and it’s so affordable! This technique uses very little paint, it’s not messy, and it doesn’t smell, like traditional stain does! If I didn’t have leftover paint, this project still would have cost less than $12 for four colors of chalk paint made with BB Frösch Chalk Paint Powder. You can learn how to faux stain here.
For this project, I chose four colors: white, light grey, darker brownish-grey, and black. Even though the technique is called “faux stain,” you really can choose any color you want. The idea is that the wood grain still shows. This project would look really fun in bold colors as well!
I started with the light grey and painted every third or fourth square:
Then I painted random squares white. Note how you can still see the grain. I was falling more in love with each new square I painted!
Lastly, I painted the remaining edge squares in dark grey, and the corner squares in black:
Once all squares were painted (faux stained), I waxed each one to seal and protect the finish. I used BB Frösch Clear Premium Finishing Wax on the white and grey squares. I used BB Frösch Dark Premium Finishing Wax on the darker grey and black squares. I love the waxing step, because I feel like it makes the finish really pop:

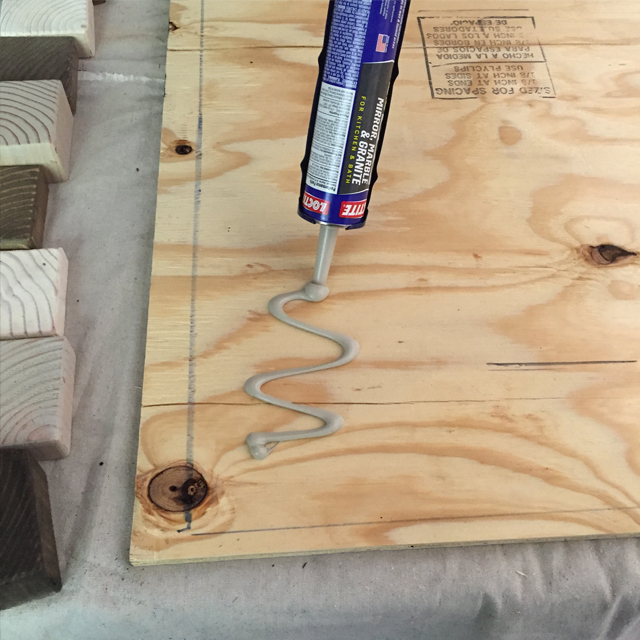
Next, we put mirror mastic on the plywood backing. Note: you MUST use mirror mastic, because any other product can cause the mirror backing to come off the back of the mirror which will result in a funky, or spotty, looking mirror down the road. You can see that we marked exactly where the mirror will go when we place it on the plywood:
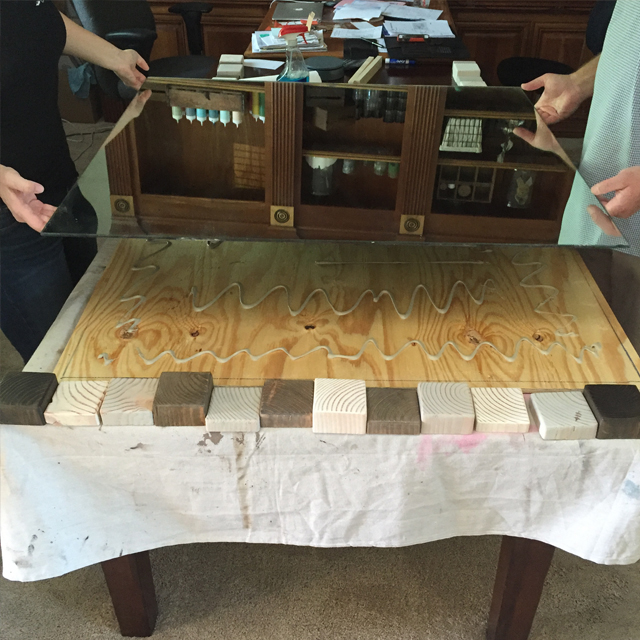
It took two of us to place the mirror on the plywood backing (note: the wood squares at the side of the mirror in this picture aren’t attached, we just moved them aside to place the mirror):
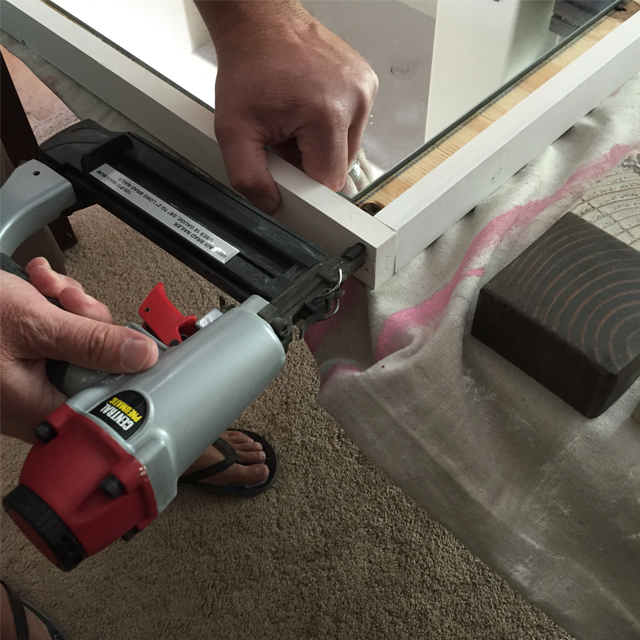
With the mirror drying and bonding to the plywood backing, I painted 1×2” trim, and Jason nailed it to the plywood:
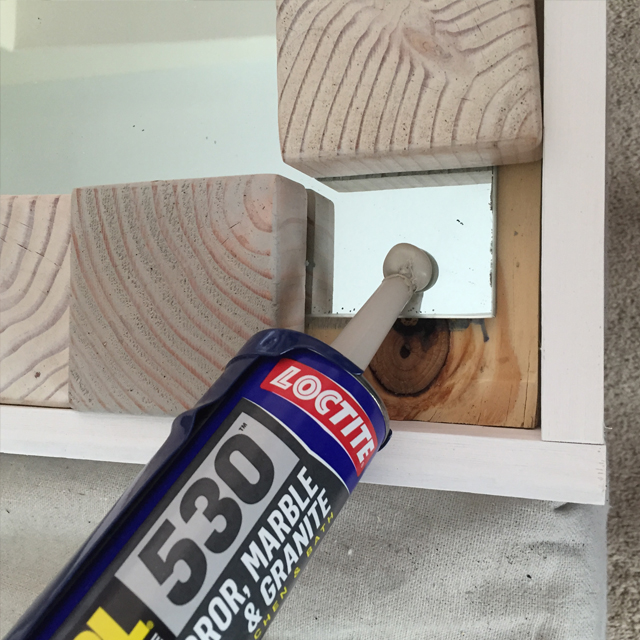
Then, I used mirror mastic to glue each block into place around the perimeter of the mirror:
After about 30 minutes of drying time, my scrapwood mirror was ready to hang. First, I laid it on my favorite rug to take a few pictures:
Then, Jason and I used every last muscle we had to heft this heavy beast into place (okay, it isn’t THAT heavy, but it isn’t exactly light, either!)
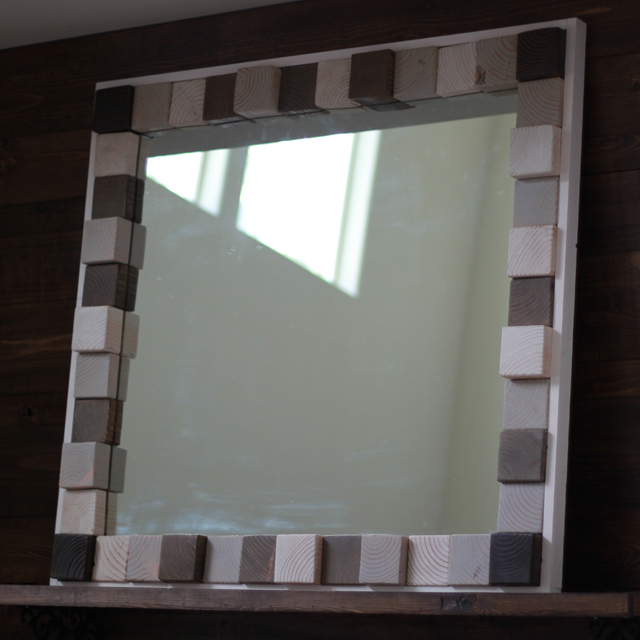
Take note that it took more time to position my camera such that I wouldn’t capture my messy kitchen in the mirror reflection than it actually took to do the project!
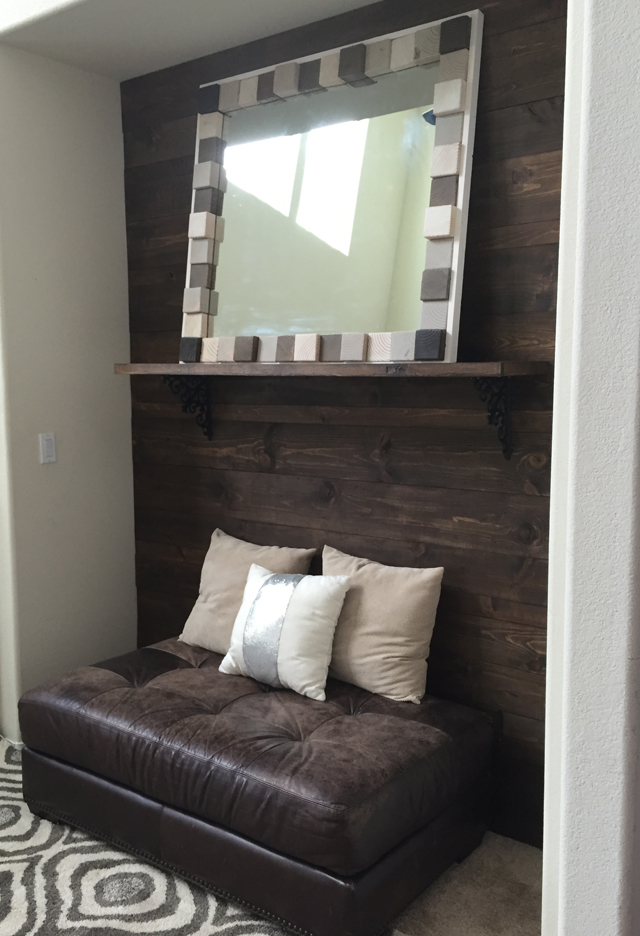
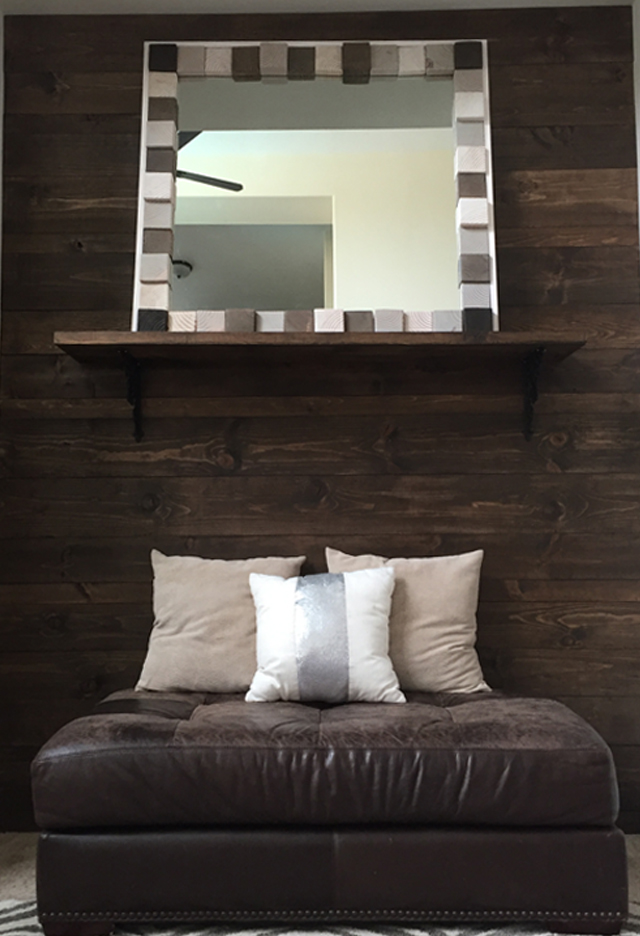
PS The wall behind my scrapwood mirror was faux-stained with BB Frösch. You can learn how I did it here. I LOVE this wall, and it was so inexpensive and easy to do!
Looking for more chalk paint inspiration? Follow me on Instagram, on Facebook and Pinterest.