A few days ago we introduced you to Jo’s house! When they moved in, it was like a giant blank slate and I have to say… the wheels immediately started turning! It has so much potential and we couldn’t wait to get things started. First up was the kitchen. This home has a few different levels so it doesn’t have a big open floor plan. And because of the paint choice that covered every single inch of the home, it was a tad dark. The whole house needed to be brightened up! They started by painting the ceilings white and the walls gray. The difference it made with just PAINT was amazing, but adding those finishing touches with ACP tiles was the perfect way to add a little pizzazz.
But paint wasn’t the only project in our plan. She tackled painting the cabinet and installed new Fridgidare appliances, too.
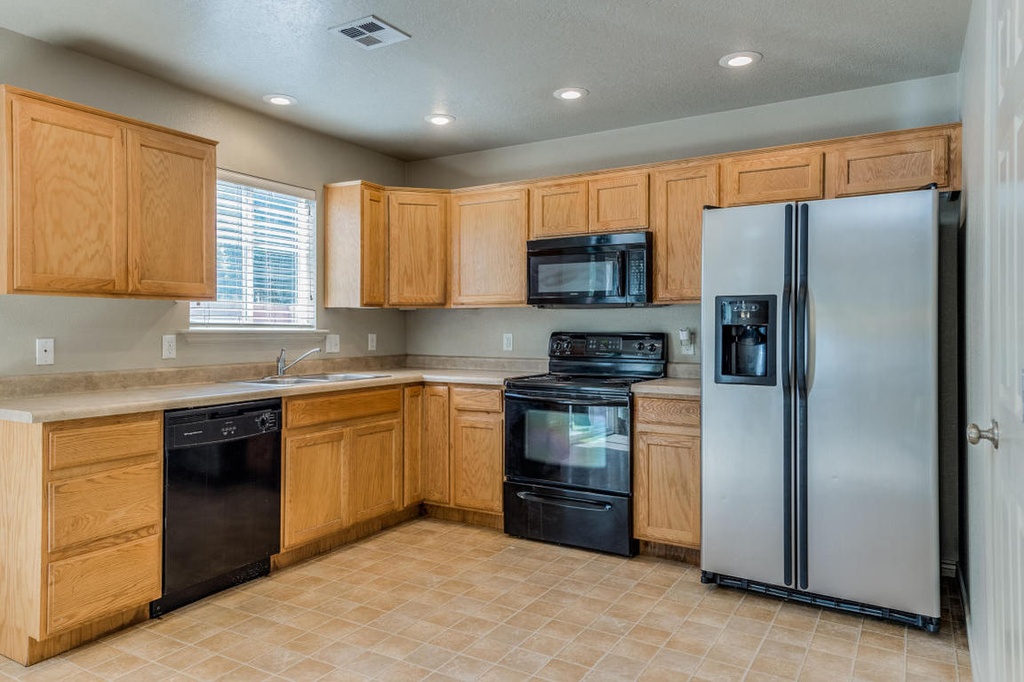
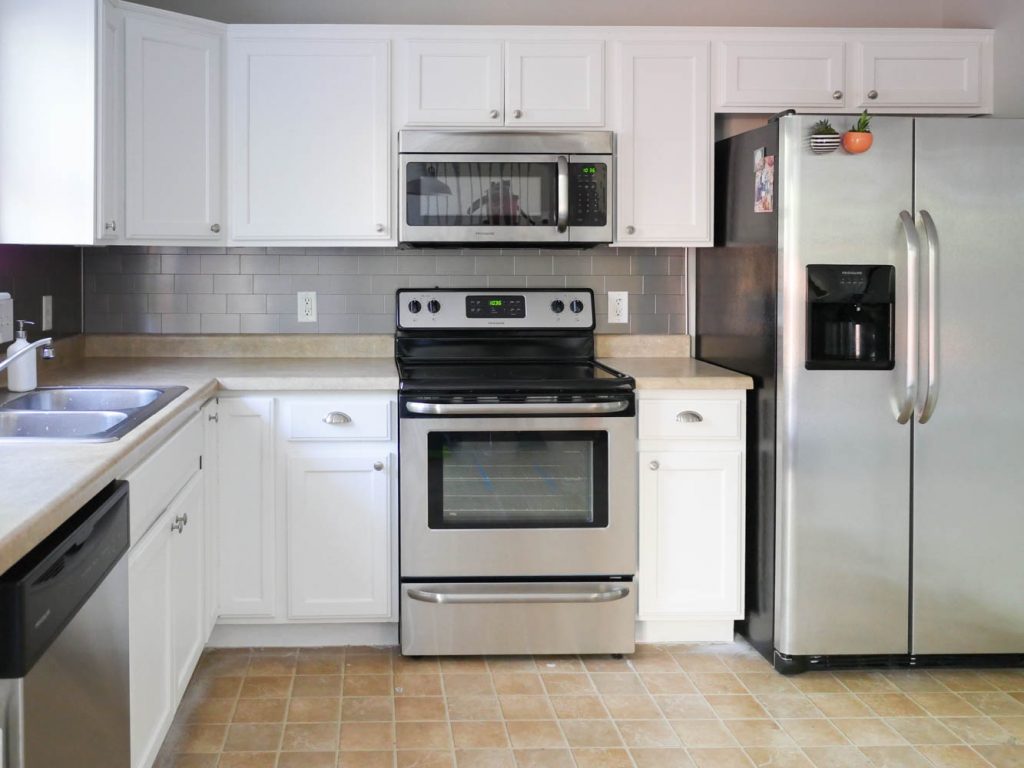
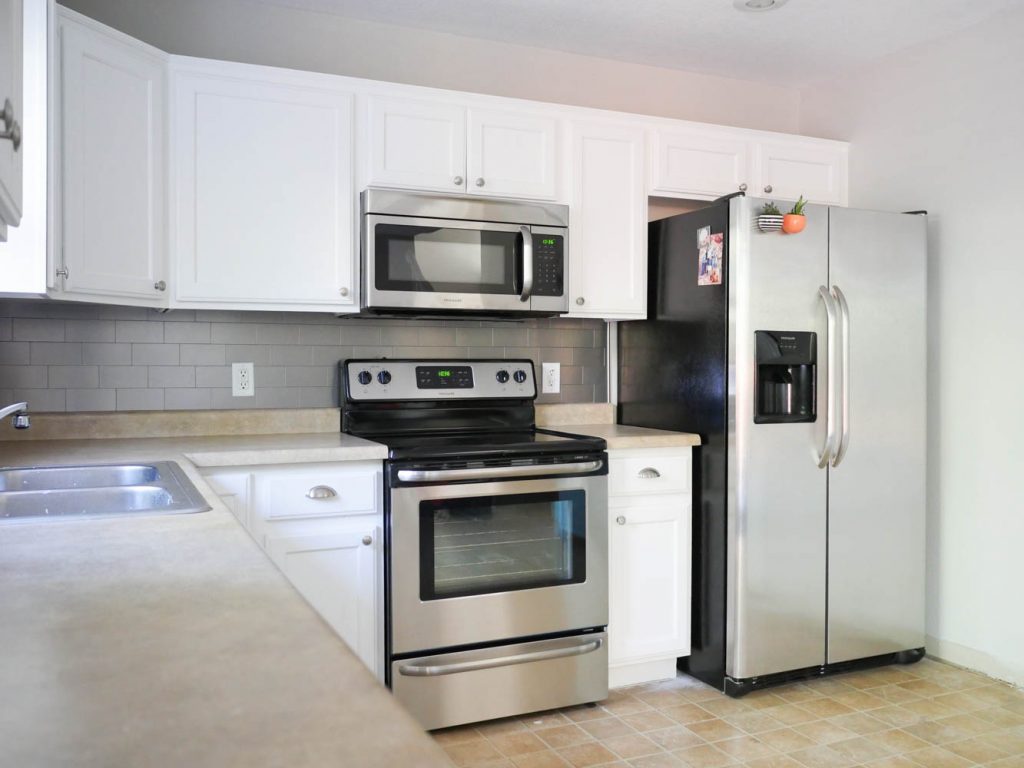
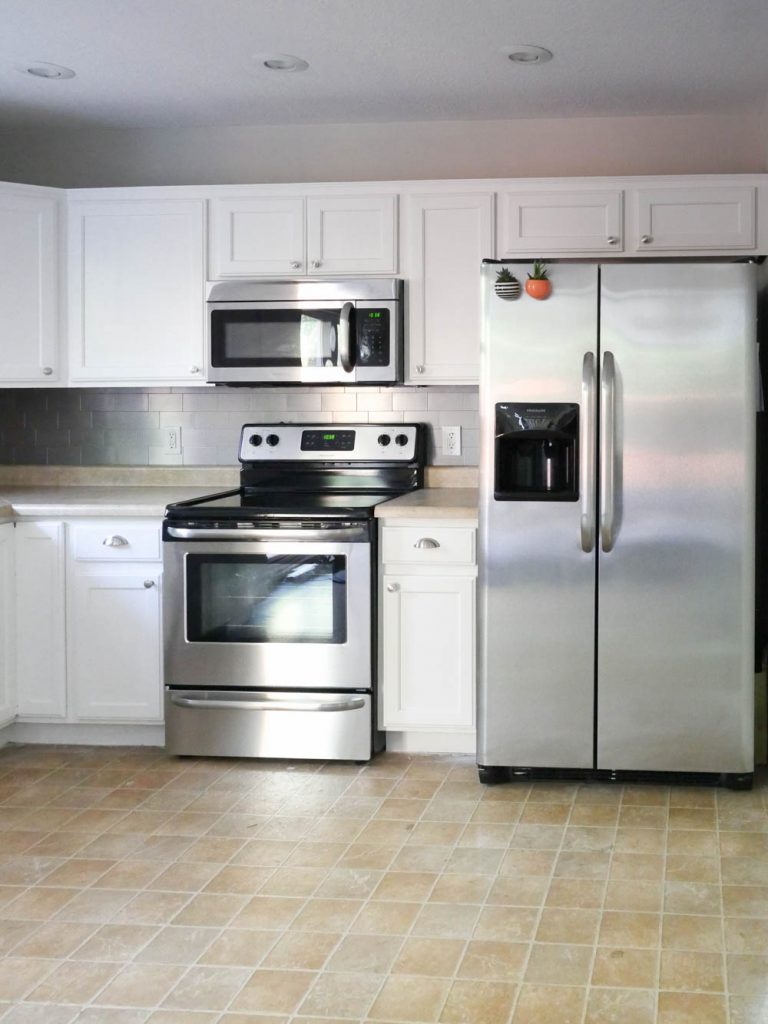
Can you BELIEVE the difference that just paint and appliances made? Here is the kitchen before we installed the shiny new back-splash:
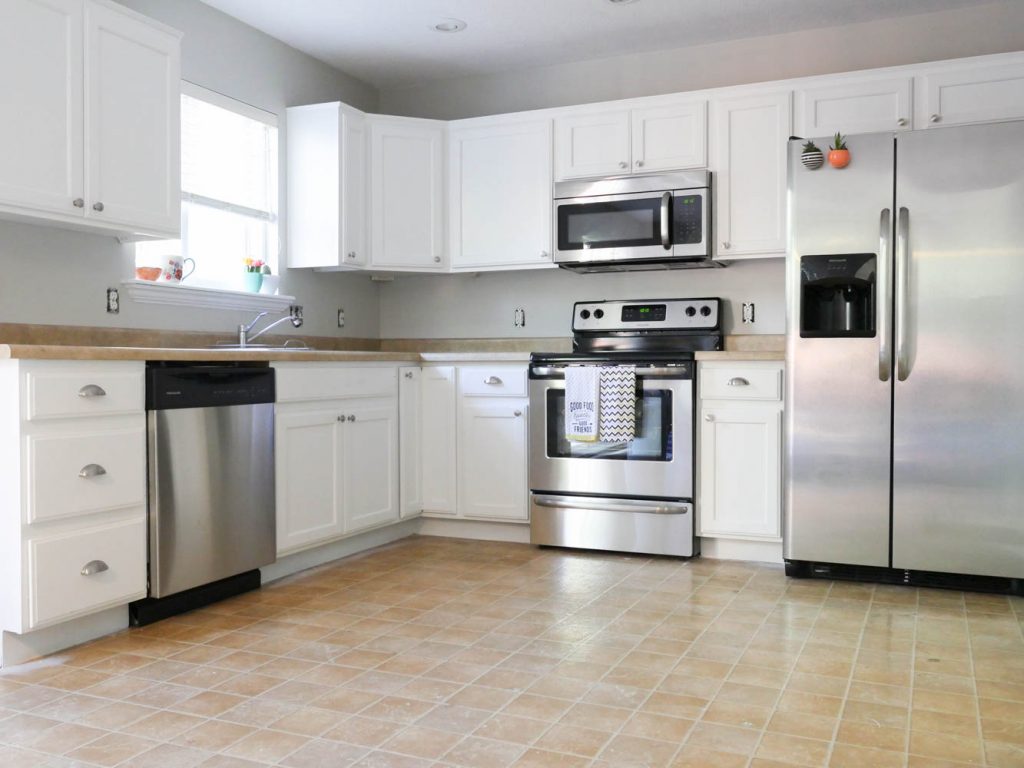
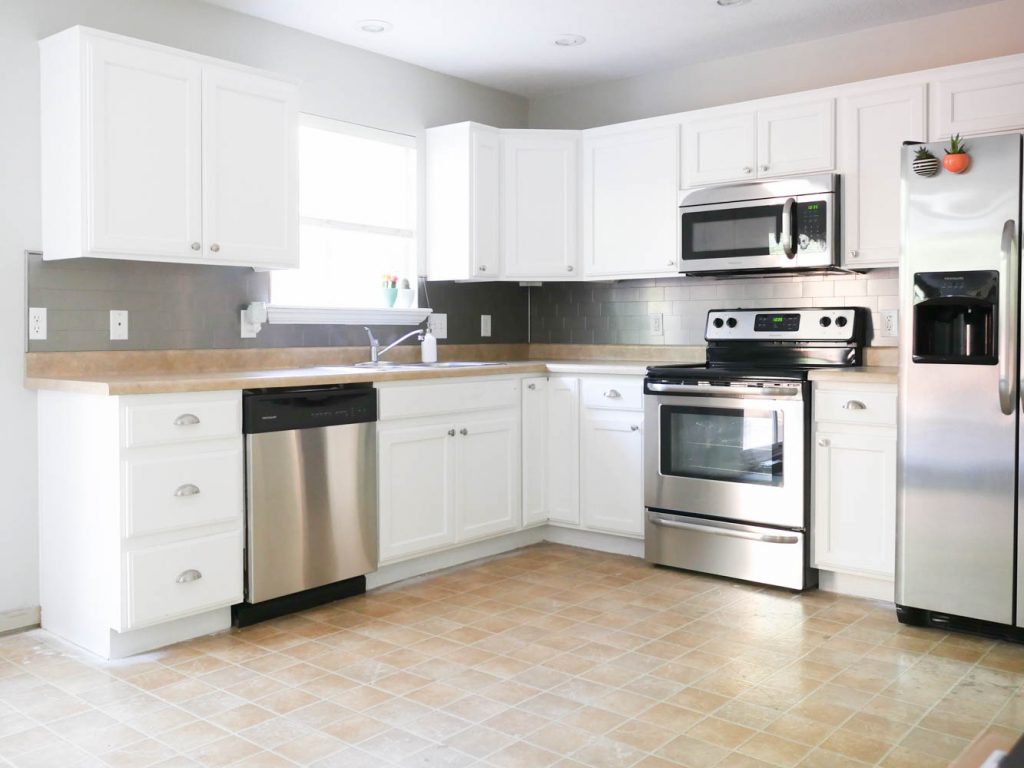
And here it is AFTER! Pictures do not do this justice. It makes the kitchen look finished, polished, and brand-spankin’ new. It doesn’t even look like the same space!
We knocked out this project in one day. The tile we chose was the stainless steel peel and stick tile from ACP. They are STICKY with a capital S. We had to pry them off with a crowbar if they were positioned wrong. We learned real quick to get those bad boys on right the first time! HAHA!
For those that may be intimidated by tile, this project was perfect, no tile cutter was needed, no grouting, just peel the back off and place on the primed wall. Just make sure it’s where you want it to stay as I mentioned before!
The pieces also cut like a dream on a miter saw or scroll saw, so the tiles cut easily in the places we needed shorter tiles.
To begin, we removed all of the outlet covers and then primed the walls with Kilz Latex primer. This step is essential to helping your sticky tiles adhere. If you don’t prime the wall, you can install them with adding more adhesive, but priming the wall was a better choice in my opinion because then we didn’t have to deal with adhesive goop.
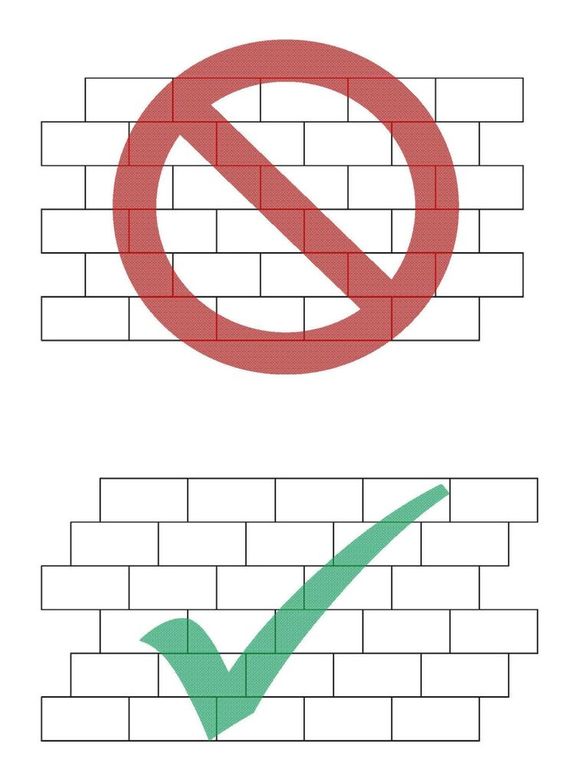
To create a subway-type pattern, we placed them on the wall, starting with the bottom row and going all the way across. The next row we placed 2 inches in and went from there.
I used this pattern guide that I found on Pinterest and it made a huge difference in how professional the tile looks!

For the small intricate and tricky parts, like around the window molding, we used cardstock/paper to make a perfect pattern and used a scroll saw to make the perfect cuts.
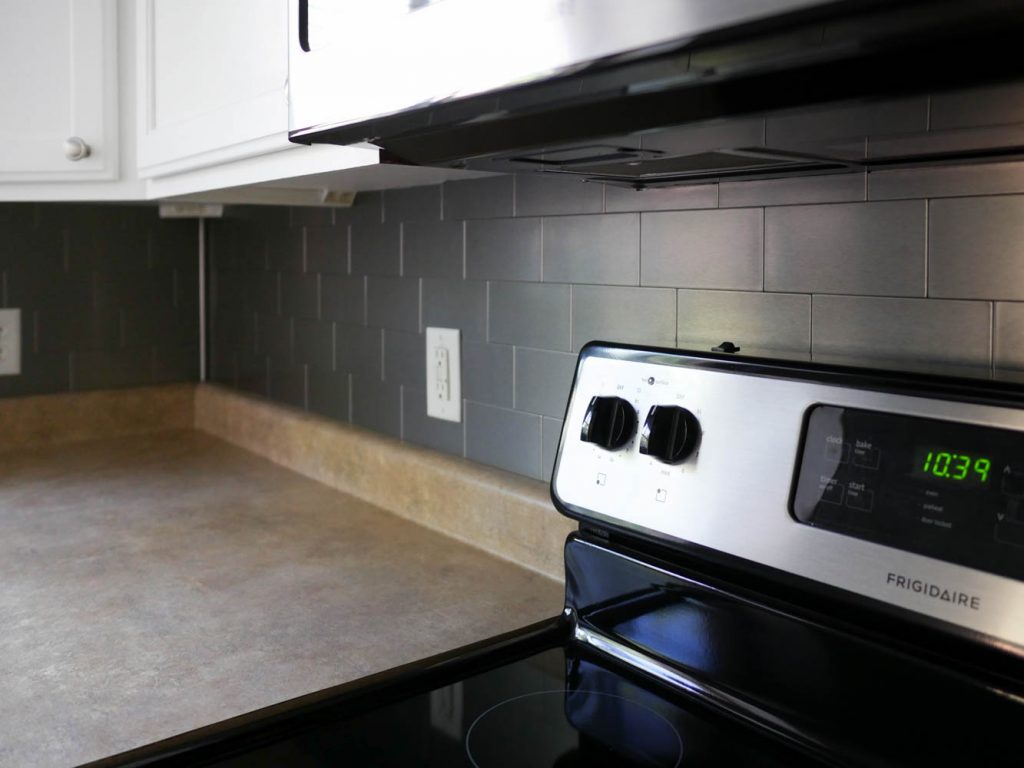
The metallic shine is so pretty in person! It’s kinda subtle at times, but others it’s not! I love it.
All in all this was definitely a project that just about anyone can do! The best part is that you get that high end feel without the high end effort! That is my kind of project!
Don’t forget to check back in for more reveals!
For step by step instructions, pop over to the Home Depot Blog!
xoxo
Check out more from {Jo’s House Remodel Project}:

Love, love, love!!
You didn’t talk about finishing off the ends at the end of the counter top/cabinets. Is that also peel and stick…does it come with the tiles?
Yes! It is also peel and stick and for additional cost, came with the tiles. It is a short of quarter round that you cut to your dimensions. It finished everything off perfectly!