This post is sponsored by KILZ. All opinions are 100% mine.
As you know, I’ve been helping my friend Jo at her house lately. We are sooooo proud of ourselves! We’ve been doing a lot of the work without the help of our husbands. But, to give them credit, they have done a lot of projects without us too. Just ask her husband Ben about his painting skills. He’s ready for a new big project now that his house is painted. 😉
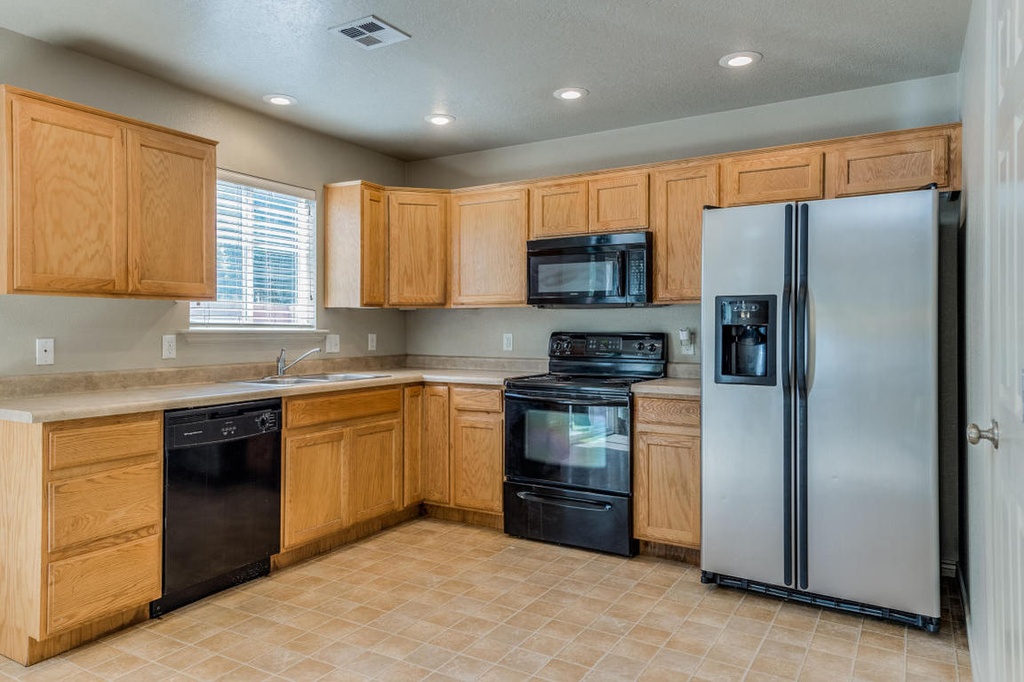
Here is Jo’s kitchen… it was a blank slate of honey oak cabinets, beige walls, mediocre floors, and old appliances. All of this has already changed, and her house is looking sooooo good! If you’ve missed other posts from Jo’s house, check them out HERE.
Jo’s kitchen Before:
Jo’s kitchen after some major elbow grease:
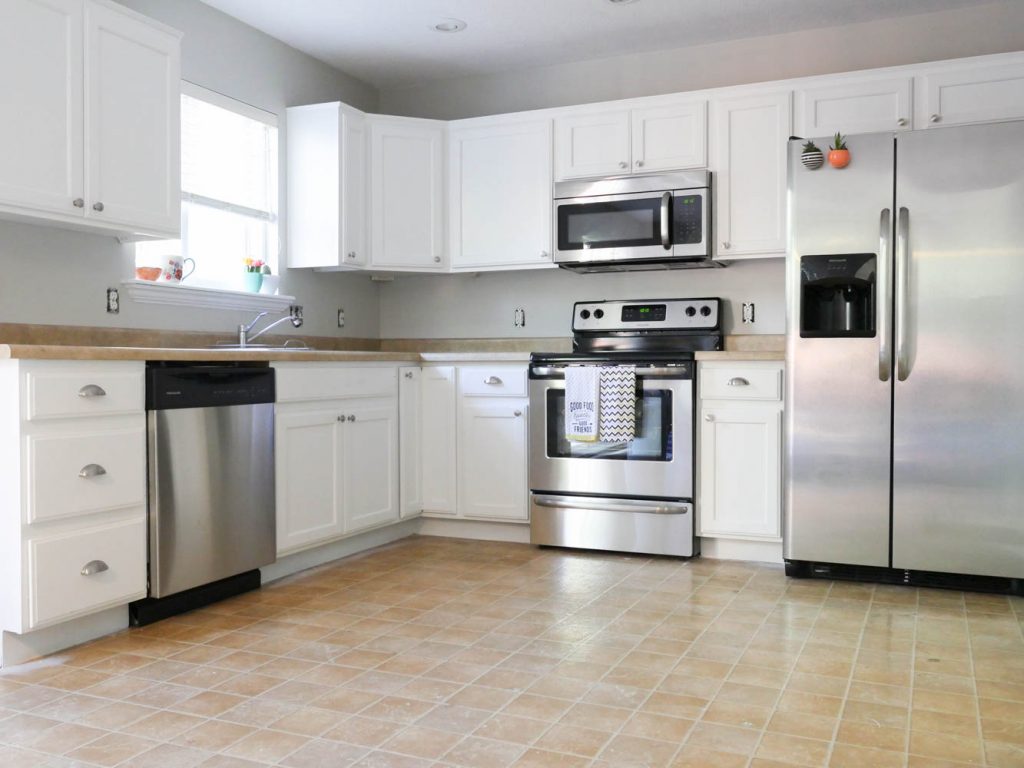
Doesn’t it look amazing already!?! The to do list is dwindling, but she is still planning to: install floors (check out the sneak peek for the floors on Instagram), install a backsplash, replace the sink, and paint her pantry door.
A backsplash adds a lot of character to a kitchen. But, it can be intimidating! My hubby installed our backsplash in 2010. It was one of our first projects EVER. There is just something about a backsplash that makes a kitchen look “finished” in my opinion.
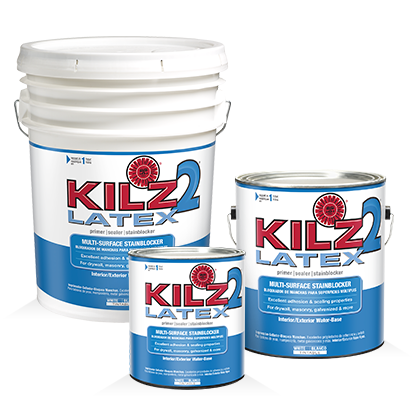
The wall was just recently painted, so prepping the wall before installing the peel and stick back splash tiles was essential. {Stay tuned for the full tutorial tomorrow!!} To ensure that the tiles stick, the wall needed to be primed first, and my favorite primer BY FAR is KILZ 2 LATEX Primer.
We taped off the area that the backsplash was going, and simply brushed on a quick coat of primer to promote the adhesion of the backsplash. It took less than 30 minutes to dry. 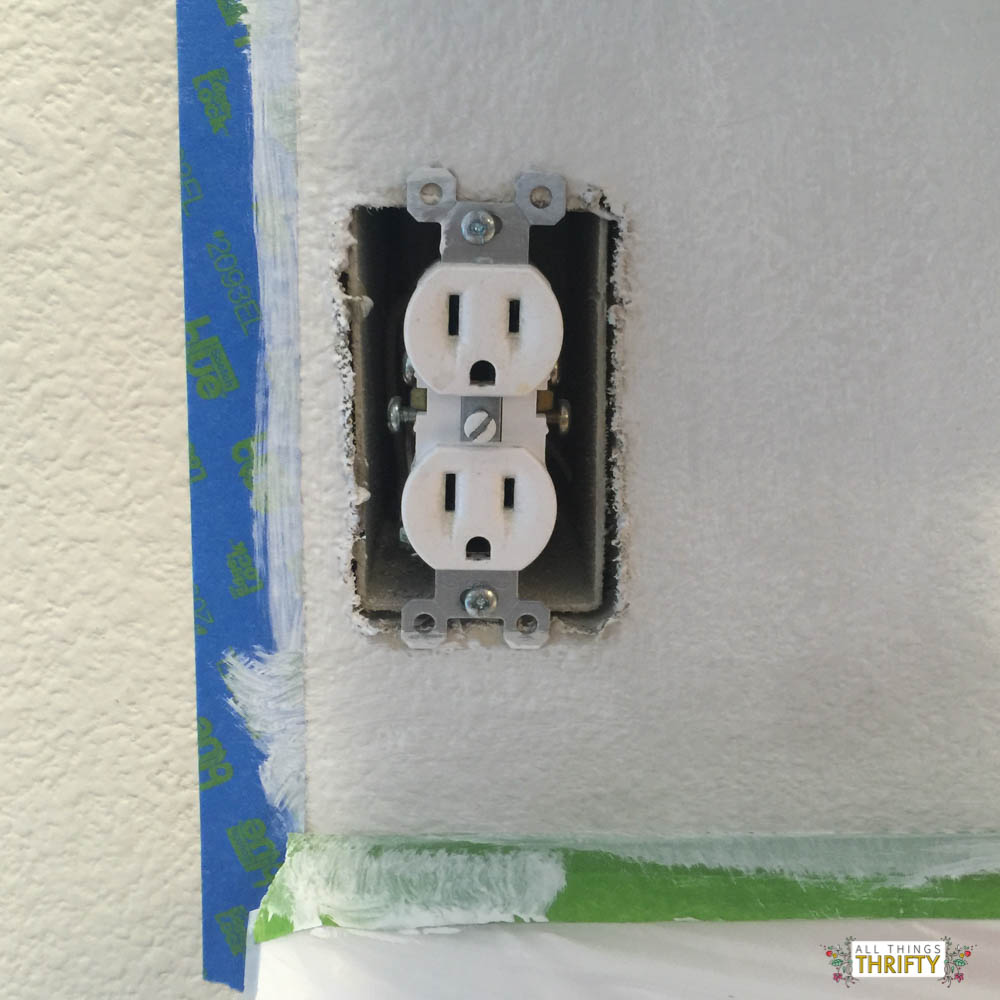
We knew that prepping the wall before was THE first step of making this project successful in the long run. We don’t want tiles to fall off the wall 2 years down the road. 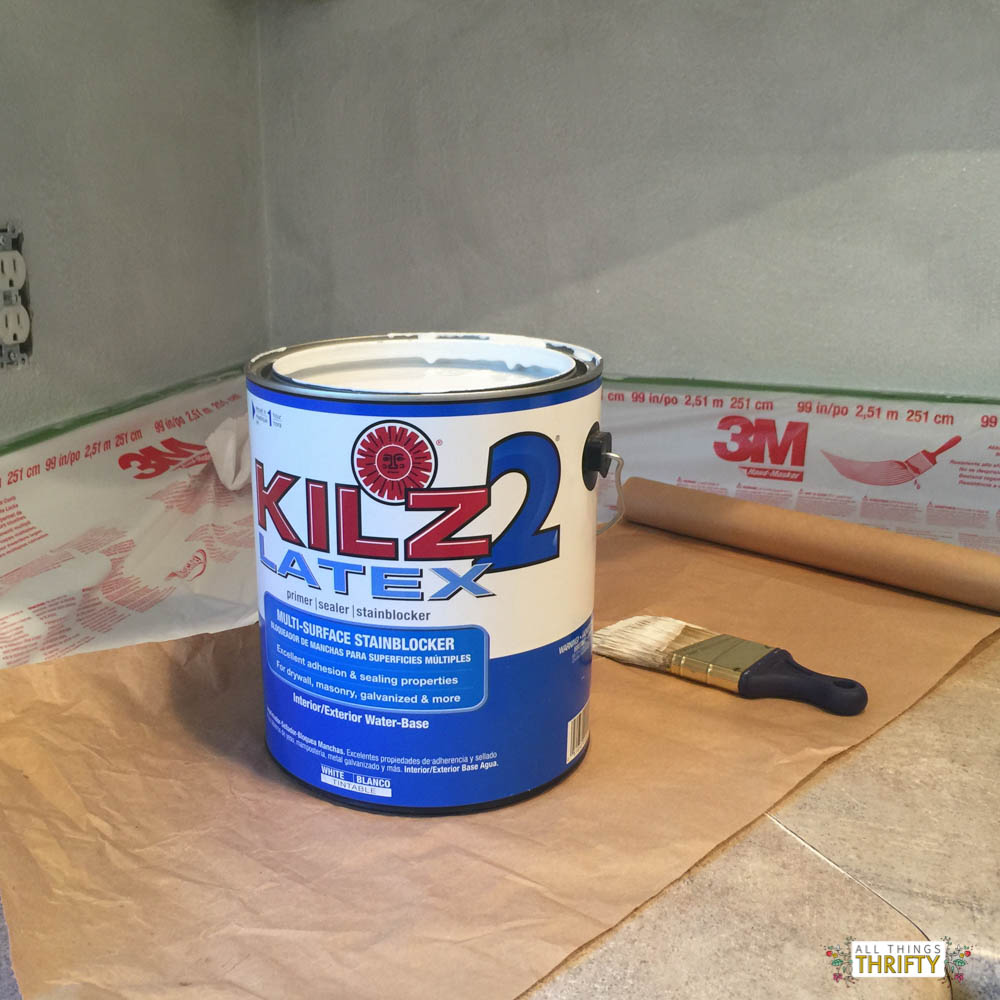
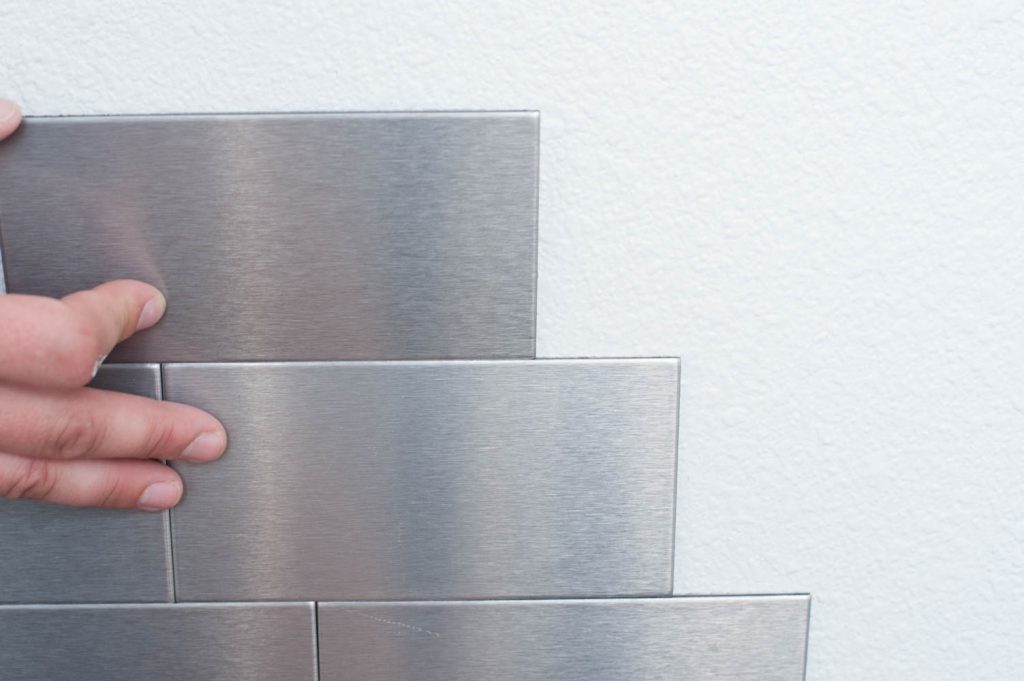
After prepping the wall, we started the installation process in the subway pattern below:

We chose metallic finish ACP peel and stick tiles from Home Depot. Isn’t it so fun!! Make sure to come back tomorrow for the full reveal!
xoxo,
Brooke

Can’t wait to see the after!
Jeanine