I received Quick-Step flooring and accessories for this project free of charge to facilitate my review.
Jo’s House series is in full blown attack mode, check out the other posts HERE.

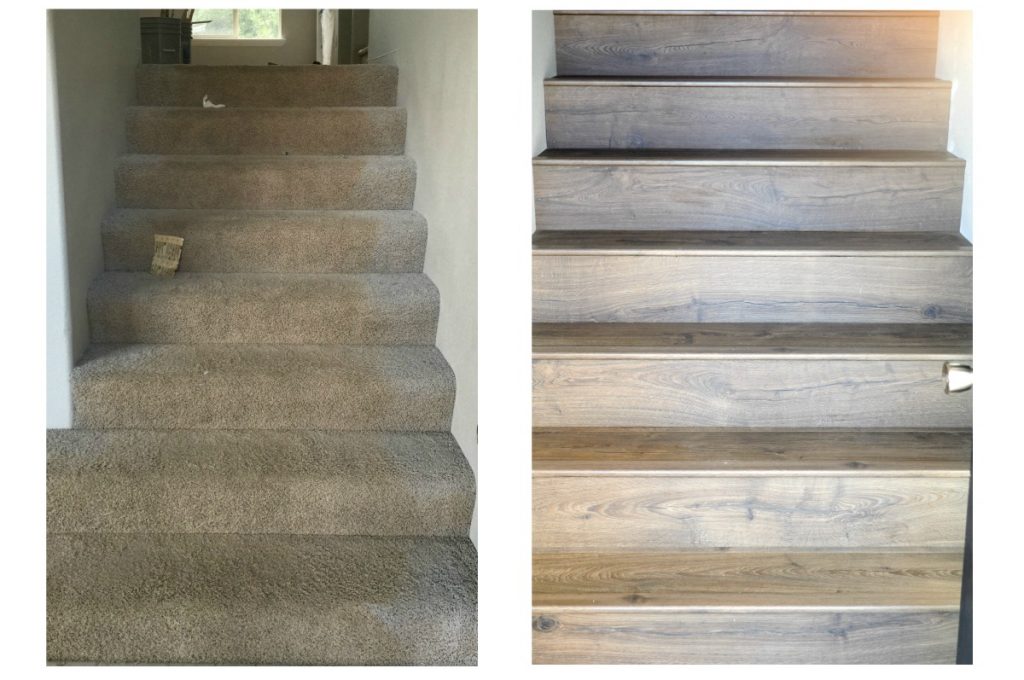
A few months ago while looking for flooring, we instantly fell in love with Quick•Step ! With hearts in our eyes, the first question was “Is this compatible with stairs?” Jo’s house has about a billion …. ok, 24 stairs! All stairs had installed, nasty, old carpet. Since carpet on stairs is not my fav, this was at the top of our MUST HAVE list. Luckily for us, it was an option! With several products to choose from too!
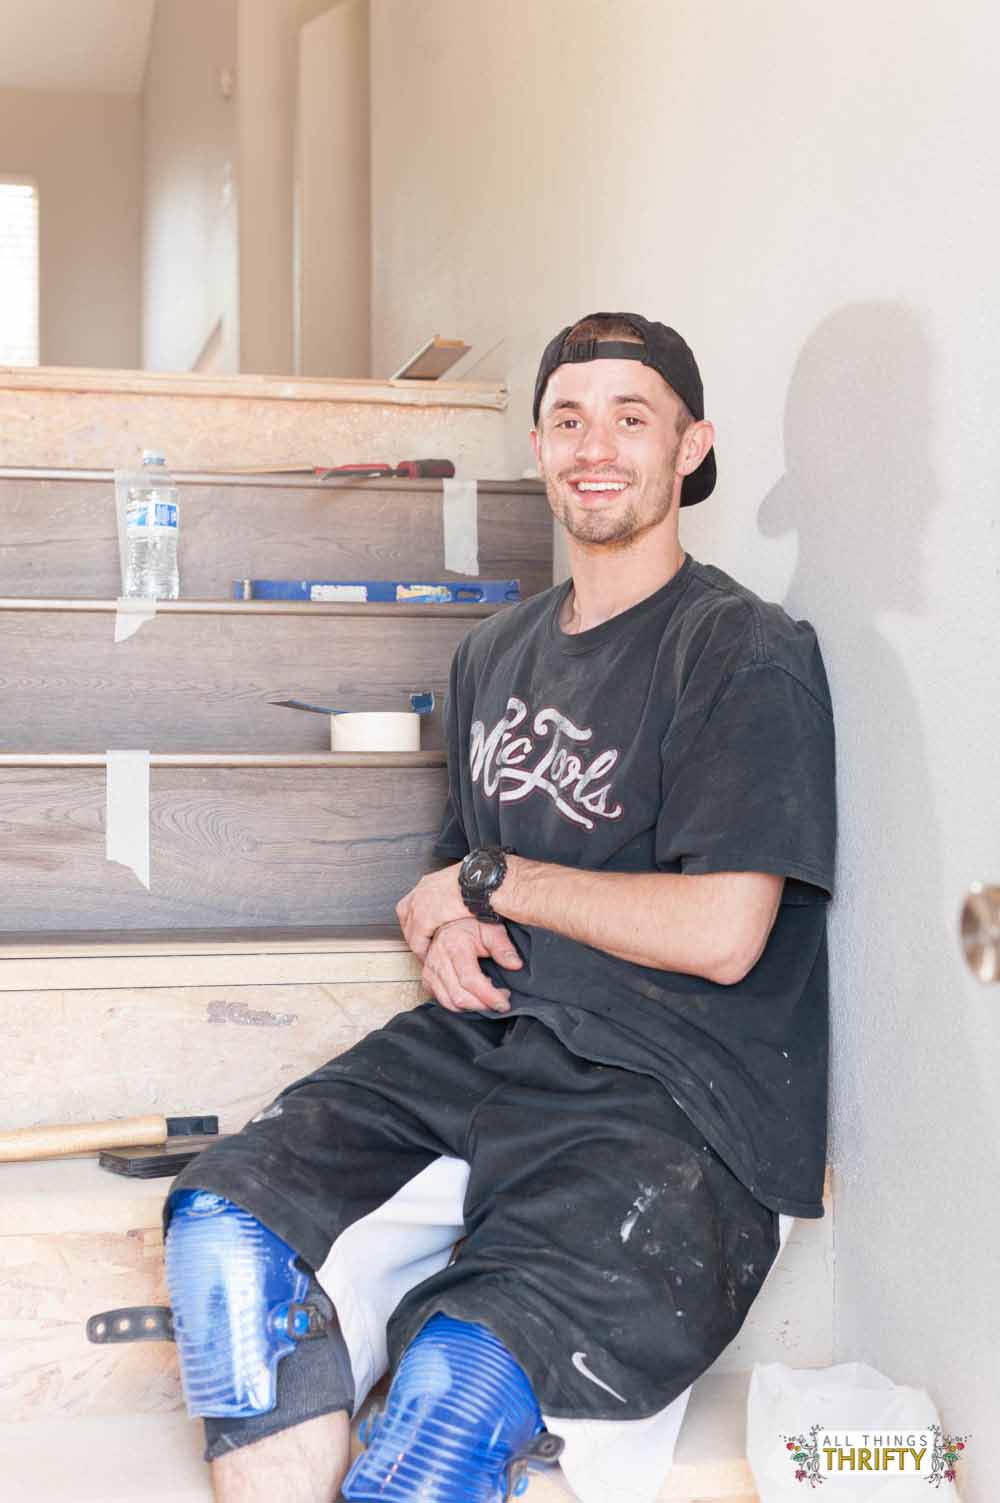
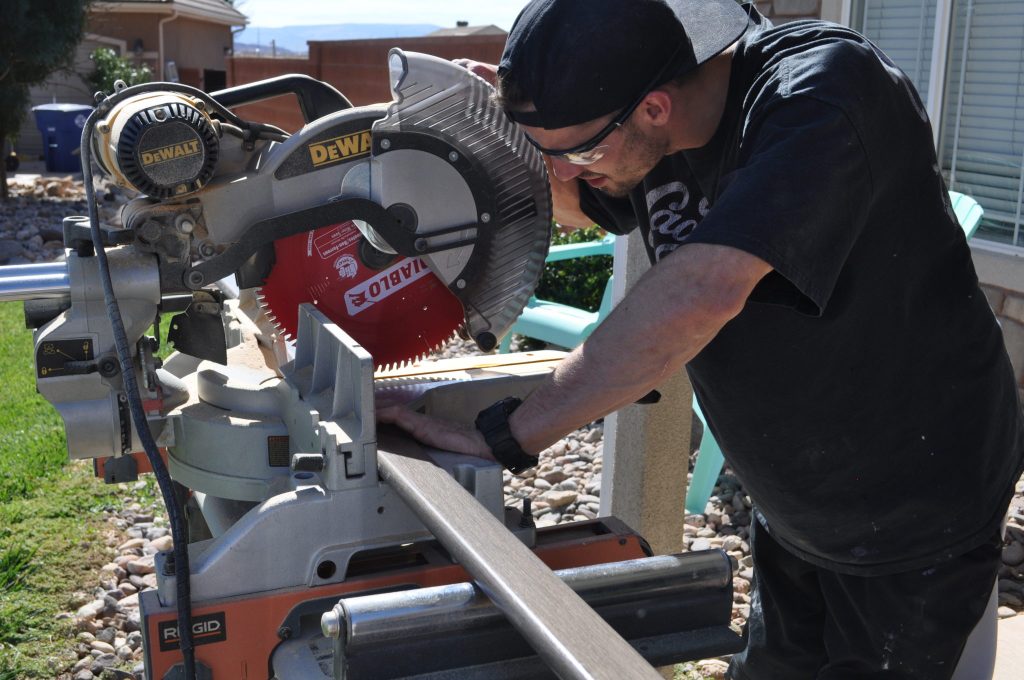
Installing stairs is not for the faint of heart, but let me just say that they are oh so worth it! When we set out to conquer these bad boys we were determined to take them on ourselves but quickly decided an extra set of hands were… appreciated! 😉 Thankfully we were able to recruit some help ie. Jo’s cute single brother and from then on, things went a lot faster.
Isn’t this the cutest portrait you’ve ever seen…
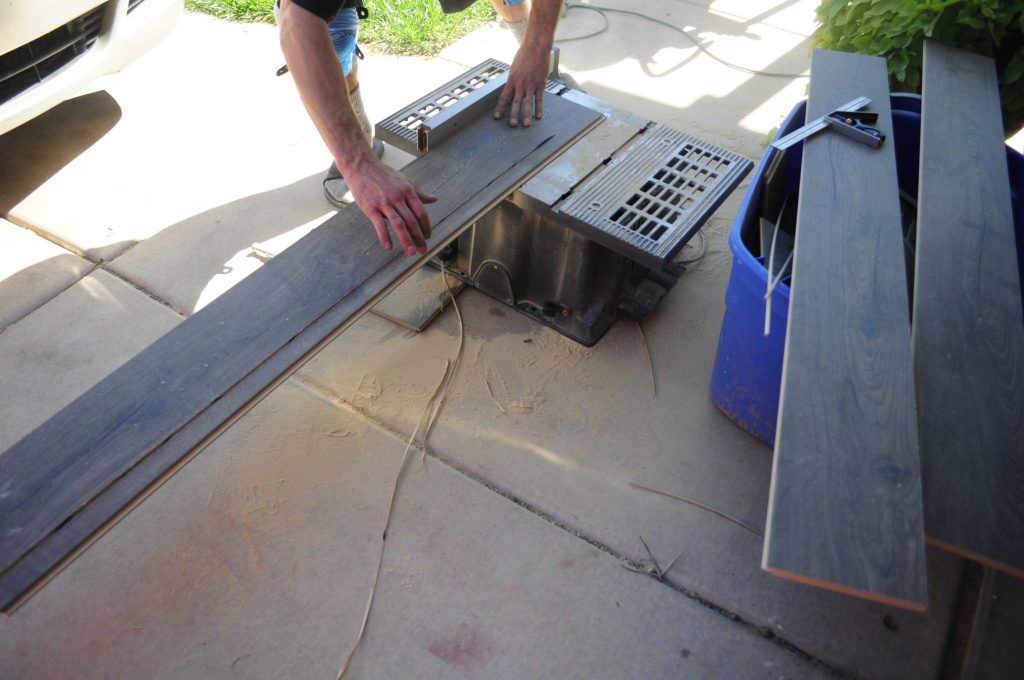
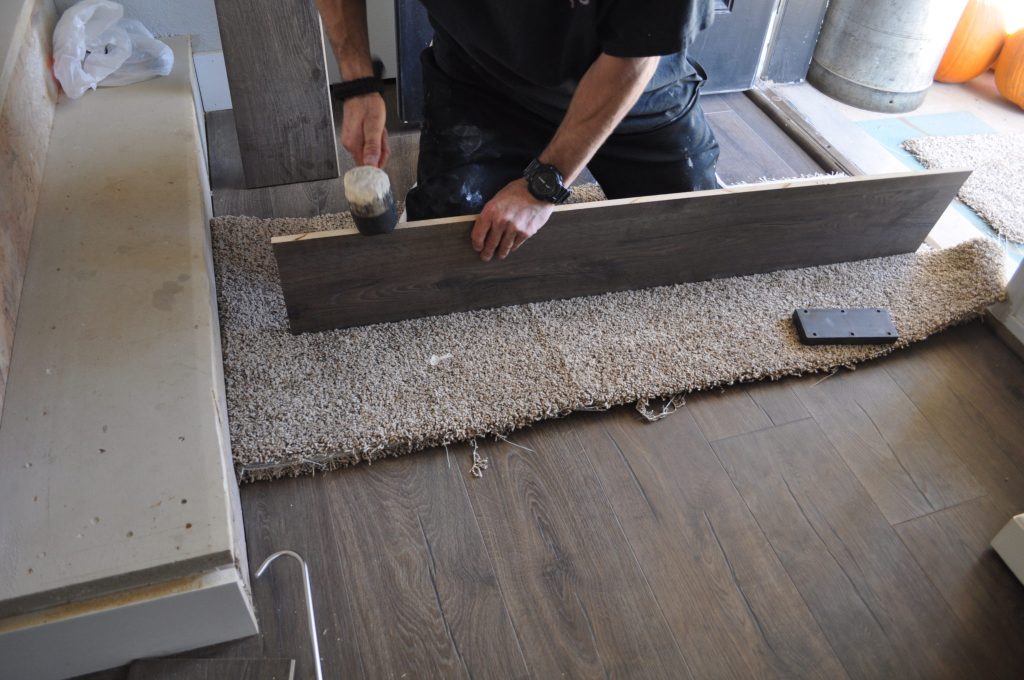
After we ripped out all of the carpet, we realized that every step had a beveled edge {or bull nose} on the front. Which meant in order for the stair nose that we had picked out to work, that edge needed to be trimmed off. So using a sawzall and occasionally a circular saw, we set to work. The good thing about this is that it doesn’t have to be perfect, you just need a straight edge instead of a rounded one. Be prepared for a lot of sawdust. Once this step was done we were able to move right into getting the beautiful Quick•Step laminate installed.
So. Are you still with me? Ha! I wanted to give you just a few more “tips” before we officially start: There are A TON of pictures below! And they aren’t gorgeous staged pictures but informative and extremely helpful. Also try and have all the tools you need beforehand. There is nothing more frustrating than having to stop midway through a stair to grab something… like tape. Or caffeine. 😉 Don’t give up! You got this and you will LOVE the end result. So… are you ready?
What you’ll need:
- a really good measuring tape {I say this because I’m not great at the lines – and you will need to be – so I need them to all be labeled}
- a pencil
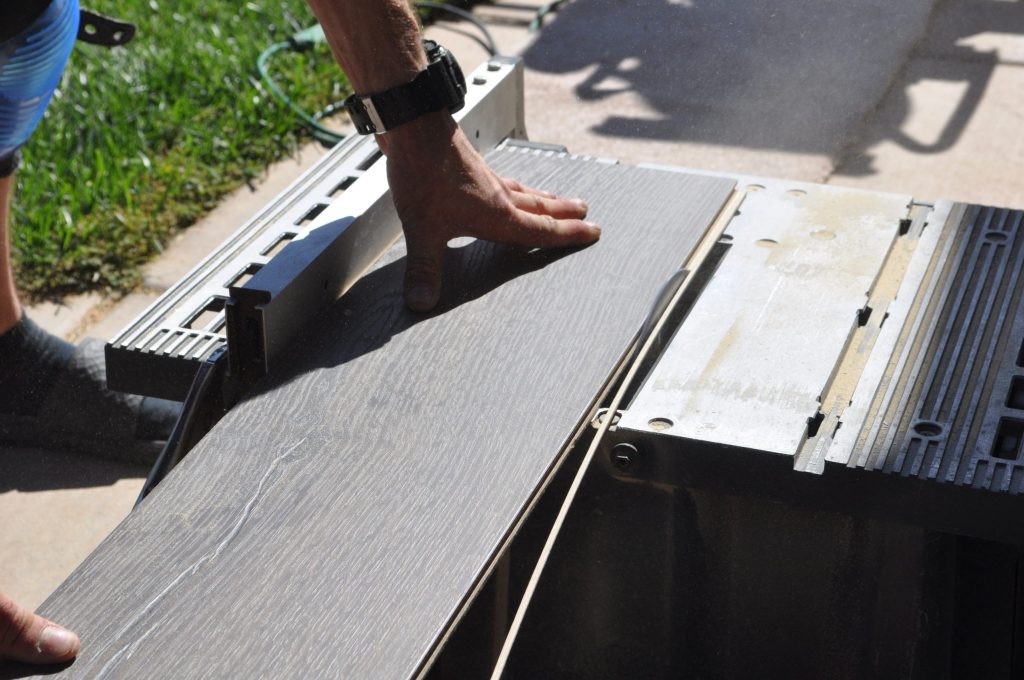
- a table saw
- a miter saw
- construction glue and caulking gun {We used liquid nails for Subflooring.}
- masking tape
- Nail gun
- 1.5″ brad nails
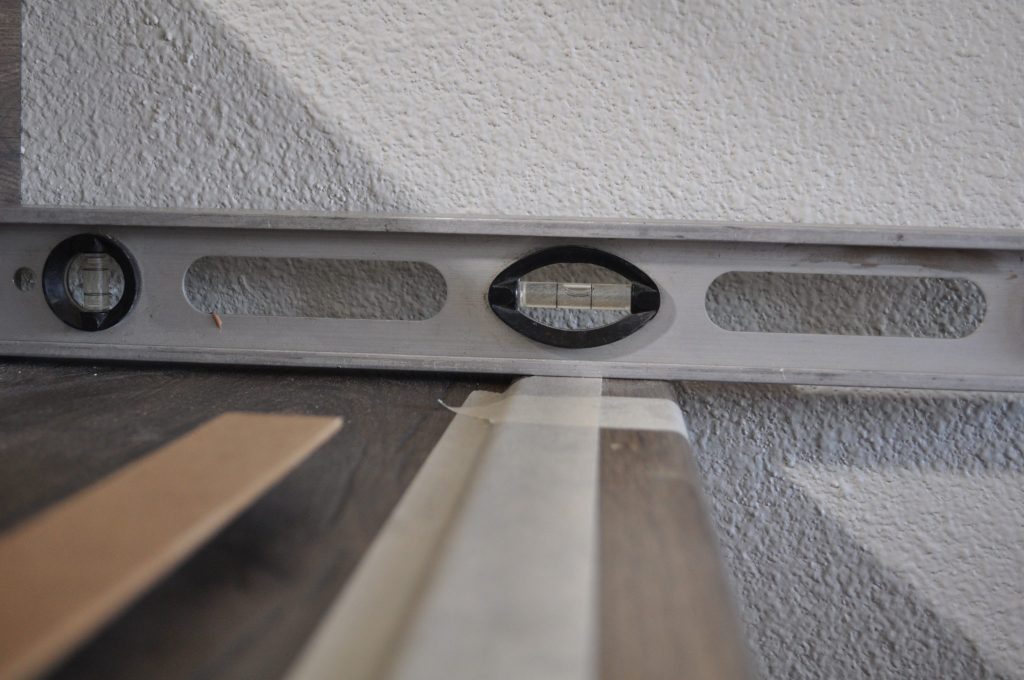
- a small level
- A protractor square {optional but extremely handy}
**Something we quickly learned was that each stair is different. No matter how hard you try or how bad you want them to be perfectly square….they won’t be. You will have to precisely measure each and every one. Dang. The good part though is that you can leave the existing stair. The laminate will go right over the top!
**We also learned that our existing riser was the same size as the plank so we didn’t have to put two pieces together to make that. Yay. Our treads were wider than one plank, so we needed to piece two together for each tread. We will show you how to do that later.
**We started with the bottom set of stairs in the basement so that we could “practice” and get better as we went. It worked well for us.
Some terms you’ll want to know….
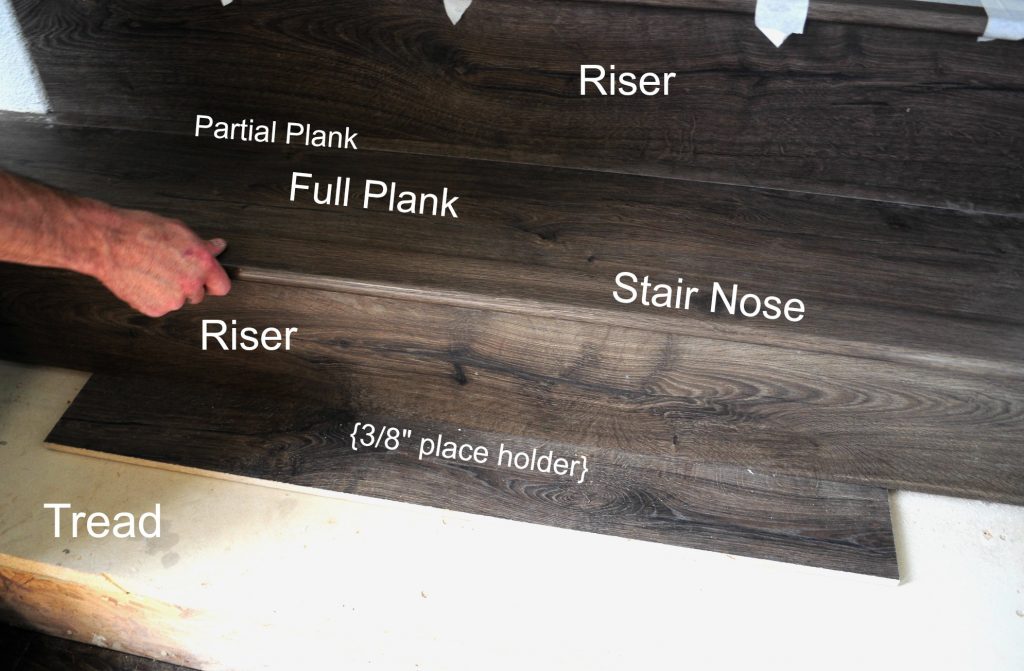
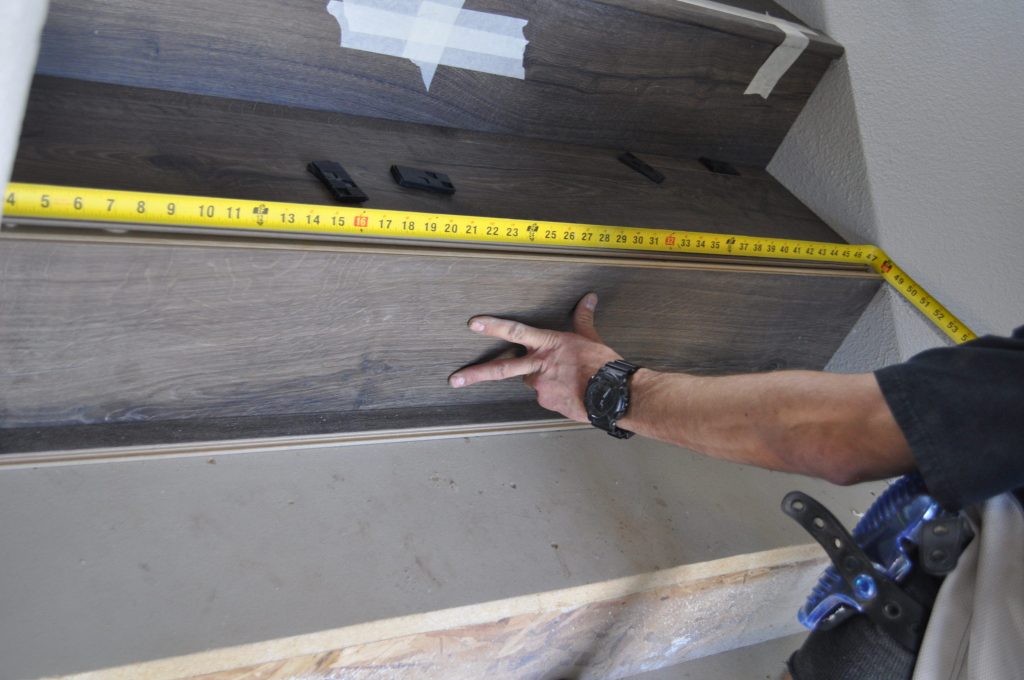
- Measure the width and length of the top of the tread {or the part you step on}. The front and the back will have slightly different measurements.
- Transfer those measurements to the plank. {Determine whether or not you will need to add a partial plank}
- If you DO NEED a bigger plank, you will need to cut {or rip} an additional piece to add to the back to make it the correct width. That will be your partial plank.
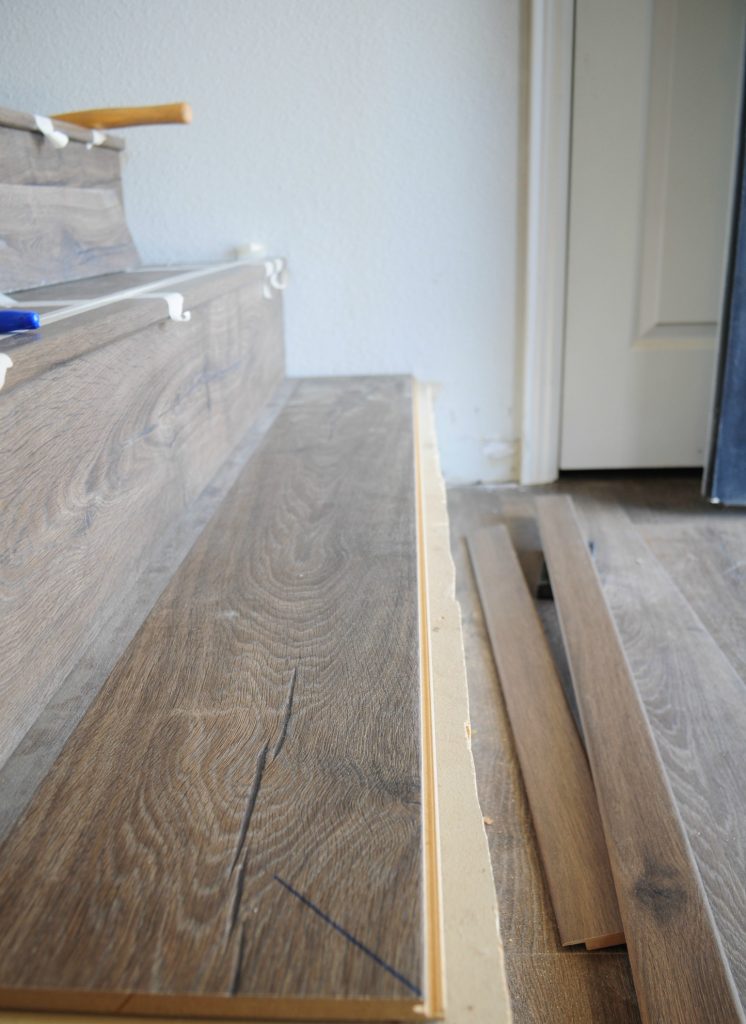
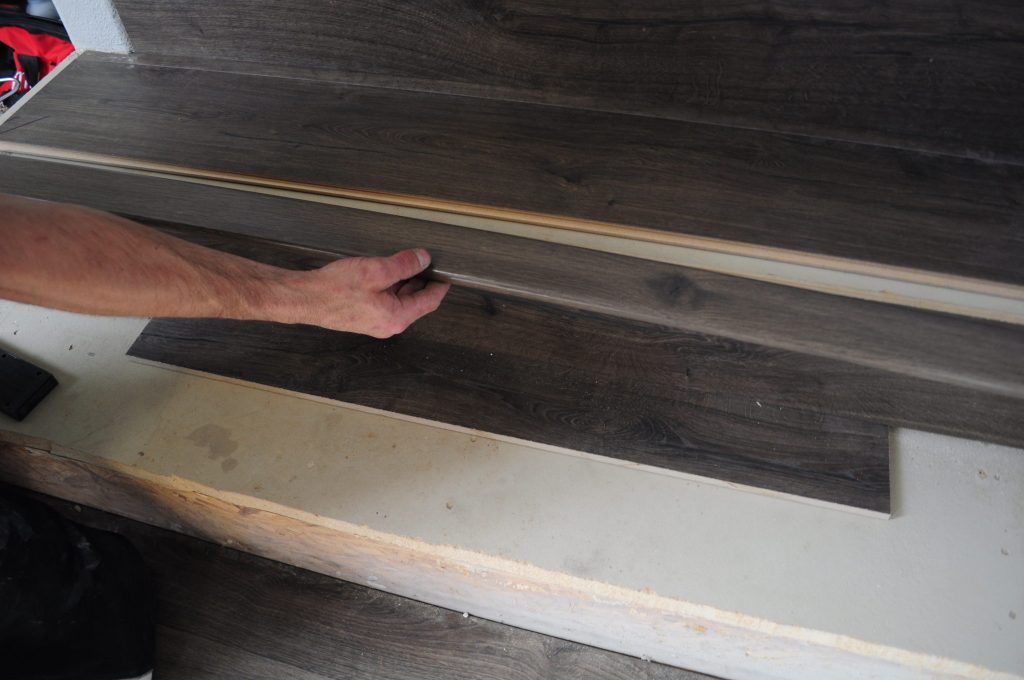
 In the above image you can get an idea as to what I am talking about. We will click these two together to create a custom tread.

- Click these two together just like you did for all of your flooring!
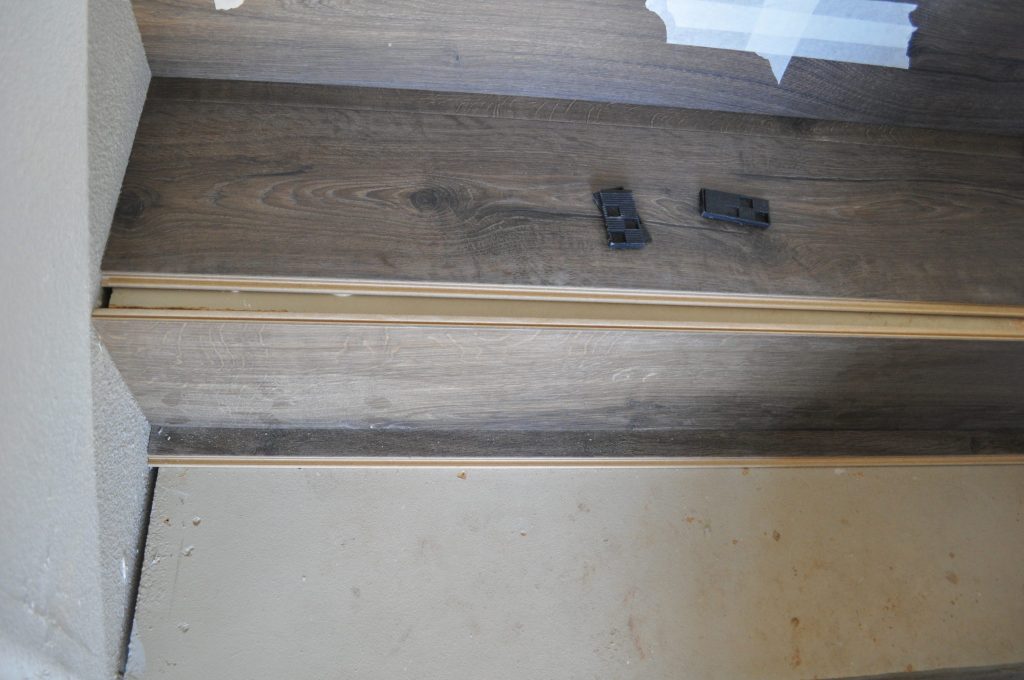
 Also when installing, make sure to place the seam towards the back on each stair.
- When measuring your riser {or the face of your stair}, place a scrap piece of flooring under it to hold the gap you will need for the tread. Make sure to start your measurement from the top of the tread {or piece of scrap if that’s what you are using}.
- Precisely measure length of the riser.
- Transfer that to the plank, and cut.
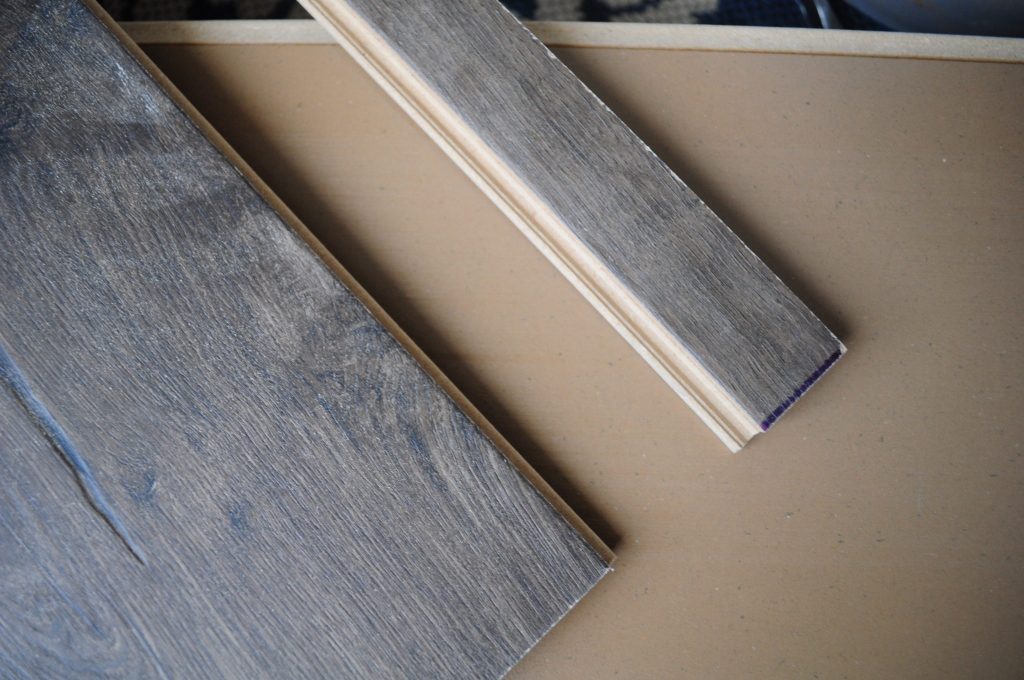
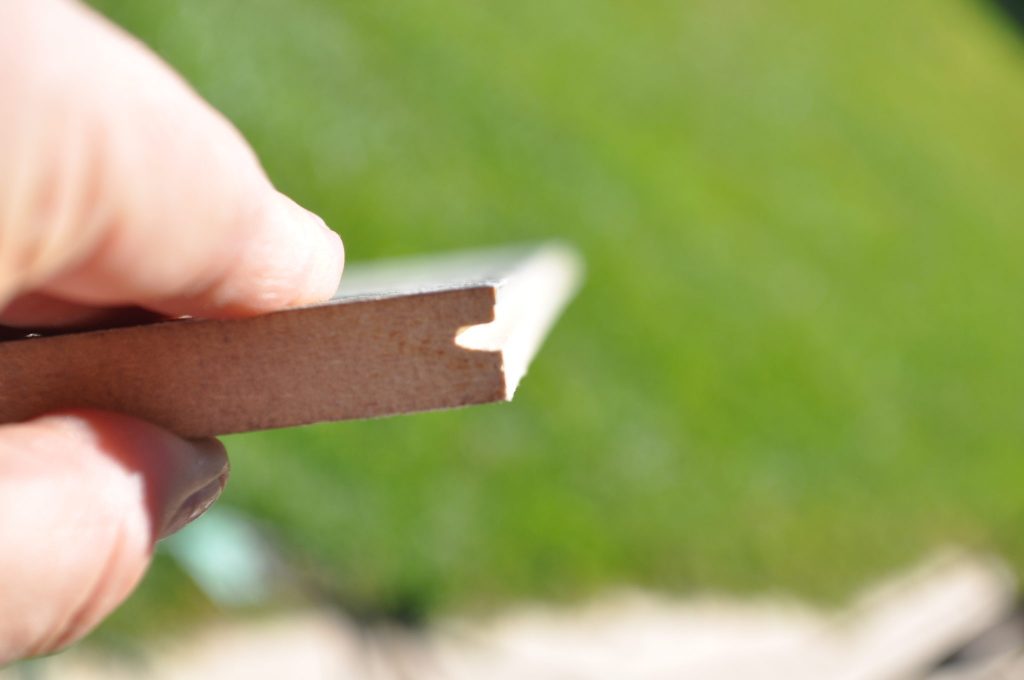
- At this point, you will also need to very carefully trim off the tongue of the plank {Make sure to leave the groove}. The groove will serve as a guide and will go at the bottom of the riser towards the tread.
- Ok, so now you have your ‘custom’ tread all ready, the riser is perfectly cut and the edge is trimmed. It is time to assemble, glue and then add your stair nose!
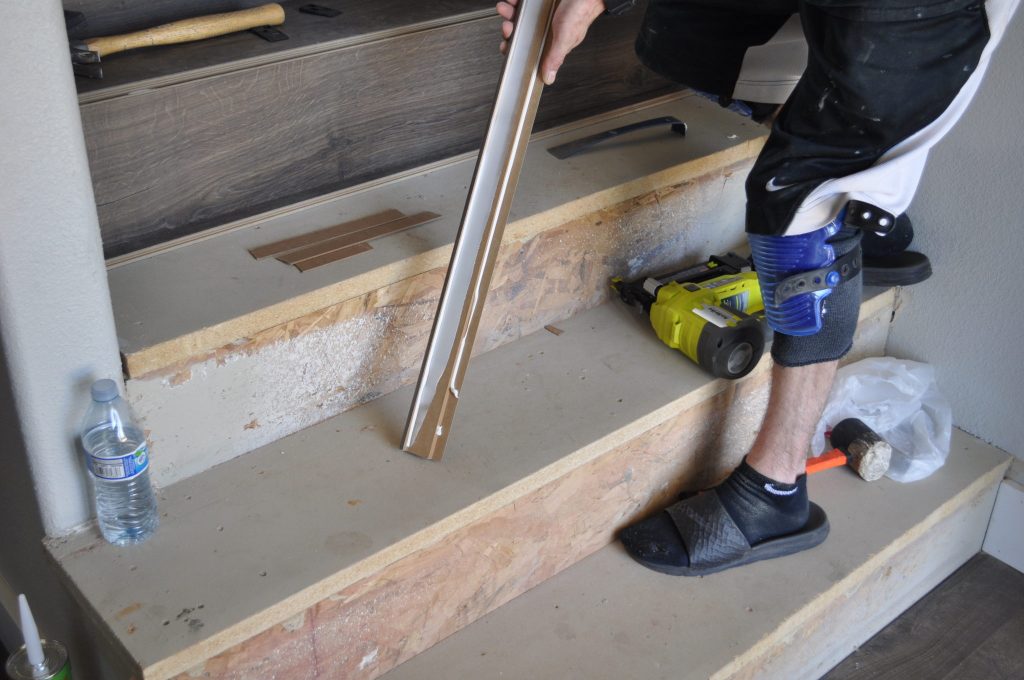
- Using a scrap piece of floor for height and placement, glue your riser to the front of your stair, with the groove side down and the trimmed edge towards the top. Nail in your four corners to help hold it in place.
- Put glue on the back of your tread.
- Remove your holding piece and add your tread. Make sure it is pushed all the way in. {Tapping with your block and pallet may be necessary to ensure a snug fit.}
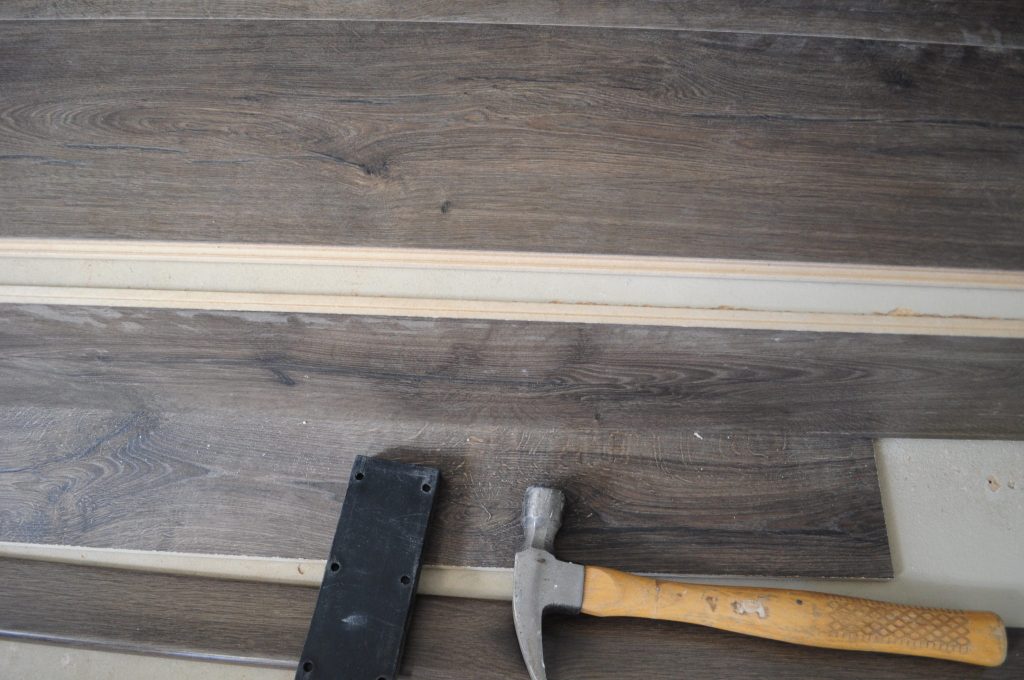
- After getting the tread and riser glued and nailed, you will precisely measure the length one more time across the front for the stair nose. Transfer that measurement and cut stair nose.
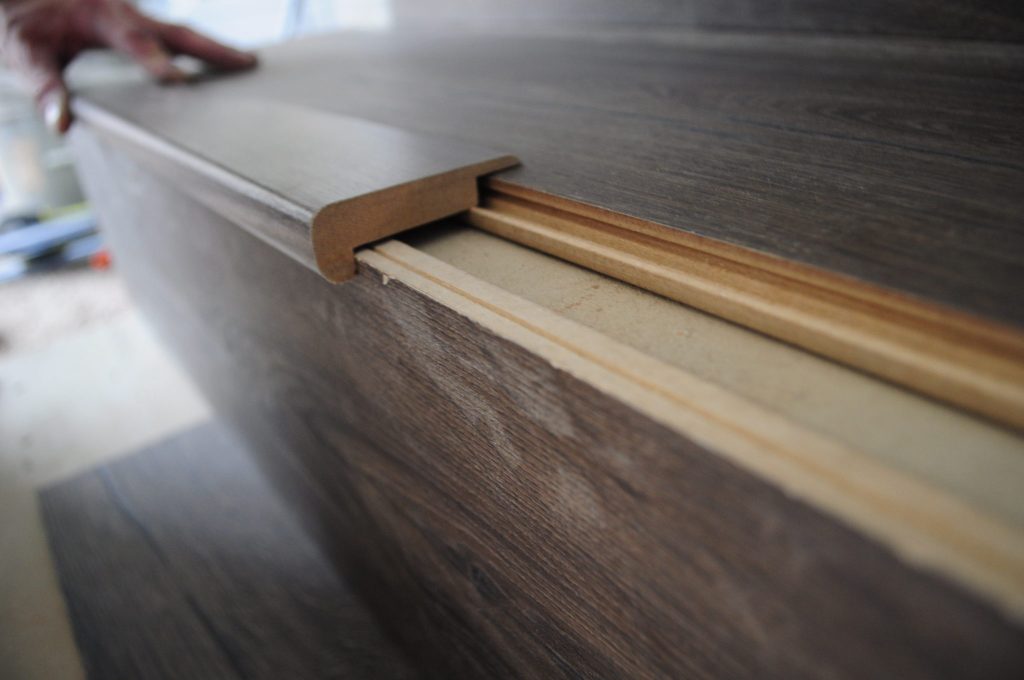
- You can see here how it all comes together like a perfect puzzle. The trimmed edge at the top and then the little bit of height where it sits on the tread below. It’s like instant gratification! 😉
- Add a thin layer of glue on there as well.
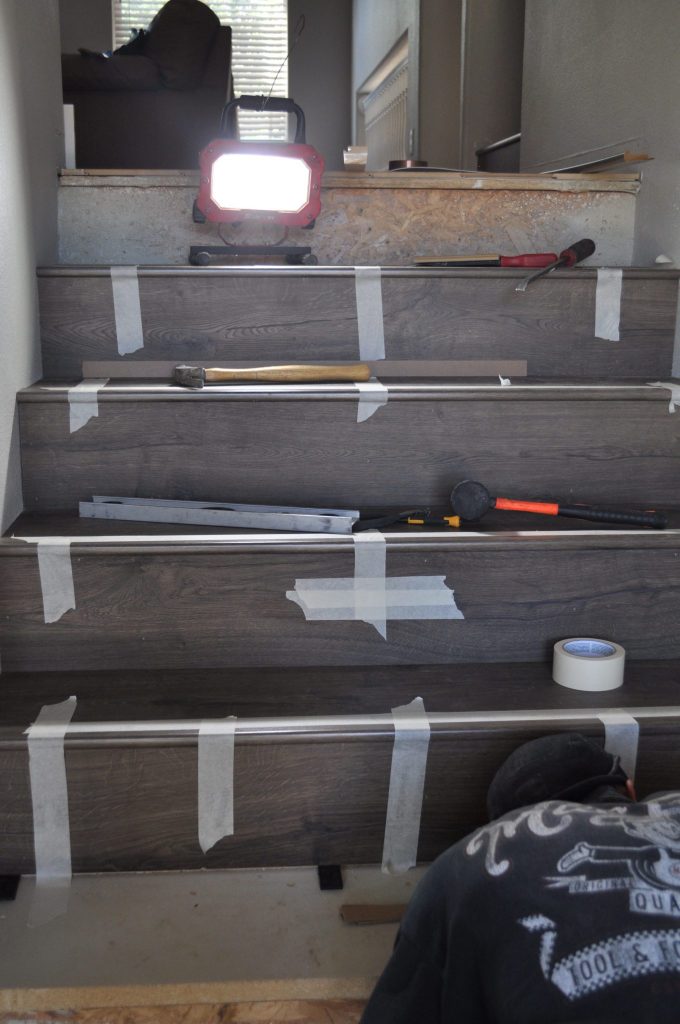
- Once everything is glued, we placed a few strips of masking tape over the stairs and stair nose to keep them in place and
kept the kids offtried really hard to stay off for 4-6 hours! 😉
- Sit back and enjoy the fruits of your labor. All I can say is I am in love. They look sooooo good! And I cannot say enough good things about our “extra helper”! He was such a perfectionist and made sure to keep us on track the entire time!
Stairs can be tricky and obviously questions may arise. During some of the installation, we did what worked best for us, so some of it was our own process! However, we STRONGLY advise that you do not alter any of the moldings and that you install them according to the installation instructions provided by the manufacturer!!
Feel free to send us an email or leave comments below and we will do our best to answer them!! And check back to see ALL of the stairs revealed SOOOOO SOON! I can’t even wait to show you!
The stairs look AMAZING!! ? Great job!
Just curious if your laminate had backing on it and if you left it on or would recommend taking it off? I was thinking we would leave it on for a little sound barrier. We are only using the laminate on the tread part of the stairs.
Our laminate did not have a backing on it. However, if yours does, I suggest reading the enclosed information to see what they recommend!
I have stairs that that curve. Is there an stair nose that curves ?
Hank
I tried to get professionals to do my stairs, but they wanted a lot of money. So I did them myself and they discouraged me from using the
stair nose because it was a tripping hazard so I milled my own from oak so they were flush with the laminate flooring. It took an extra couple of days. I made them to lock over the tongue. The project turned out great.
How did you get the bull nose color to match the laminate?
These look amazing!
Jane
We ordered the bull nose from the same flooring manufacturer. So they matched perfect.