This week I’ll be at Pinners Conference in Atlanta teaching how to make chalk paint faux-stain succulent planters. The class sold out weeks ago! I figured since not everyone can be at Pinners this week, I’d share this fun and easy project with you.
I found a huge selection of succulents at my local nursery awhile back.
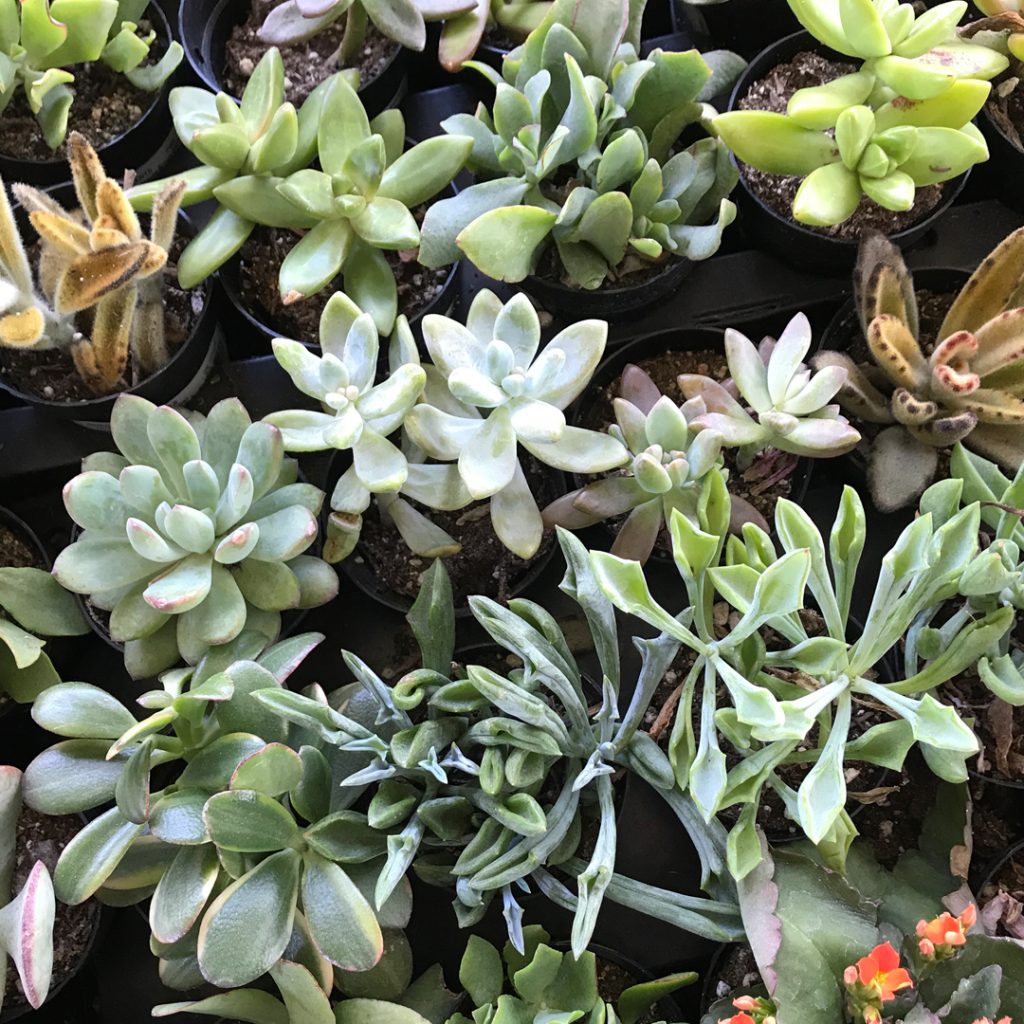
I should mention that my green thumb must have been sprained when I was little because I struggle to keep plants alive. This is why I love succulents—they are literally next to impossible to kill.
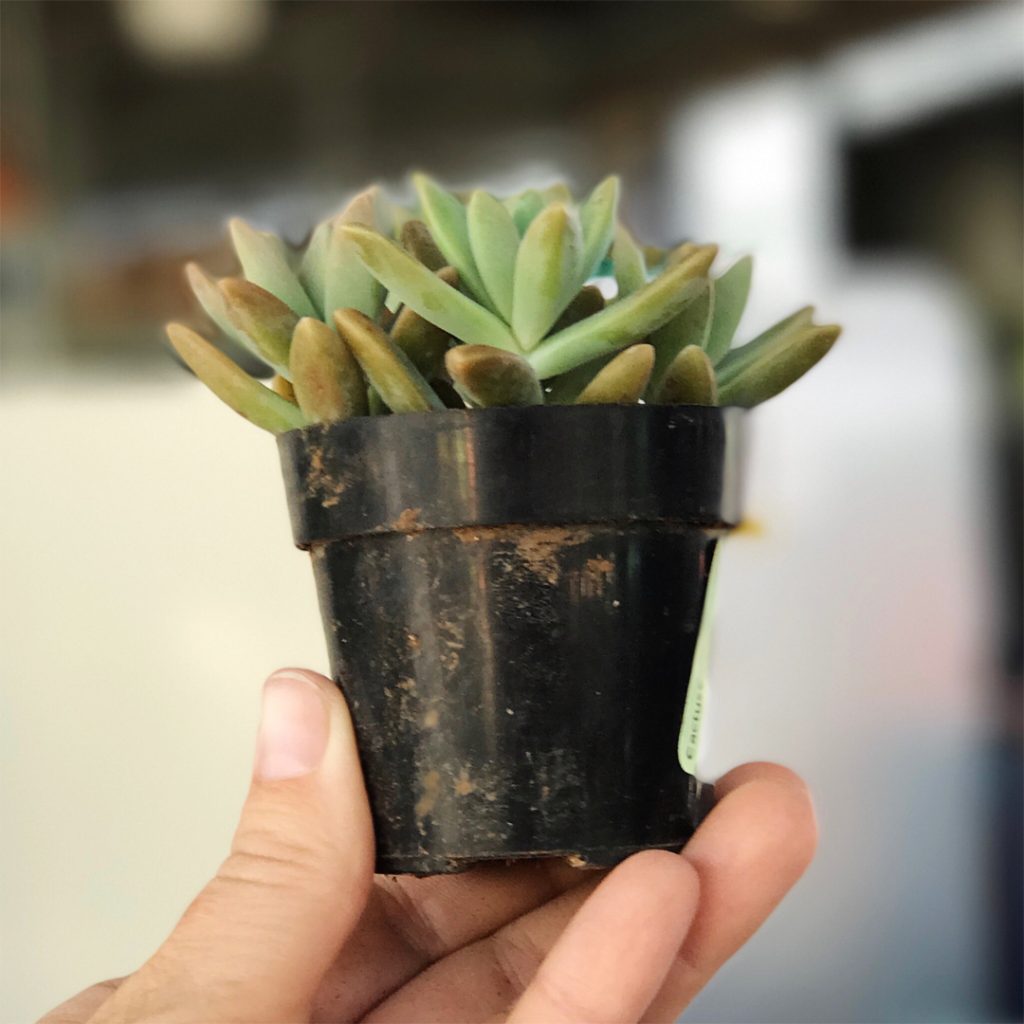
They are in 2.5” pots. Aren’t they adorable?
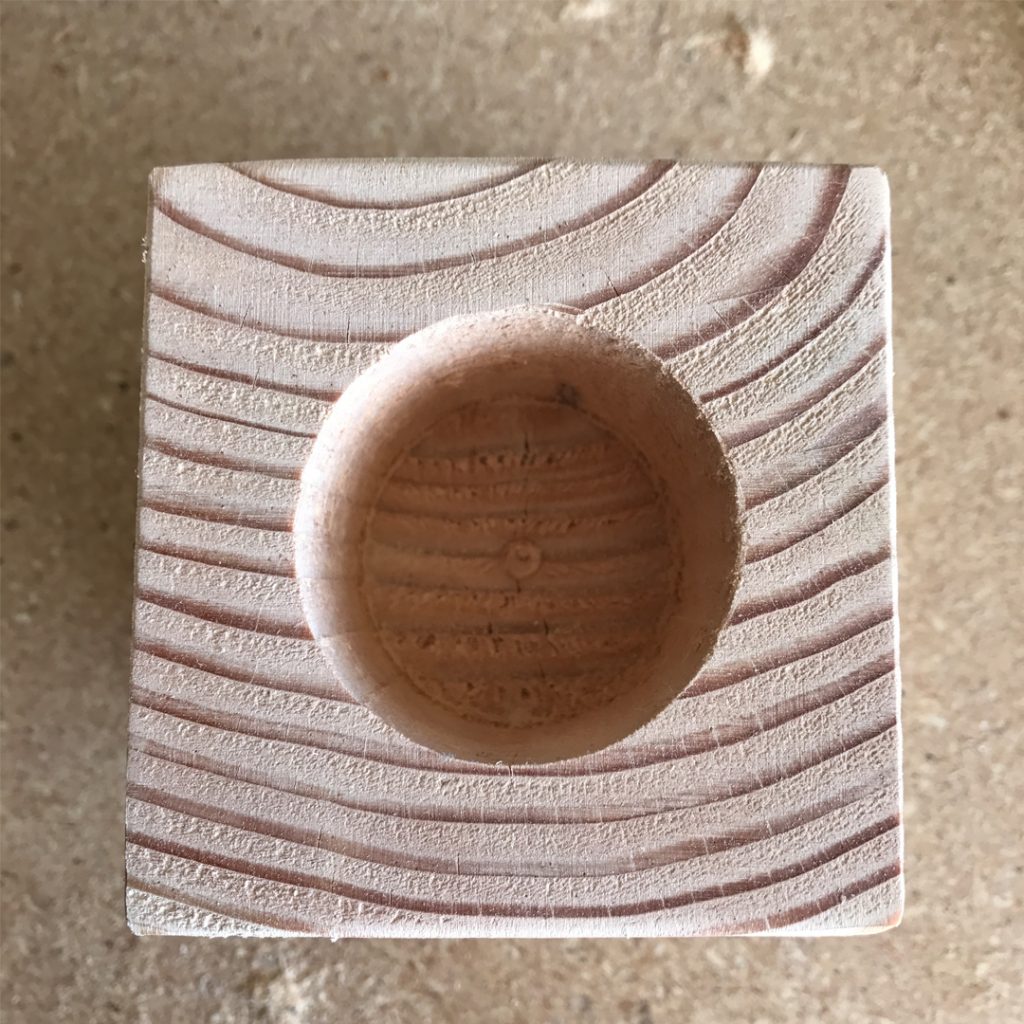
To make planters, I started with an 8’ piece of 4”x4” wood from Home Depot…
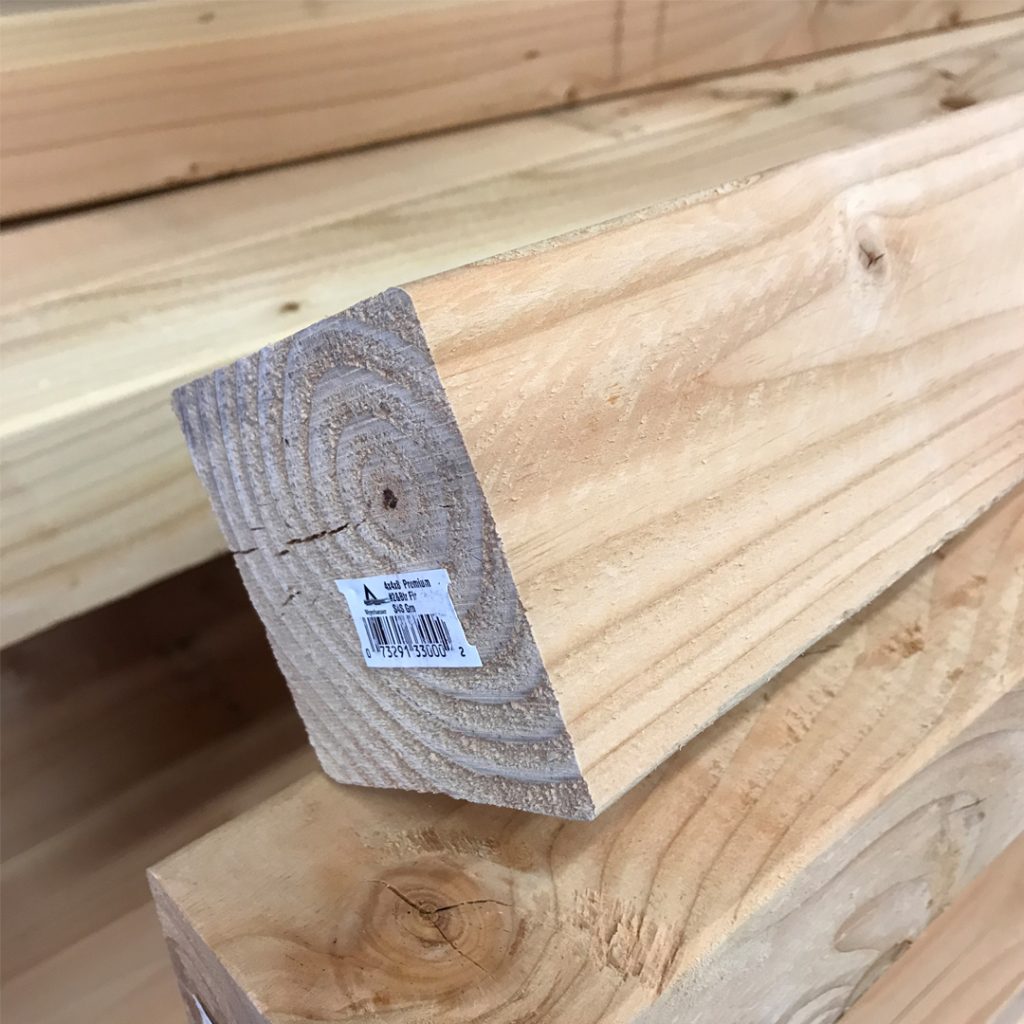
…cut into three sizes: 3 1/2”, 4 1/2” and 5 1/2” high. An 8′ piece yields several of each size.
Once the blocks were cut, my husband drilled a hole 2” wide x 2” deep in each one.
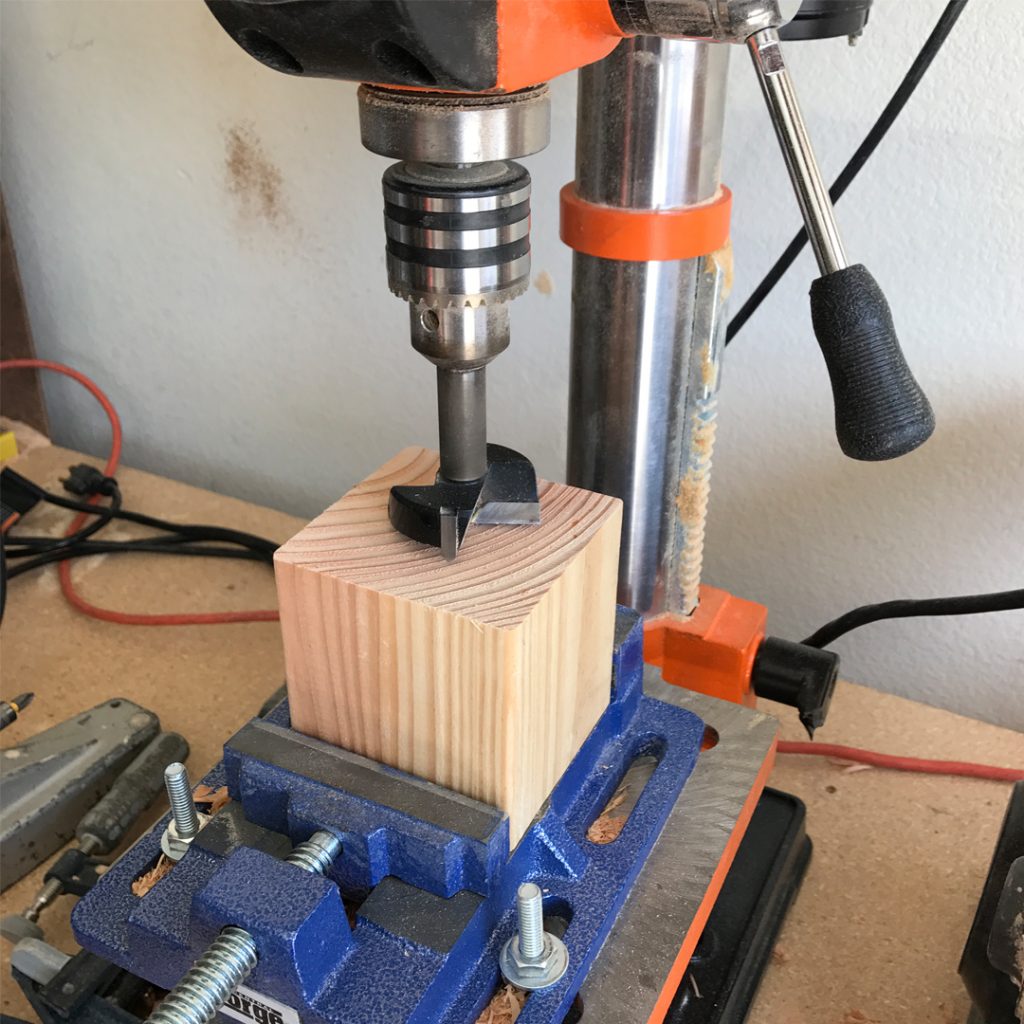
It was easiest to use a drill press set to drill 2” deep.
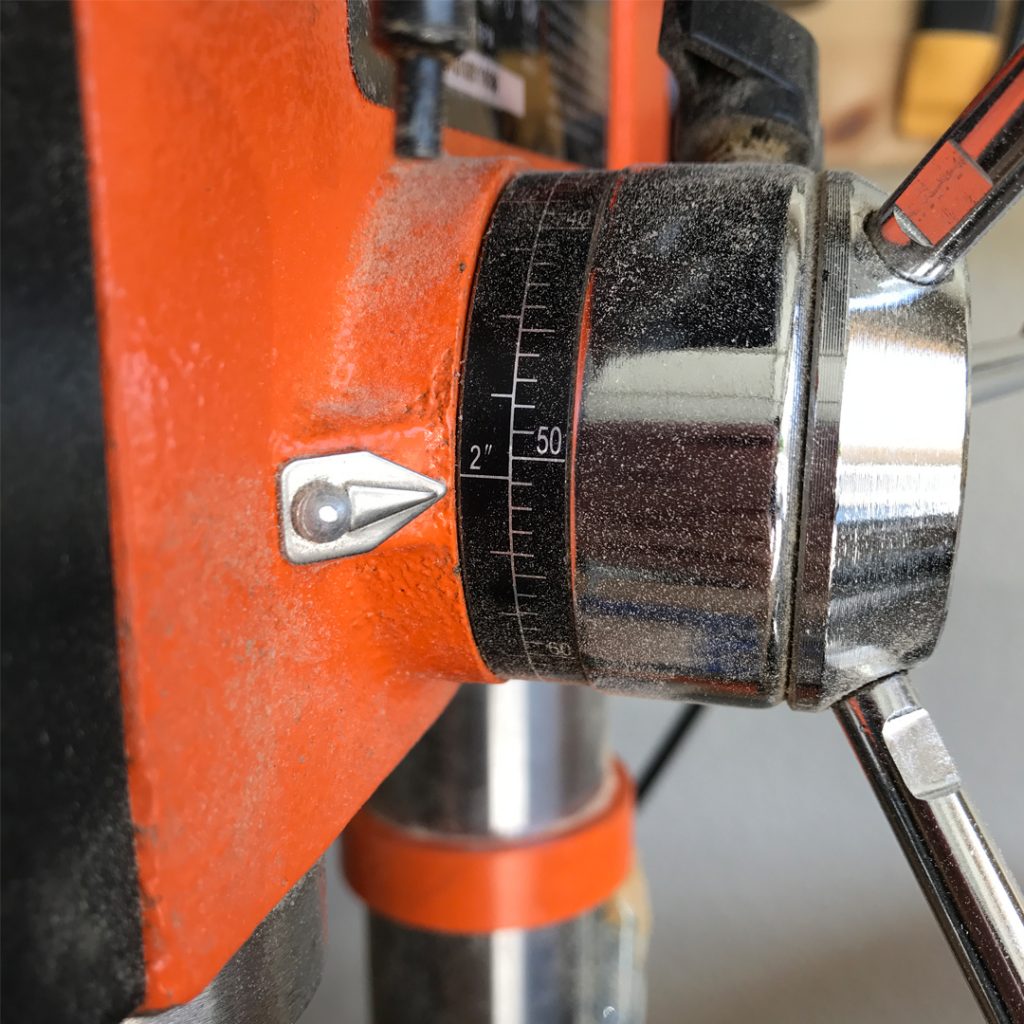
We drilled the first few blocks with a “high density steel bit” from Home Depot. It only lasted for about 13 blocks before it was too dull to use. We bought a new one and had the same problem. That wasn’t going to work for 300+ blocks, so we ended up buying a “Carbide-tipped Forstner bit” from woodworkersemporium.com that drilled the rest of the blocks with no problems.
With the blocks cut, drilled and sanded, it was time to “stain” them. Of course, I never use traditional stain. I always use chalk paint because there’s no smell and clean up is a breeze. Besides that, I can get exactly the color I’m after.
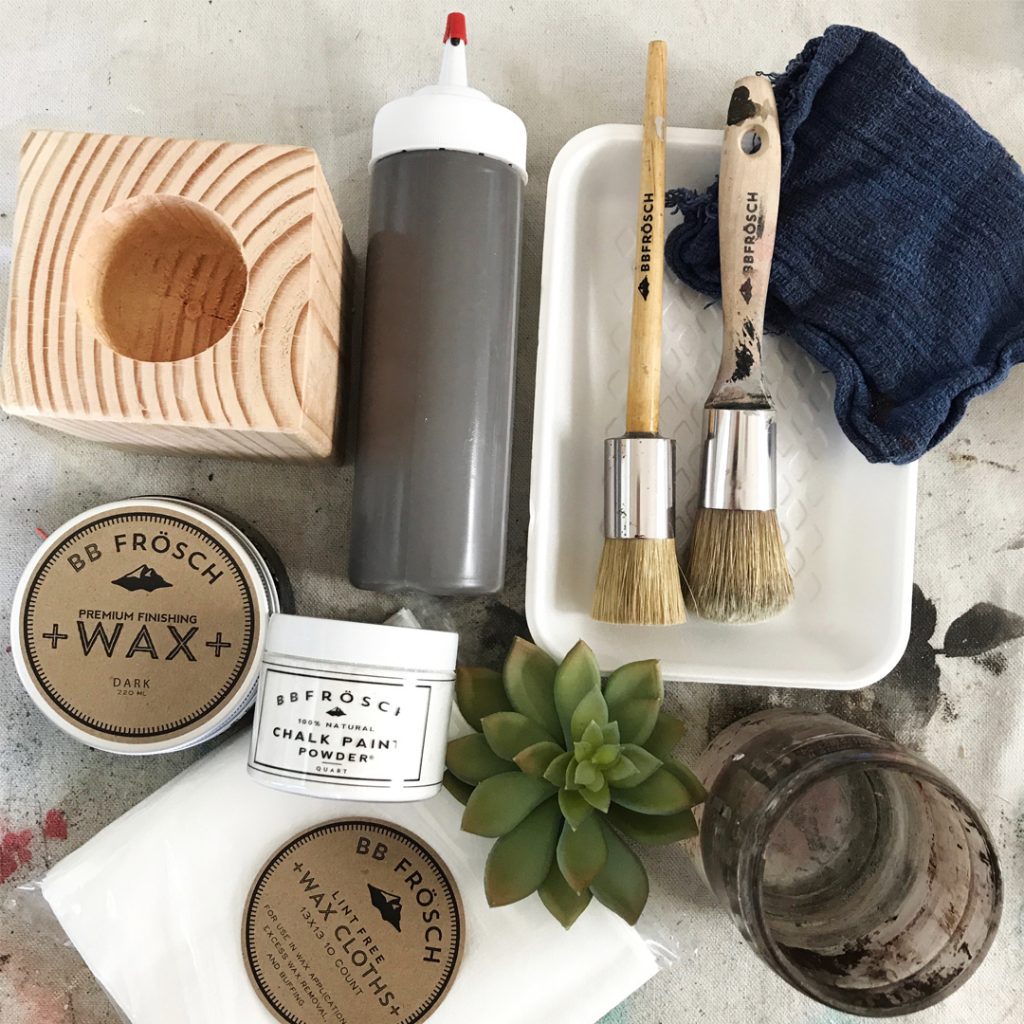
I made my own chalk paint by mixing BB Frosch Chalk Paint Powder with Benjamin Moore “Mink” into a squeeze bottle. Squeeze bottles are the way to go for crafting with chalk paint!
Other supplies include:
- jar of water
- huck cloth to wipe paint
- paint brush and wax brush
- BB Frösch Dark Premium Finishing Wax.
Here’s a quick time lapse of the faux stain process.
I used the same faux stain technique I used here. It’s seriously this fast!
Once the paint was dry, it took about three minutes to dark wax each block.
Here’s a time lapse of the waxing process.
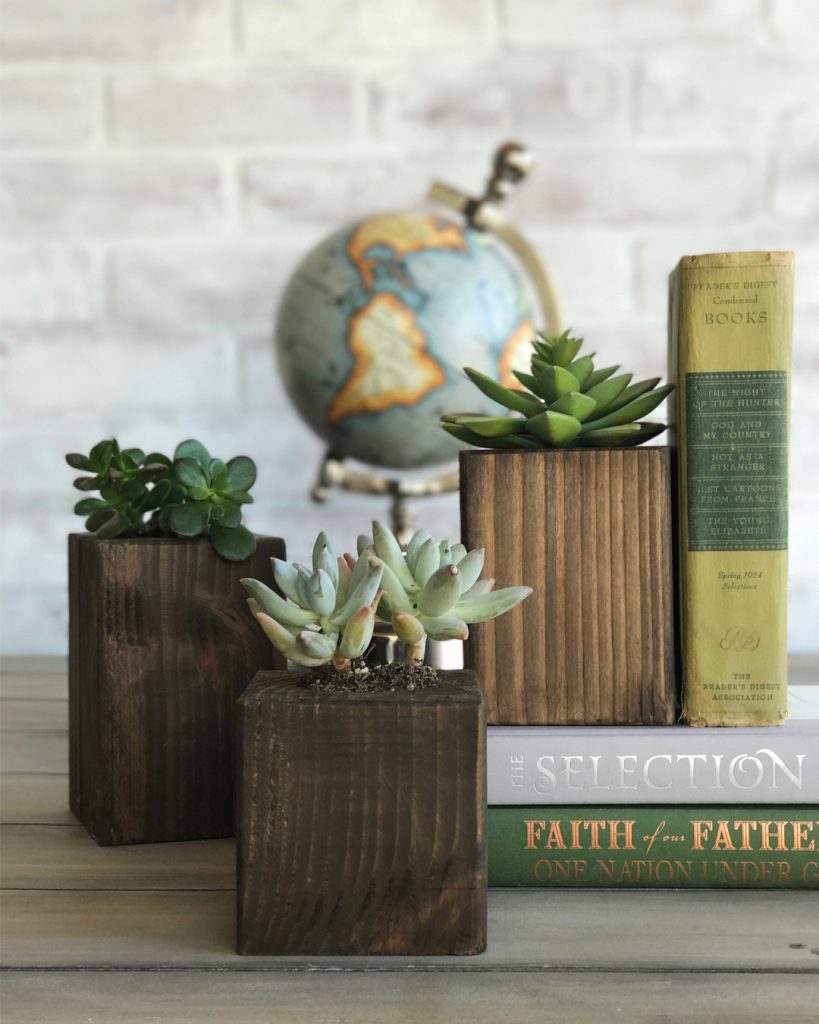
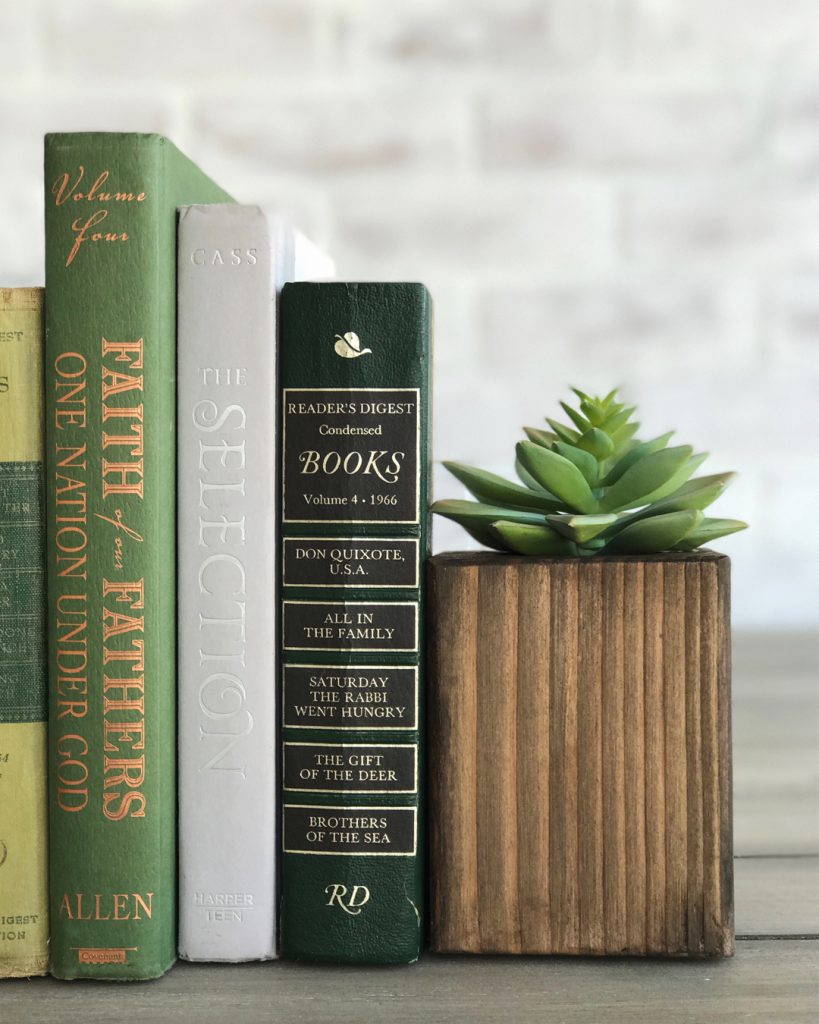
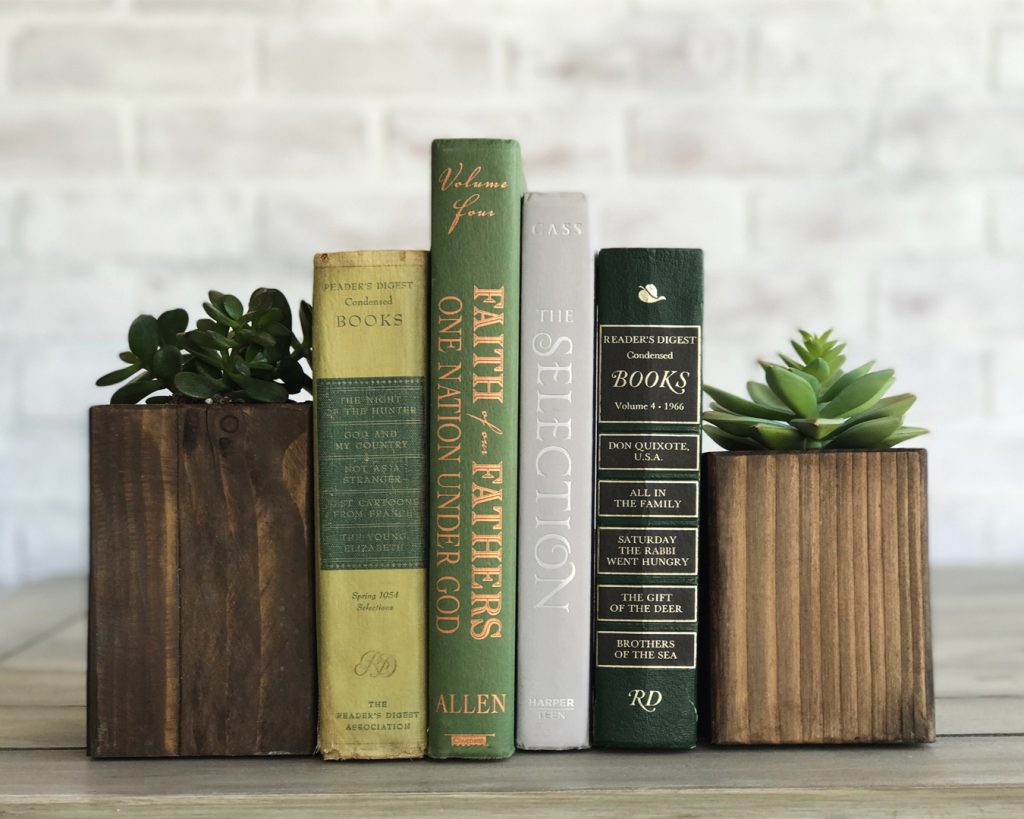
I removed each succulent from the plastic pots they came in, and plopped them into the hole in each block.
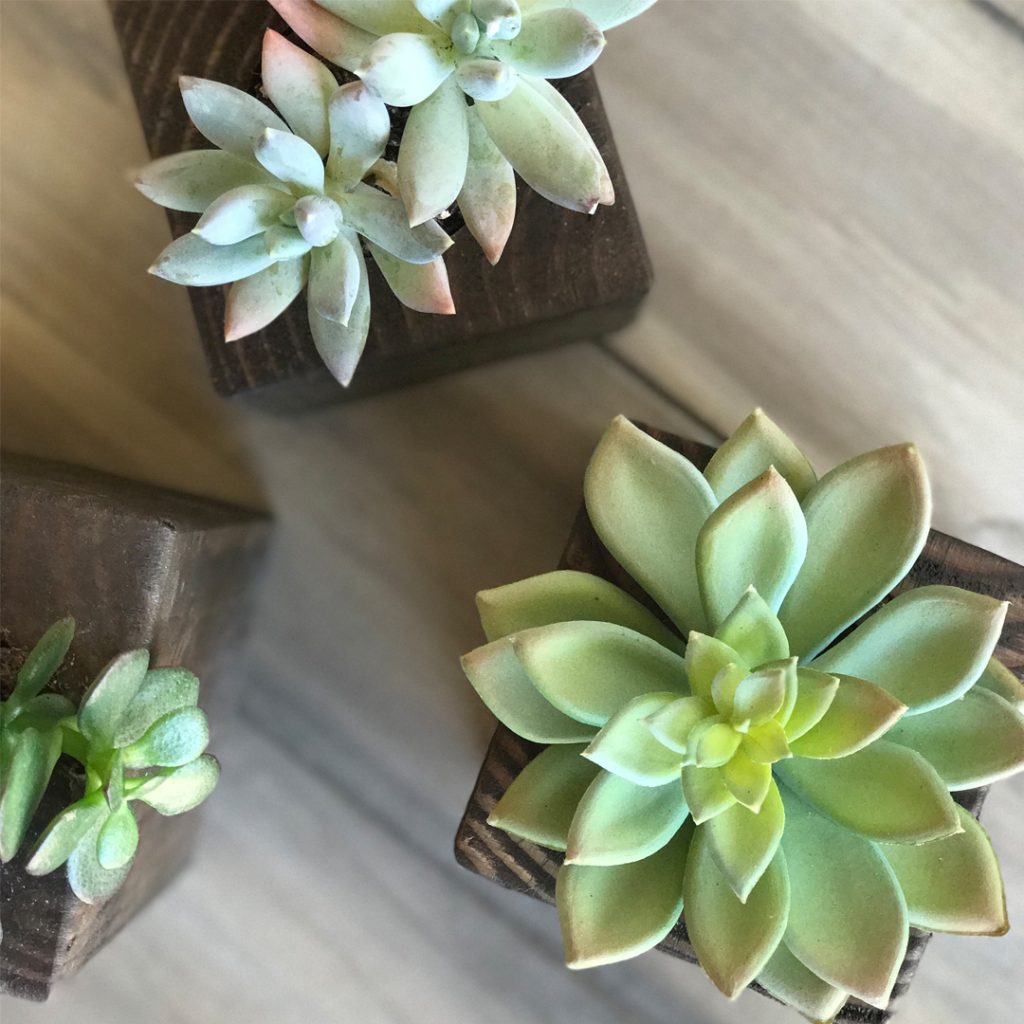
Voila!
Looking for more affordable chalk paint inspiration? Follow BB Frösch on Instagram, Pinterest and Facebook.
Sign up for an online BB Frösch workshop here.

They are perfect! Thanks for the squeeze bottle tip too!