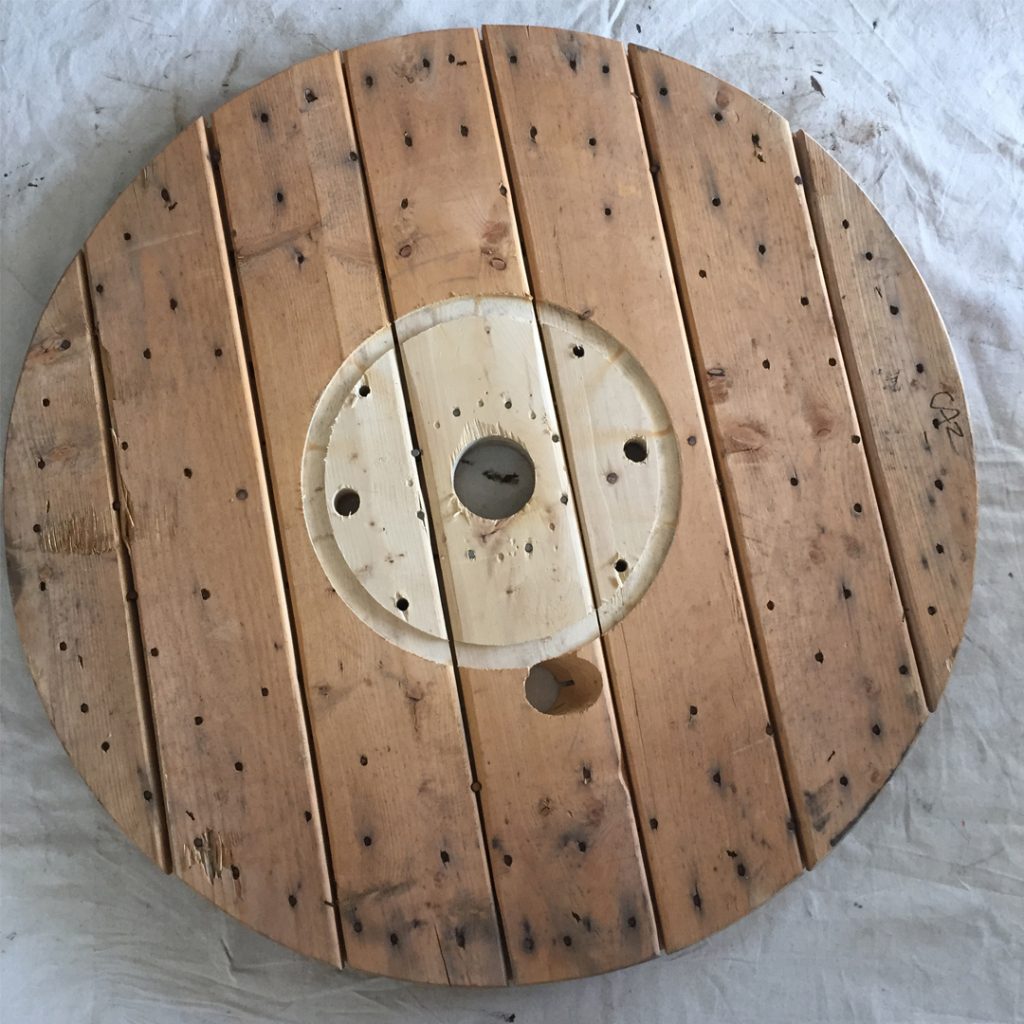
Every time my husband decides to purge the garage, I have to make a case for keeping the giant spools I acquired for free two years ago. Last week they were in jeopardy once again. Only this time, I had a plan, thanks to an idea I stole from BB Frösch Master, Jenna (@plainoldclassy on Instagram.)
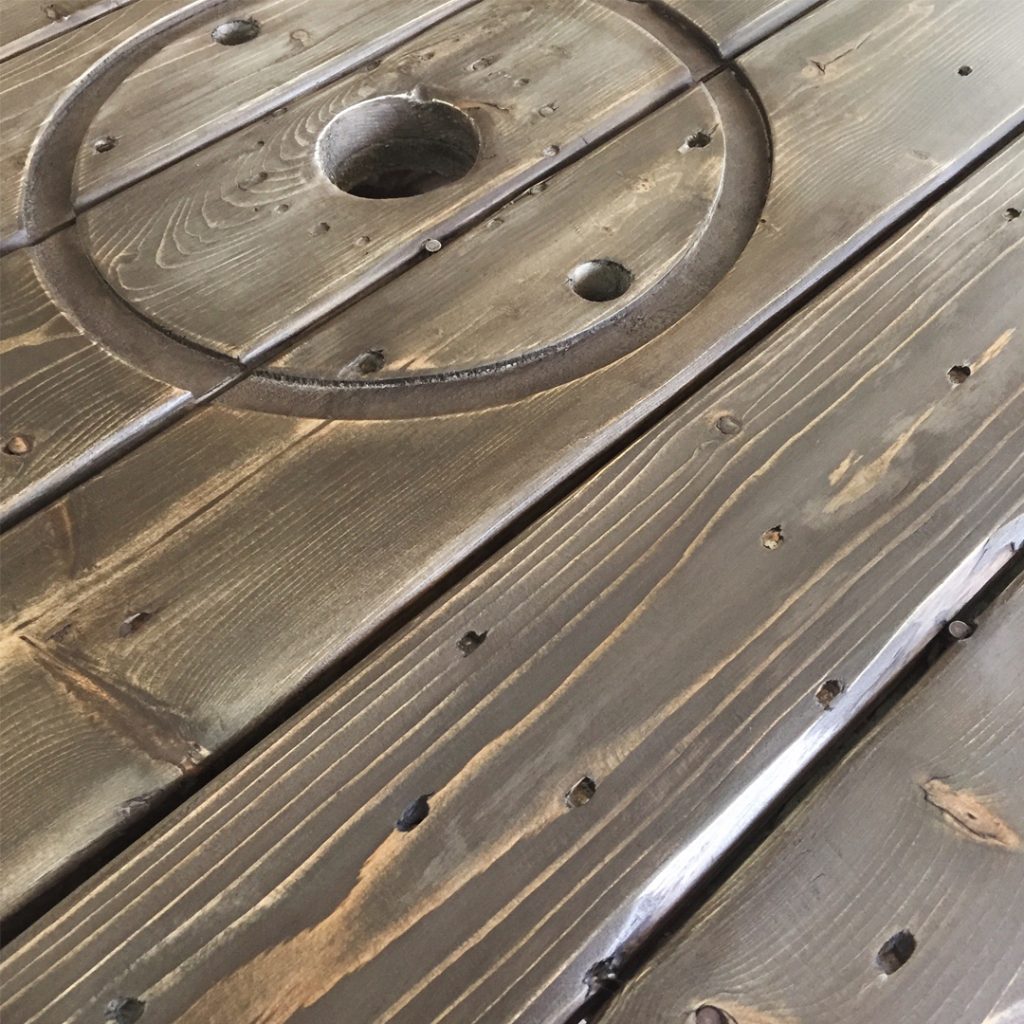
I had already disassembled the spool top, so this is what I had to work with:
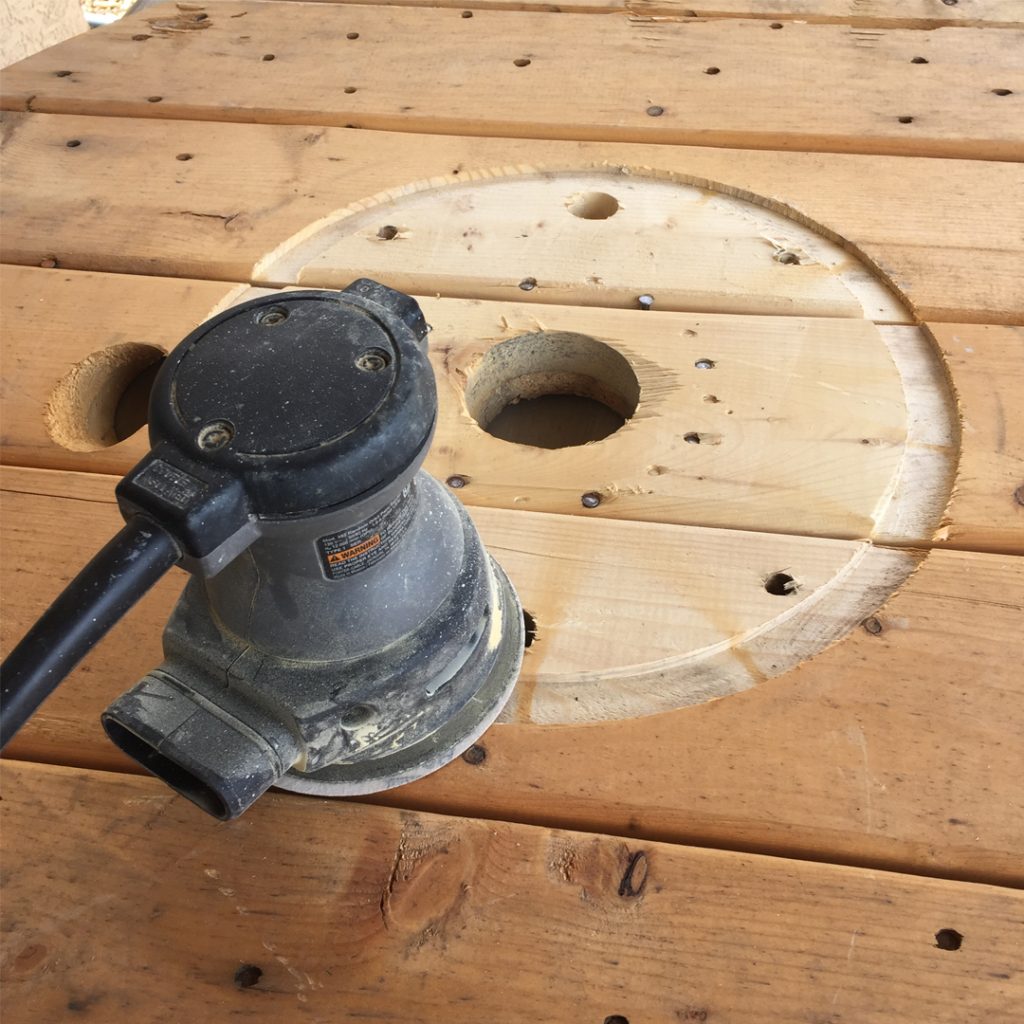
You can see it was pretty beat up, so I gave it a quick sanding with my orbital sander.
With the top nice and smooth, I was ready to faux stain with chalk paint.

If you know anything about me, you know I NEVER use actual stain (thus, the term “faux stain.”) I find it messy, smelly, and unpredictable. I always use chalk paint made with BB Frösch Chalk Paint Powder. I can get the exact color I want without worrying about how different wood species will react, the process is quick and simple, AND it’s the most affordable way to go!
If you prefer learning from a video, watch this segment from the Facebook live video I did for this part of the project:
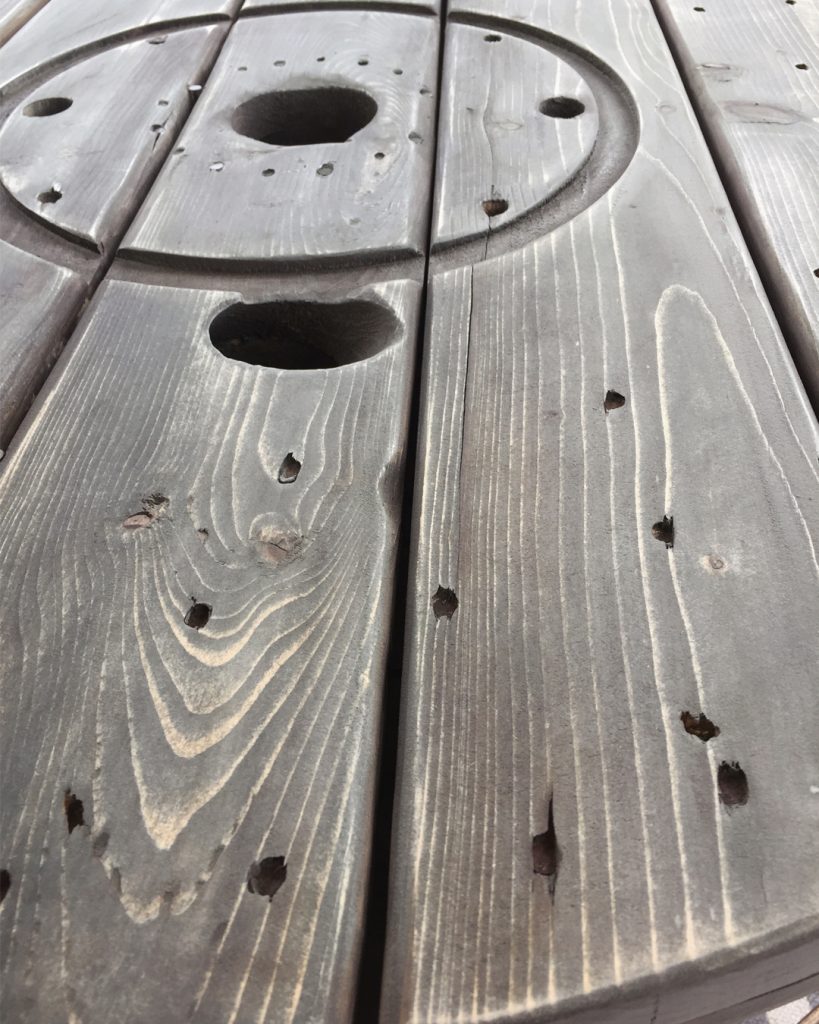
Normally, I don’t distress after the faux stain, but this project seemed like it needed to look a little more rustic. So, before waxing, I distressed a bit with 200 grit sandpaper.
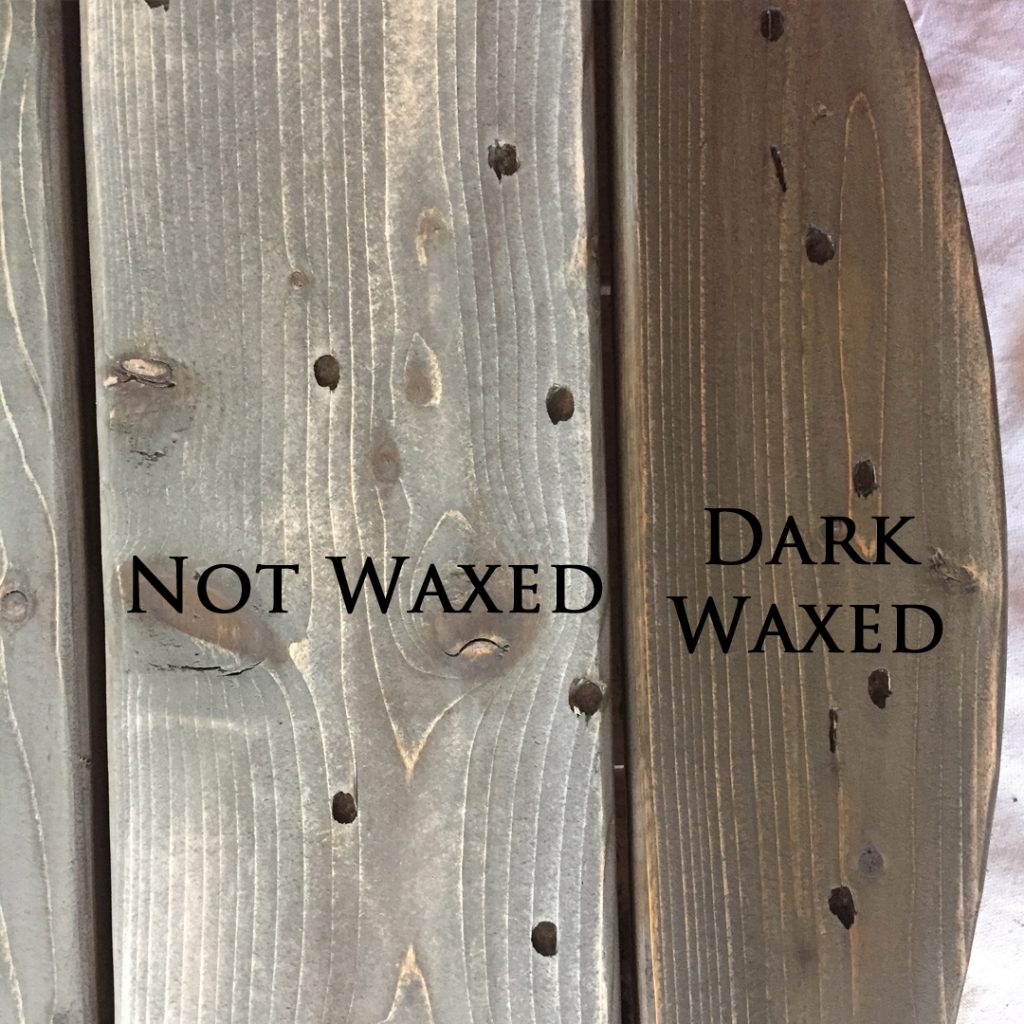
With a little more of the grain showing through, I waxed the top and sides with BB Frösch Dark Premium Finishing Wax.
I’ve used just about every wax on the market, and this is by far my favorite. It dries and cures in minutes, so I don’t have to wait days or weeks on end before my piece is ready to use. Click below for a video of the waxing step:
You can see what a difference the dark wax makes!
 I decided to do a little more distressing after the dark wax (which I don’t normally do) because I still wanted it more rustic looking to go with the industrial style of the legs.
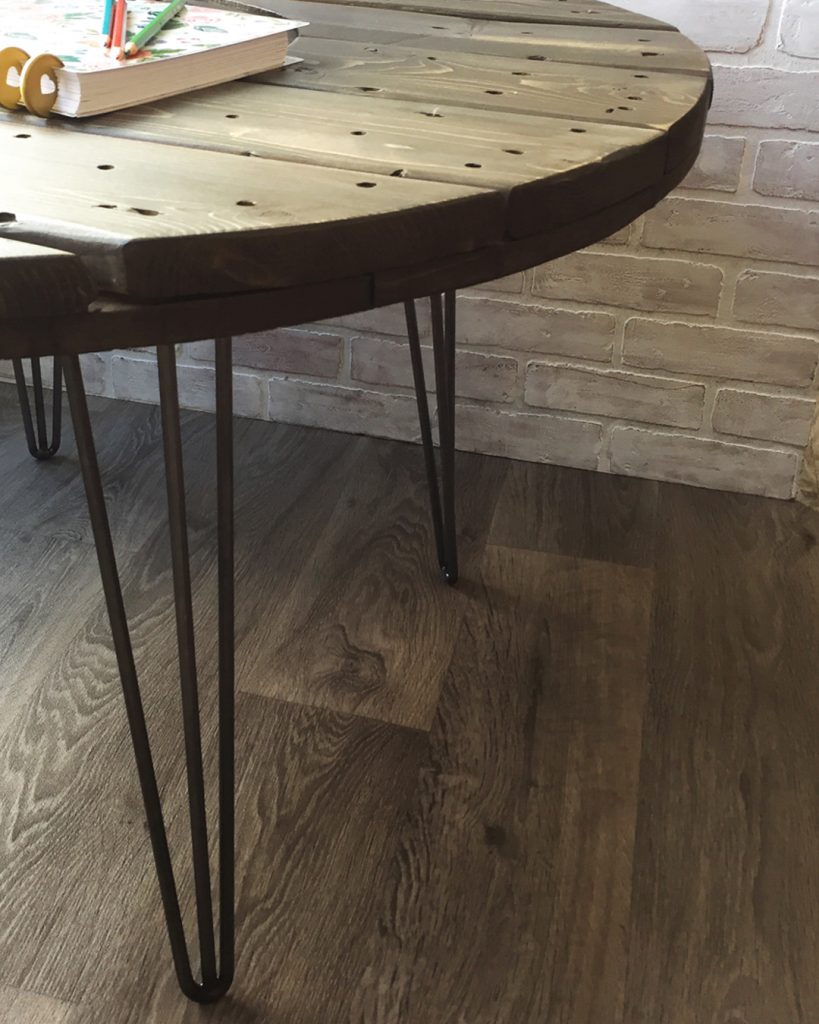
With the table top painted (faux stained) and waxed, it was time to attach these super-cool hairpin legs:
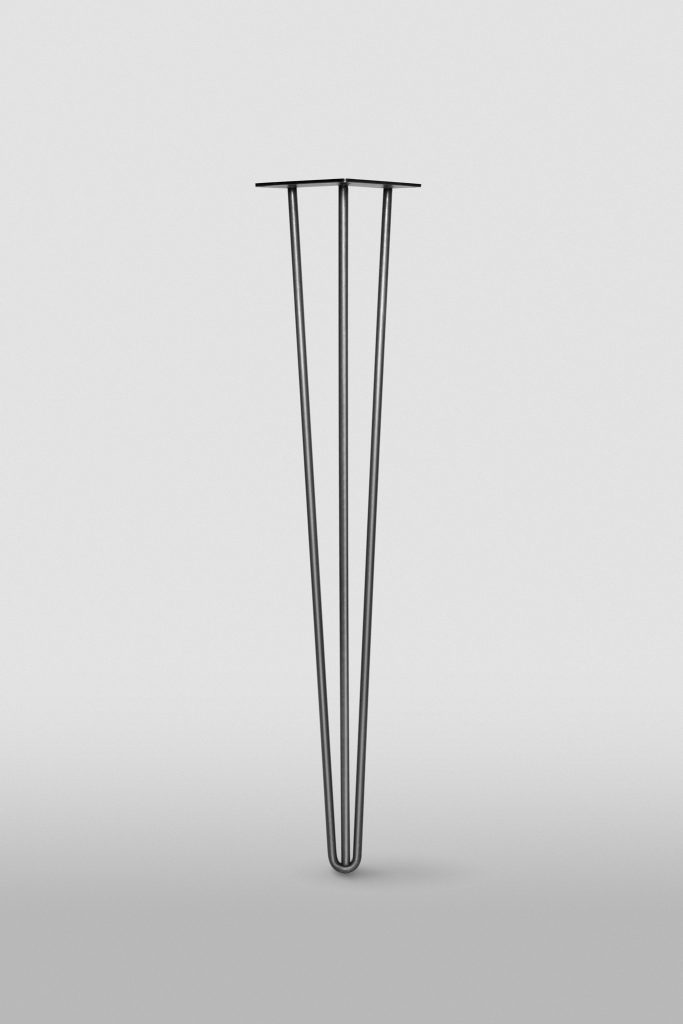
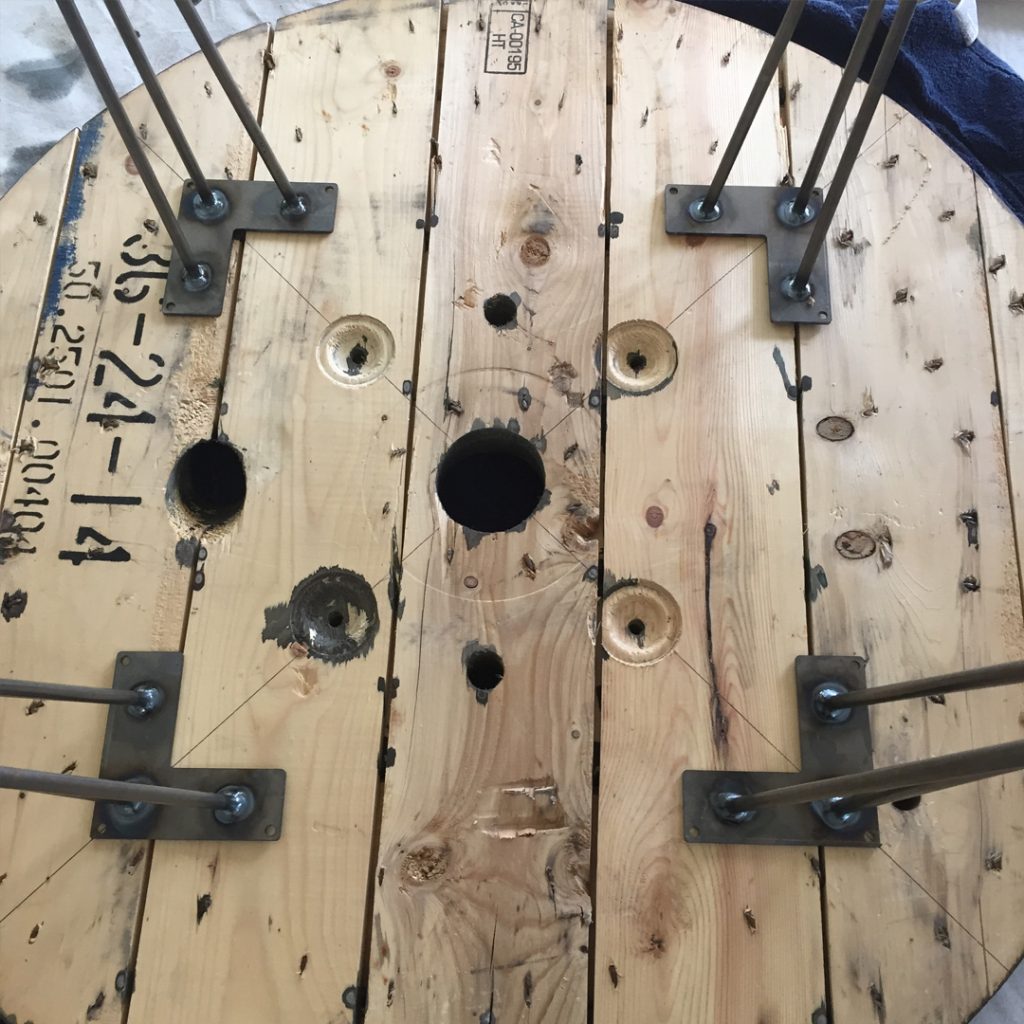
I found them at hairpinlegs.com for a great price. It took me a minute to figure out the best way to place them evenly. I ended up just drawing an “X” then measuring in 4” from the edge on each line. Then, I lined up each leg on that mark and squared the legs against each other. You can see I didn’t bother finishing the underside of the table:)
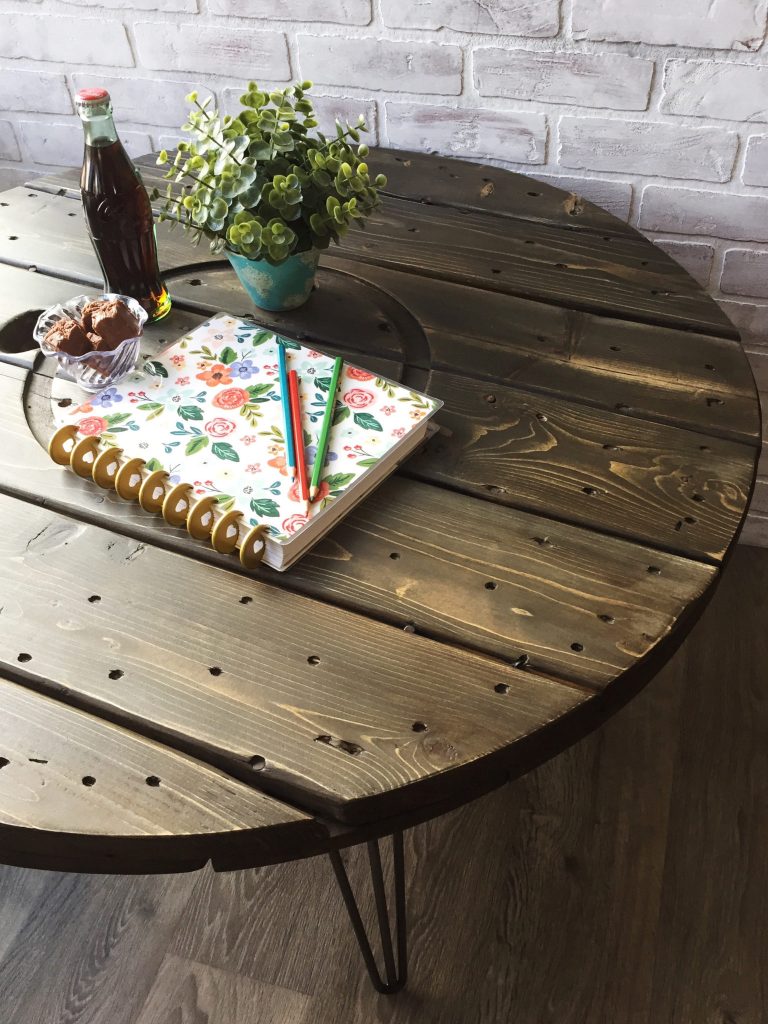
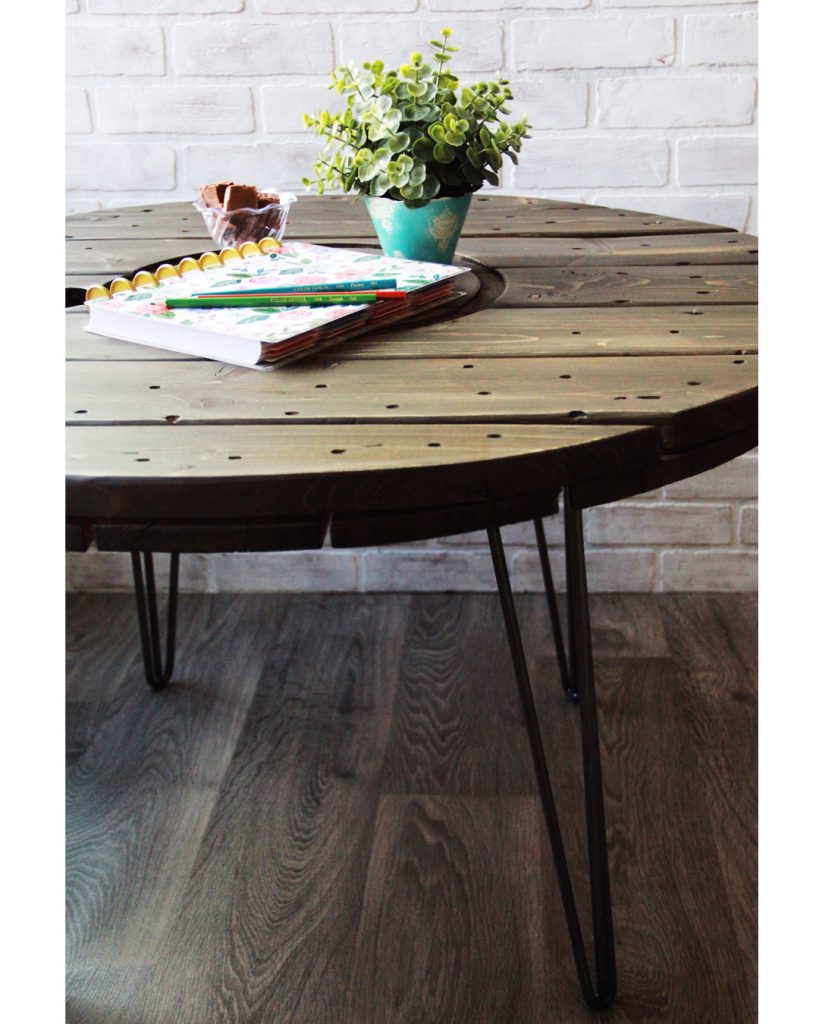
With three screws in each leg to hold it in place, my table was ready for it’s new purpose as my personal little planning space, complete with soda and snacks!
I’ve already got plans for more hairpin leg projects because the legs are so freaking awesome!
It was a struggle to make my little dish of homemade fudge last through the photo shoot. I may have refilled it once or twice…
Looking for more affordable chalk paint inspiration? Follow BB Frösch on Instagram, Pinterest and Facebook.

I love how this came out and I totally understand your plight. My boyfriend is ALWAYS asking if I need this or that any longer. At least he understands “the look” now. HAHA. I love the “faux finish” look! I’m so glad you won on keeping this spool piece! Nice work!
I’m glad someone can relate! Haha! Thanks for the compliment!
I really like the color you used. Your paint bottle is just labeled “mink”. Could you please tell me the brand of paint so I can duplicate the color?
“Mink” is a Benjamin Moore color–my favorite brand and color for this technique!
Love it! Hairpin legs are my favorite. What height are those ones?
I used 18″
Very cute! I definitely have one of those wooden spools sitting in my backyard right now too! 🙂 Thanks for the inspiration. Have a great day!
Love it! So we’ll done with instructions simple easy to follow. We all need one these fun tables?
~Red House ReCreations
I will definitely be able to convince my husband to keep that old wooden spool in the barn with this inspiration. Looks great!