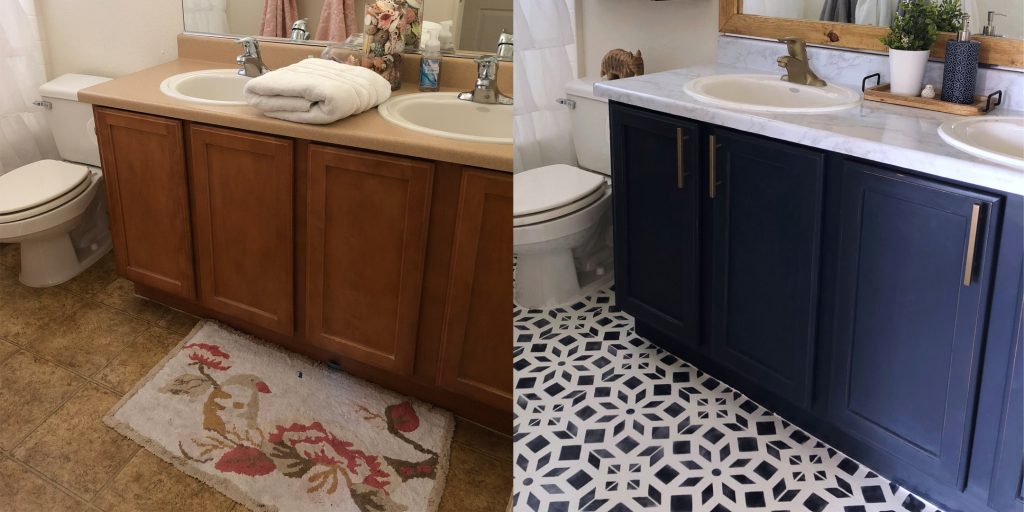
A couple of months ago I shared Phase 1 of the bathroom makeover we did at my daughter’s. Here’s a little reminder of what we did:

Last week we finally made it back to Vegas for some unfinished business on this bathroom—the floors! Although these floors are not actually tile (they are cheaper-than-cheap linoleum), everything we did will also work on tile floors.
Here’s what we used to paint the floors:
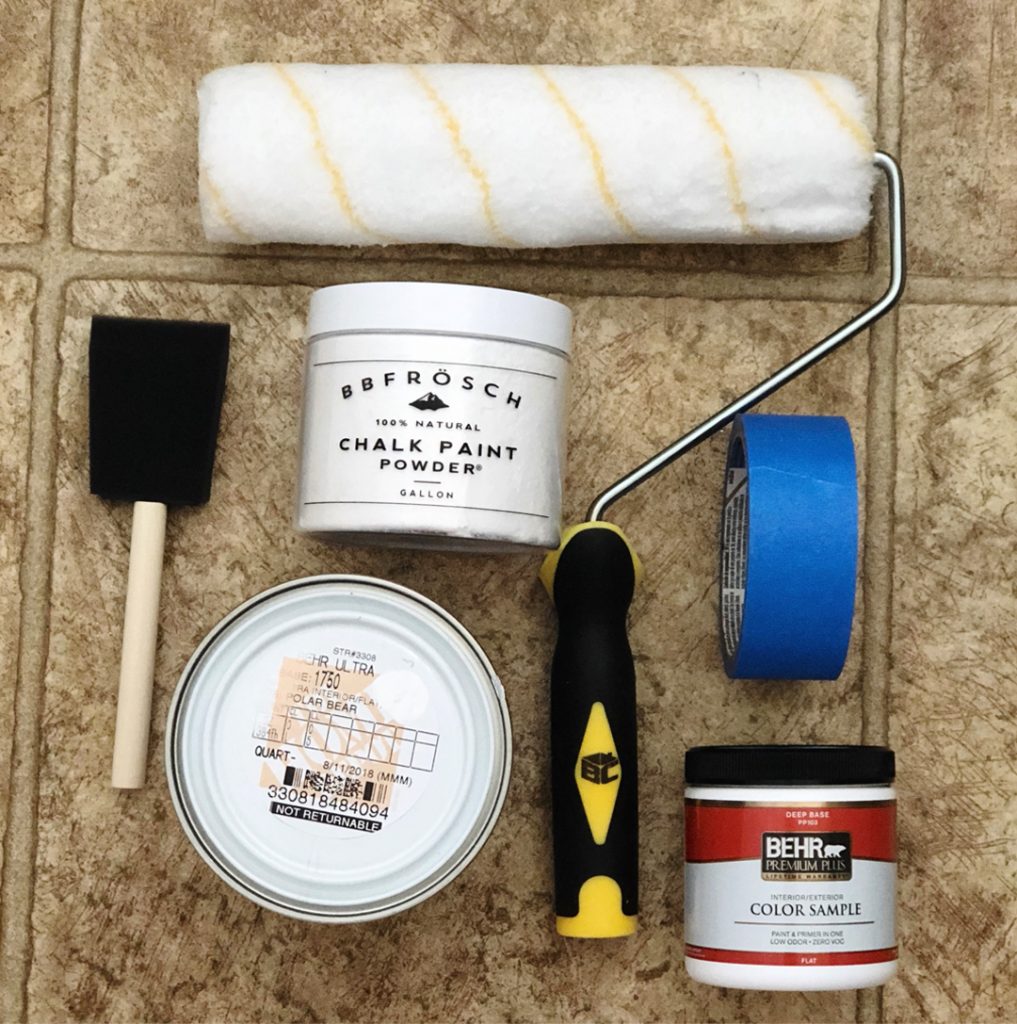
- Paint roller
- 2” Sponge Brush
- Blue Painters Tape
- BB Frösch Chalk Paint Powder
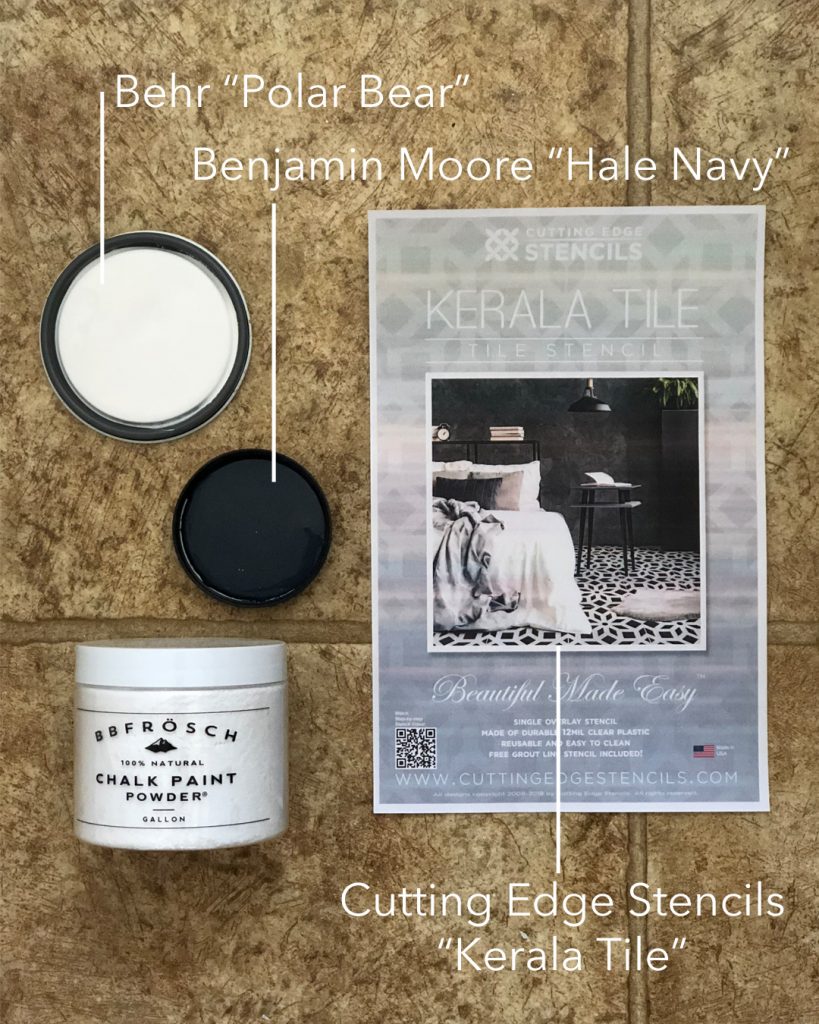
- 1 qt Behr “Polar Bear”
- 1 Sample Jar Behr Paint color-matched to Benjamin Moore “Hale Navy”
- Cutting Edge Stencils “Kerala Tile” stencil
Not pictured:
- Small dense foam roller
- Items used to seal the floor after painting (see below)
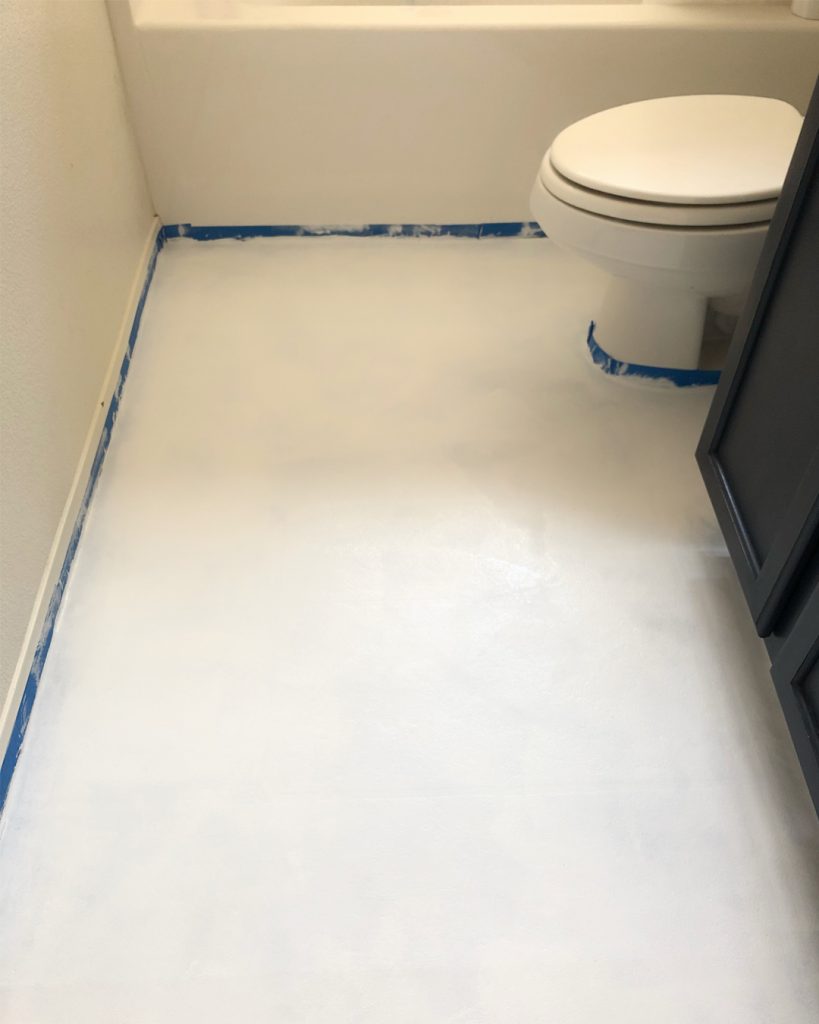
First, we steamed the floor clean. This step is IMPORTANT! You don’t want any caked-on grime, hair or loose dirt to get in the way. We also taped off all the edges with blue painters tape.

Next, we made our own chalk paint by mixing BB Frösch Chalk Paint Powder with the paint. We used double the amount of powder called for in the directions because we wanted to ensure excellent bonding.
Kacey rolled the first coat of white over the whole floor.
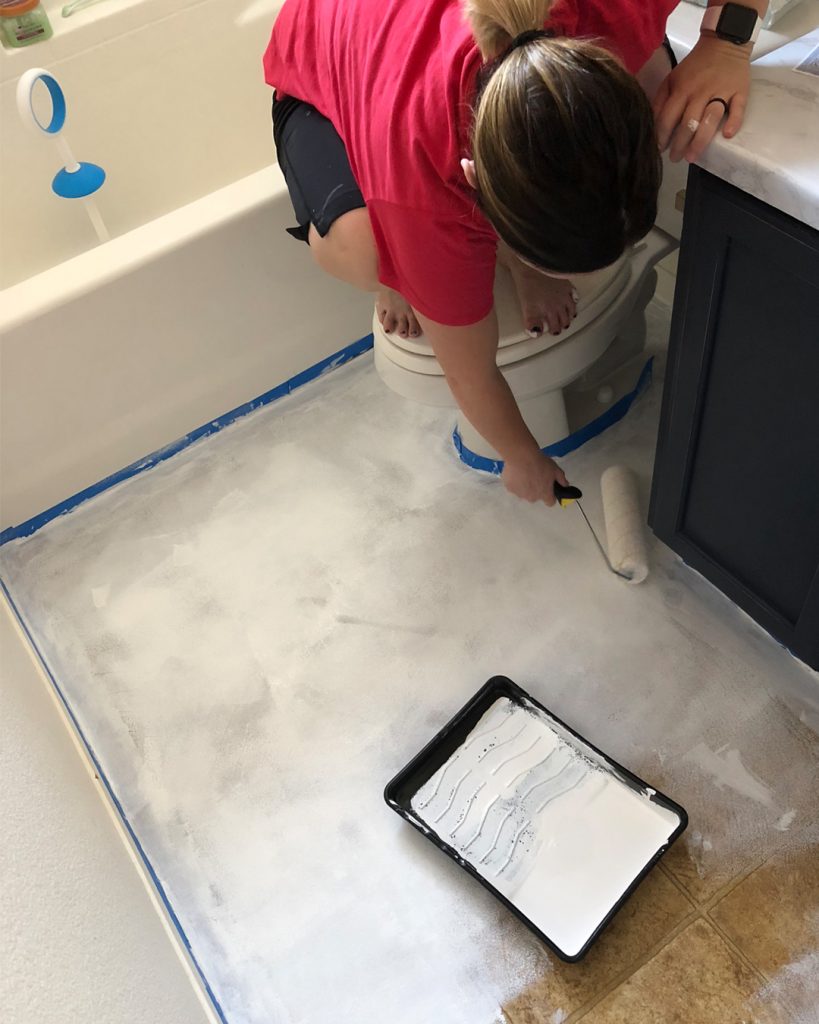
Floors are the only time I use a roller to apply chalk paint. A brush would have taken a lot longer!
The first coat actually gave pretty good coverage. Whether I’m painting furniture or floors, I always go light on the first coat. I find that, for the best finish, it is better to do more thin coats than fewer thick coats.
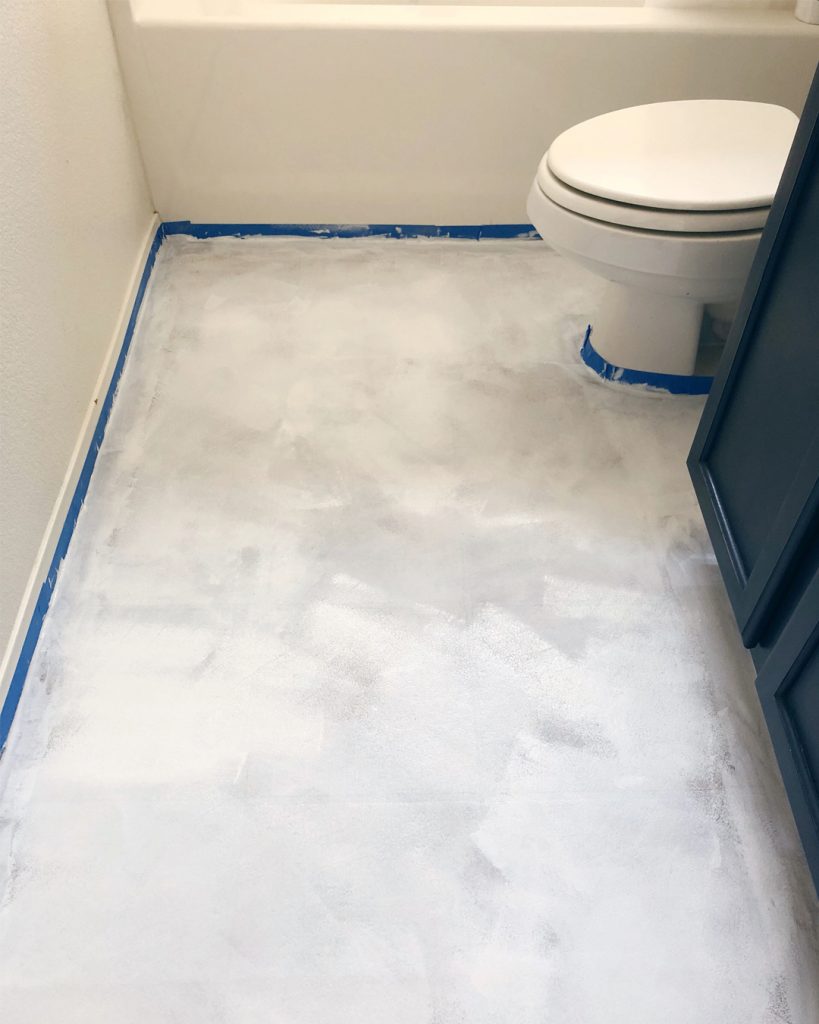
The second coat gave amazing coverage!
Even though two coats looked like enough, we went ahead and painted a third, thin, coat for good measure.
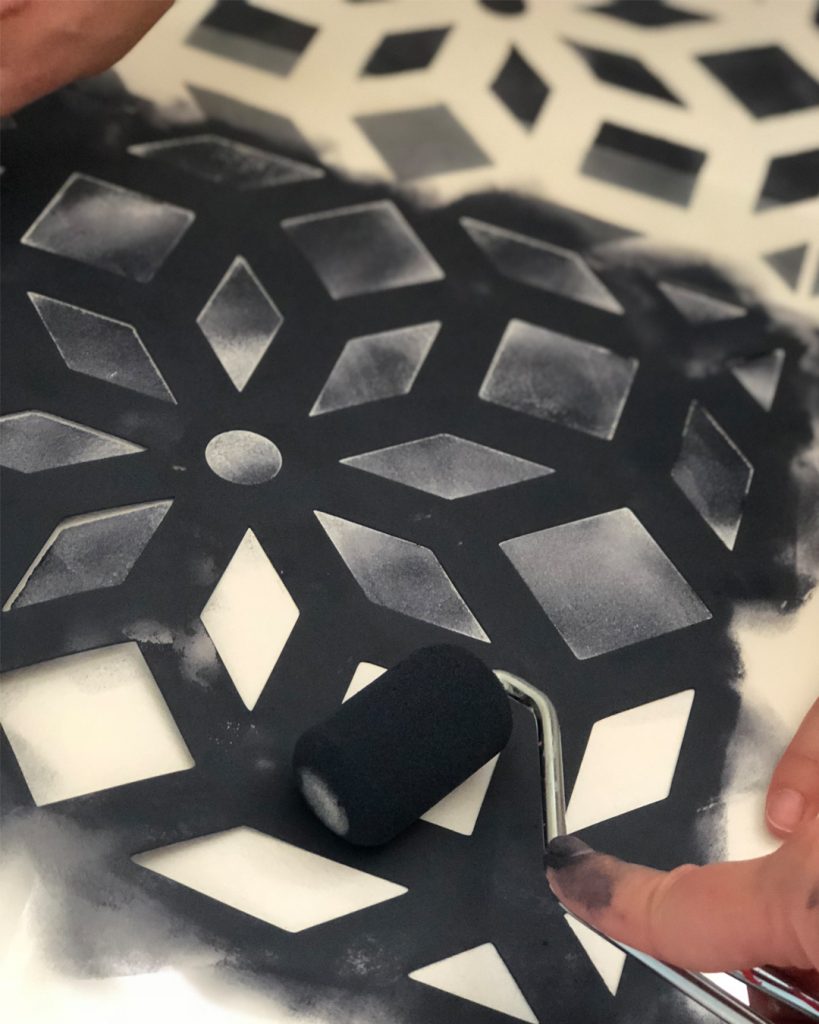
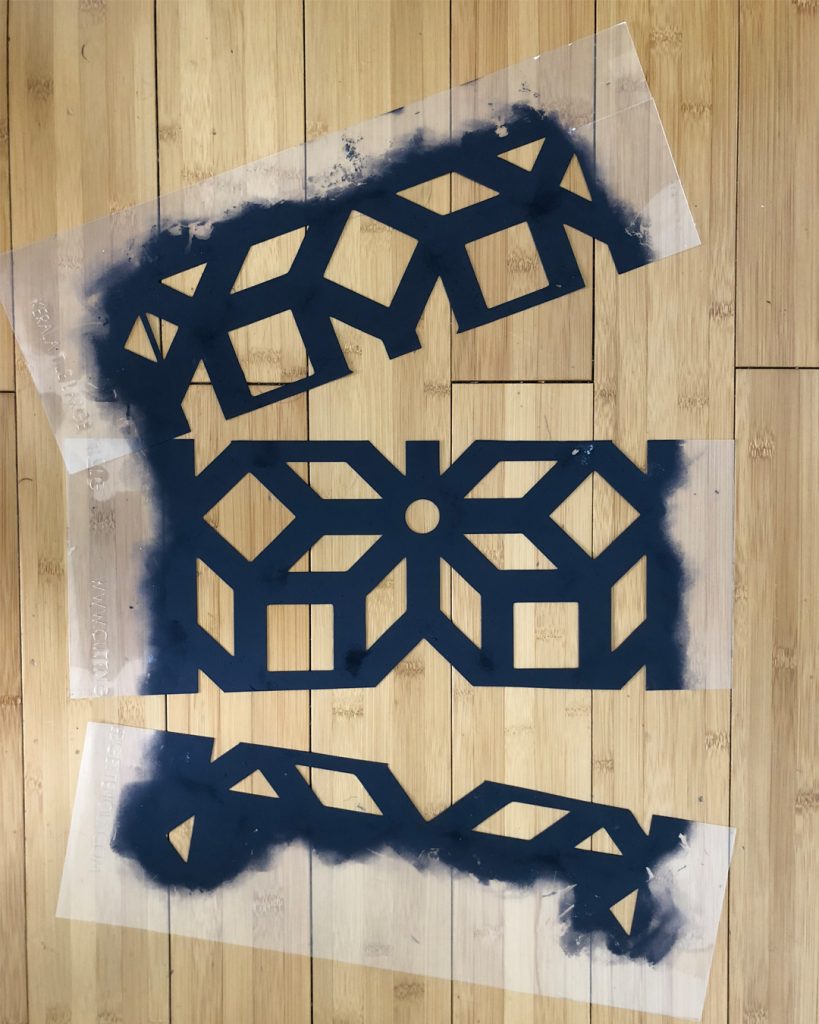
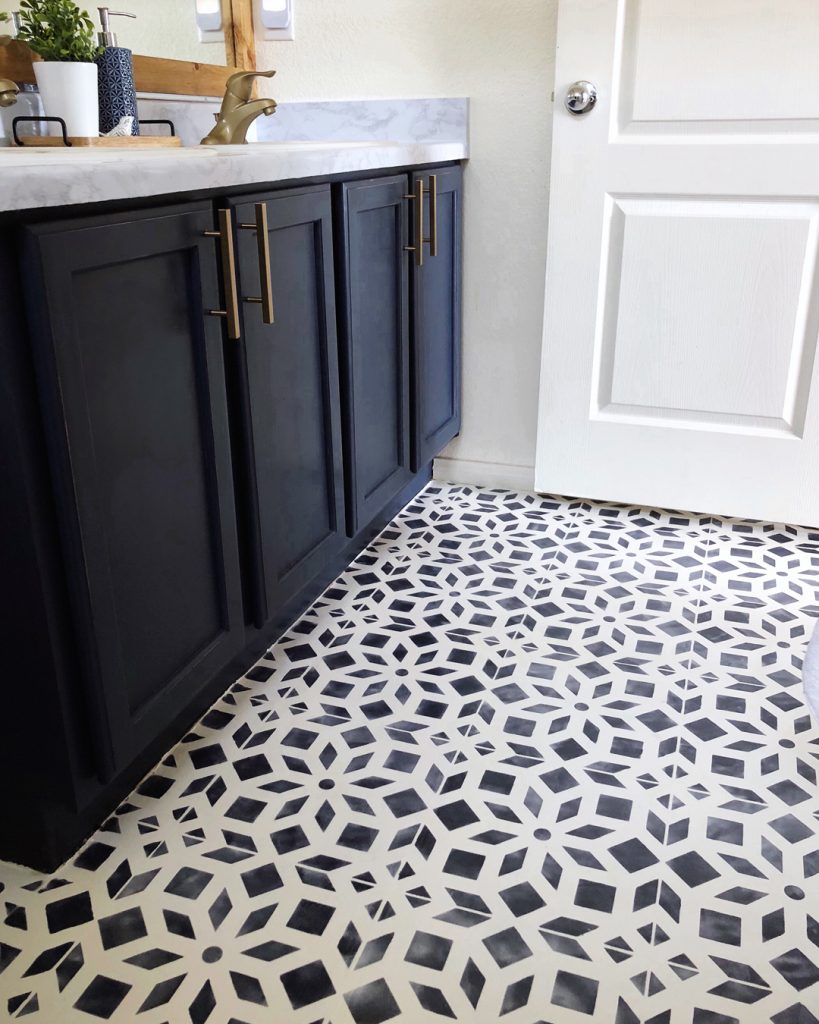
Once the paint was dry, we began stenciling. We used the Kerala Tile stencil from Cutting Edge Stencils. Their stencils are my favorite for durability and cool patterns.
It can be really tricky to avoid paint seeping under your stencil. To avoid this as much as possible, I recommend using a small, dense foam roller. Load the roller with paint, then roll it around on a separate paint tray to remove much of the paint. Then, roll over the stencil. It will take a little longer to get good coverage, but it sure beats having to touch up lines where paint got under the stencil!
We started in the corner that you see first when you walk into the bathroom. We knew there would be some areas where the tile pattern would not be whole, and we wanted those areas less visible.
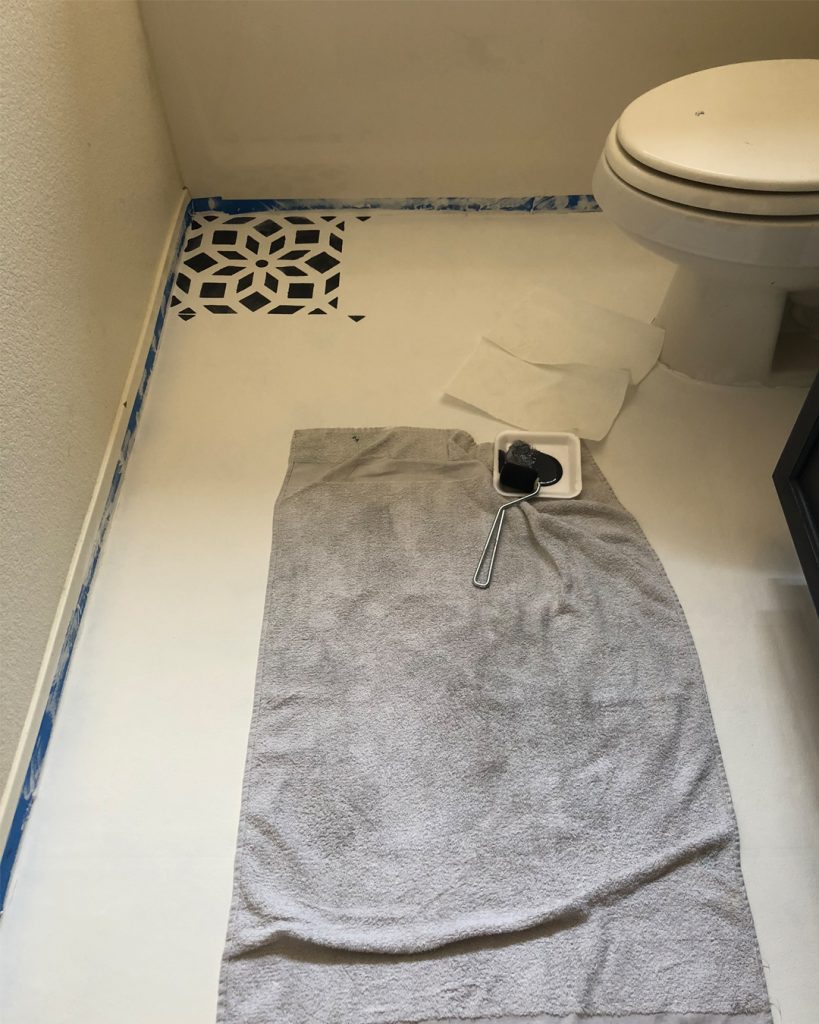
We knelt on a towel while we painted over the stencil so we wouldn’t accidentally scuff the areas we had painted white.

One of the nice things about stencils from Cutting Edge Stencils, is they all come with little markers that help position the stencil each time you move it.
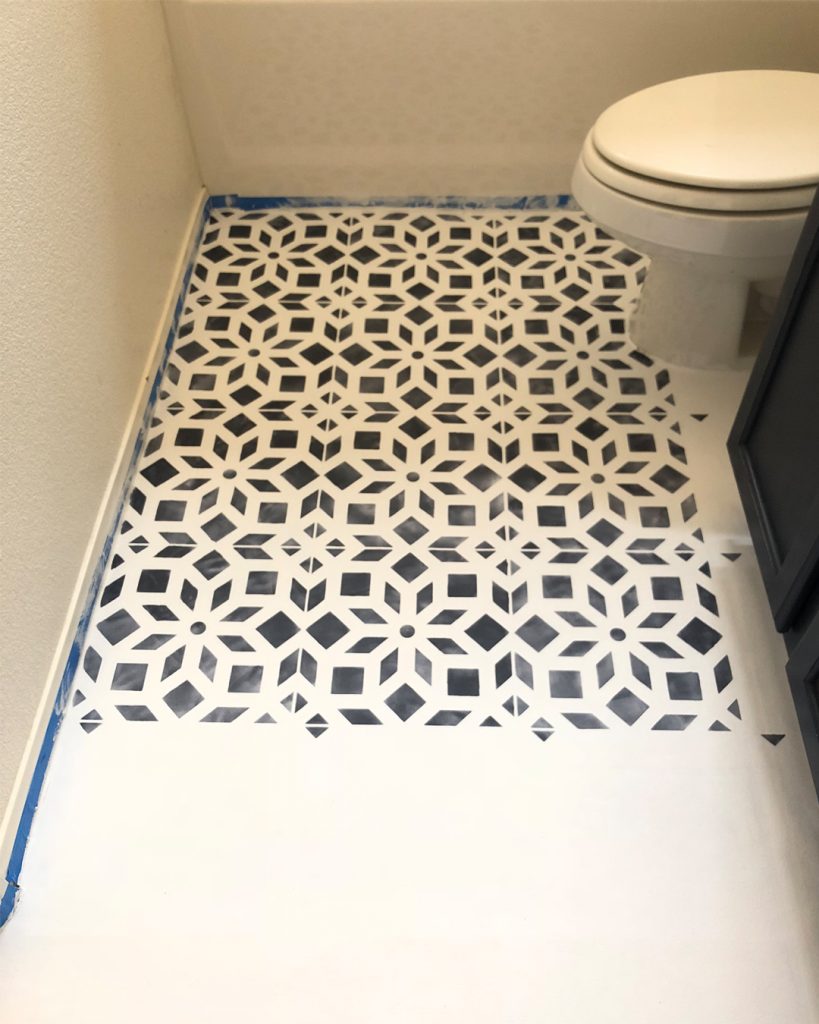
Notice the areas where there wasn’t room for the whole stencil to fit…
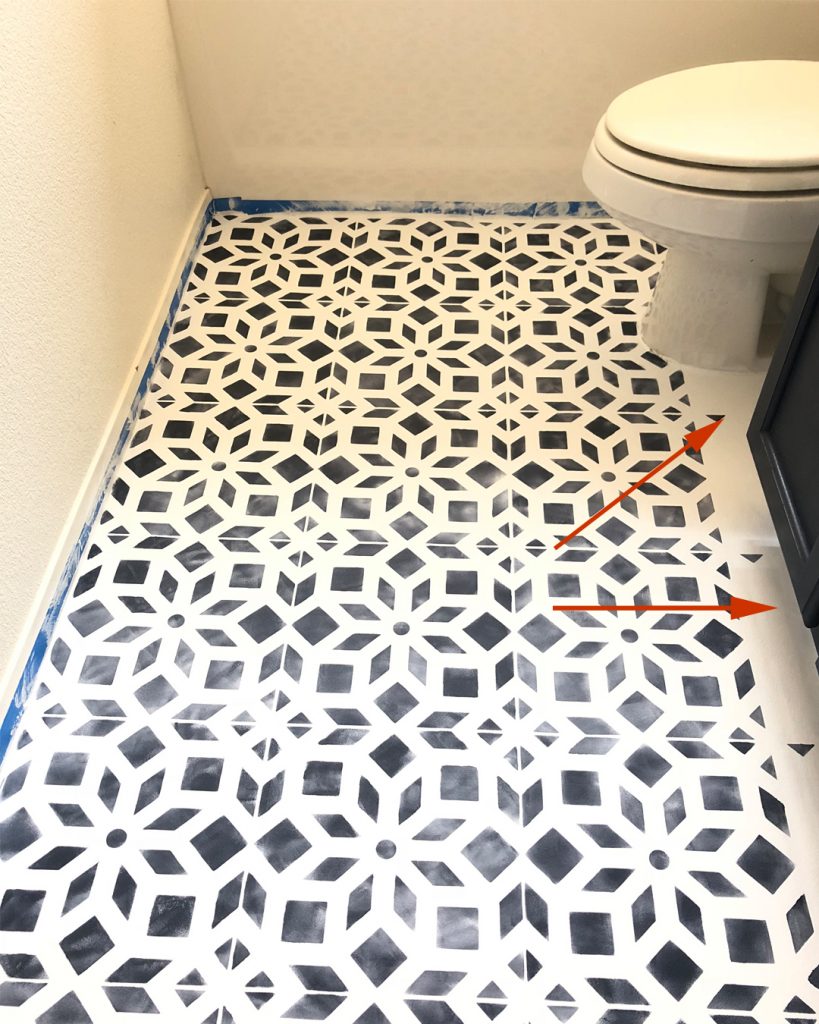
Once the majority of the floor was stenciled, we cut the stencil to fit in the areas under the cabinet, behind the door and around the toilet.
Here is what a partial “tile” looks like. It doesn’t look terrible, but I’d rather have it behind the door than by the tub.
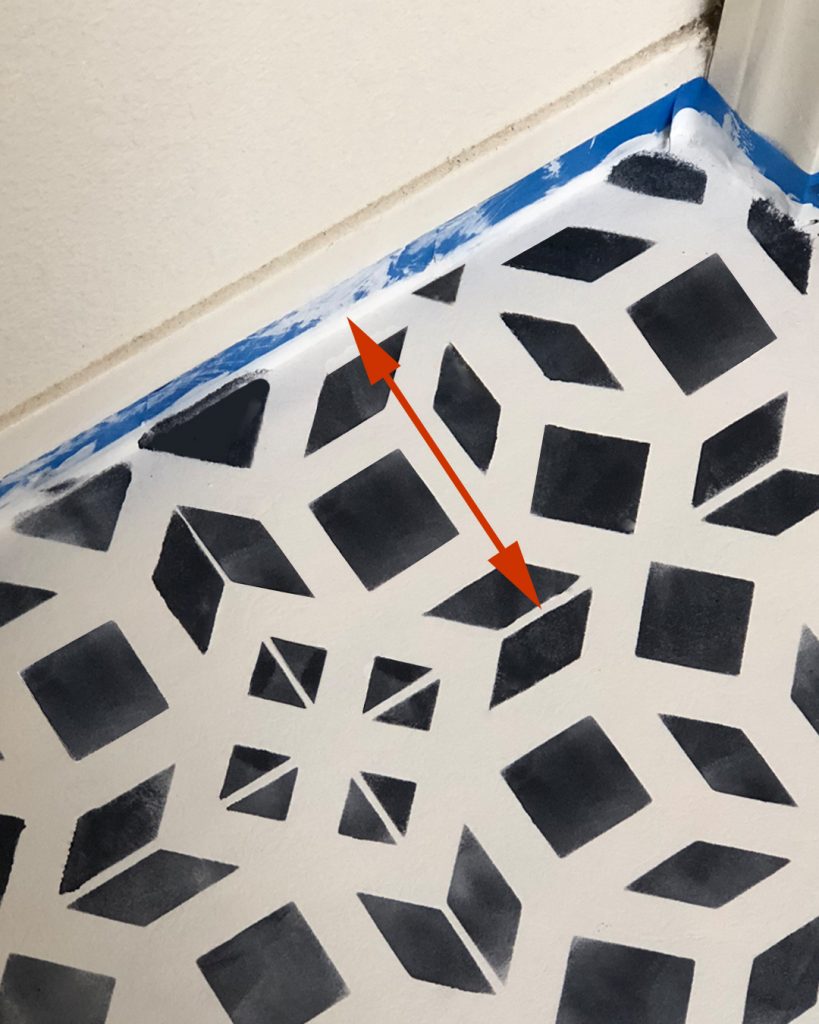
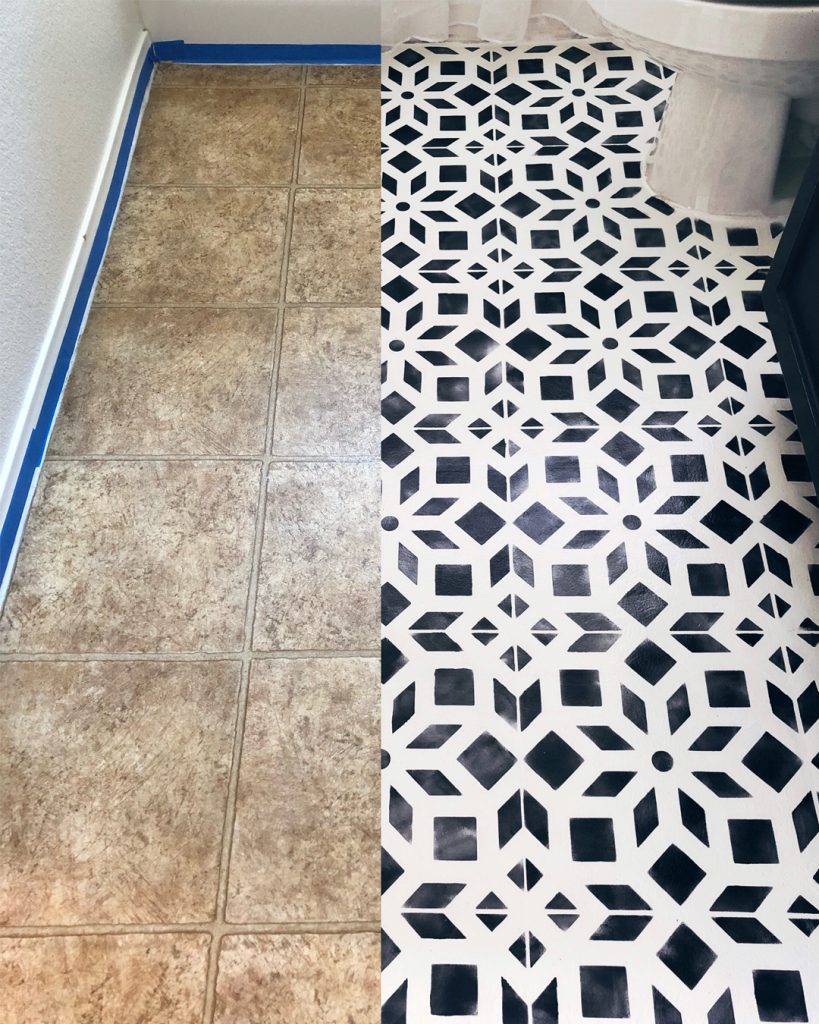
The stenciled tile pattern didn’t line up with the fake grout lines in the linoleum, but you can’t tell at all now that it’s painted! If I were painting actual tile, I would purchase a stencil that is the same size as my tile.
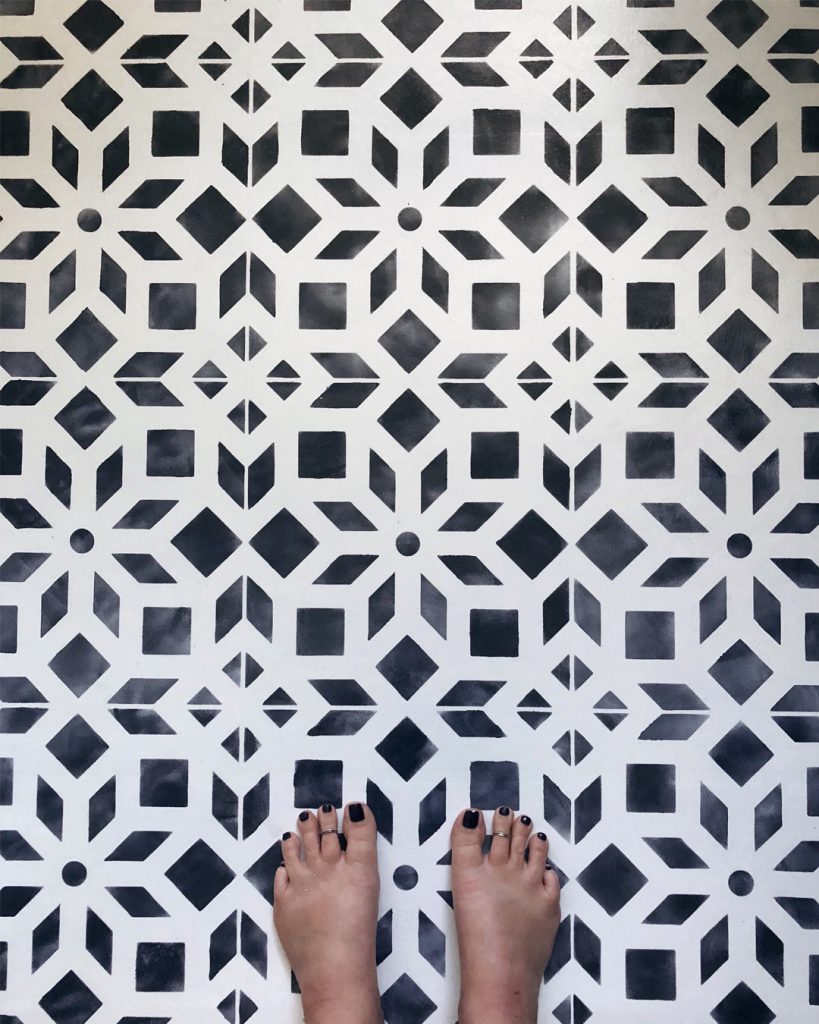
Once the floor was painted and fully dry, we stopped to admire our work.
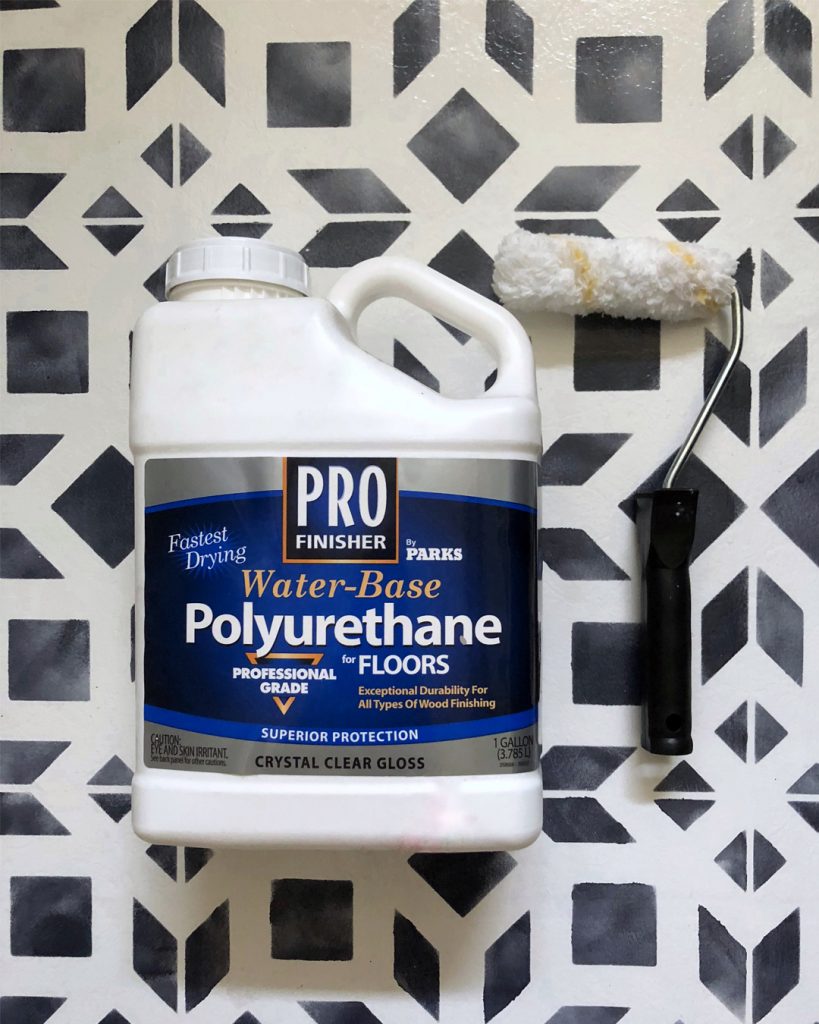
Then, it was time to seal. I recommend sealing right away because you don’t want all your hard work to get dirty or scuffed!
We used a water-based Polyurethane floor sealer and applied it with a small fabric paint roller.
This was my first time using this particular floor sealer (I found it at Home Depot), and I will definitely use it again!
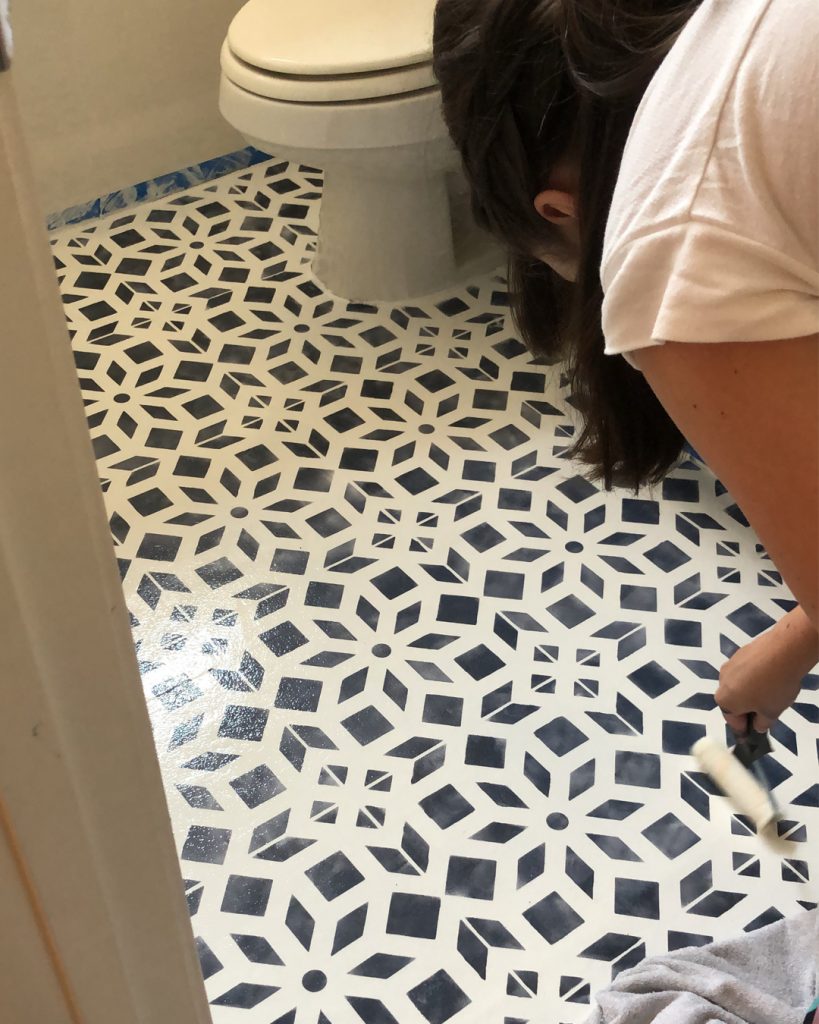
Any time you are sealing a floor, follow the directions for the sealer you use. Be sure to position yourself so that you don’t have to step on any areas with freshly applied sealer as you move around the tight quarters of your bathroom. You can easily see where the sealer has already been applied in this photo because it is shiny. Just apply one thin coat, keeping a wet edge (ie don’t go back over areas that are already drying.)
The first coat dried in less that two hours. If you live somewhere a little less hot and dry than Las Vegas, you can blow a fan into the room to help with dry time. We did not sand the first coat before applying the second coat, though you can to help with bonding. We let the second coat dry overnight.
This whole process took less than six hours. The third and final coat that we applied the following morning took just a few minutes to apply and about an hour to dry.
The sealer gave the floor such a beautiful sheen!

I shared this process on my Instagram stories, and we received a LOT of questions! See below for the most common ones. But first…
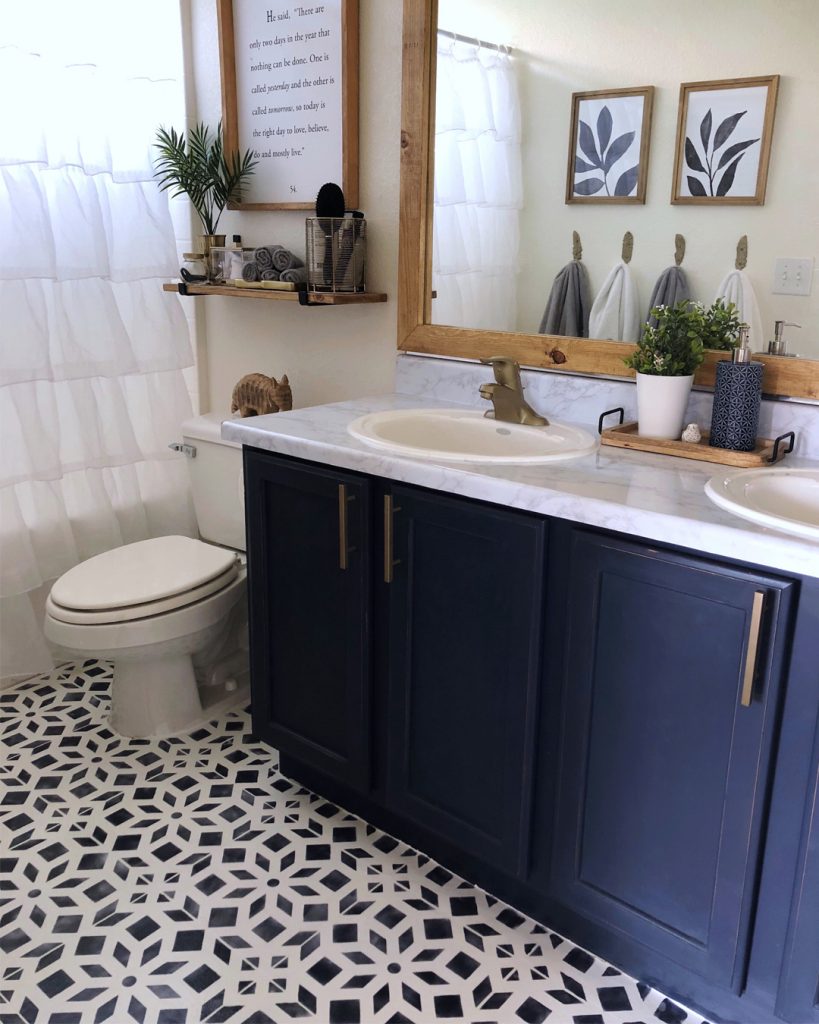
Because I’m a sucker for before & afters:
FAQ
1. Did you sand the floor as well, or just clean it?
We did not sand first. However, scuffing a linoleum floor first with a coarse-grit sandpaper would definitely help with bonding.
2. Can this be done on tile as well?
YES
3. How long does the process take start to finish…drying between coats, etc.?
The painting and first two coats of sealer took less that six hours, including drying time. The final coat of sealer was applied the next day.
4. Did you fill in the grout so that everything would be flat?
Since this is linoleum, there were no real grout lines. If this were actual tile, we would not fill in grout lines, but we would have chosen a stencil that was the same size as the tile.
5. What did you use on the first coat?
The base coat is Behr “Polar Bear” mixed with BB Frösch Chalk Paint Powder.
6. Do you do anything special to seal it?
We used a water-based Paolyurethane floor sealer and followed the directions on the back.
7. How do you clean the floor afterwards?
As long as the painted floor is sealed, you can clean as usual! We typically use a damp mop. I would avoid excessive scrubbing, however.
8. Will it chip off?
As long as you use plenty of powder to help the paint bond to your floor, and you seal the floor when you are done, you shouldn’t have any issues with peeling or chipping.
9. You say “plenty” of powder, but how much is that? What’s the ratio to use powder to paint?
The standard ratio is 2 heaping tablespoons of BB Frösch Chalk Paint Powder (plus 1 to 1 1/2 T water) for every 8 oz (cup) of paint. However, adding extra powder will not hurt your paint and will help with bonding. You can double or triple your powder for less porous surfaces like floors.
10. Can you paint concrete?
YES
A little reminder of what we started with a couple of months ago:
Find more affordable chalk paint inspiration at bbfrosch.com. Follow BB Frösch on Instagram, Pinterest and Facebook.
WOW~ What an interesting project! Thanks for posting
I love the leaf art on the wall. Did you make that or buy it somewhere?
Kristin, I love this! We have redone the flooring in the kitchen and hallways, but we still have the old tile in the bathrooms. (And the cabinet color that I hate.) Now you have me planning how I can paint the floors and the cabinets. Off to see your cabinet posts.
Did the polyurethane yellow the white at all?
The poly did not yellow at all. When choosing a poly, be sure to select a water-based one to avoid yellowing.
Kristin
This looks amazing! I’m wondering if you’ve had any issues with the floor sealer yellowing over the white paint at all?
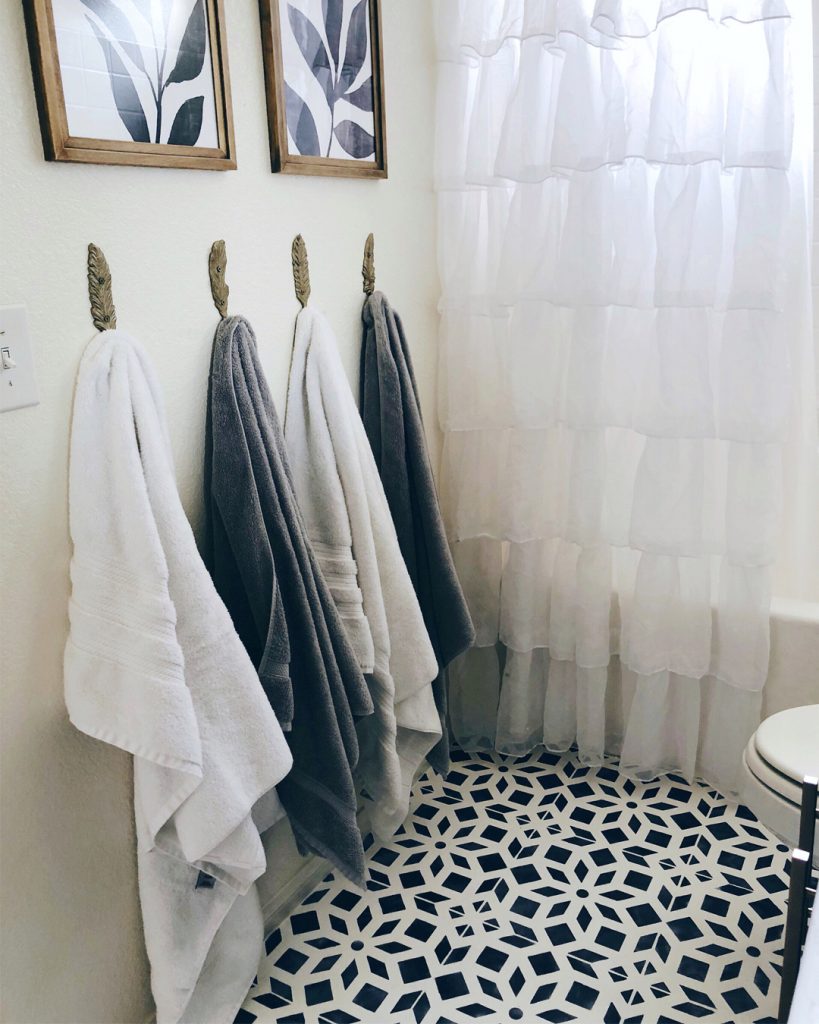
What a wonderful idea , changed the boring look to something more personal and beautiful. Bdw i totally loved your hooks for towels 🙂 🙂
Thank you!
How does it. Look now and have you had to reseal orvanything
Millie–
Great question! The floor has held up AMAZINGLY! We have not had to reseal, and it gets constant traffic, cleaning, etc!
Kristin
Am I the only one who has had water based poly not do well with water? Also my water based poly seems to always yellow over time.. I want to do this but I’m nervous
I highly recommend the poly we used on our floors. We have never had it yellow. Not all brands are created equal, so it is possible you happened to find one that yellows. Oil-based poly is notorious for yellowing, but water-based tends to fare much better.
Can you share how you painted that beautiful marble/watercolor effect with the blue? It makes it look so real! Thank you!
Kari–
For this makeover, we did not paint the counters. We used a contact paper we found on Amazon that is made just for counters. We linked to it in the Bathroom Makeover Part 1 post. However, we have since done a marveling technique on counters, and it turned out AMAZING! We used a feather, believe it or not! We will be sharing a post on the counters on our own website soon!
Did you paint the counter as well?
For this makeover we did not paint the counters. The original post shows what we used–a special contact paper made just for counters. However, we have since painted counters using a marble effect, and they turned out fantastic! The key is to make sure to seal with a really good sealer since counters get wear and tear.
Hi There!
I love this SO MUCH! What size stencil did you use? My tiles are 16″ but I feel like the pattern would be too large if I go with that size stencil.
Debra–
I’ve found that stencil sizes rarely match up with tile sizes. The one we used for this floor didn’t match up at all, but once the floor was painted, you really can’t tell.
Is the Behr paint a flat latex paint?
Constance–Yes, it is flat. However, you can use paint that isn’t flat as long as you increase the BB Frösch Paint Transformer to help it bond.