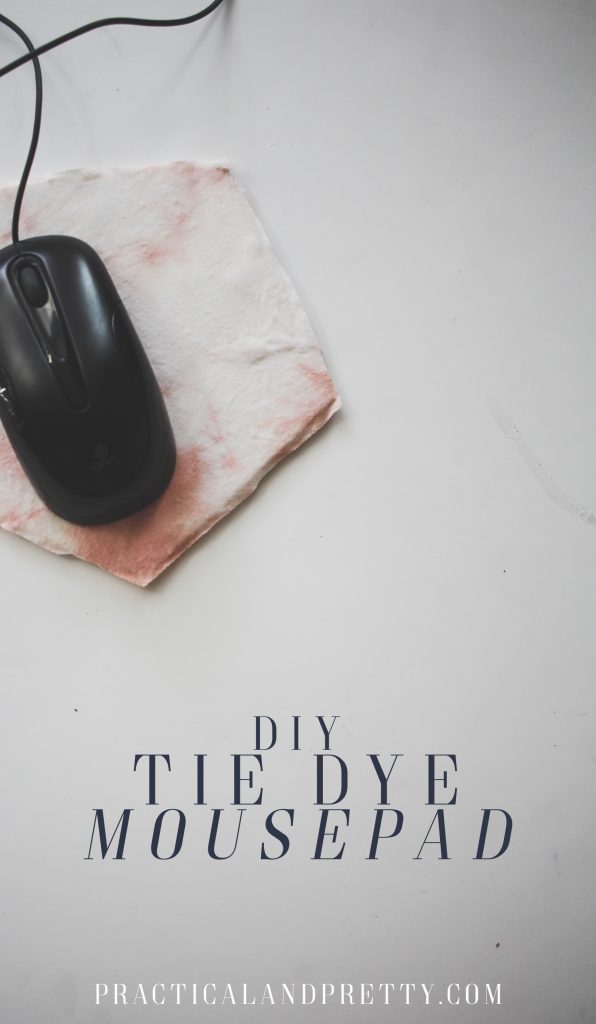
I created a mousepad a while ago using clay and leather and it was my favorite mousepad of all time! Unfortunately I made it a bit too thin because the clay cracked the other day and I was so sad. I decided to use what I know about dyeing fabric to make a blush pink one.
I am Anna and am usually crafting and talking about it over at Practical and Pretty but I am so excited to be sharing this tutorial with you here today!
What you need for your tie dye mousepad
Dye your fabric! Dyeing fabric with avocado pits and skins is really so simple. Put the water in a sauce pan with the avocado parts all cleaned. You just need enough water to cover the fabric. If you’re doing a lot of fabric, you will need more pits and skins. For such a small piece of fabric 2 will get you the look I have here!
Boil your water with the cleaned pits and skins in it. Once it comes to a boil, bring it down to simmer and put your prewashed fabric in the water. I wadded mine up into a ball because it naturally looks a little splotchy anyway.
Leave this in the simmering water for an hour to 8 hours. Depending on how dark of a pink you want, you can leave it in for that long. However you do it, turn the simmer off after about an hour!
Pull out the fabric and rinse it, then wash it one more time.
To make your solid part of the mousepad, start by rolling your clay into a ball. I used about half of block for this.
Then you will use a rolling pin to roll it out in as much of a circle as possible.
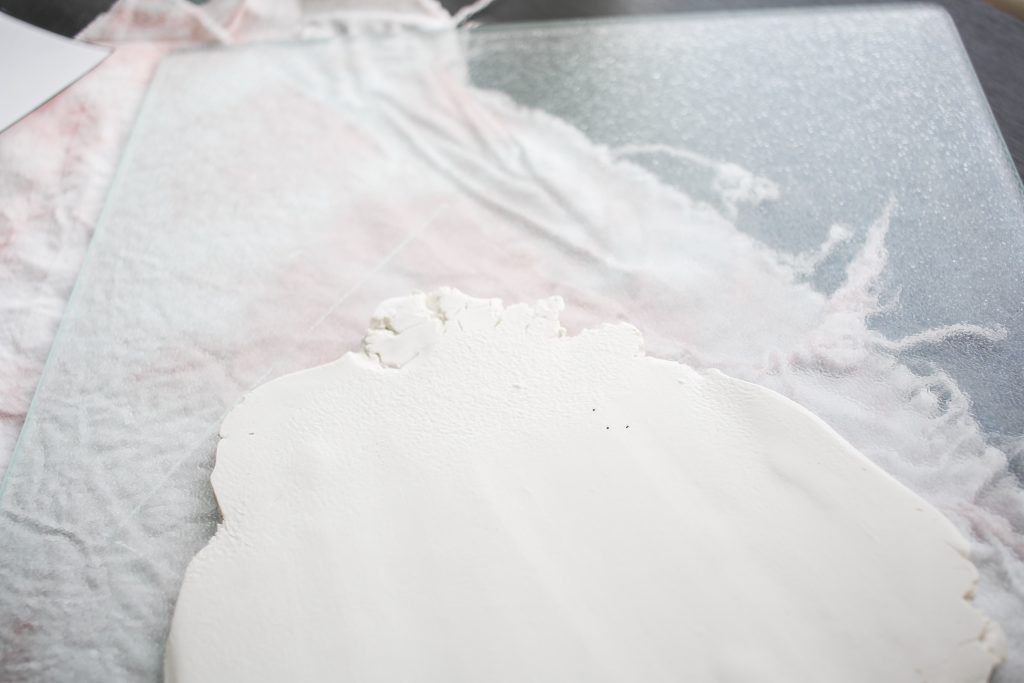
Next I cut out the shape I wanted to use as a stencil. I used an octagon before and really liked it so decided to stick with something similar. I decided on a pentagon!
I used a butterknife to cut out my shape but if you have a clay calpel that’s probably a lot better!
Next you will put it in the oven. I rolled mine out to be about 1/4 of an inch so 15 minutes at 275 degrees.
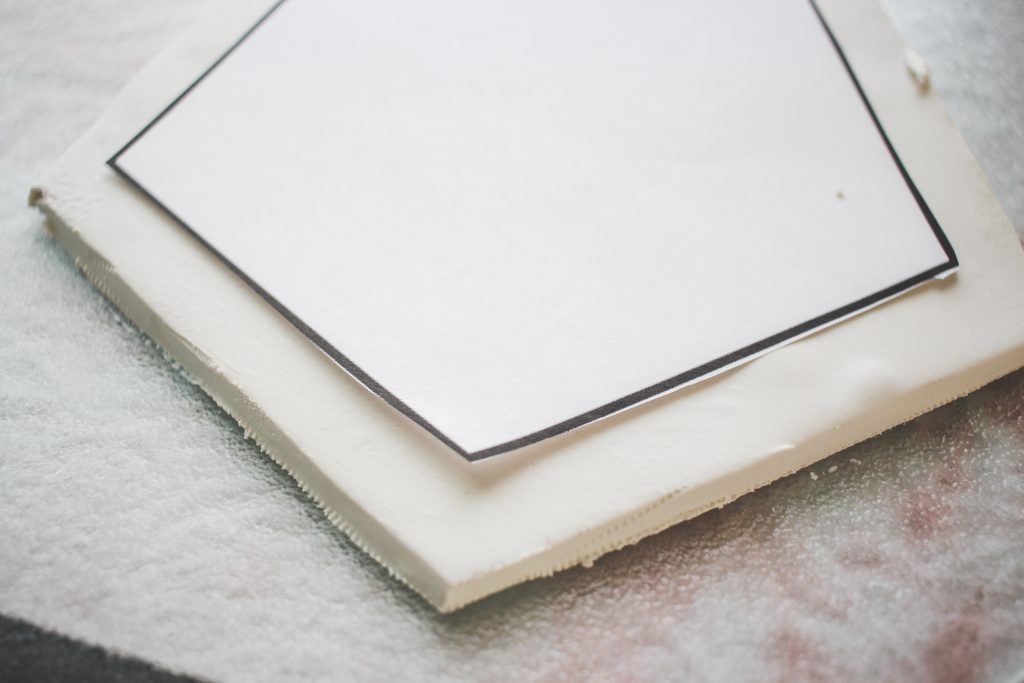
Let this dry and put some decoupage on one side. I put it on the side that was the roughest so if you have a rougher side, I’d suggest doing that too.
Place your fabric on top of the clay and wait for it to dry.
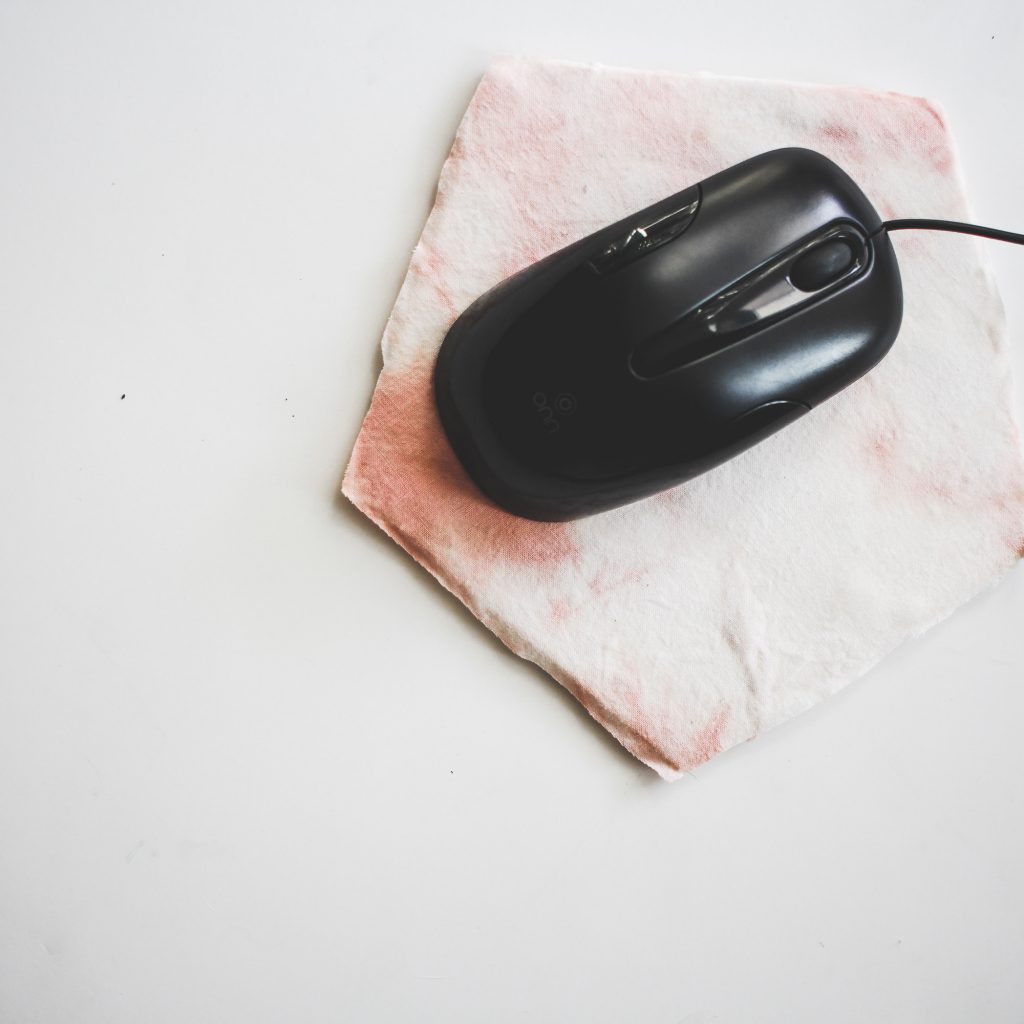
Cut around the edge and you are all done! I decided to make mine a little frayed because I liked the look but you could also fold it down for cleaner edges and decoupage it to the bottom!
If you liked this post you might also like this post I did when I created my other mouse pad as well as this marbled phone case DIY.