
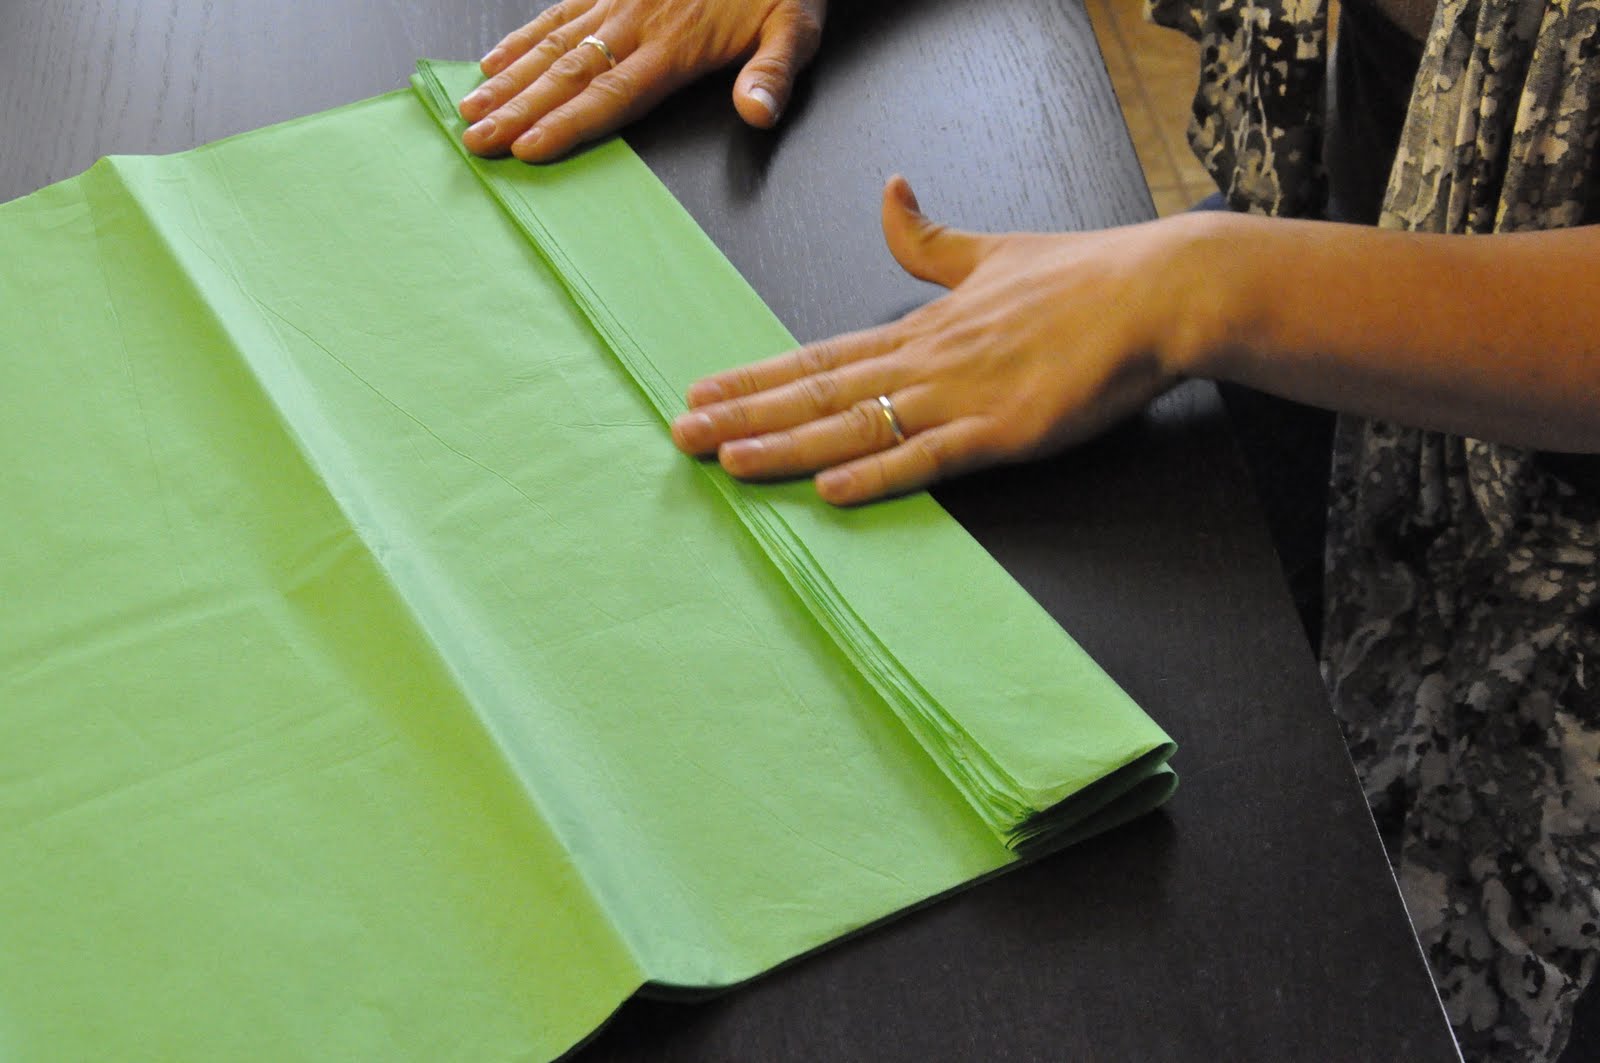

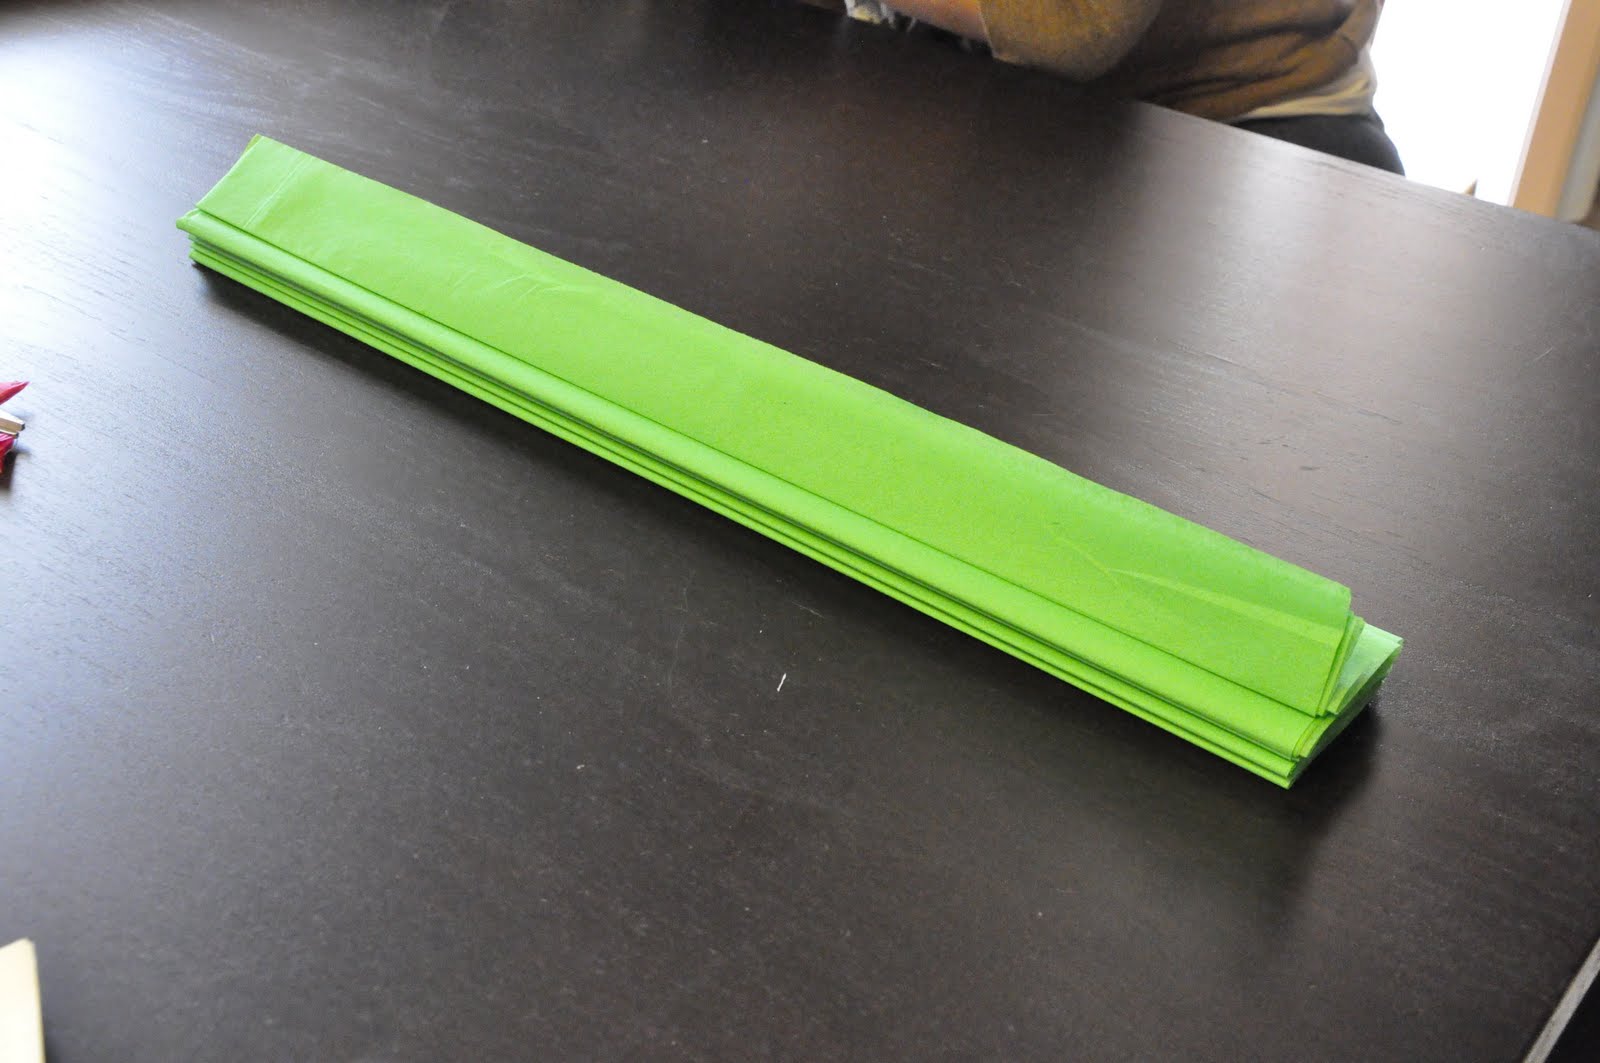
This is what it should look like when you get done folding it.
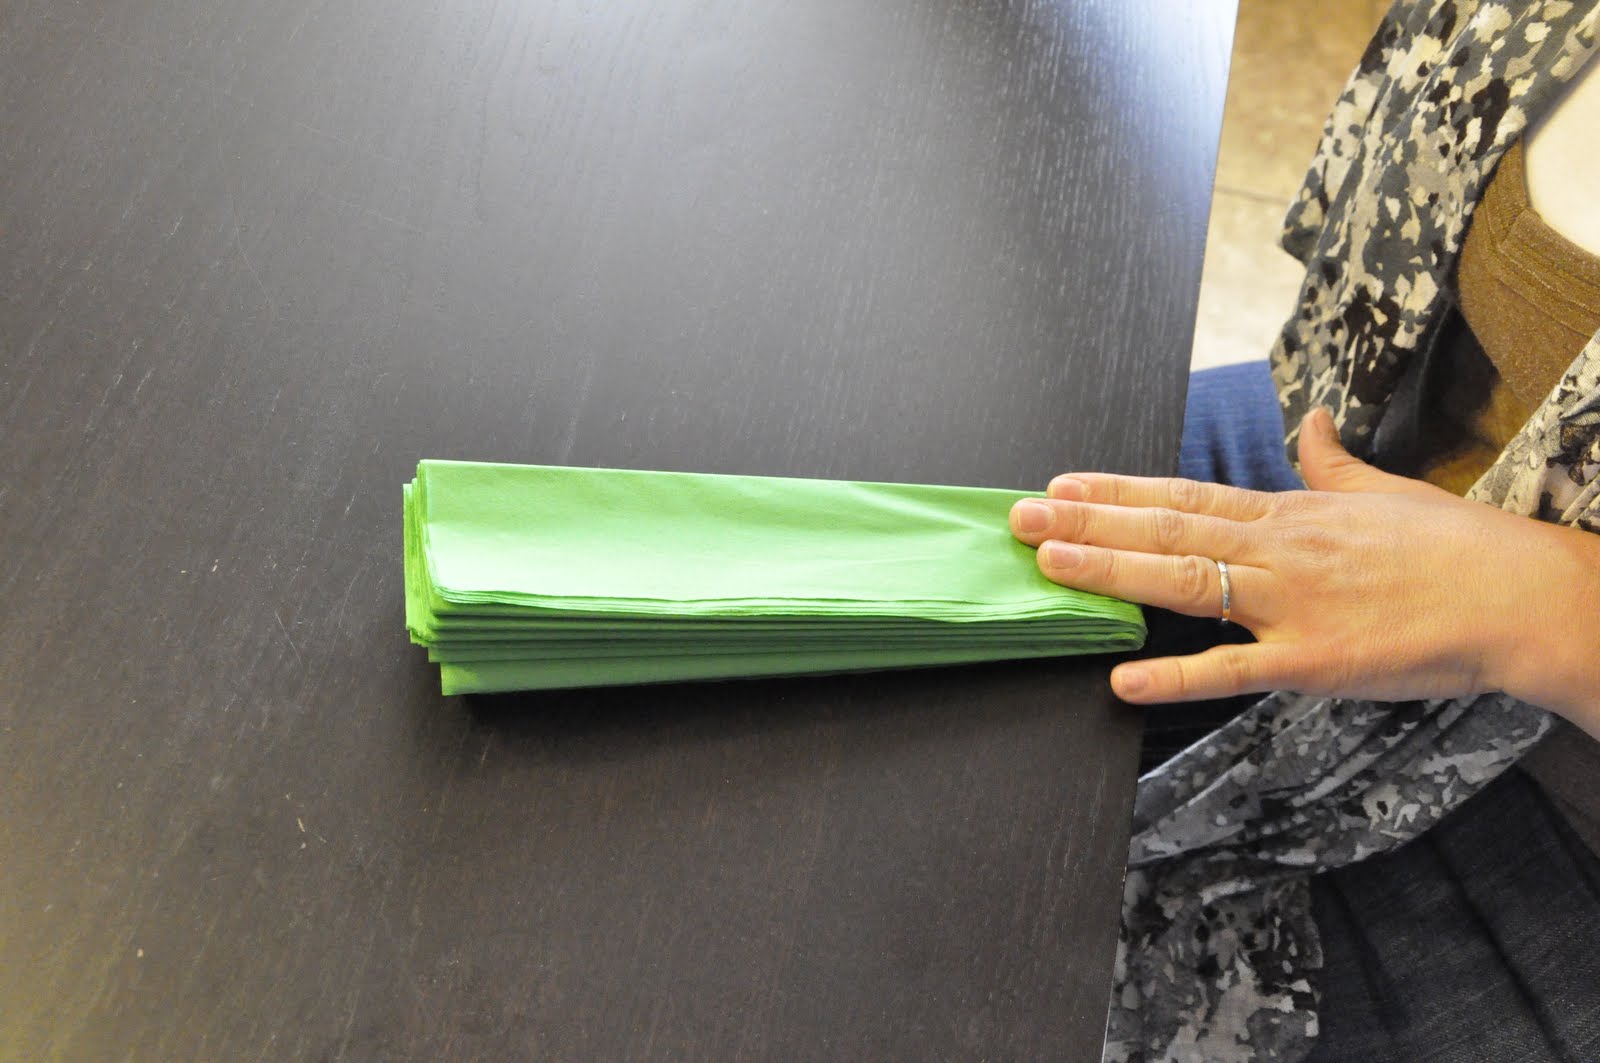
Step 2: Fold it in half and secure the middle with craft wire.

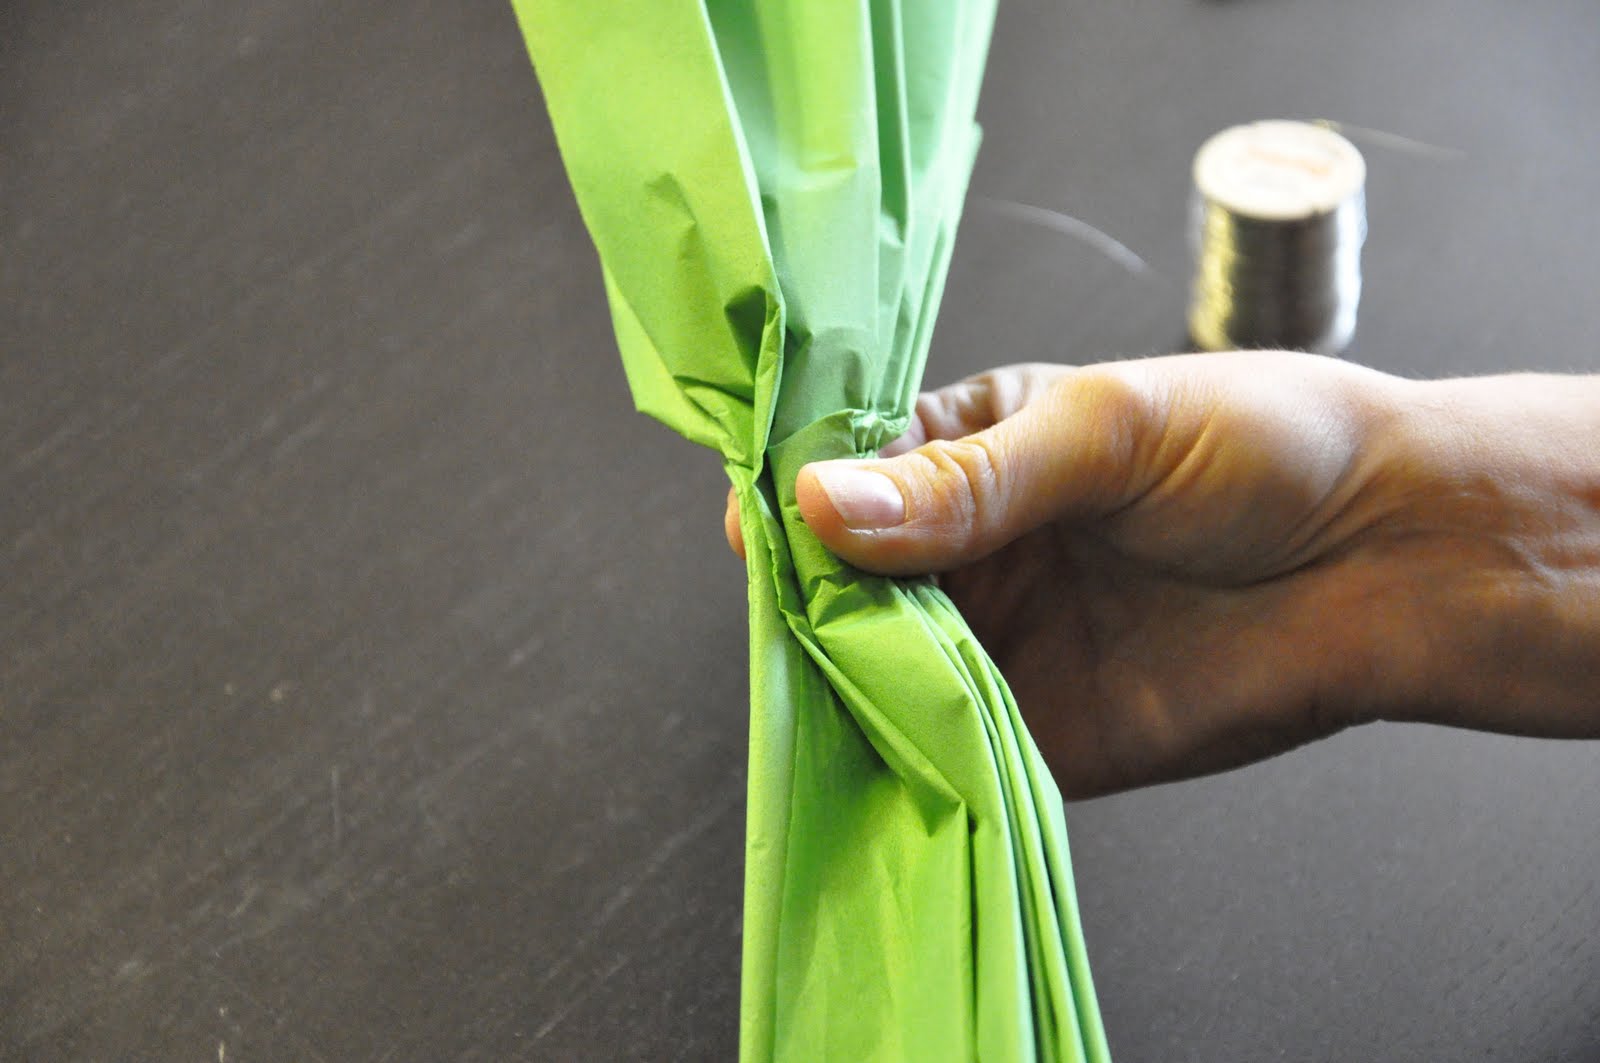
In order to get the craft wire tight, I use my fingers to squish the middle in order to pull the wire tight.
Cut the edges of the tissue paper to a point. You can also round them off depending on the look you are going for.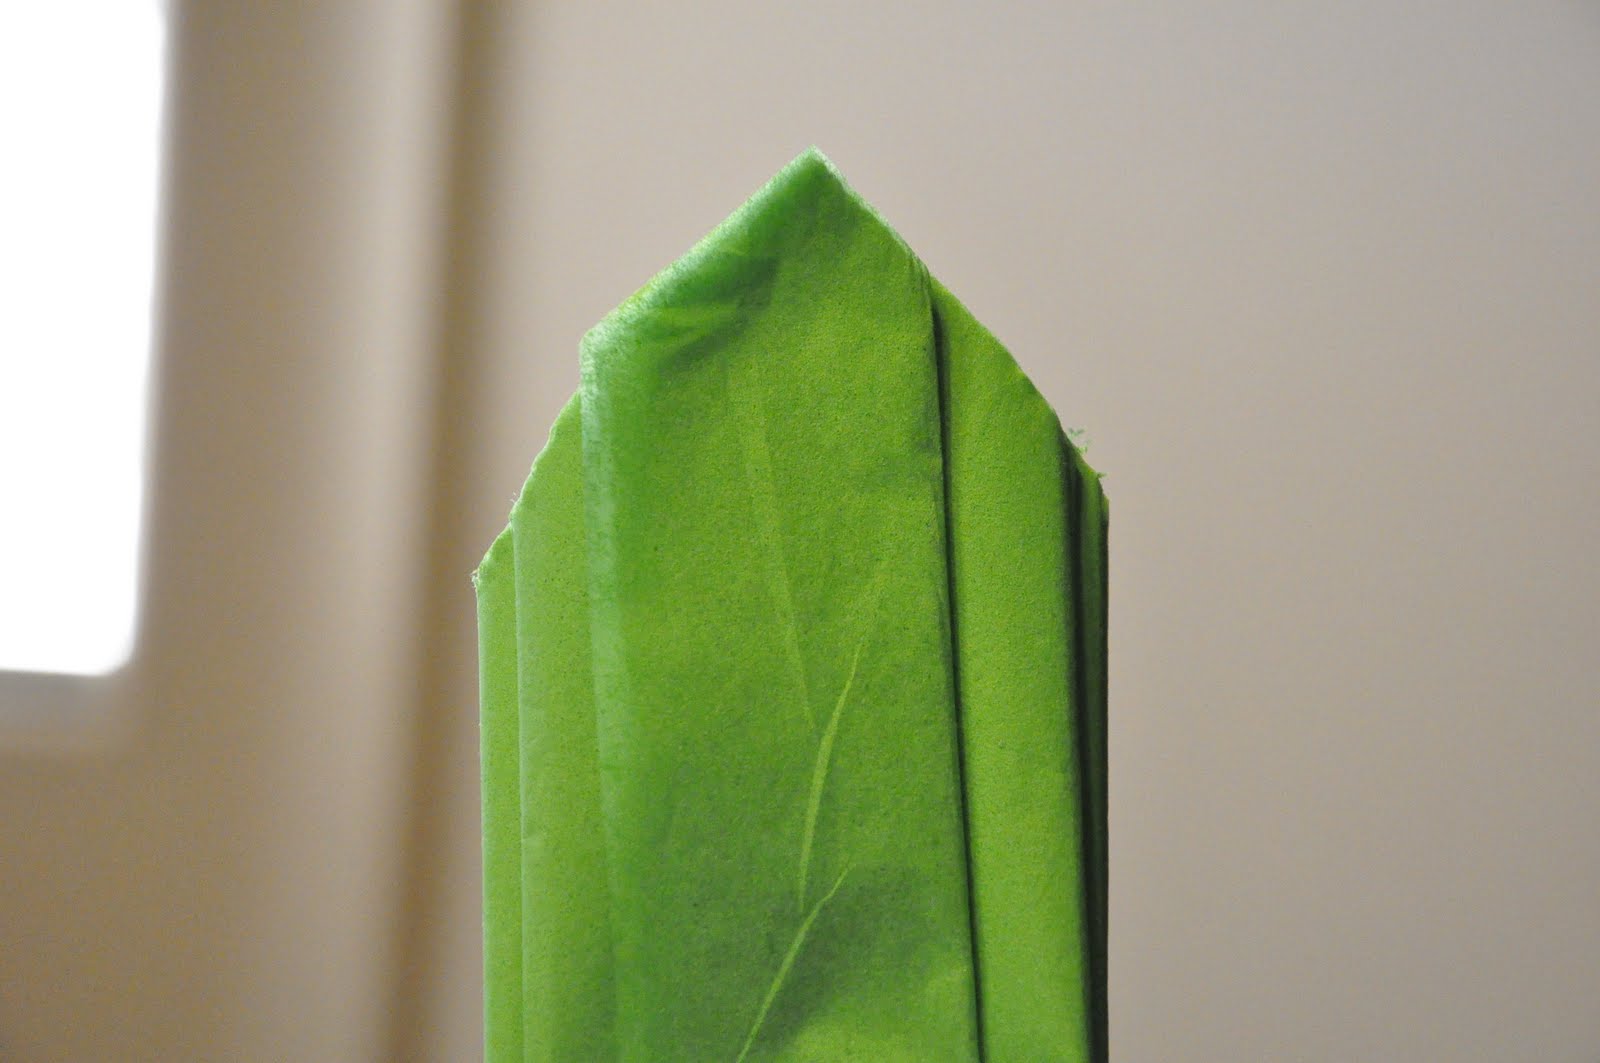
Step 3: Fan out the paper on both sides of the wire.
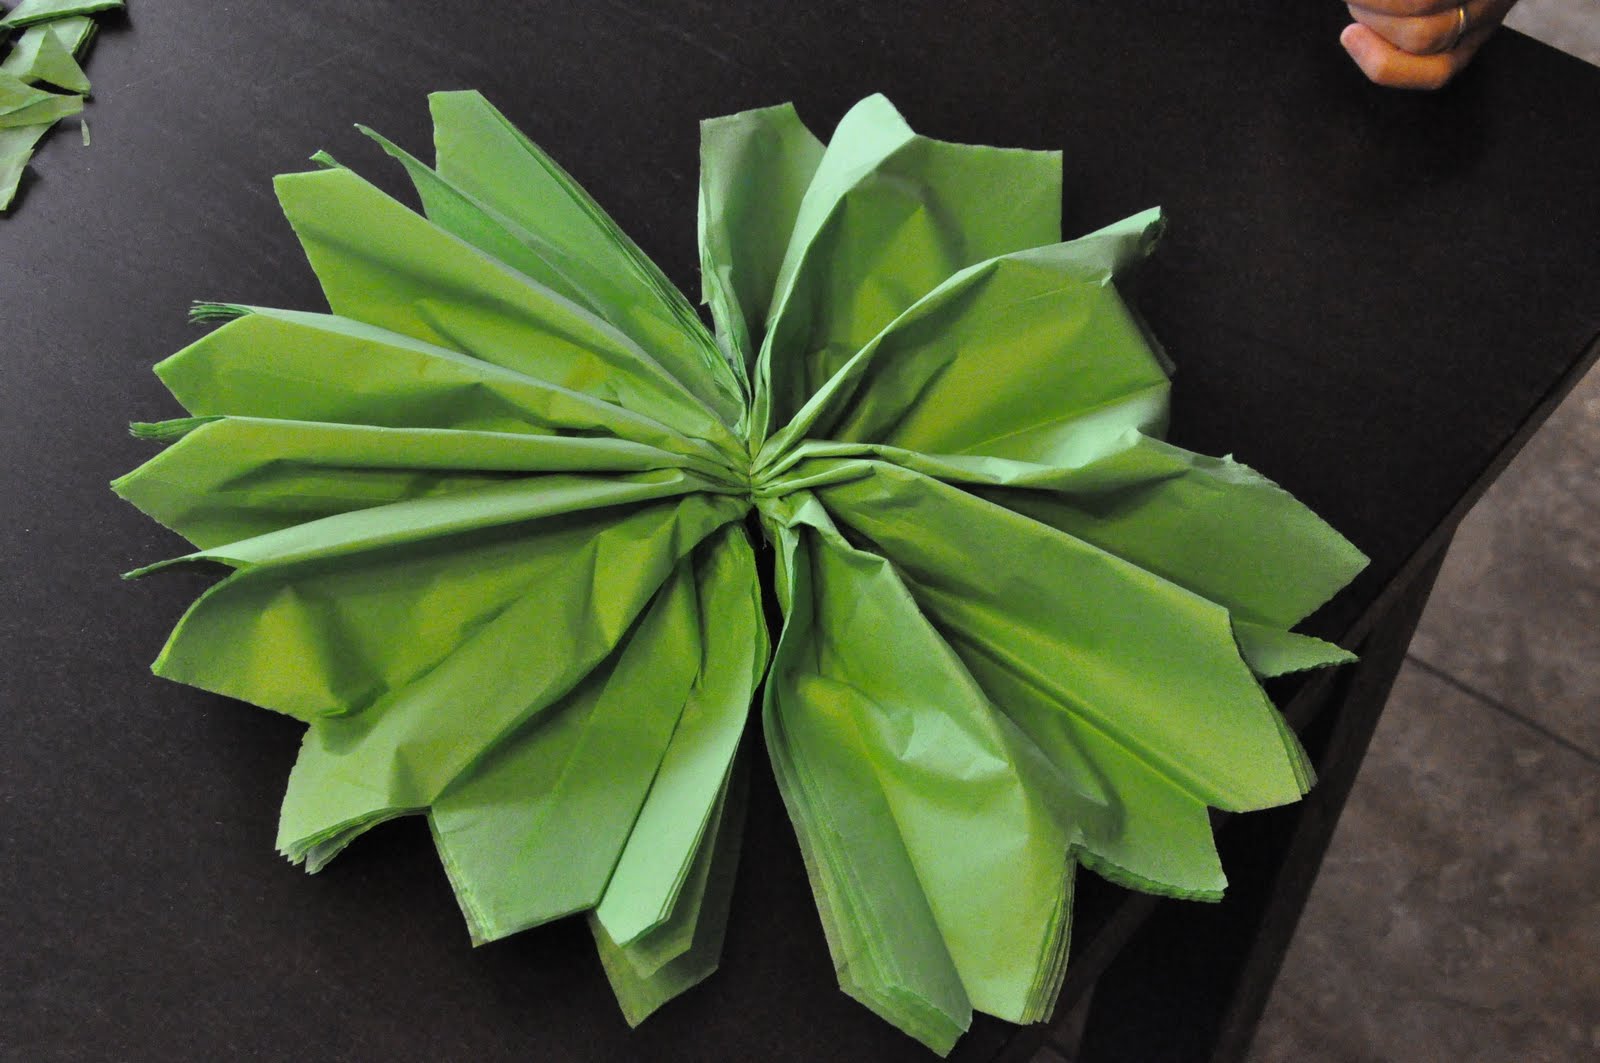
Step 4: Carefully separate the tissue paper one by one on alternating sides of the wire.

Continue separating the tissue paper, and when you get to the end you’ll need to rearrange the tissue paper until it looks even.

Tissue paper only costs $1.00 a package, so think of the possibilities!

I used them to decorate a tablescape! 
You can also hang them with fishing wire from the ceiling!
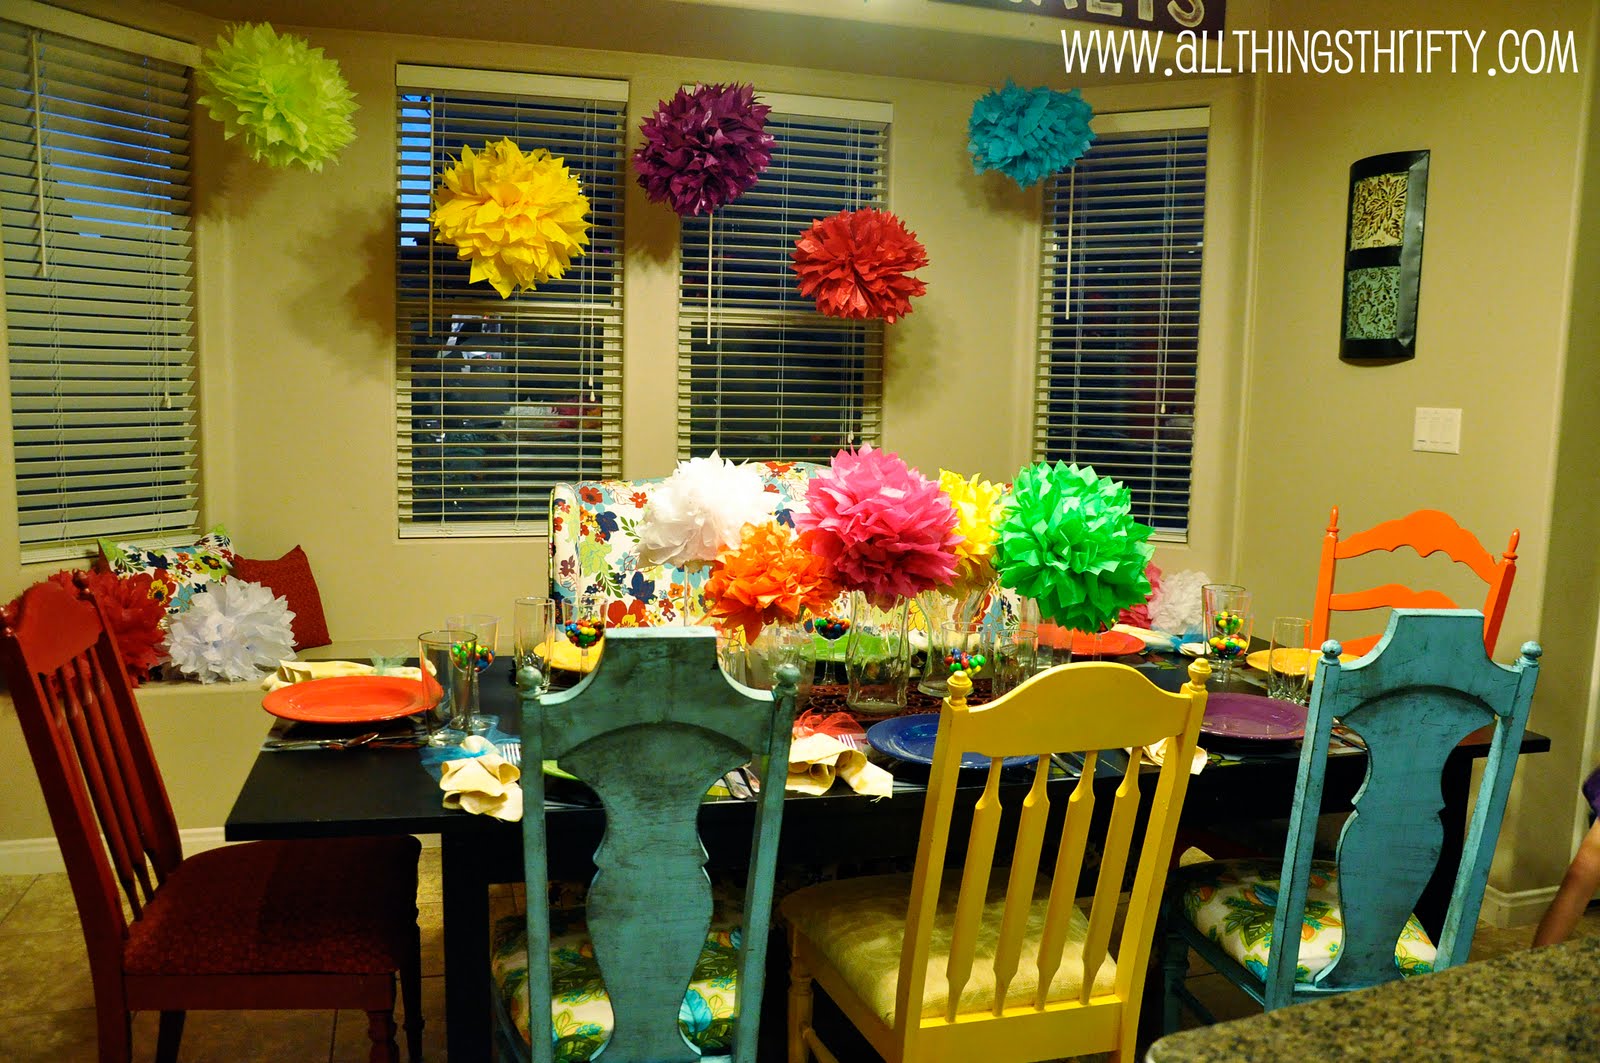
 What a cheap party accessory!
Gosh – I love these!!! Thank you for this tutorial. Most of them aren't as step-by-step. I plan on making some of these for Princess Z's bday party. 🙂 In August. LOL
goodness. these are so cute! thanks for the tutorial!
Thanks for the tutorial. I am so going to do this for my daughter's first birthday Saturday. My other kids can actually help too! BONUS!
Awesome! I've been waiting for an easy to follow tutorial on that!! Thanks!
looks great, i might try these at my sisters wedding.
So easy! I want to make some to hang in my living room and keep them up all the time!
love, love, love these! I can not wait to make them! What a fun idea for a party, holidays, or for all the time 🙂
Oh, good golly! I am making these as soon I humanly possible!
I featured this tutorial on my new blog today! You are single handedly responsible for the punch of color that now adorns my son's nursery. Thanks so much!
Thanks so much for this! I made them and they turned out great! Now hanging from the ceiling of my classroom!
I made some of these for my nieces 1st birthday. They turned out awesome! They hold up really good too. We had them hangning in the basement and never took them down. Now we plan on using them this weekend also for her 2nd birthday. Just adding another color to go with her theme.
I love this project. I’m on a budget. Thanks guys.