Post sponsored by MiracleGro at The Home Depot. All opinions are 100% mine. Post may contain affiliate links.
My favorite projects are the ones that only take one day. Being in project-mode is messy, and if we can bang out a project in one day, life feels less chaotic! In order to get the project done that quickly, it takes organization and cooperation from the hubsters, but this project is all done and definitely only took us ONE DAY!!
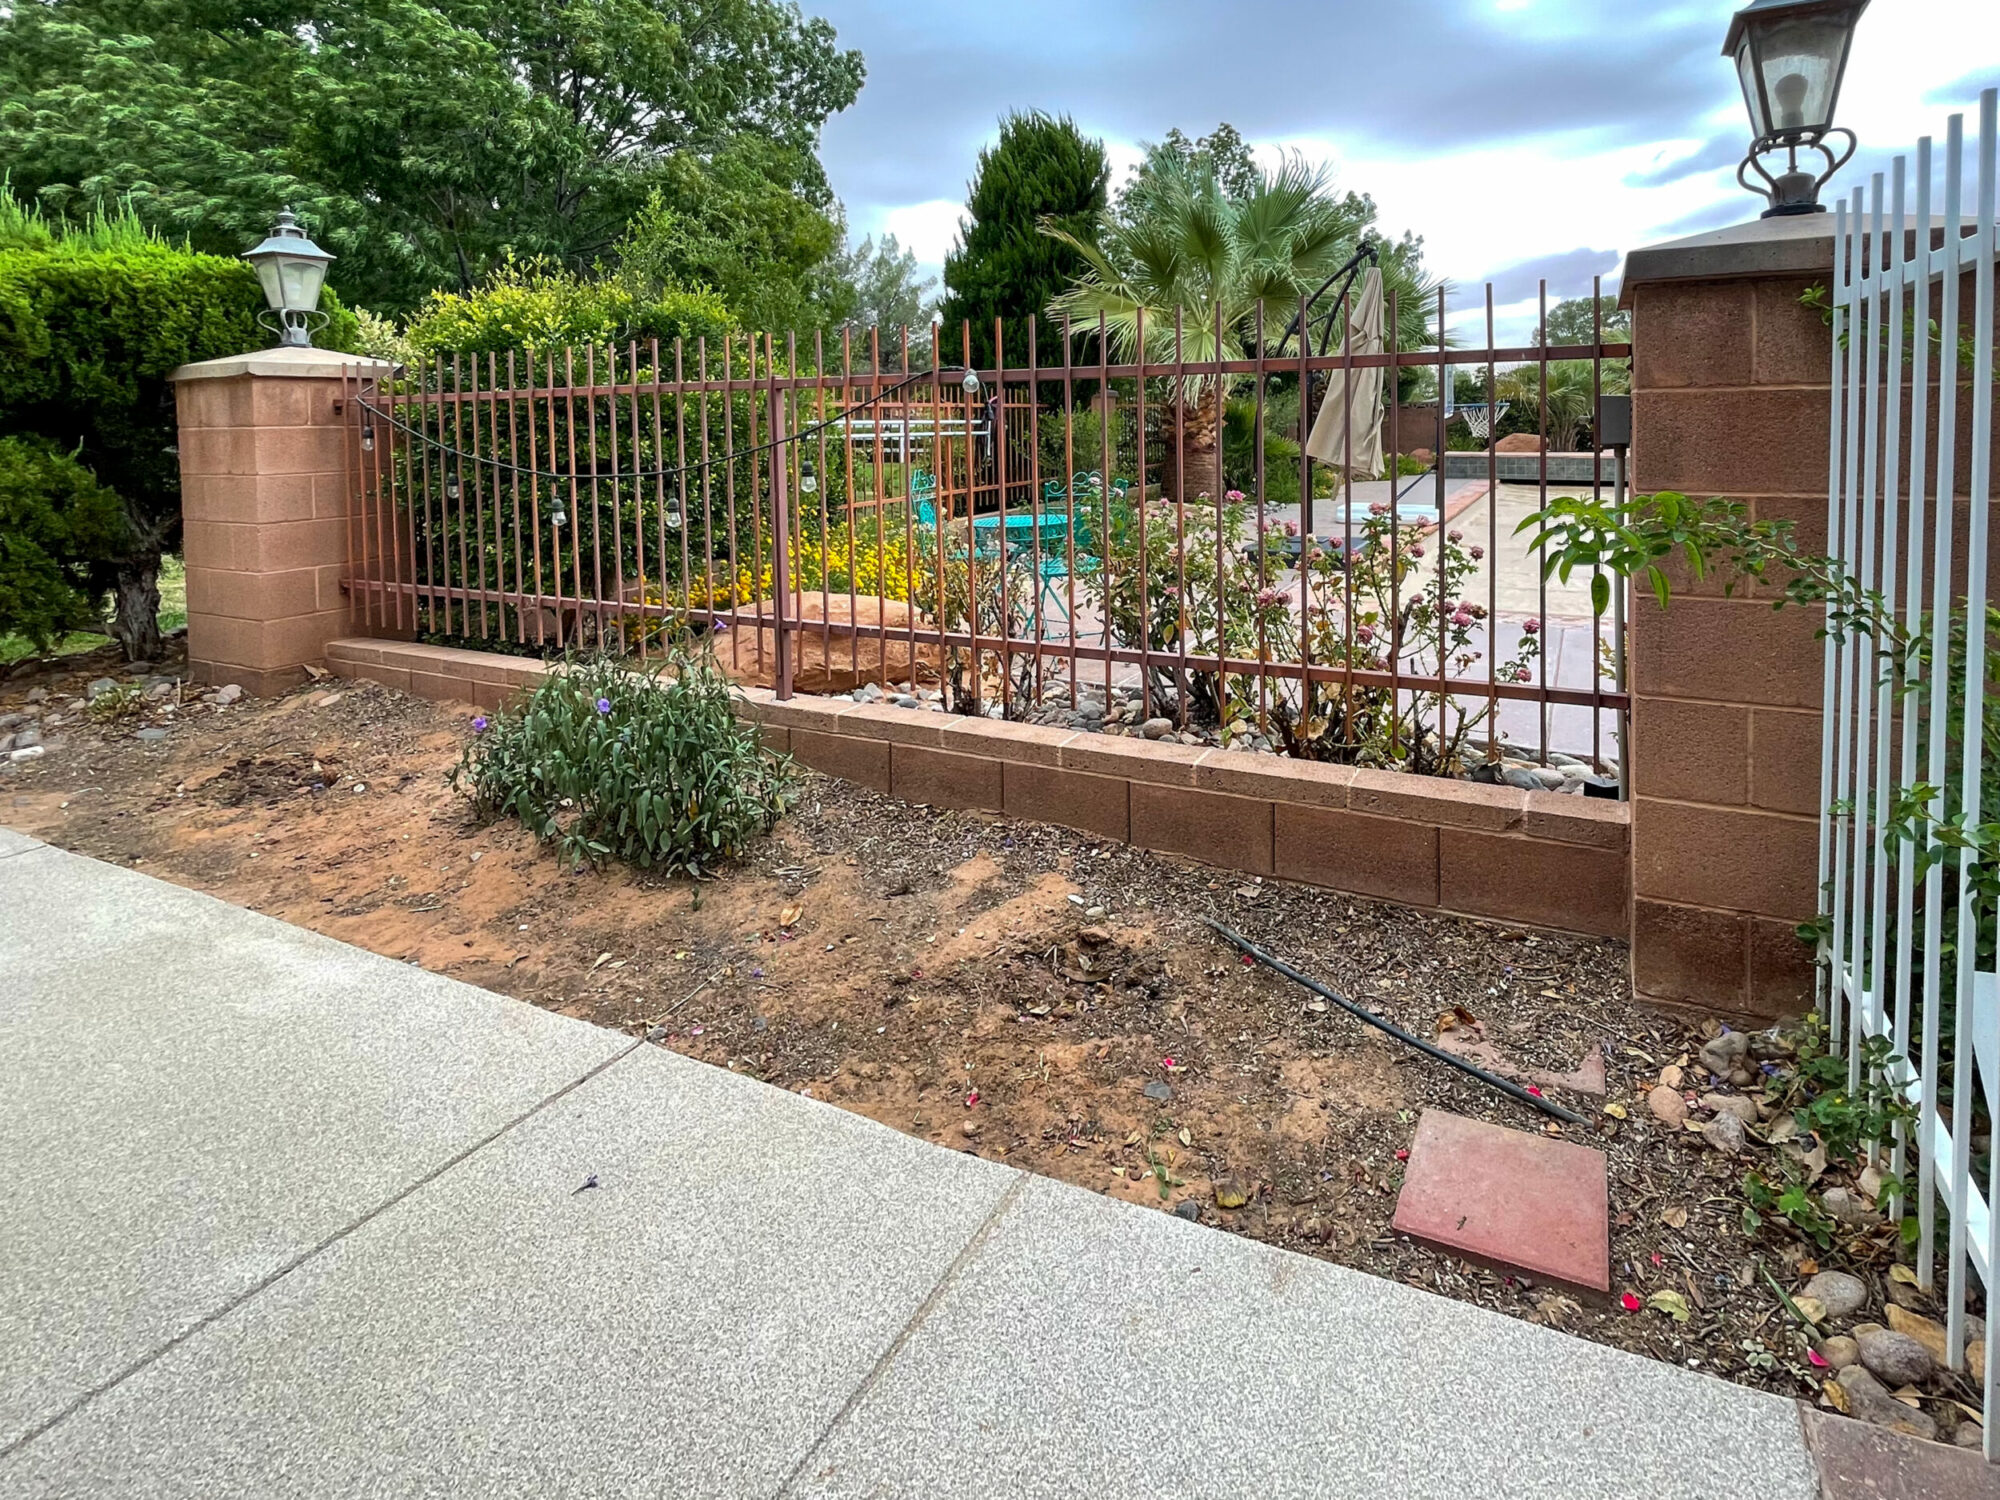
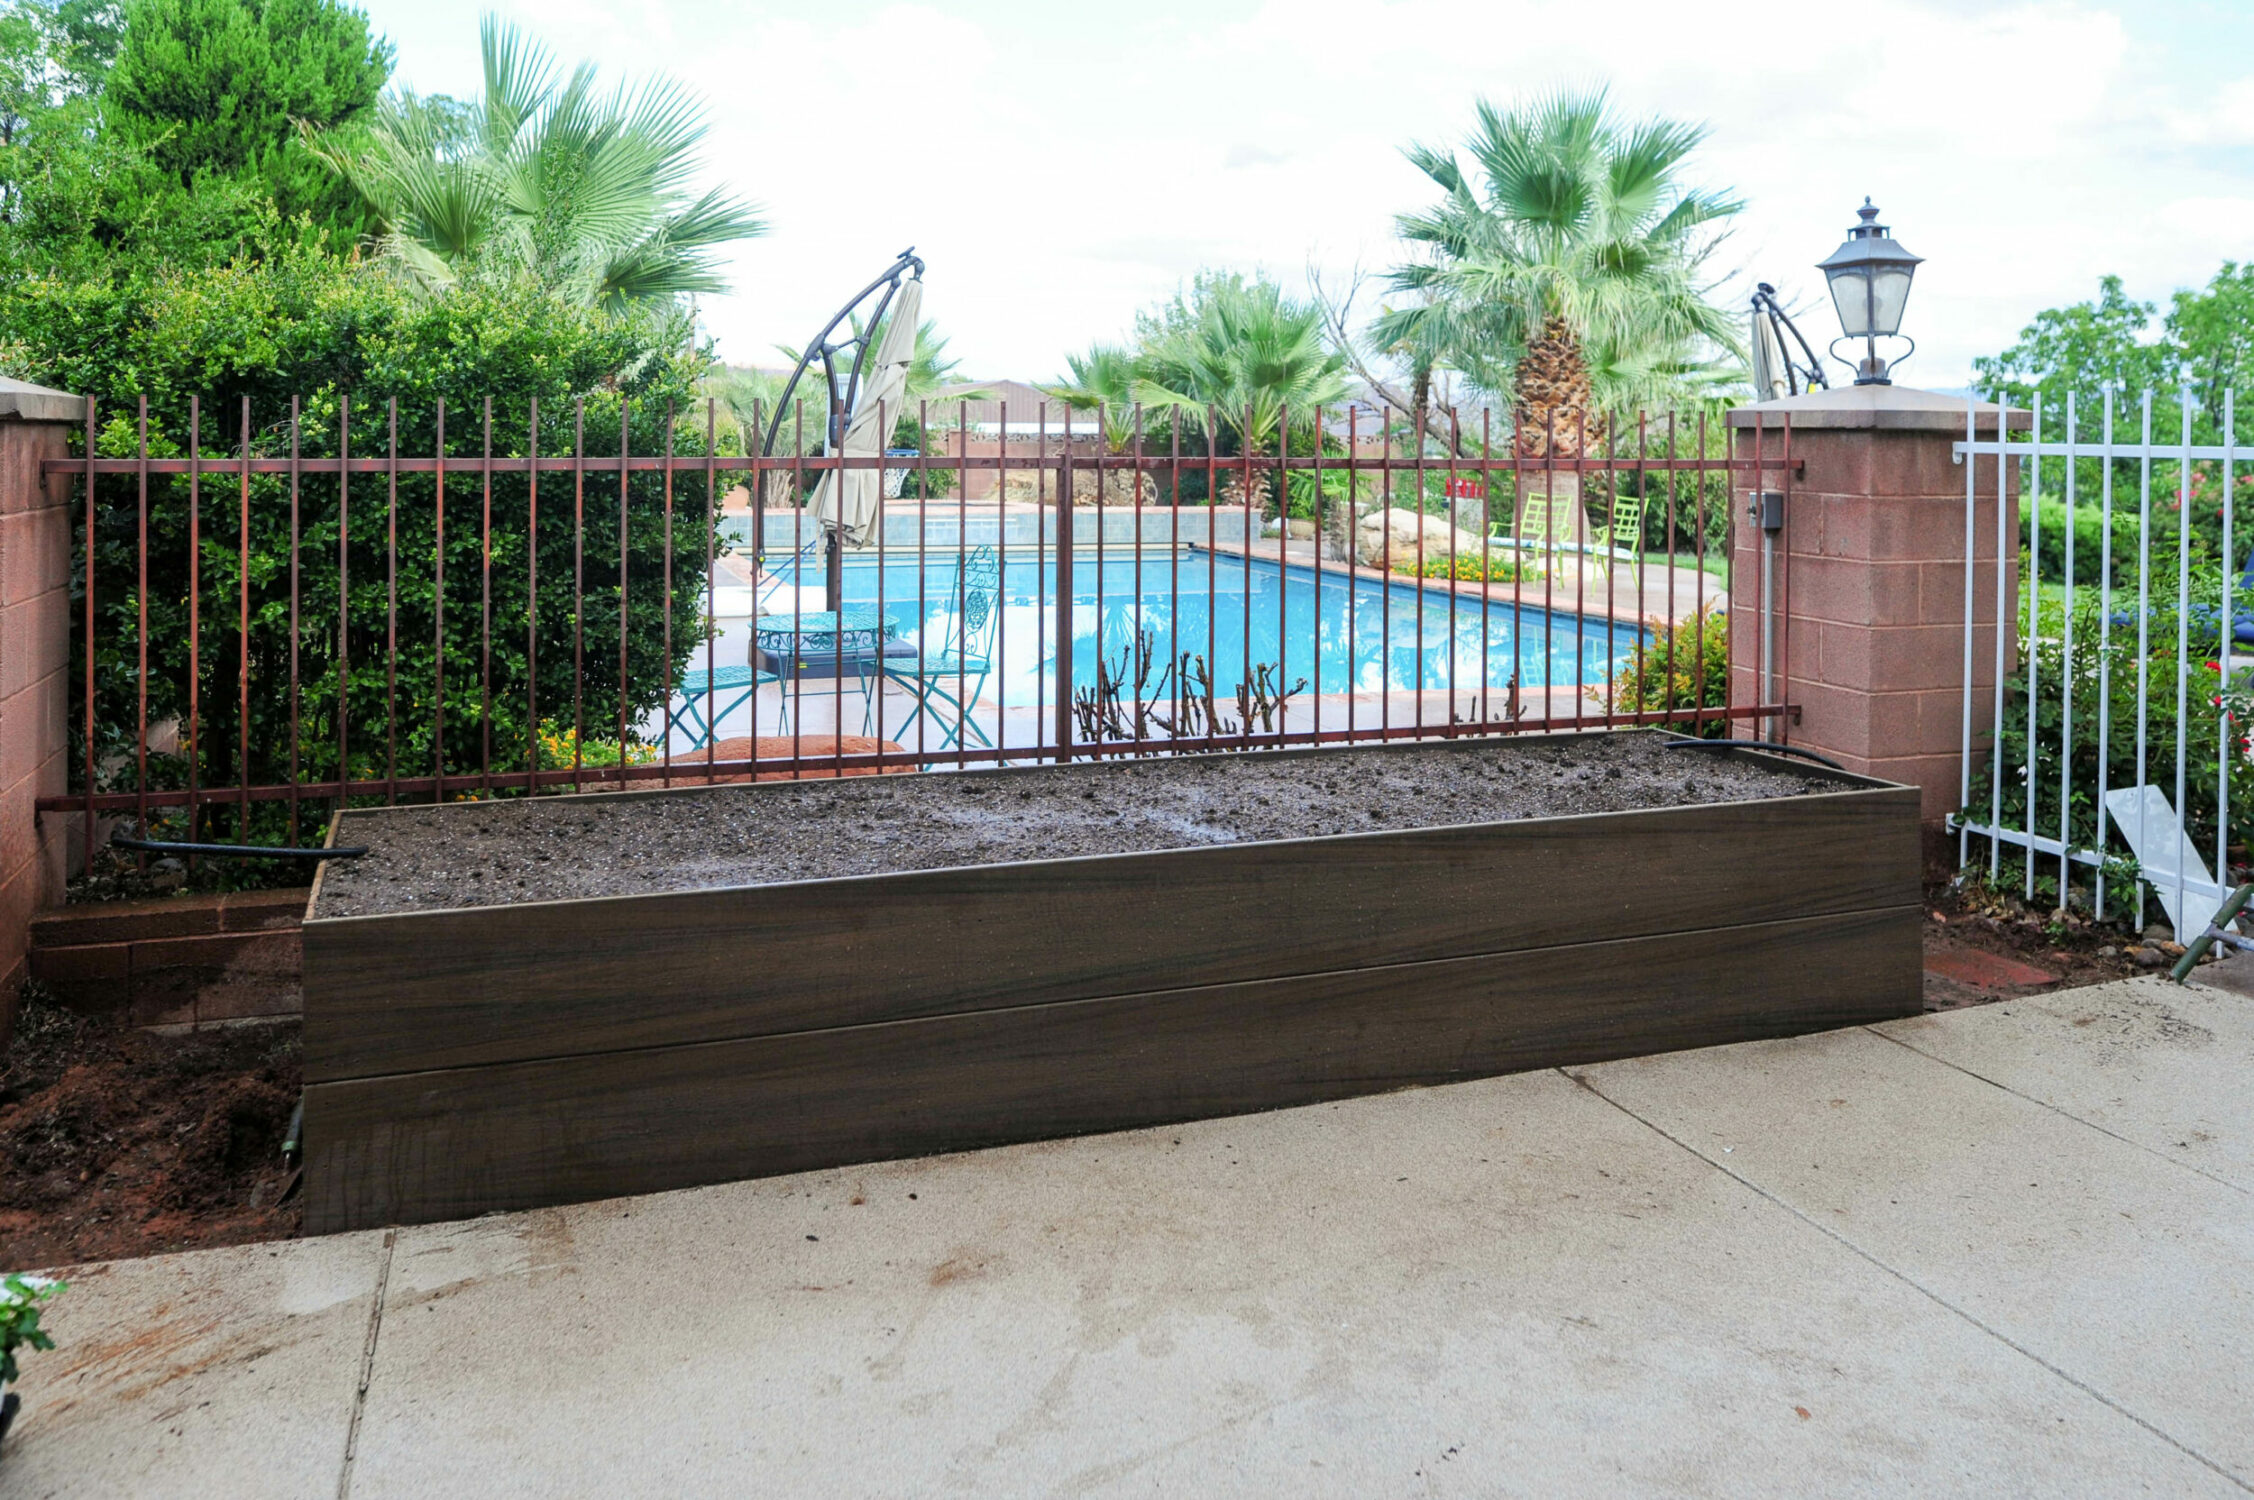
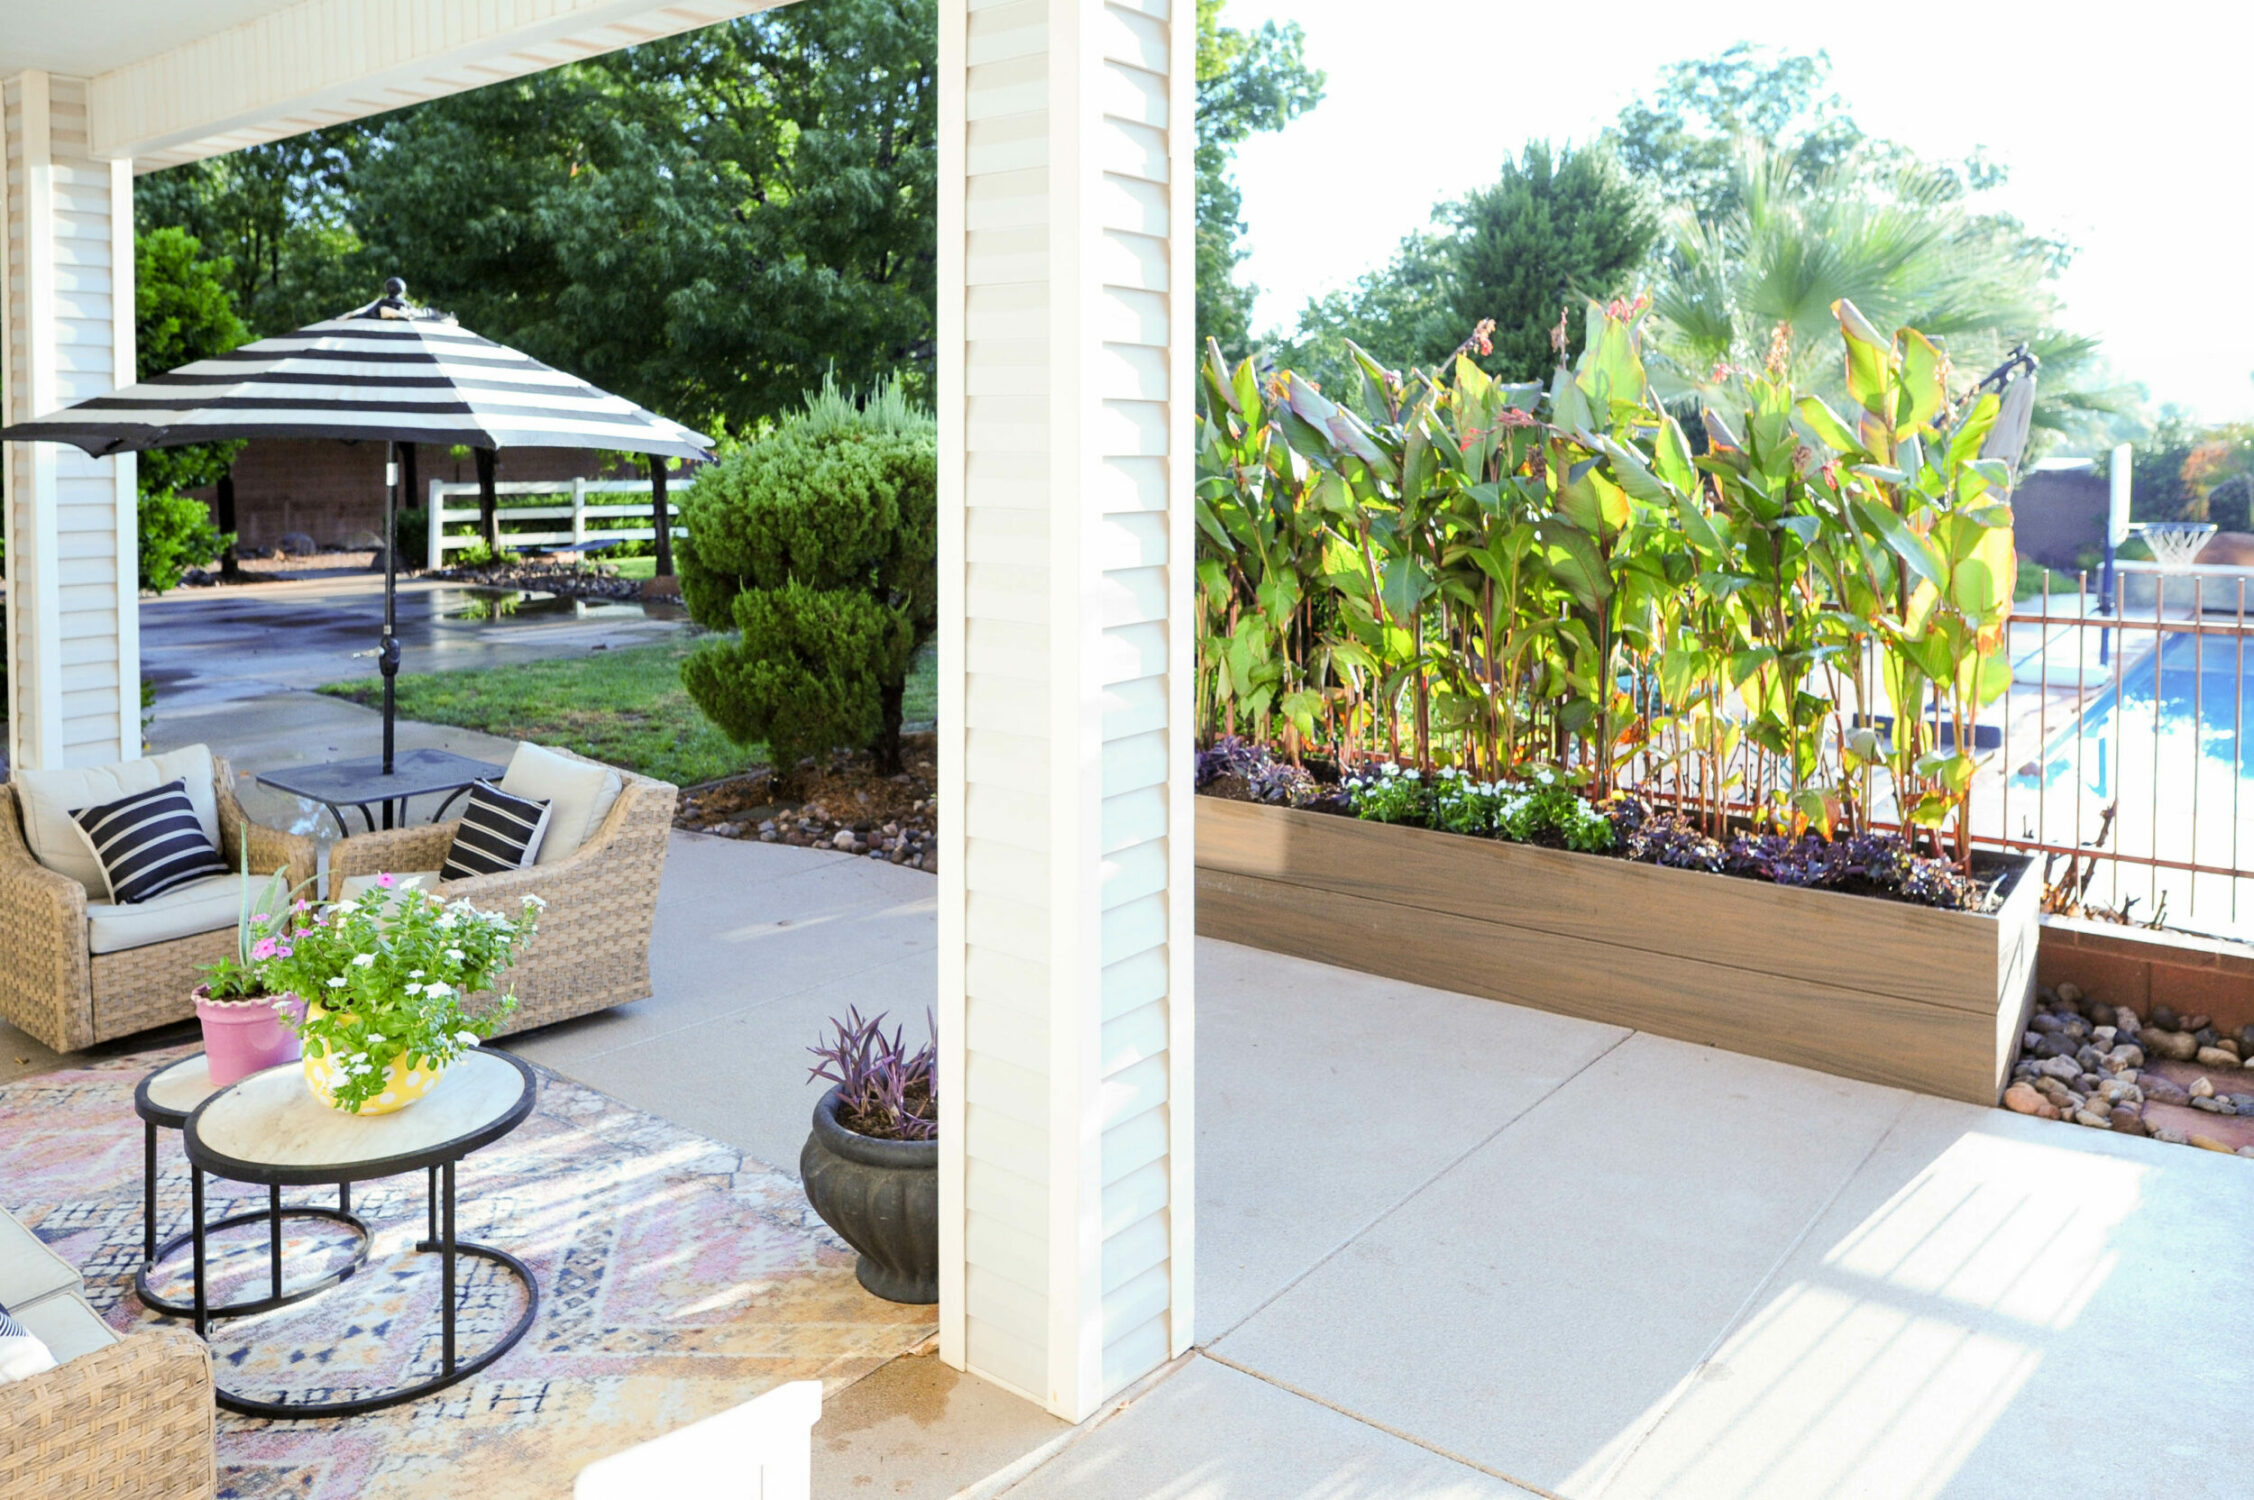
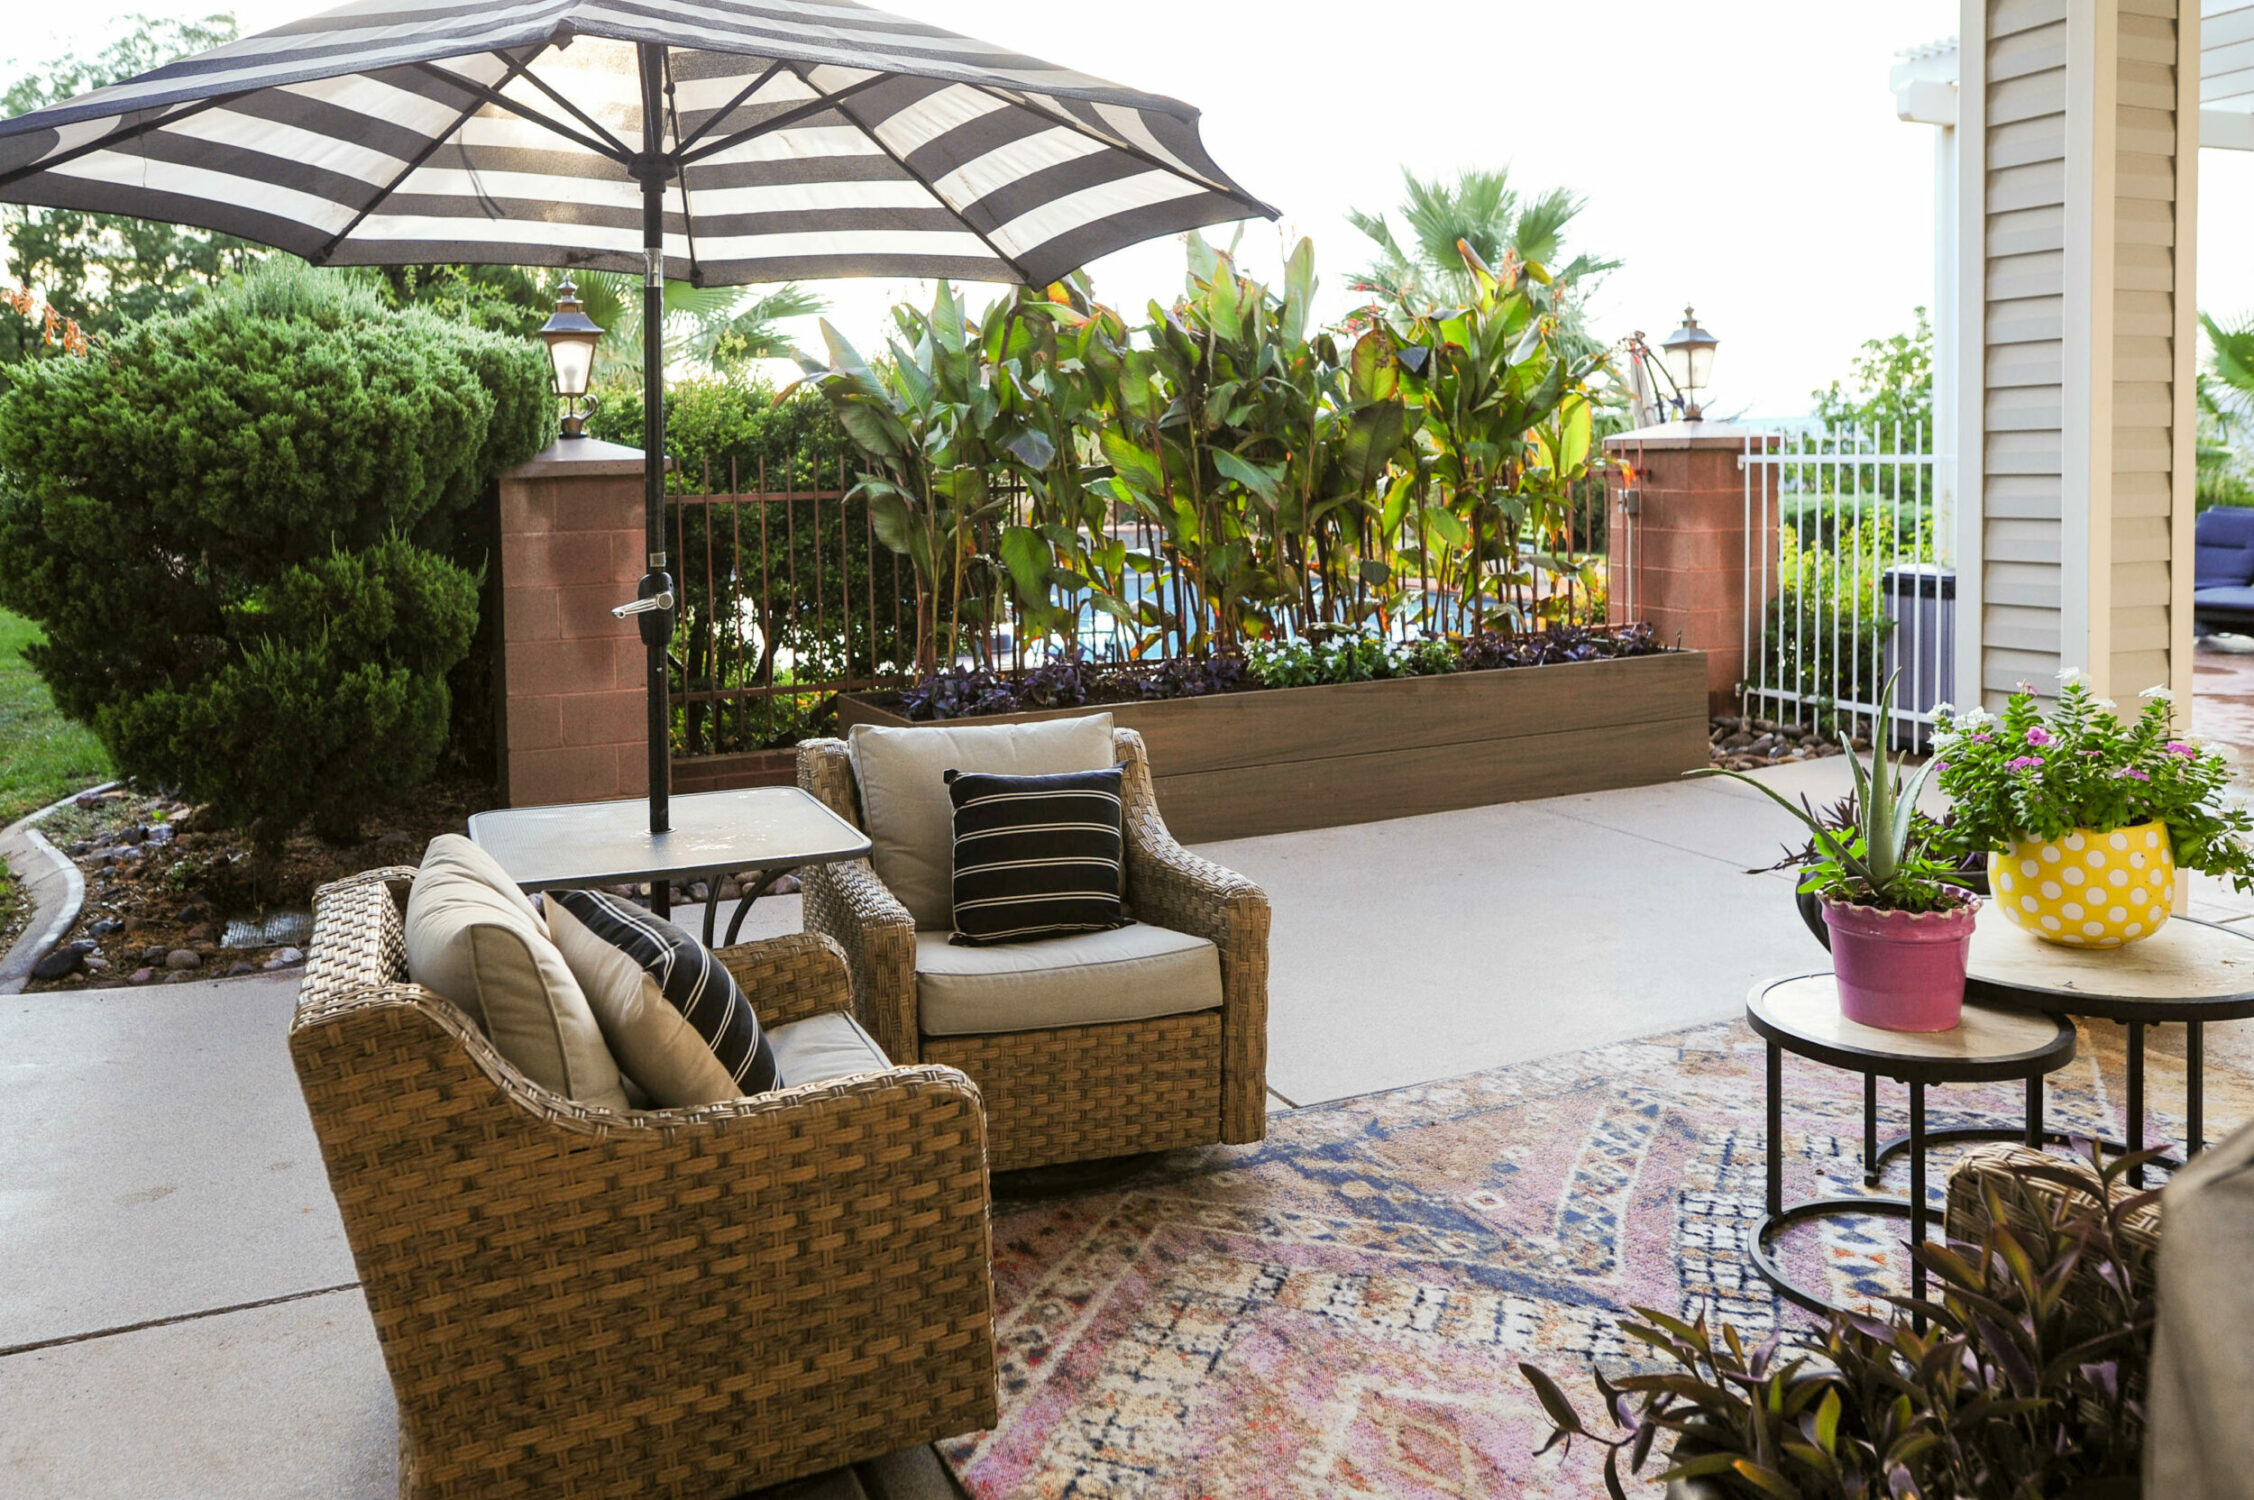
Before:
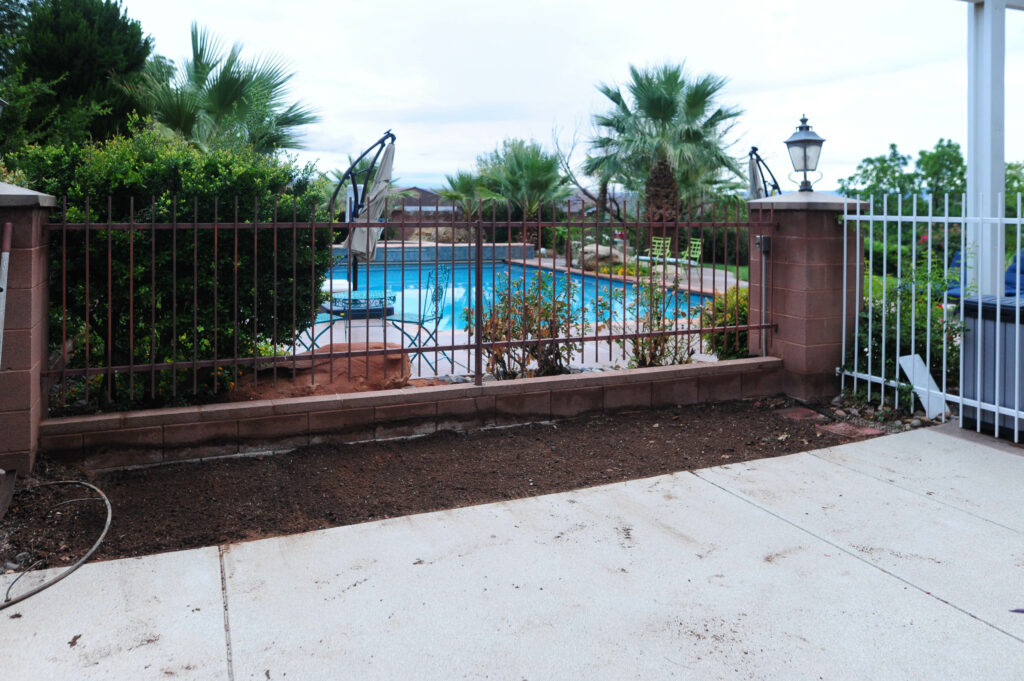
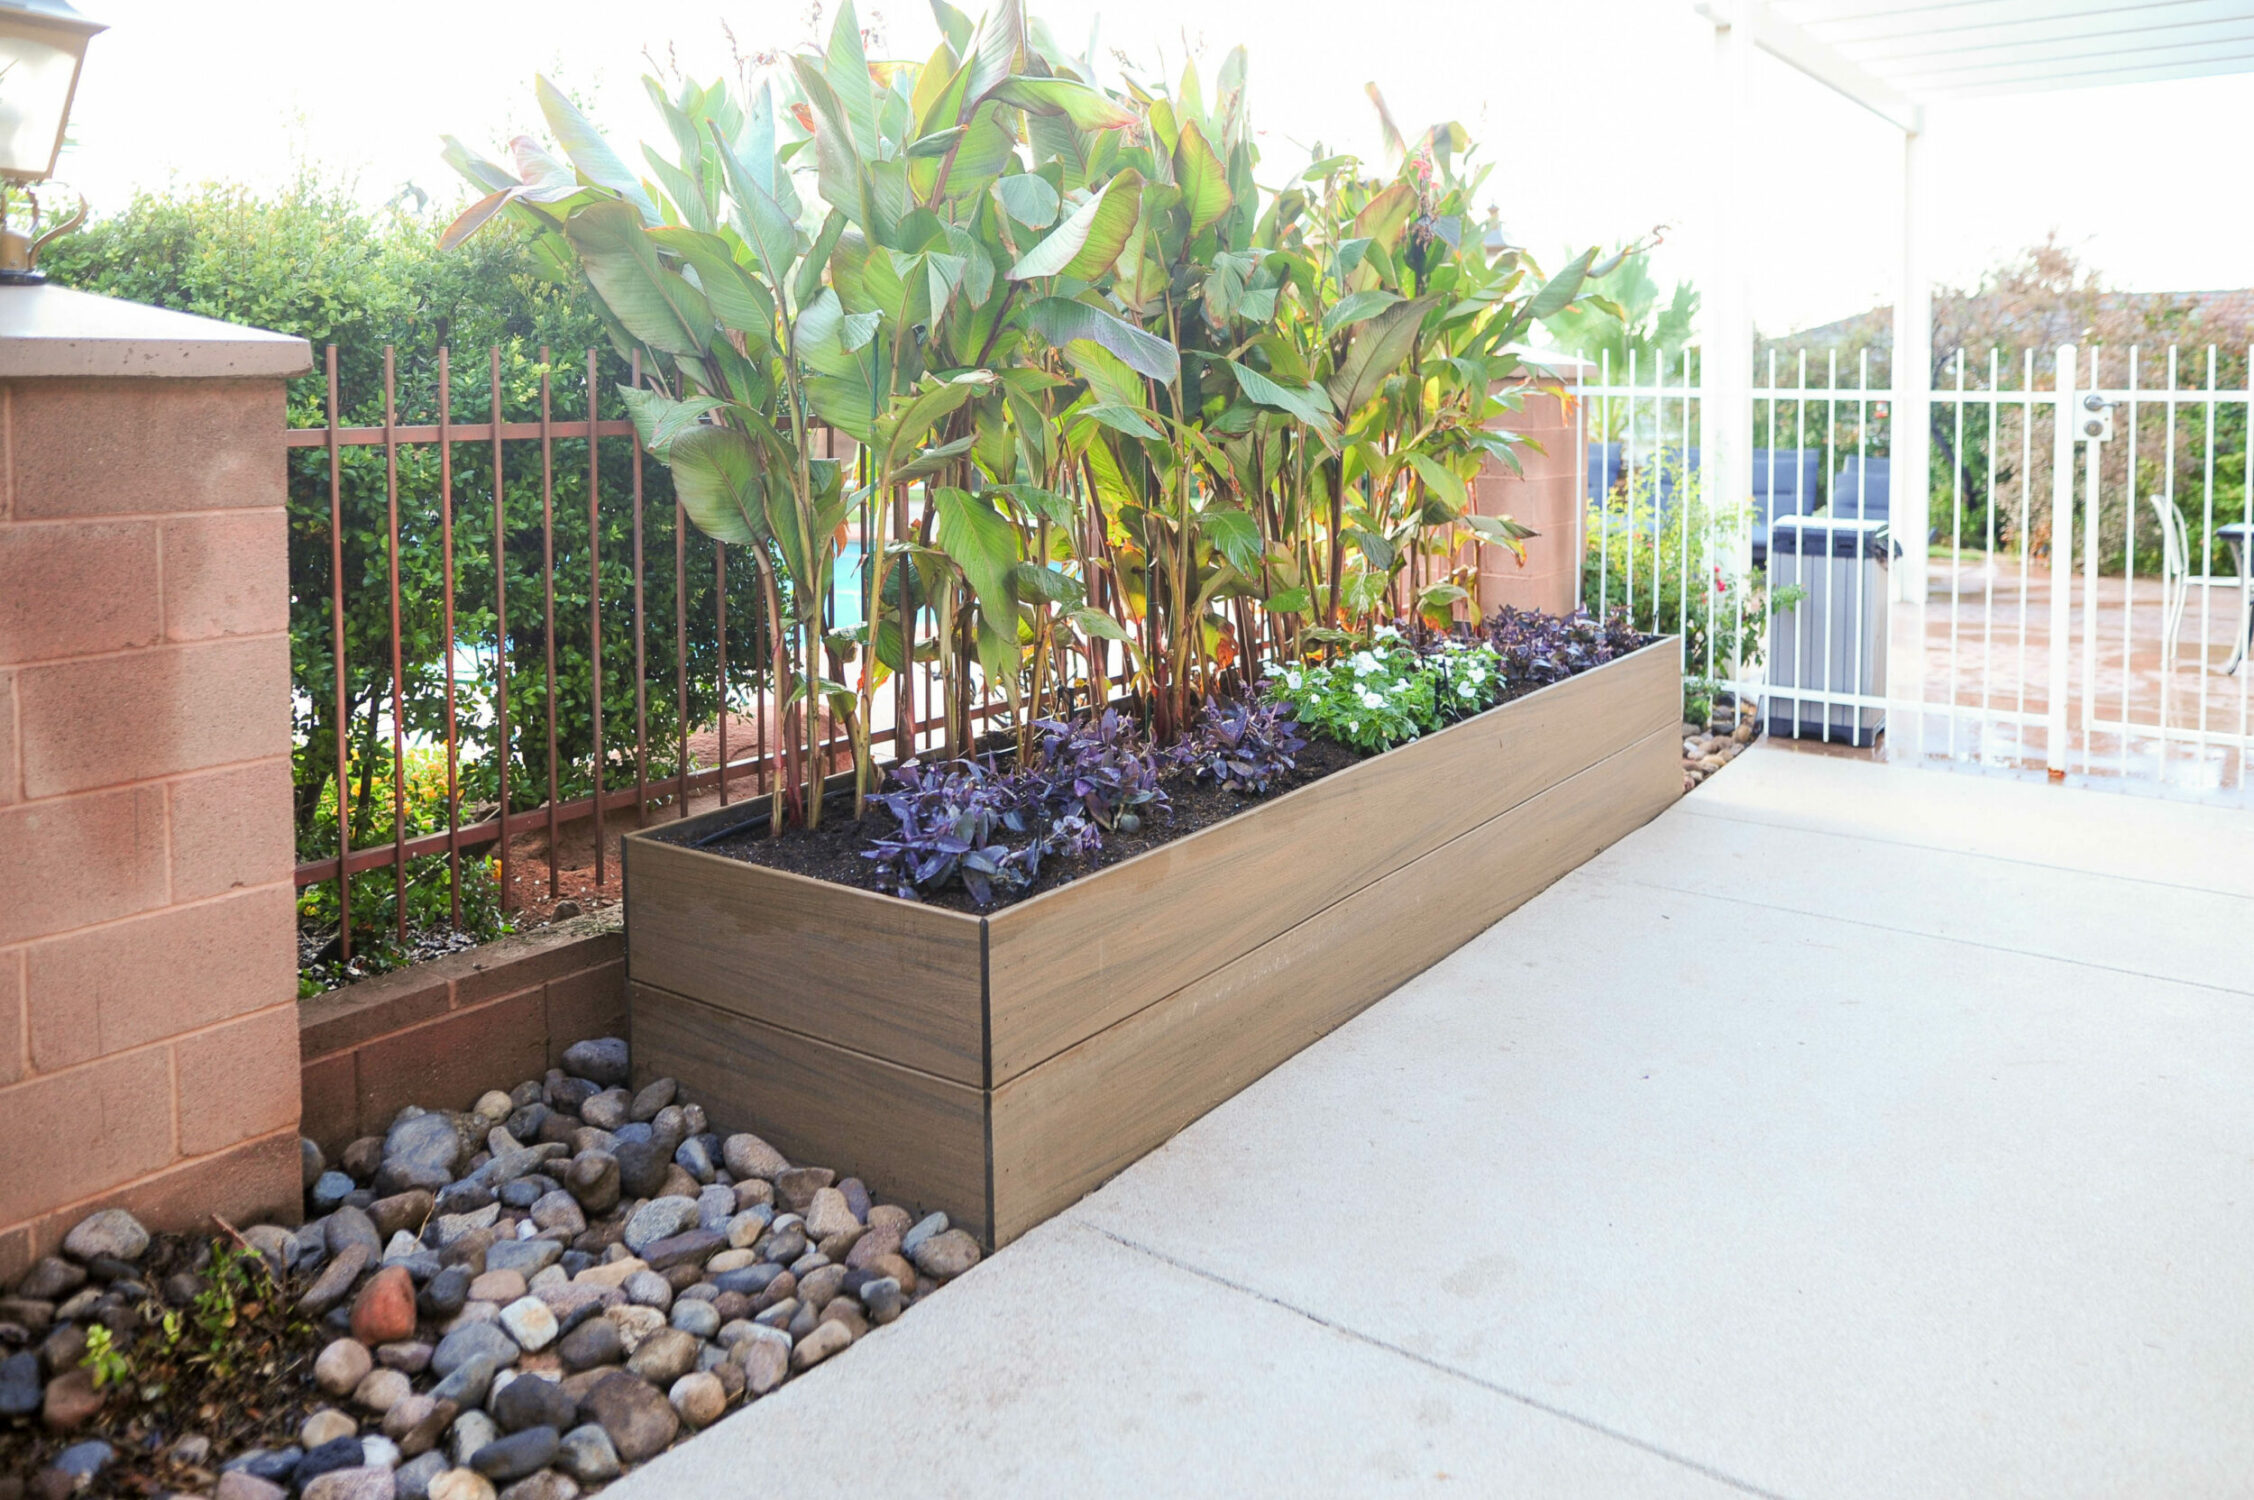
After:

Our backyard patio flower bed has been a problem since we moved into this house 5 years ago. I have planted this flower bed four times now. But, flowers, bushes, and plants never seemed to survive, and before we invested time and money to this area in our yard, we needed to fix a few problems first.
Problems-to-solve list:
- The irrigation system in this area was not working properly. It is already hooked up to our automatic sprinkler/dripper system, but for some reason, everything we plant in this area lives a short, sad life.
- The soil was BAD. The native soil in our area isn’t great to begin with, but this spot in our yard is specifically bad. Water doesn’t seem to soak in very well, and even when I watered plants daily by hand, the soil seemed to repel water! It was so weird. Plus, I’ll admit, the area was never properly leveled, so the water always ran downhill away from my plants. DUR.
- The potential. Oh, man this area has potential. I WANT A BEAUTIFUL area on my back patio. But, after several tries, we have failed. I am still holding on to the vision in my head.
Step 1: The Plan
I wrote up a plan. When I write up the exact plan for our projects, it helps my hubs, Dan to get on board with helping, and it also helps to get organized.
 Step 2: Gather Supplies
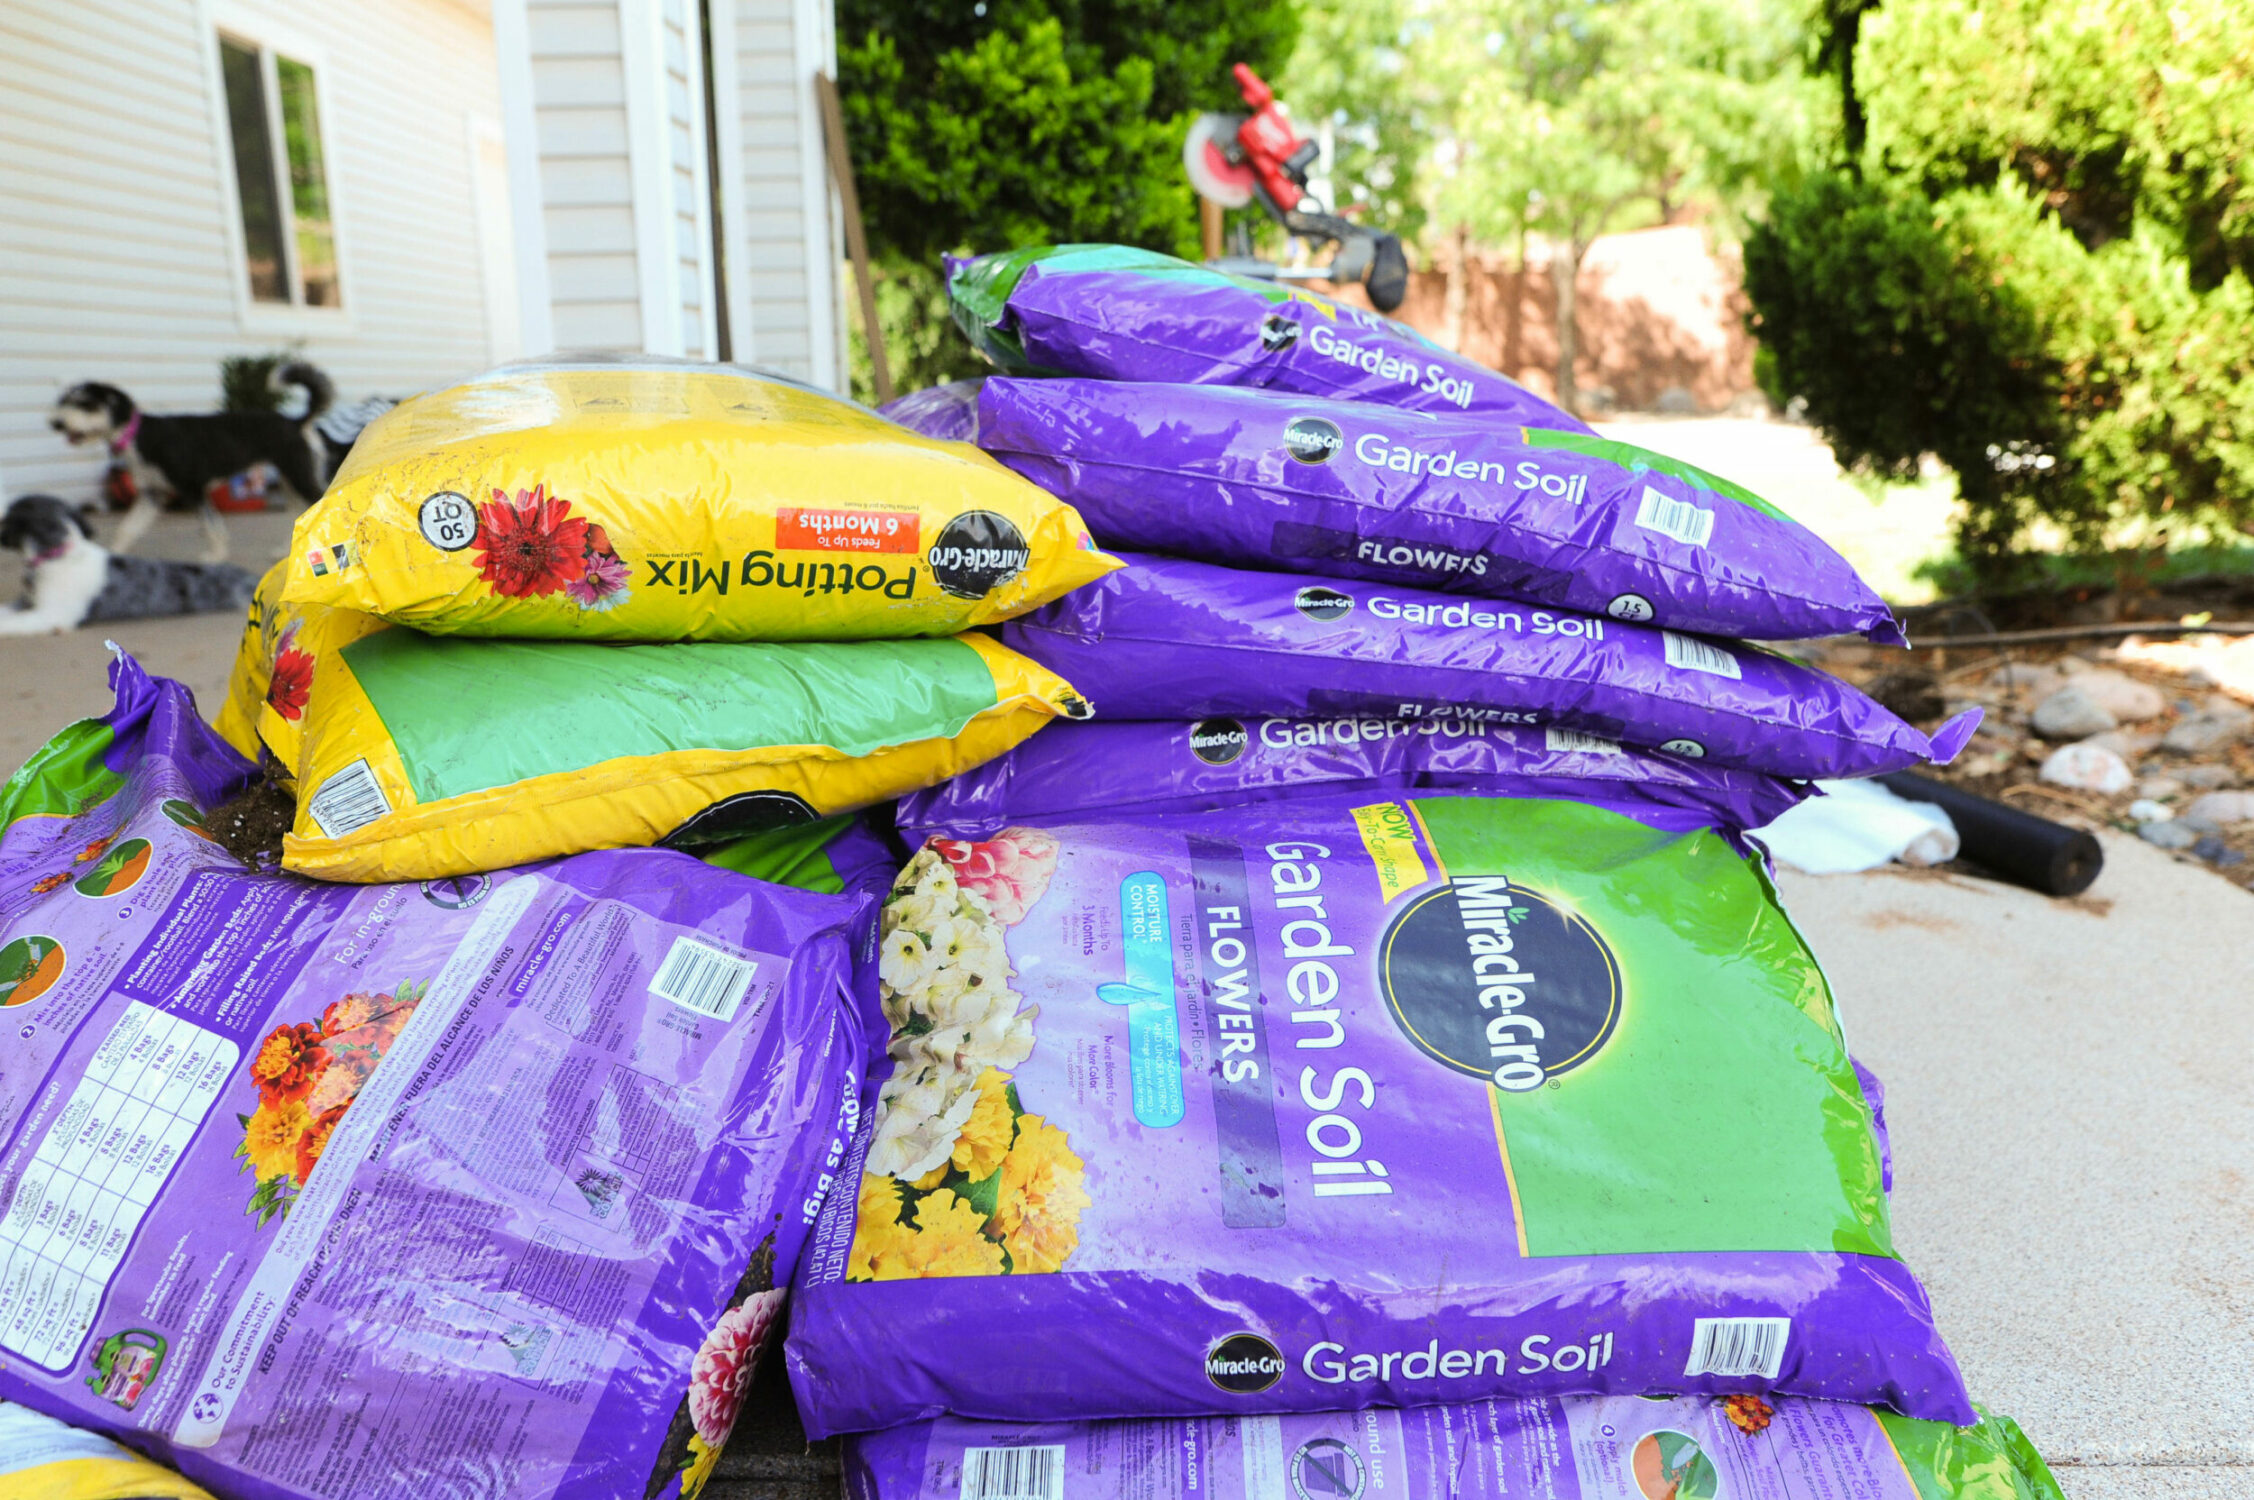
Supplies:
- 25 bags of MiracleGro Garden Soil
- 6 Bags of MiracleGro Potting Mix
- MiracleGro Shake and Feed
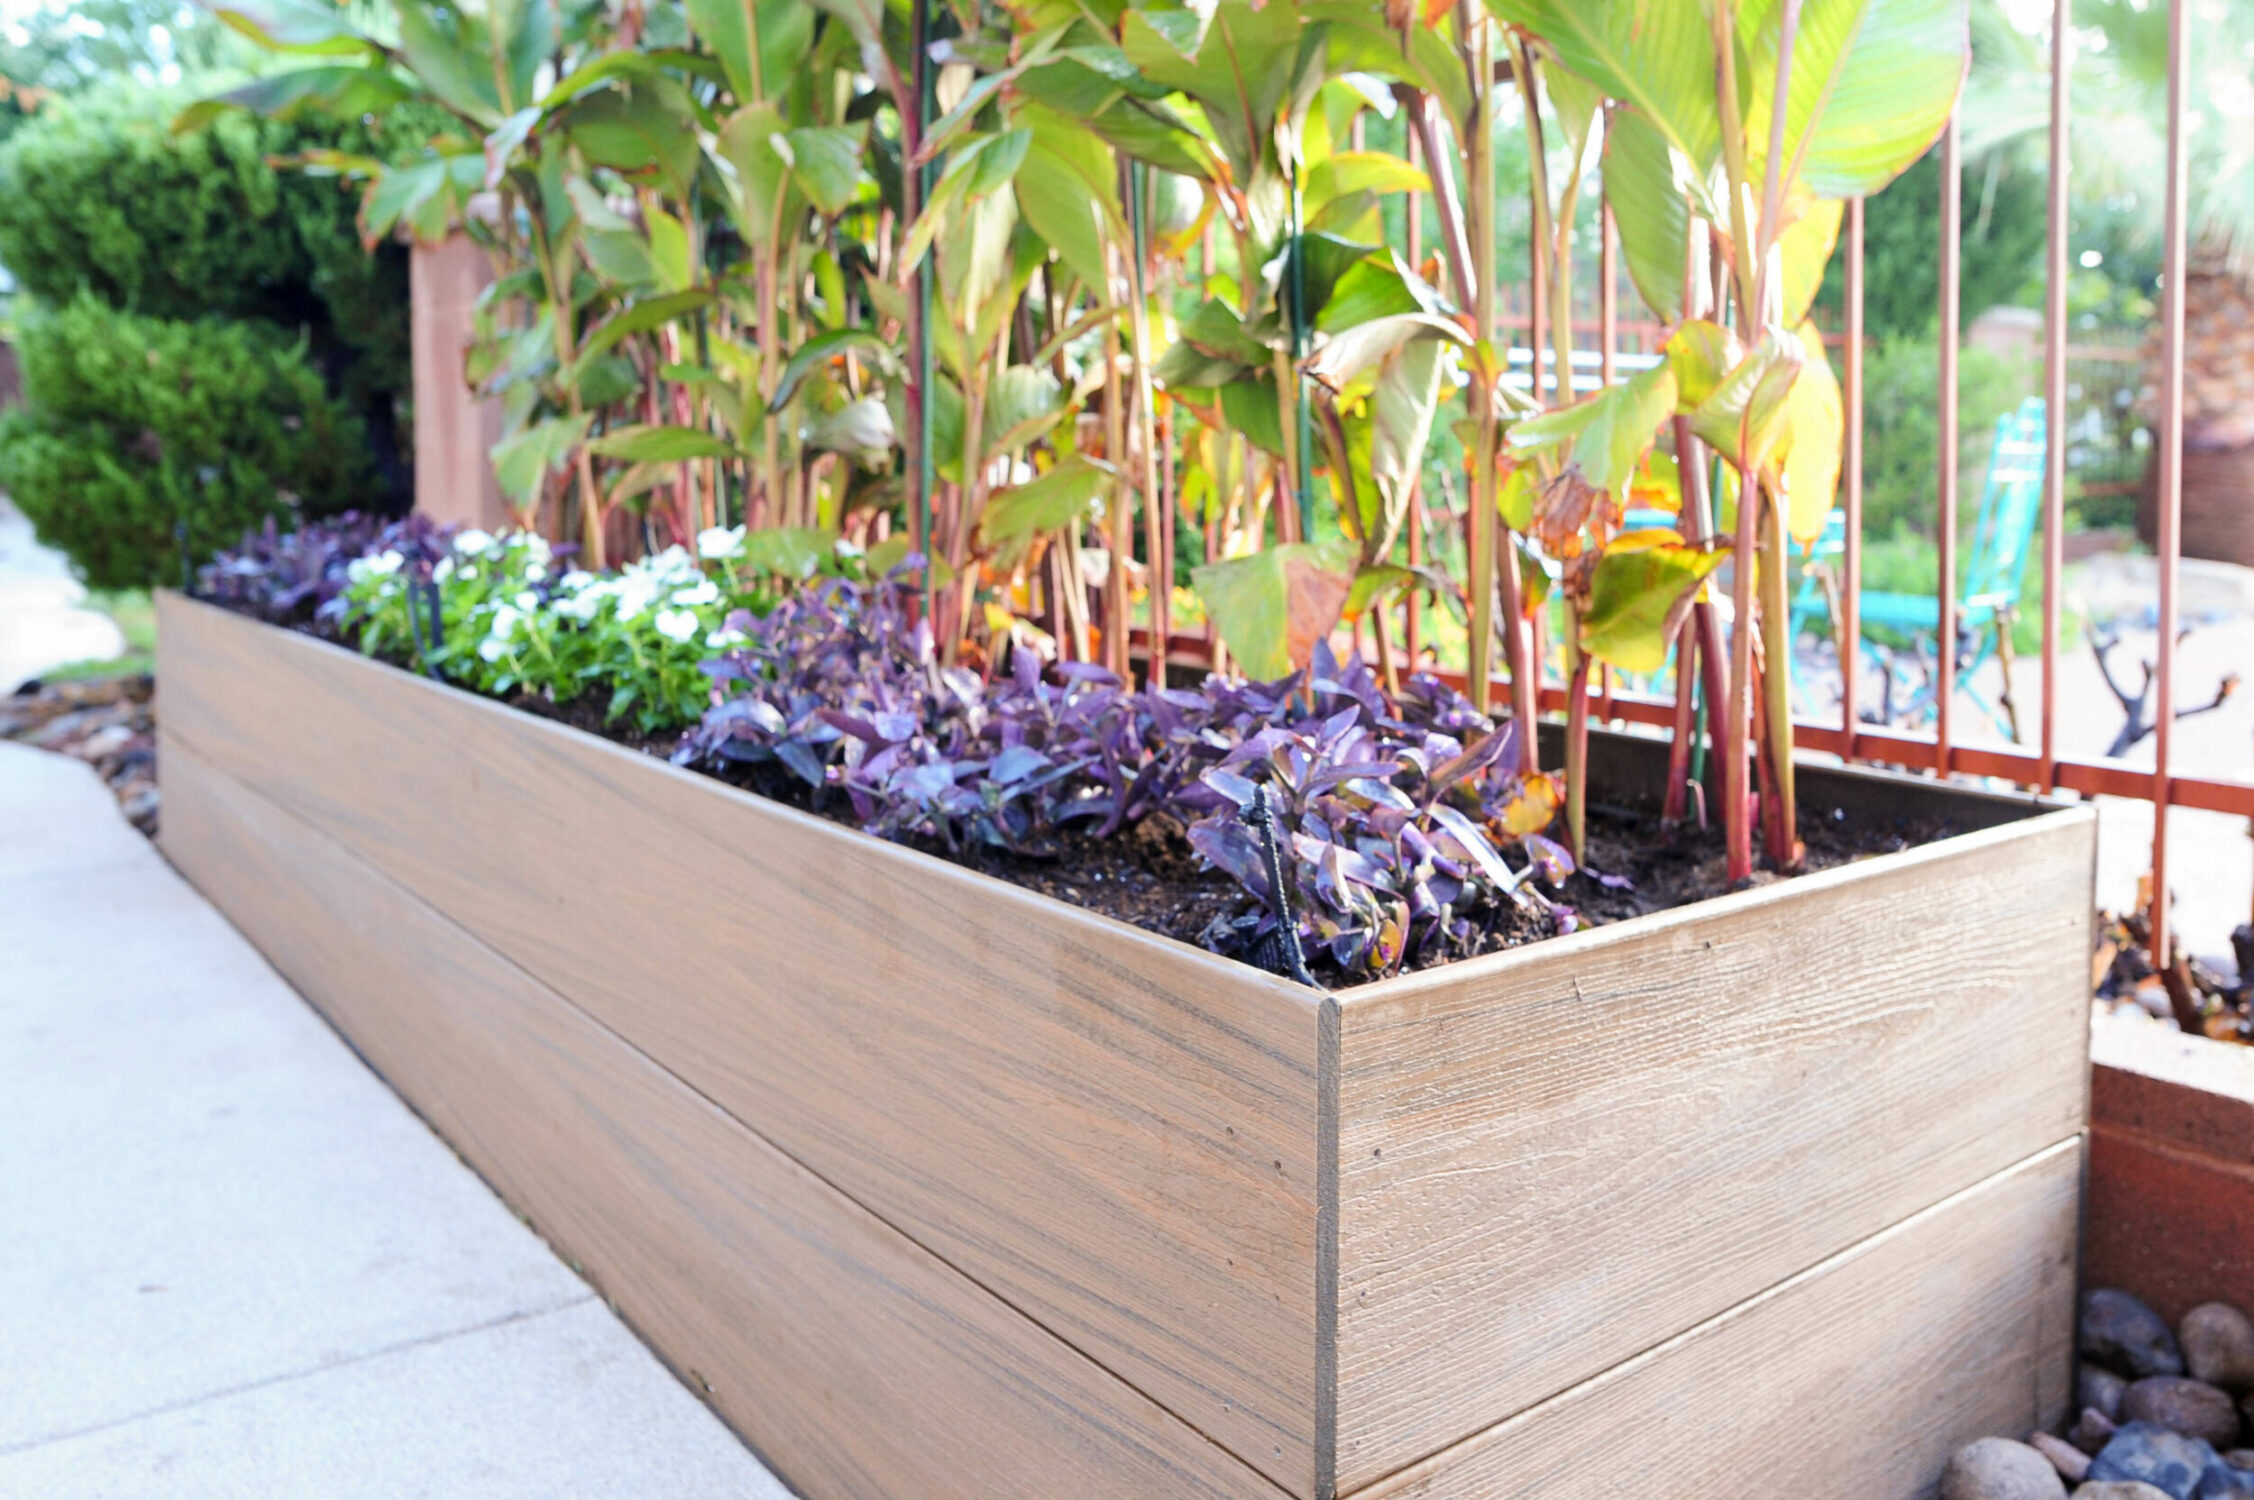
- 6 –12′ X12 inch composite decking boards
- 2 Cedar 4″X4″X8′ boards
- 2 1/2 inch Decking Screws
- Plastic Visqueen
- Weed Mat
- 5 bags of pea gravel
- 4 Micro Sprayers
- Drip Tubing
- GrubEx for the Grubs we found
Tools needed:
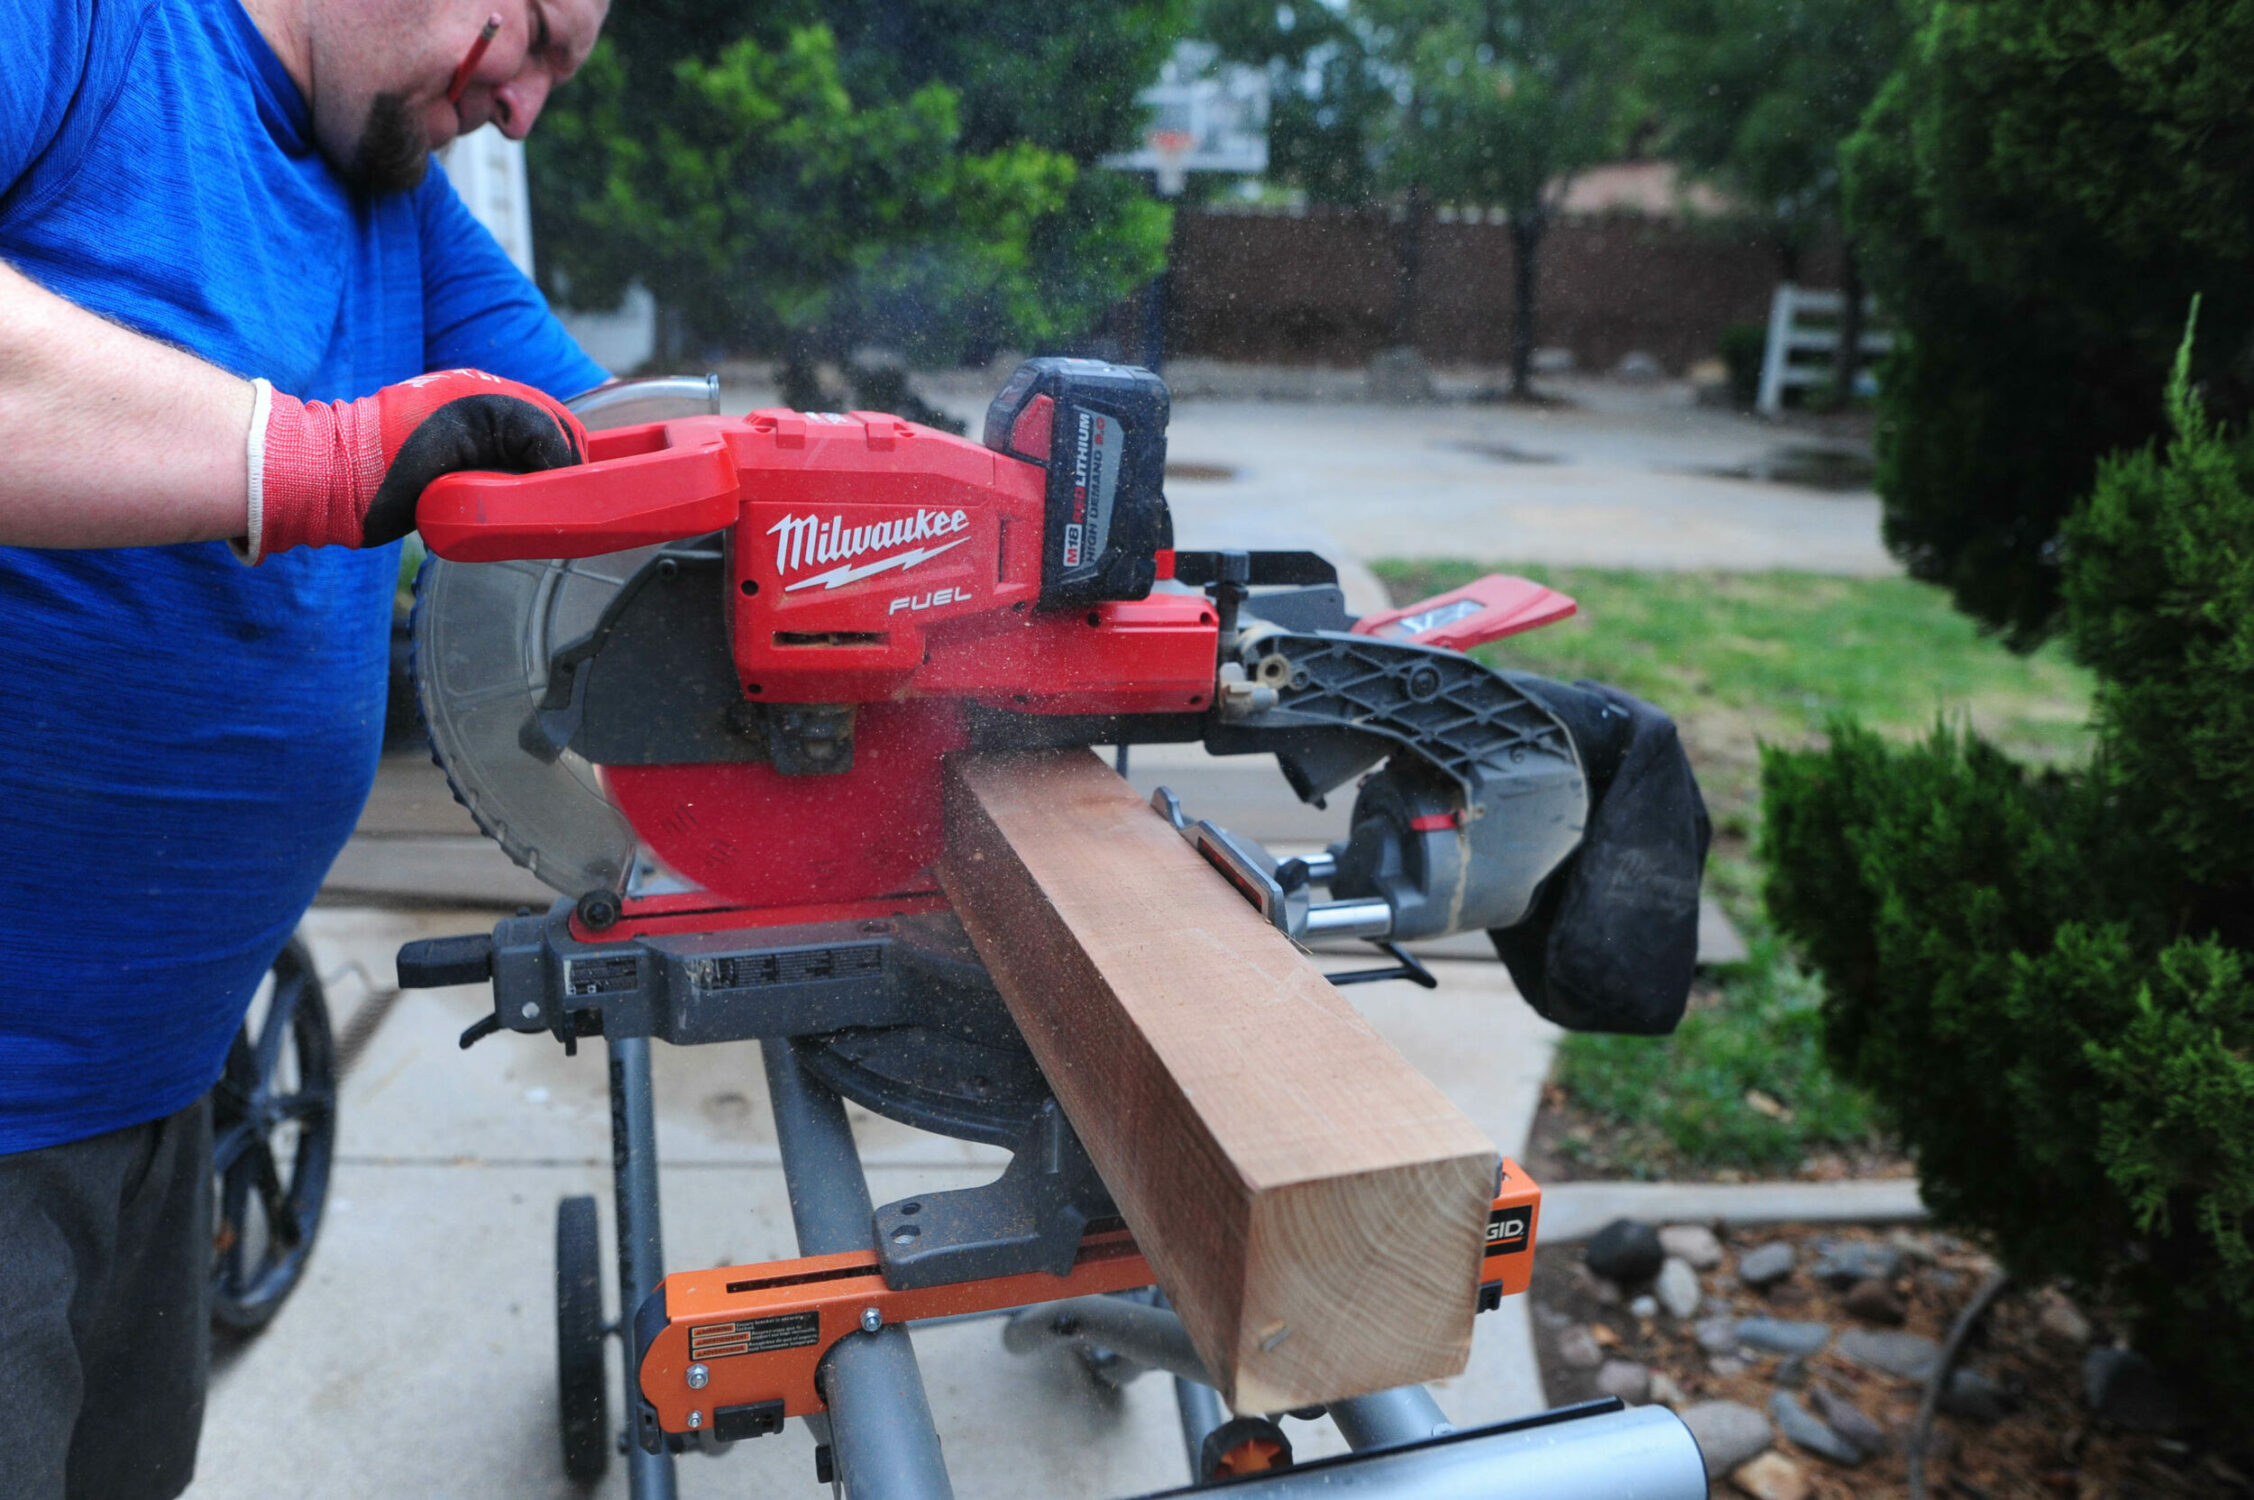
- Miter Saw (We have the Milwaukee 10 in cordless Miter Saw)
- Cordless Drill
- Staple Gun and Staples
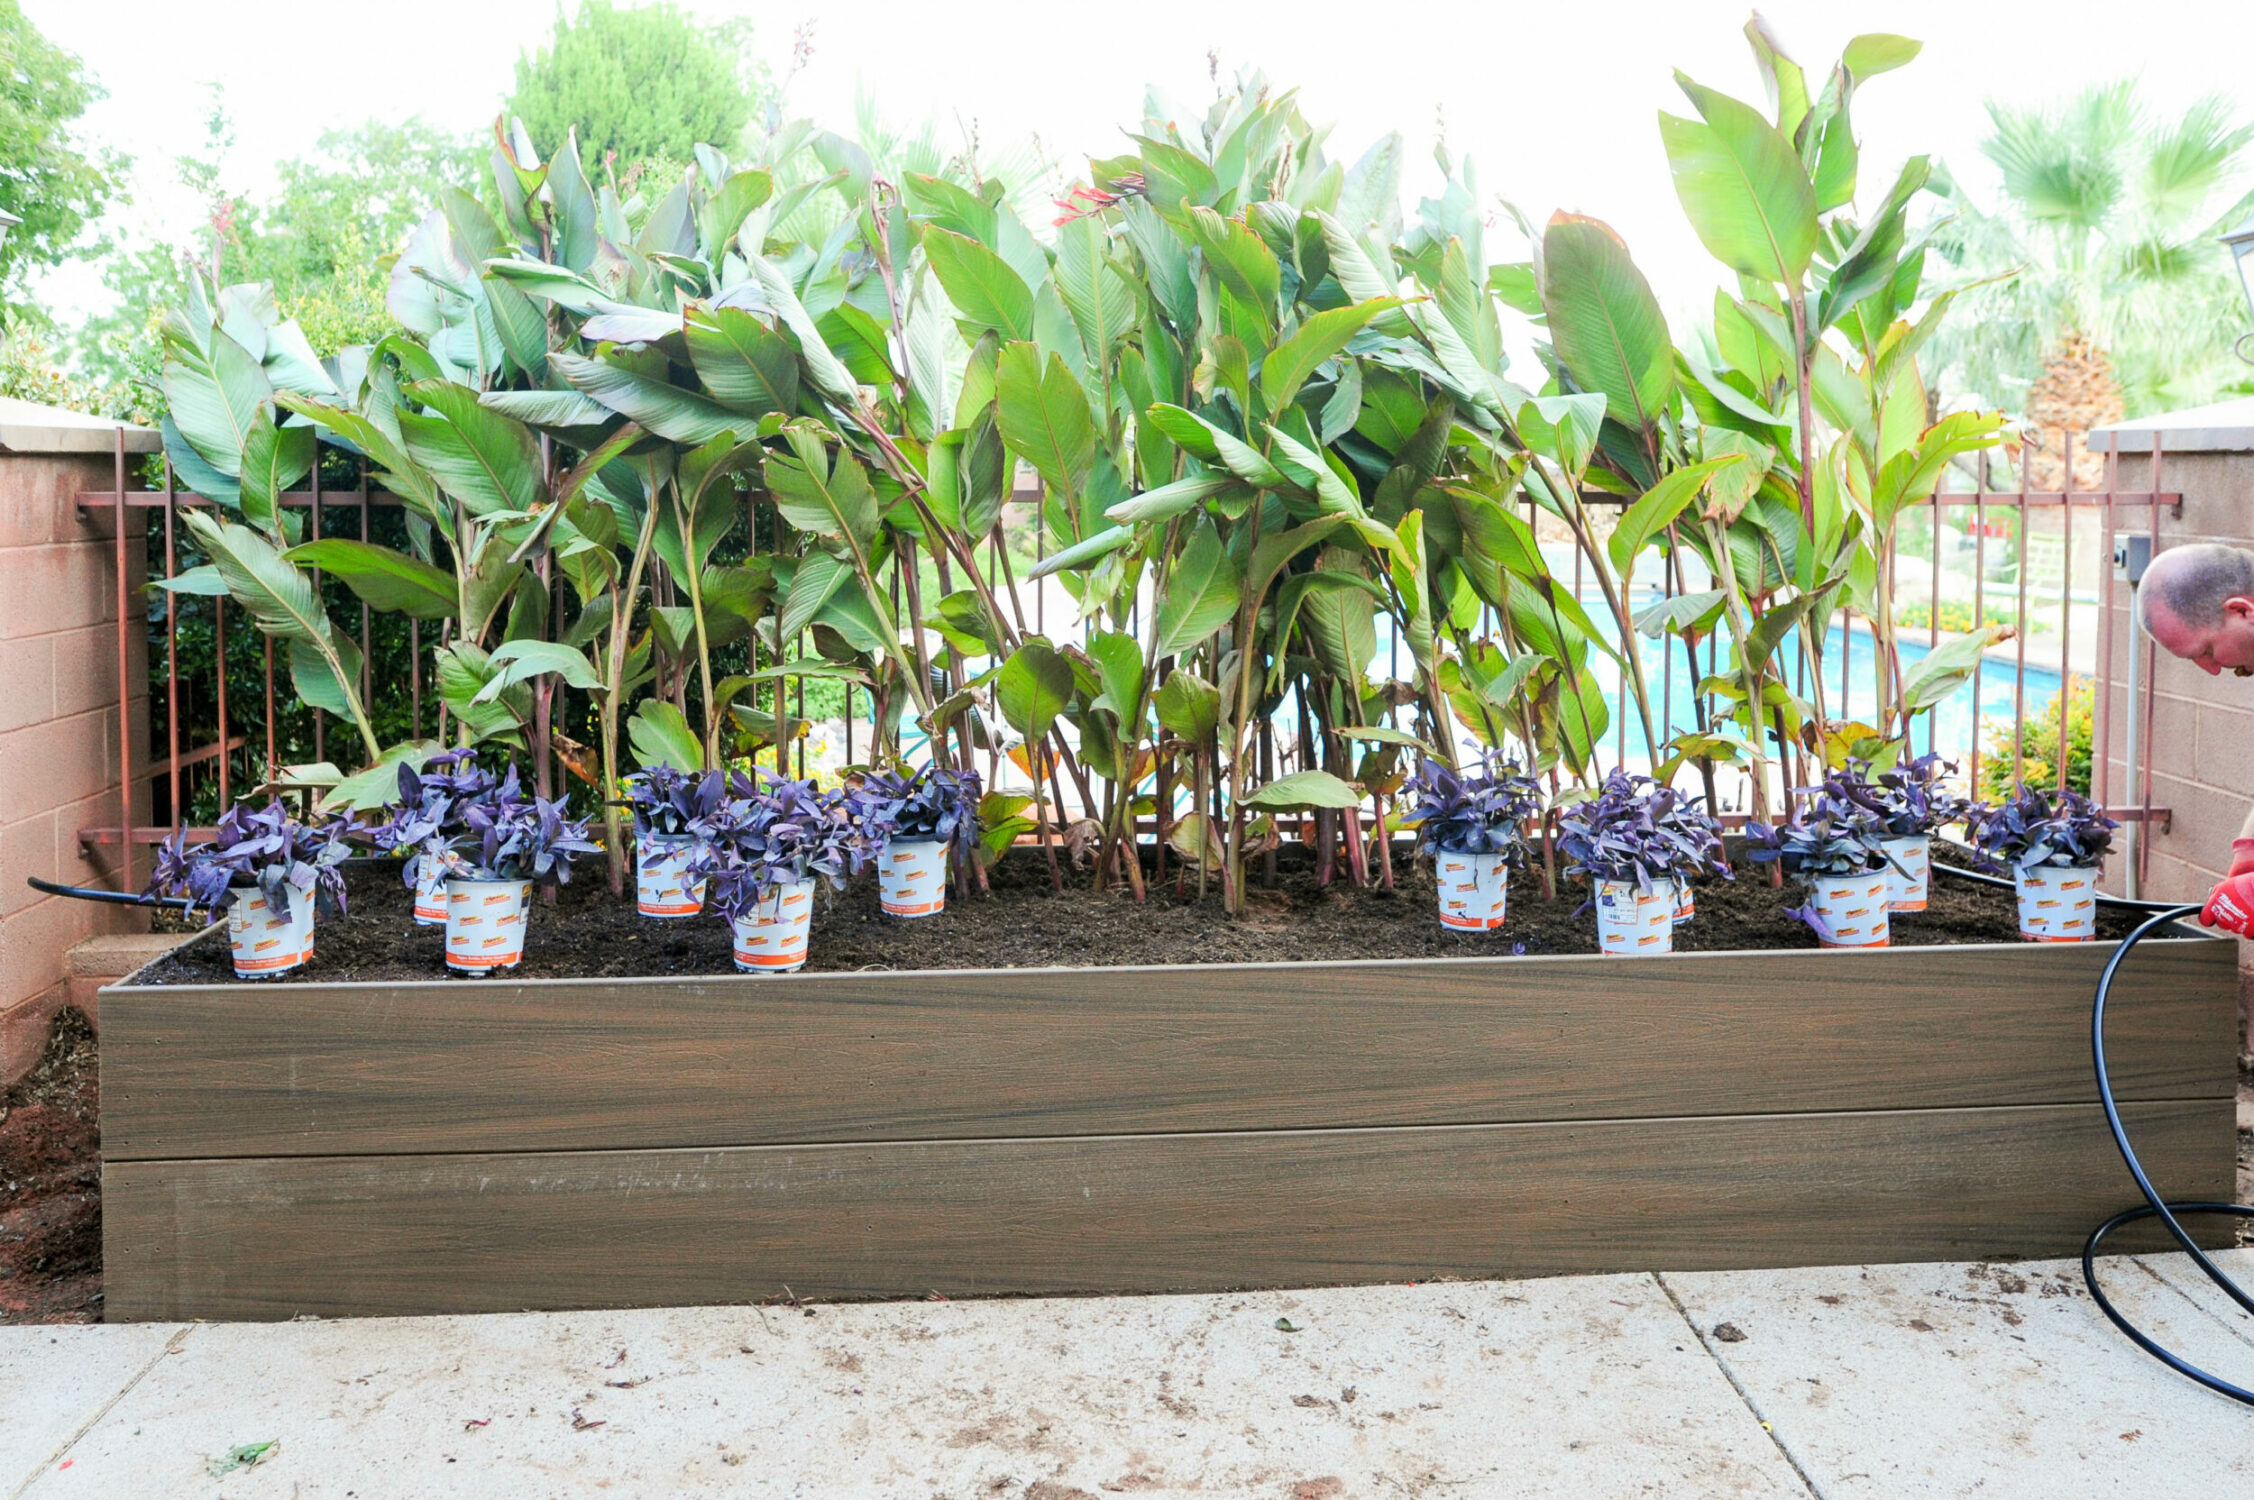
Flowers we planted:
- Purple Hearts
- Vincas
- Canna Lilies transplanted from my front yard
Step 3: Level the area
Step 4: Cut eight 21″ pieces of 4X4 boards
Step 5: Make your planter box by screwing two 12 foot boards together using the 4×4 posts spaced out evenly. Repeat to make the other side.
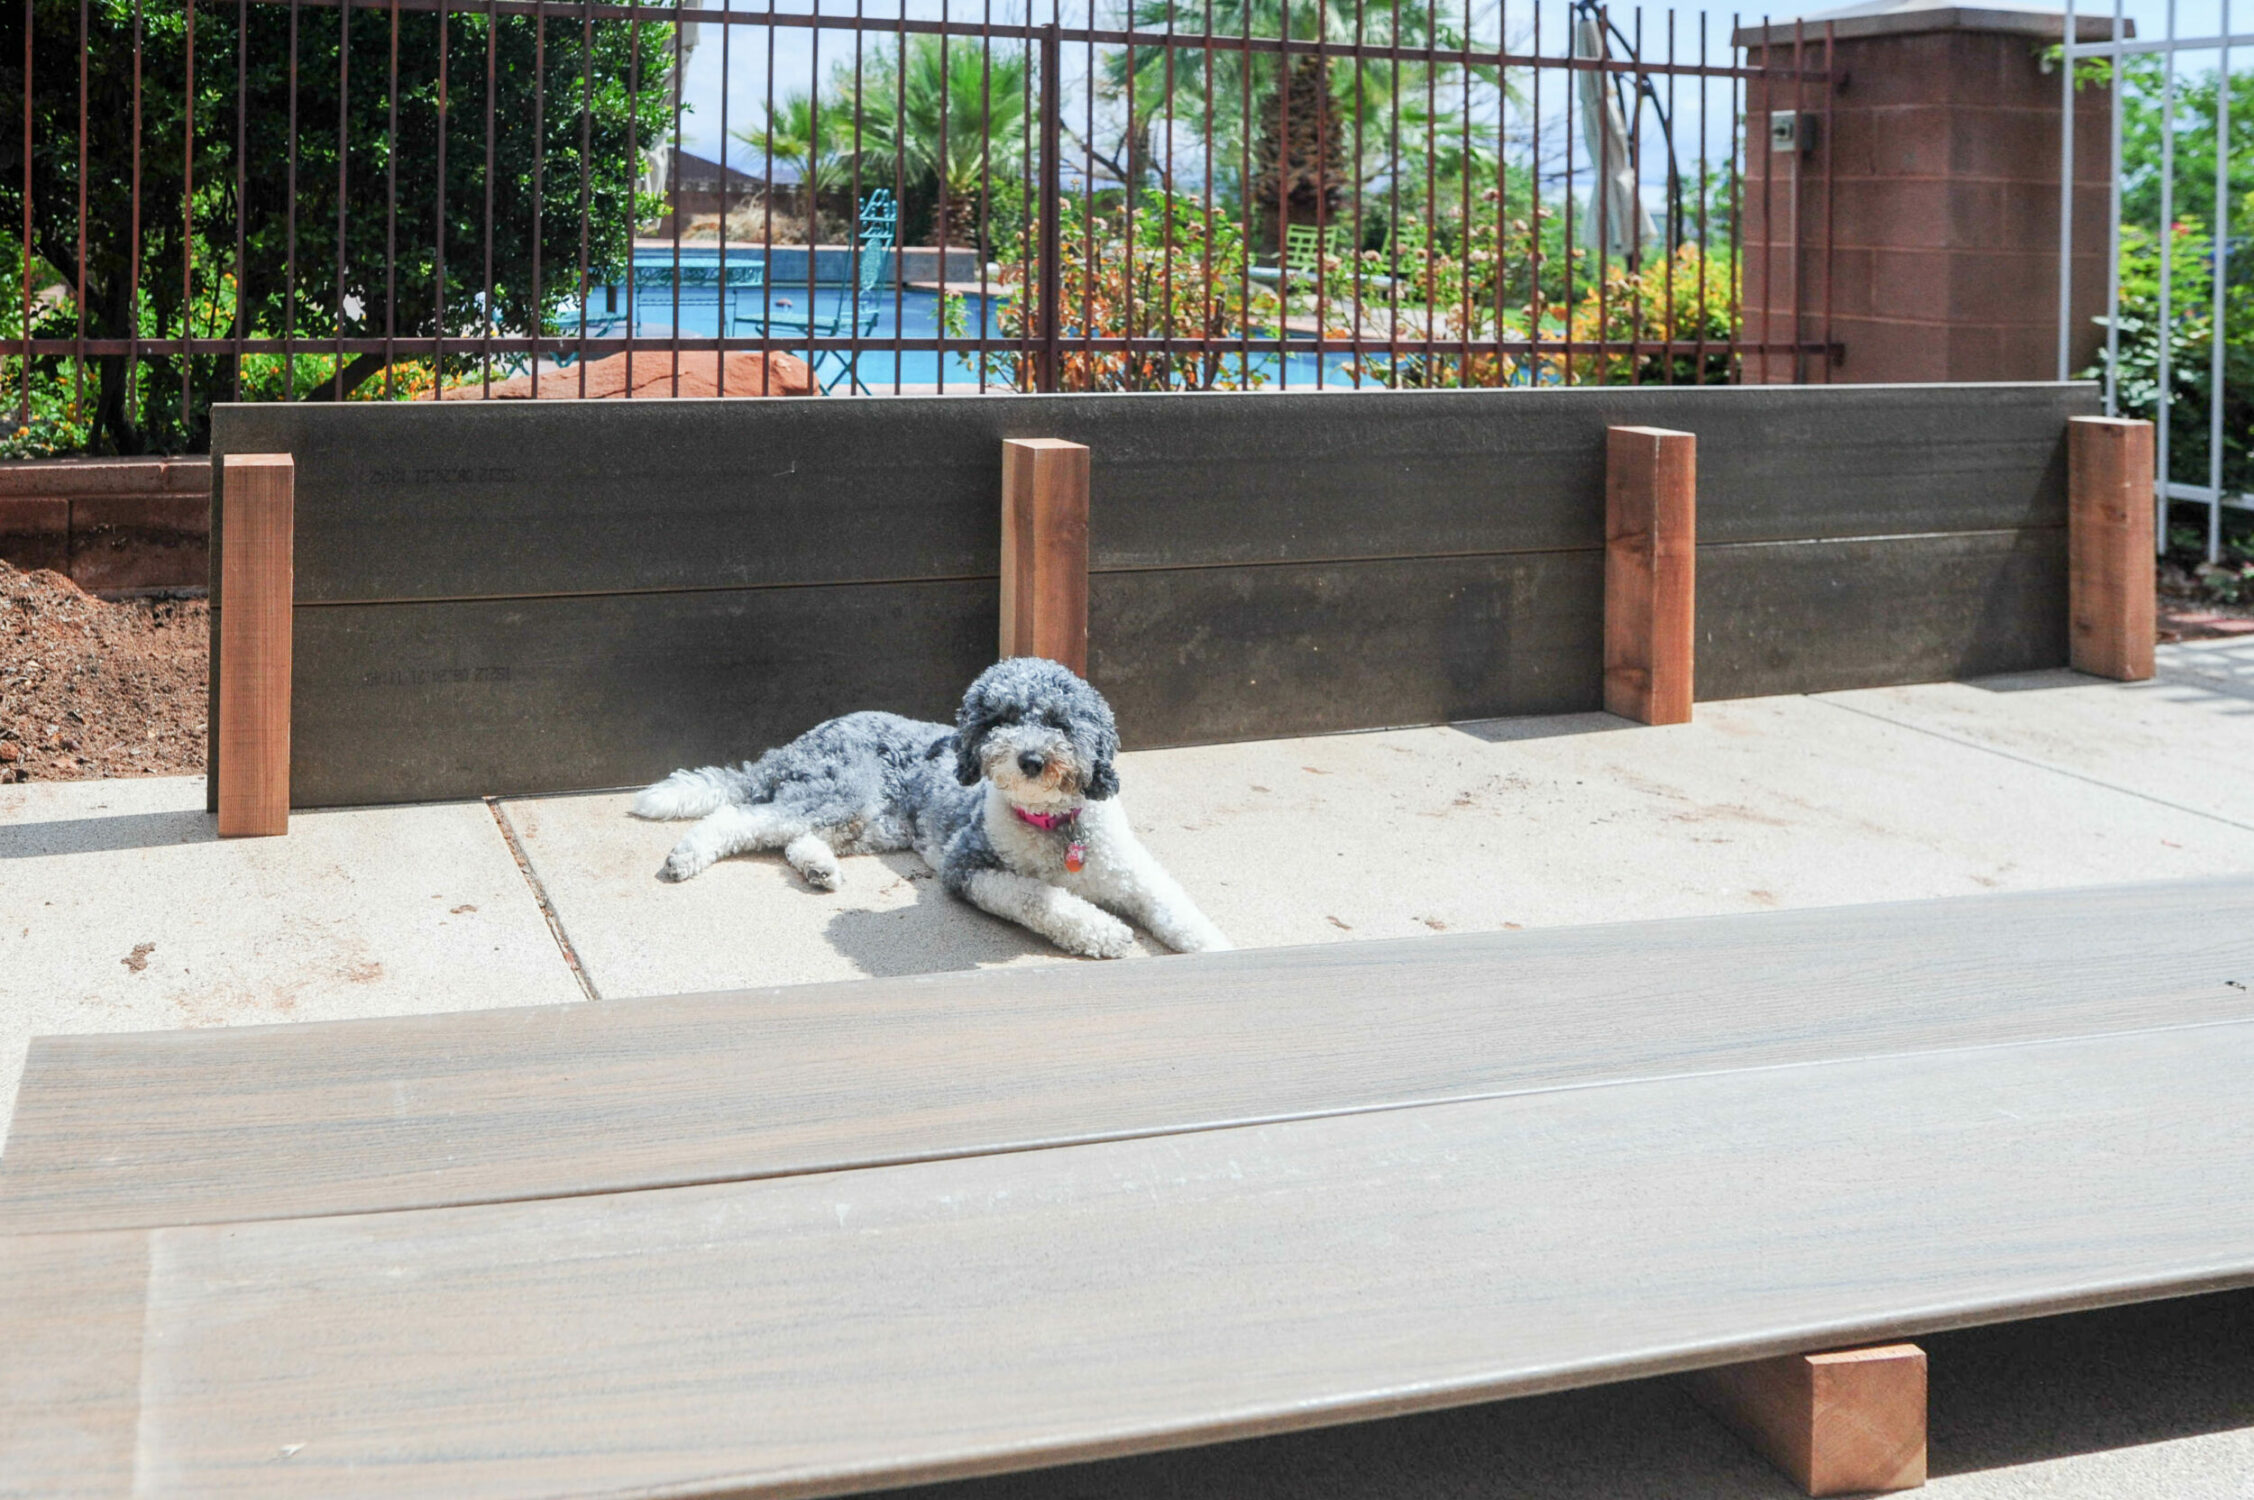
Step 7: Cut four 36″ pieces of composite decking for your side pieces.
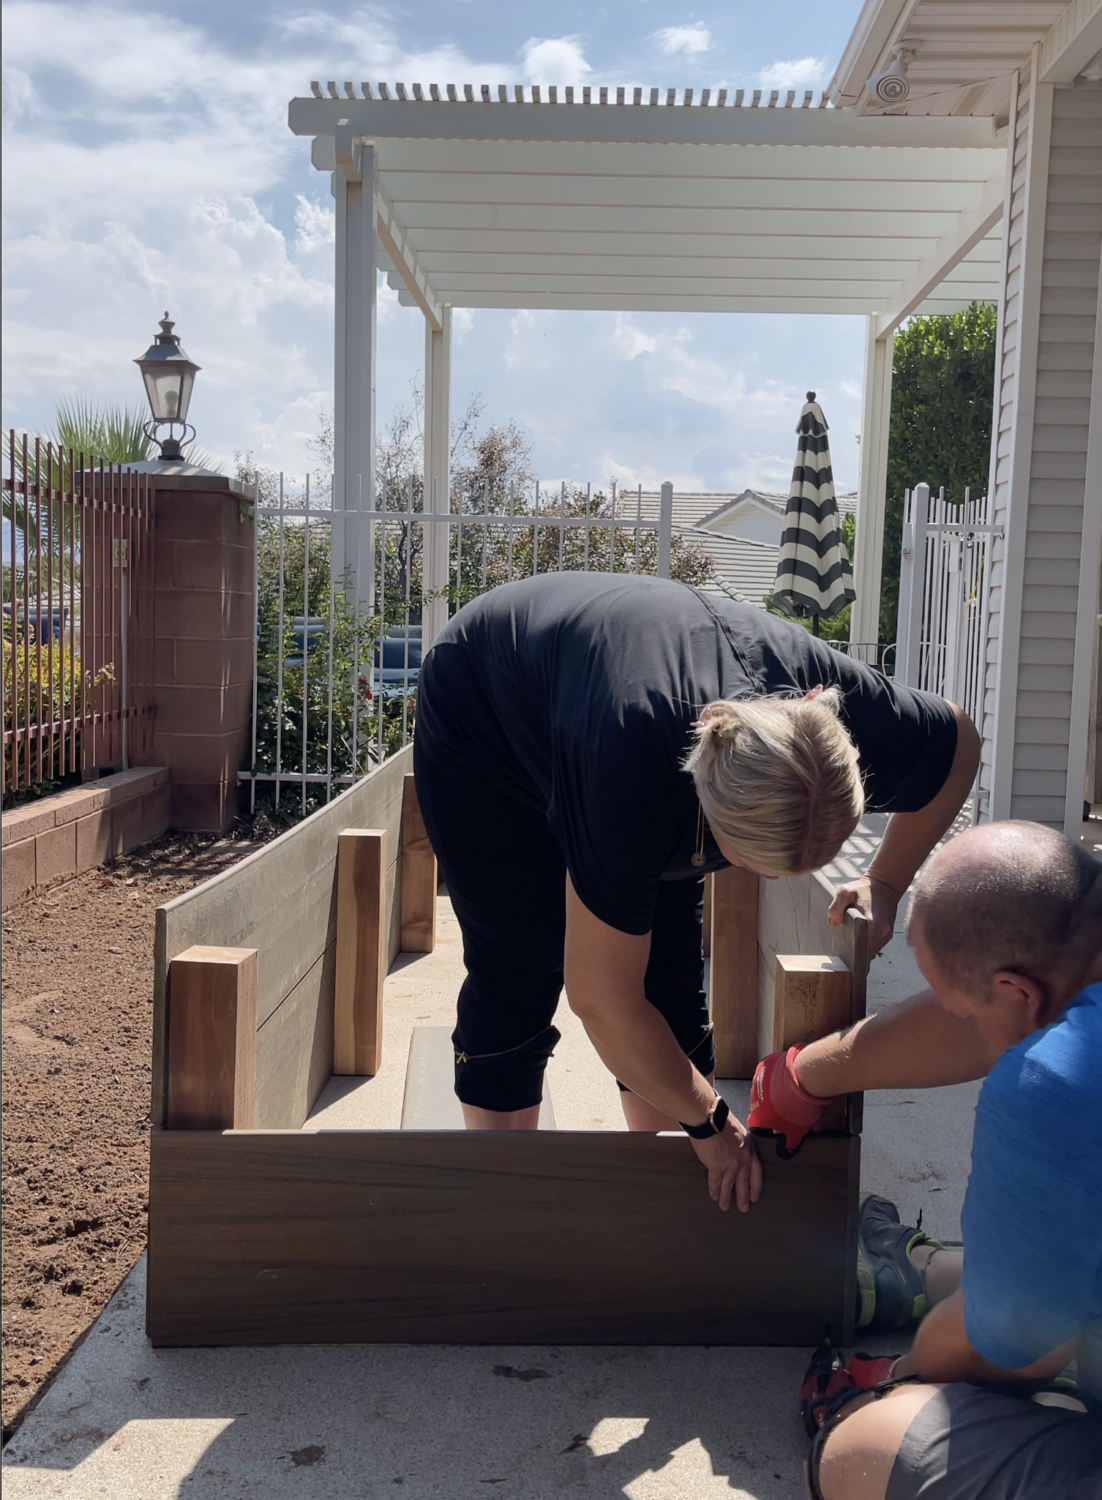
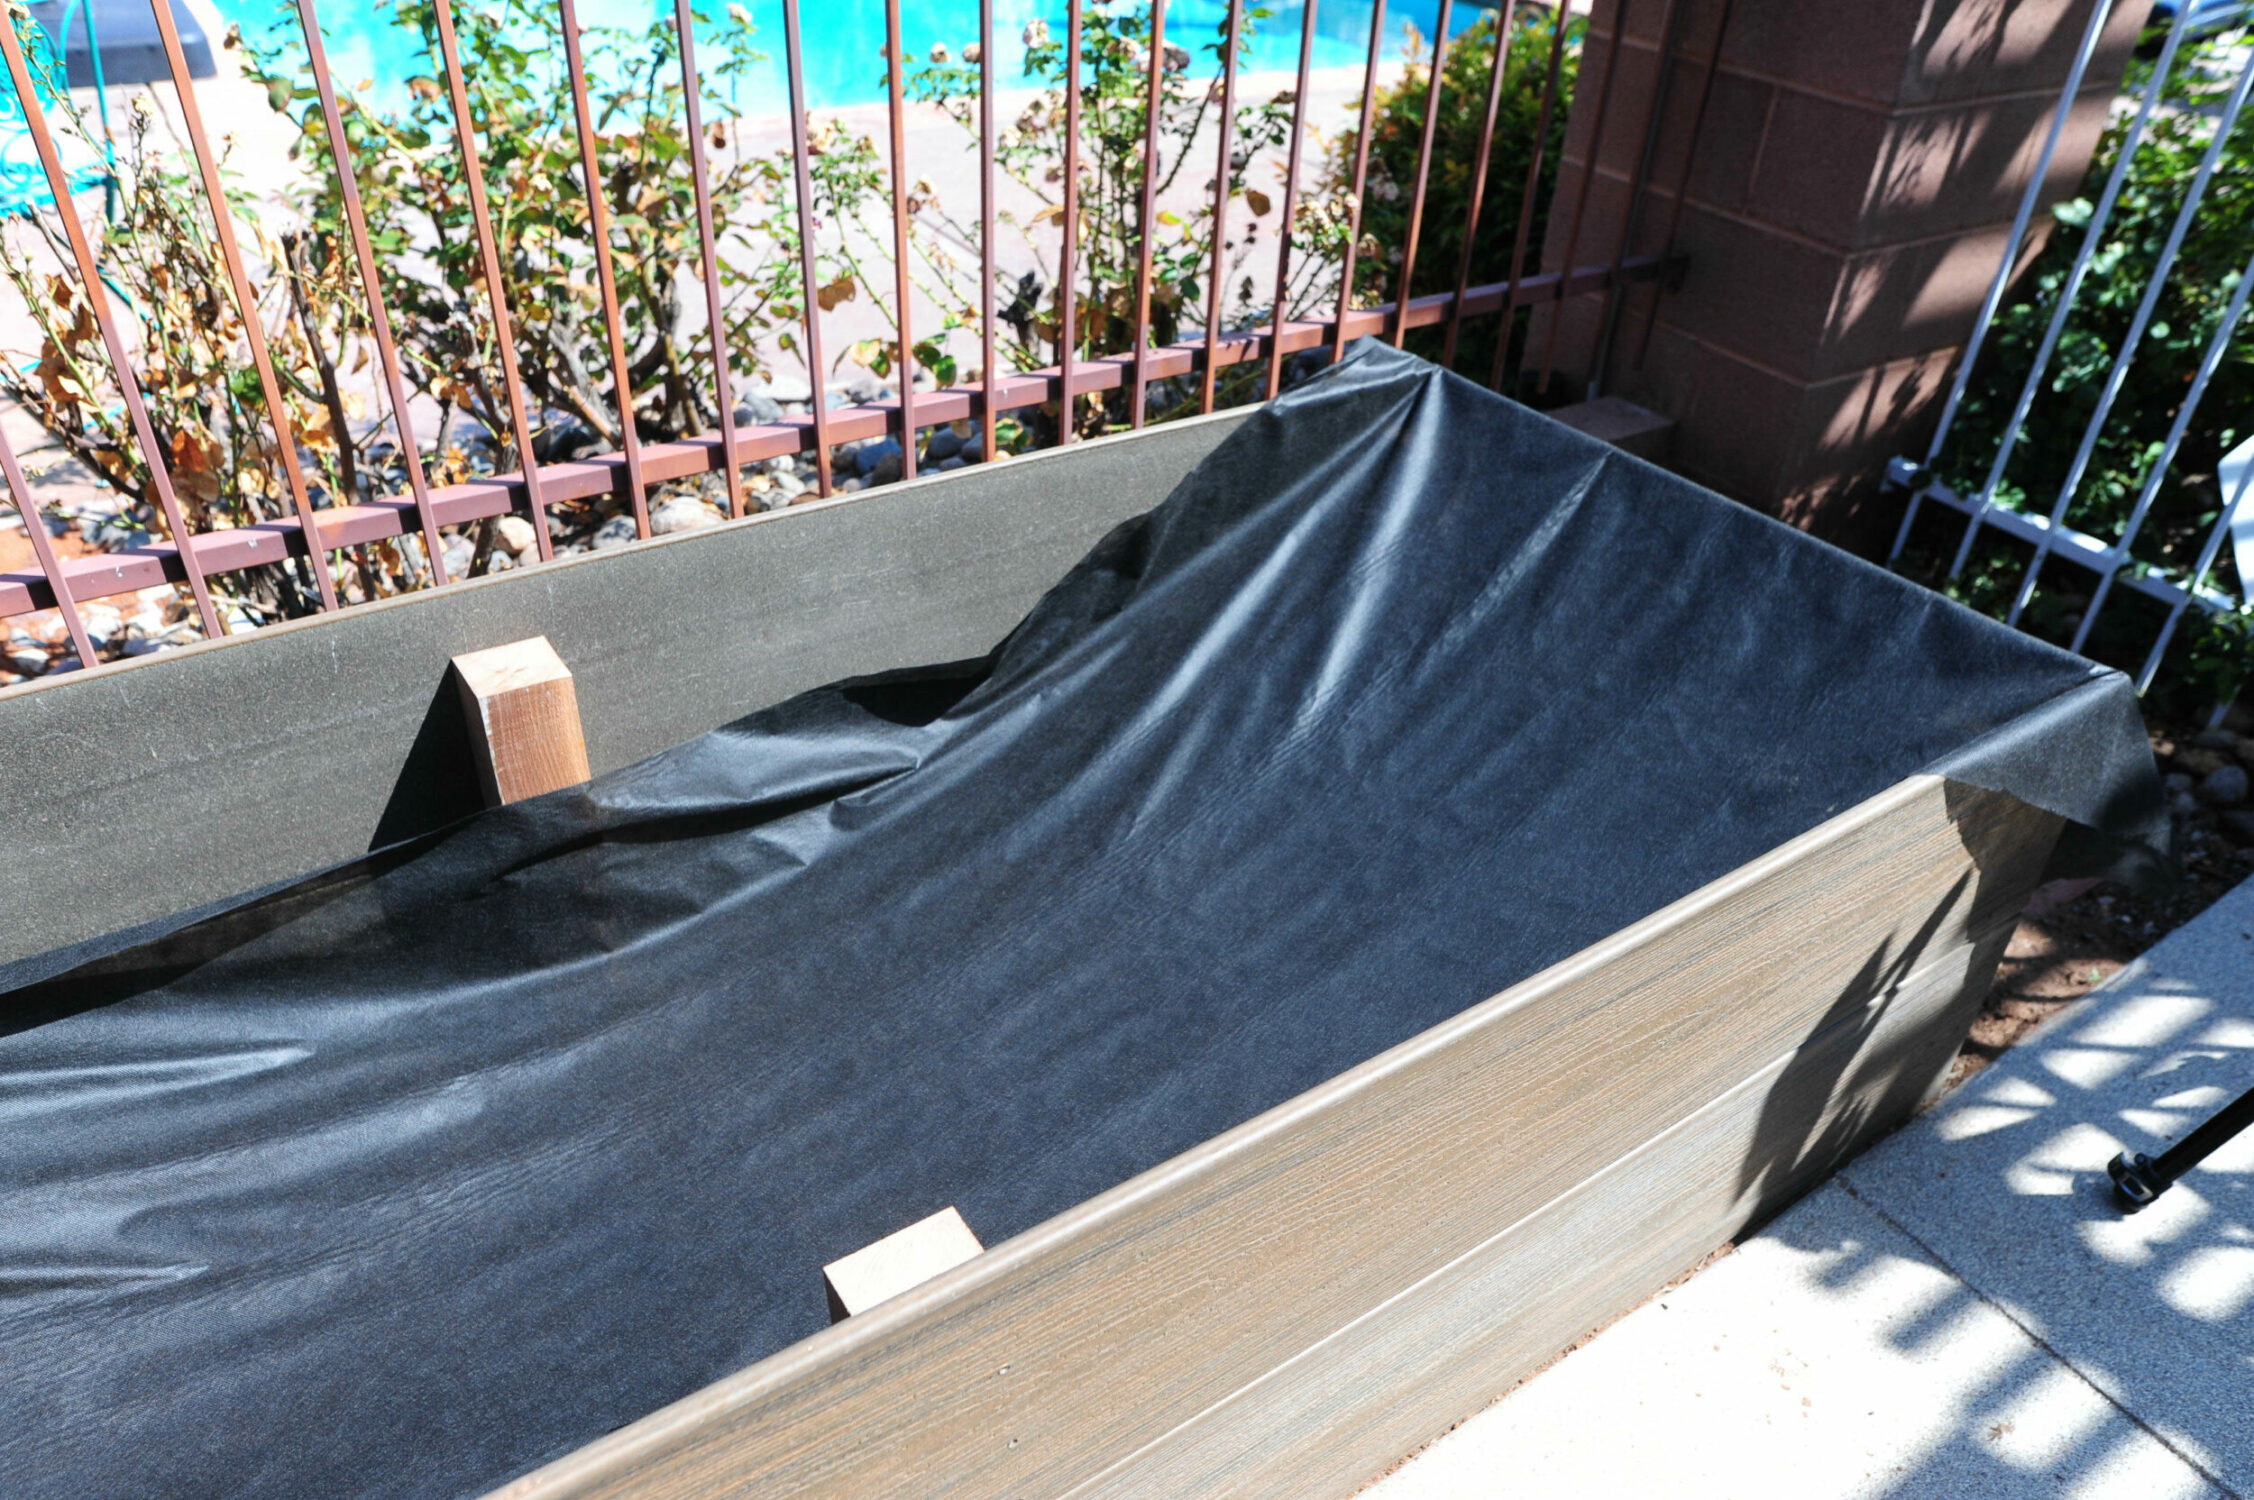
Step 8: Line the box with weed mat and visqueen plastic. Secure it to your box with a staple gun.
Helpful Hint: We cut holes across the bottom of the visqueen to help with water drainage.
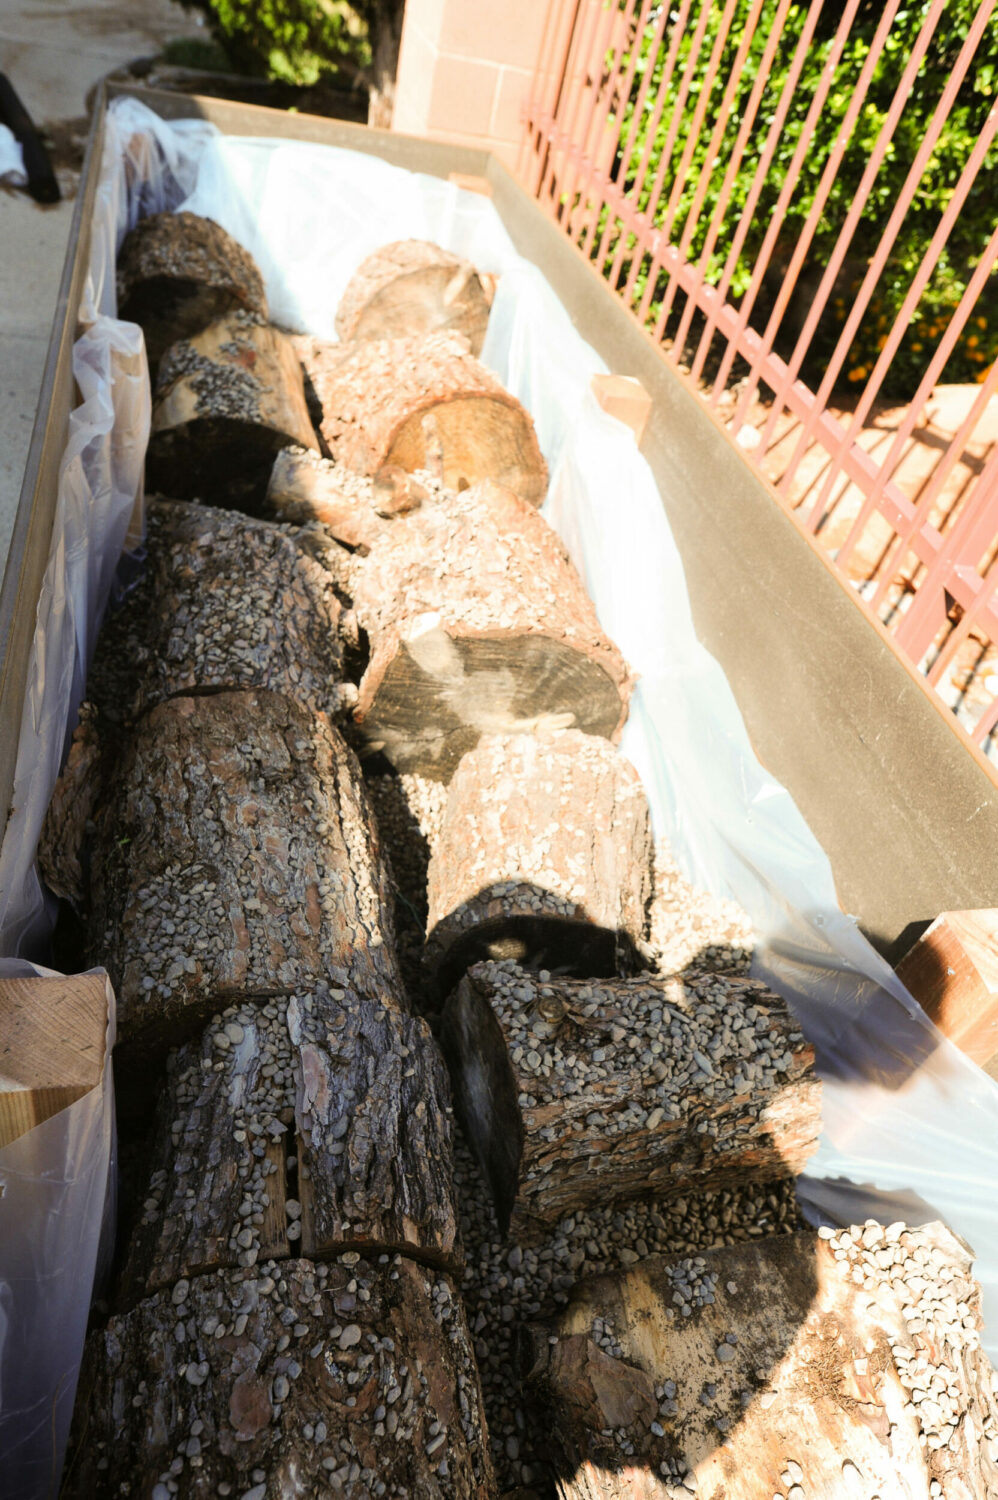
Step 9: Line the bottom of the planter box with pea gravel to help with drainage.
Step 10: Fill your box 3/4 of the way full with green waste. We used tree stumps and grass clippings.
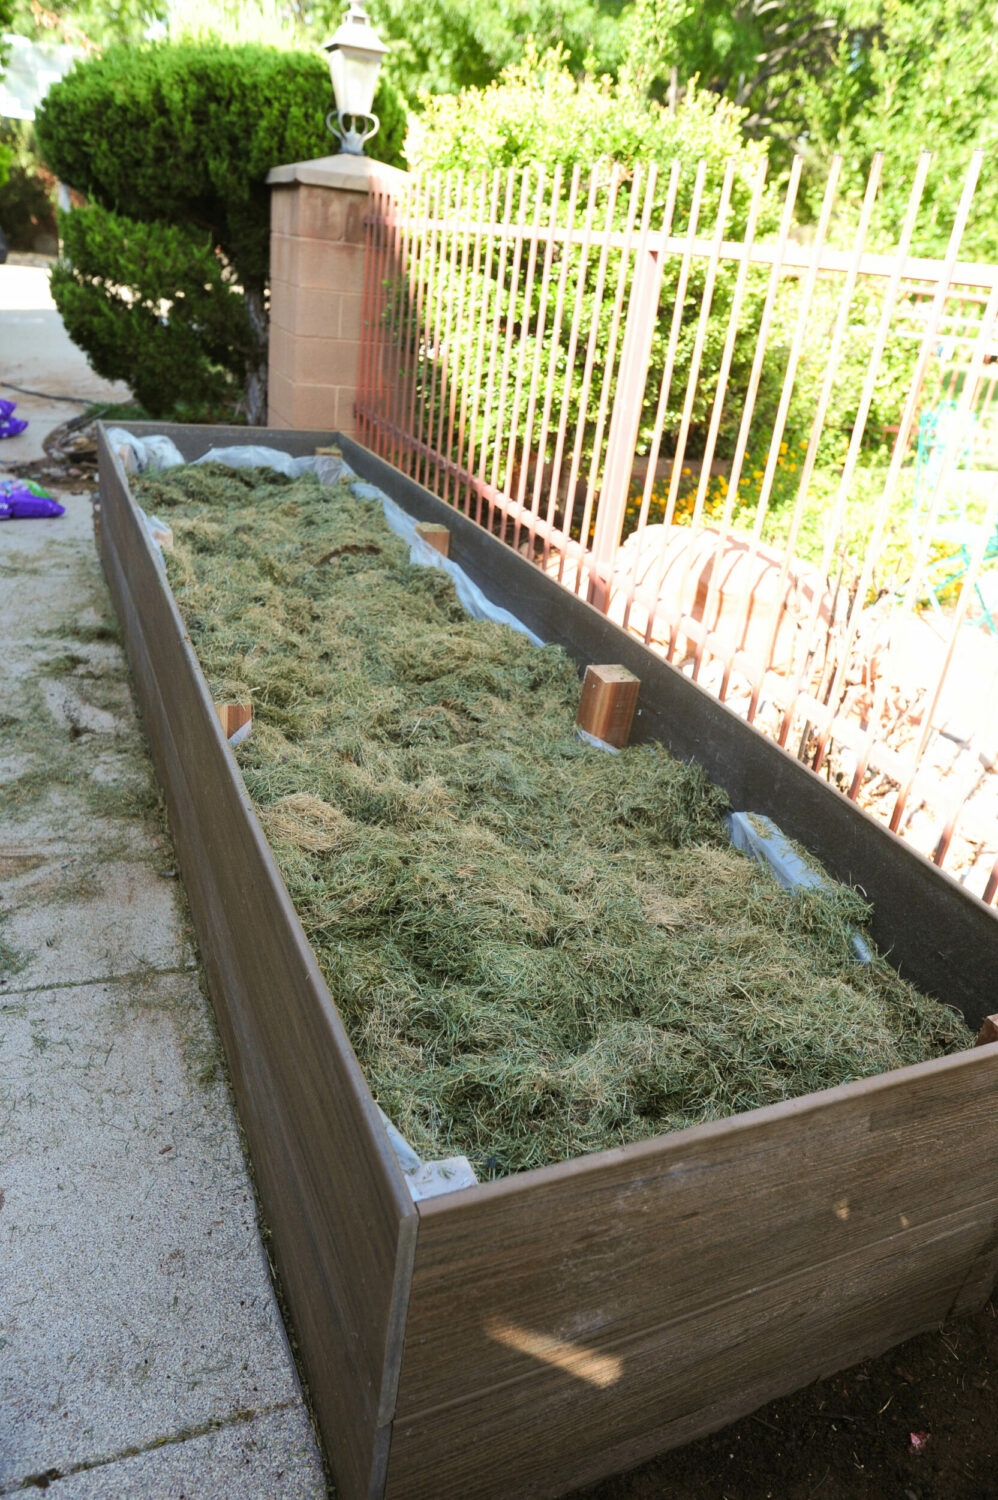
Step 10: Top your box with MiracleGro Garden Soil and Potting Mix.
We used 25 bags of garden soil and six bags of potting soil.
Step 11: Make sure your irrigation system is hooked up properly.
Step 12: Plant your flowers and feed with MiracleGro Shake ‘n Feed.
Enjoy your new statement planter box!
Don’t forget how this area looked before! I’m a sucker for a good before and after! 
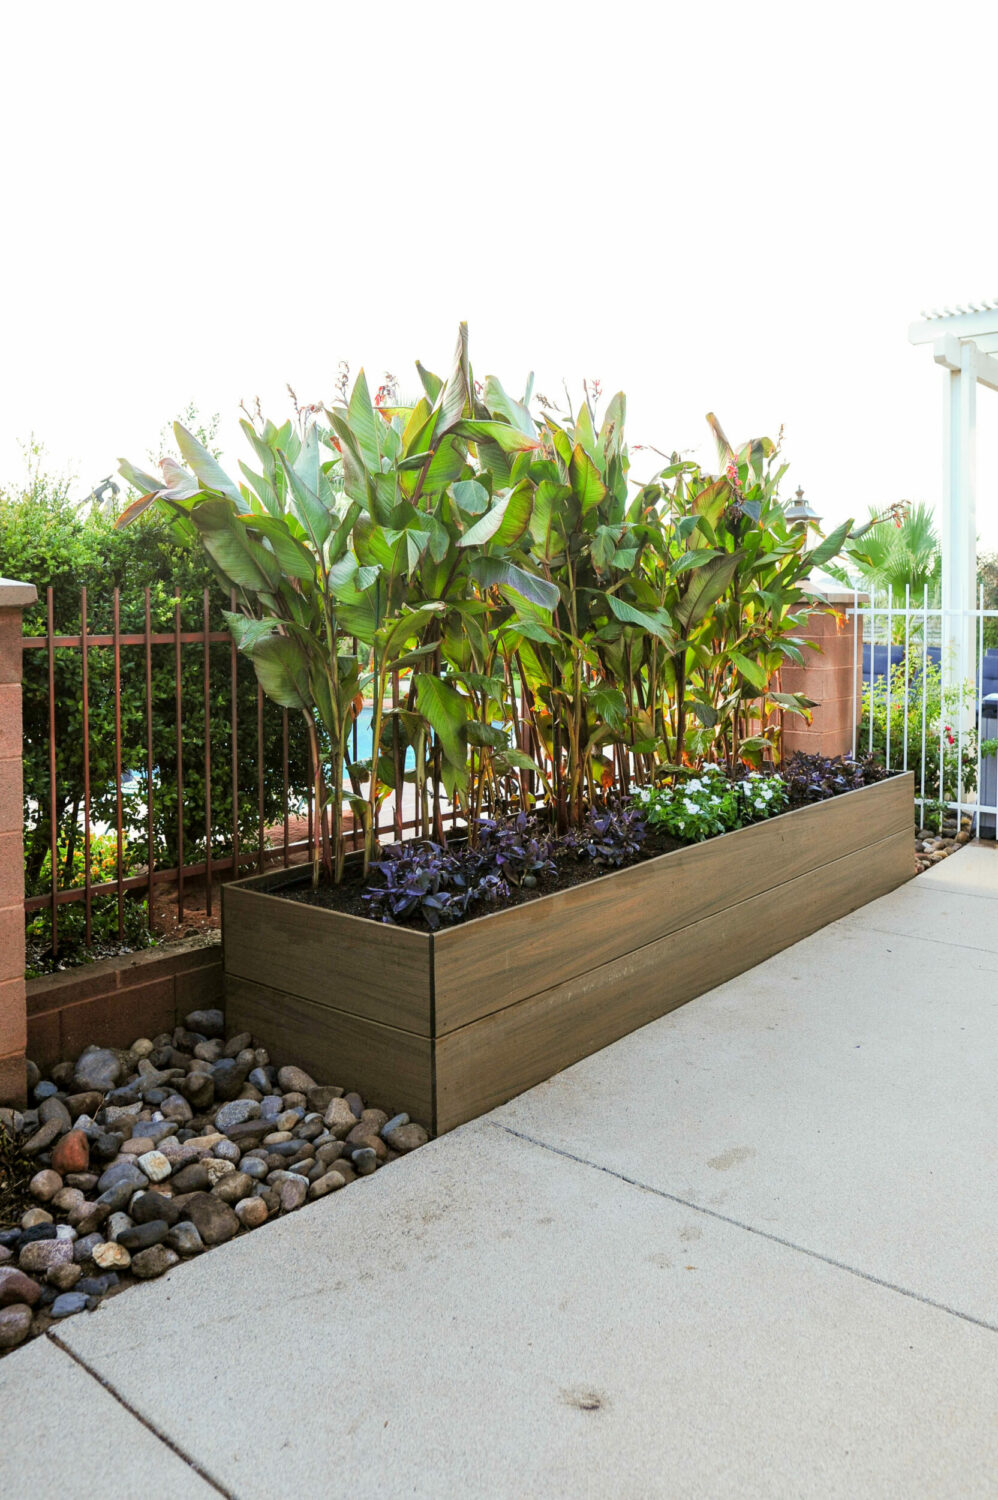
It feels so tropical now! I love it, and I hope you do too!