This project is sponsored by Frog Tape. All ideas and opinions are 100% mine.
Are your kids back in school? We live in Southern Utah, and right now, our kids are attending school on campus with masks but, we are prepared for our schools to get shut down at any moment. I think March 13, 2020 has traumatized us all {not that I have that date memorized or anything, cough, cough}. All of the sudden, our homes were bombarded with chrome books, wifi tug of wars, and kids trying to learn amidst chaotic circumstances.
This time, I vowed to be better prepared in case it happens again. After all, everything feels uneasy, unorganized, and a bit unpredictable at the moment.
We did the best we could at a moment’s notice in March, but this project can be thrown together in only 2 days, it is relatively easy for a DIY-minded doer, and can help convert any corner into a kid’s schooling-at-home area.
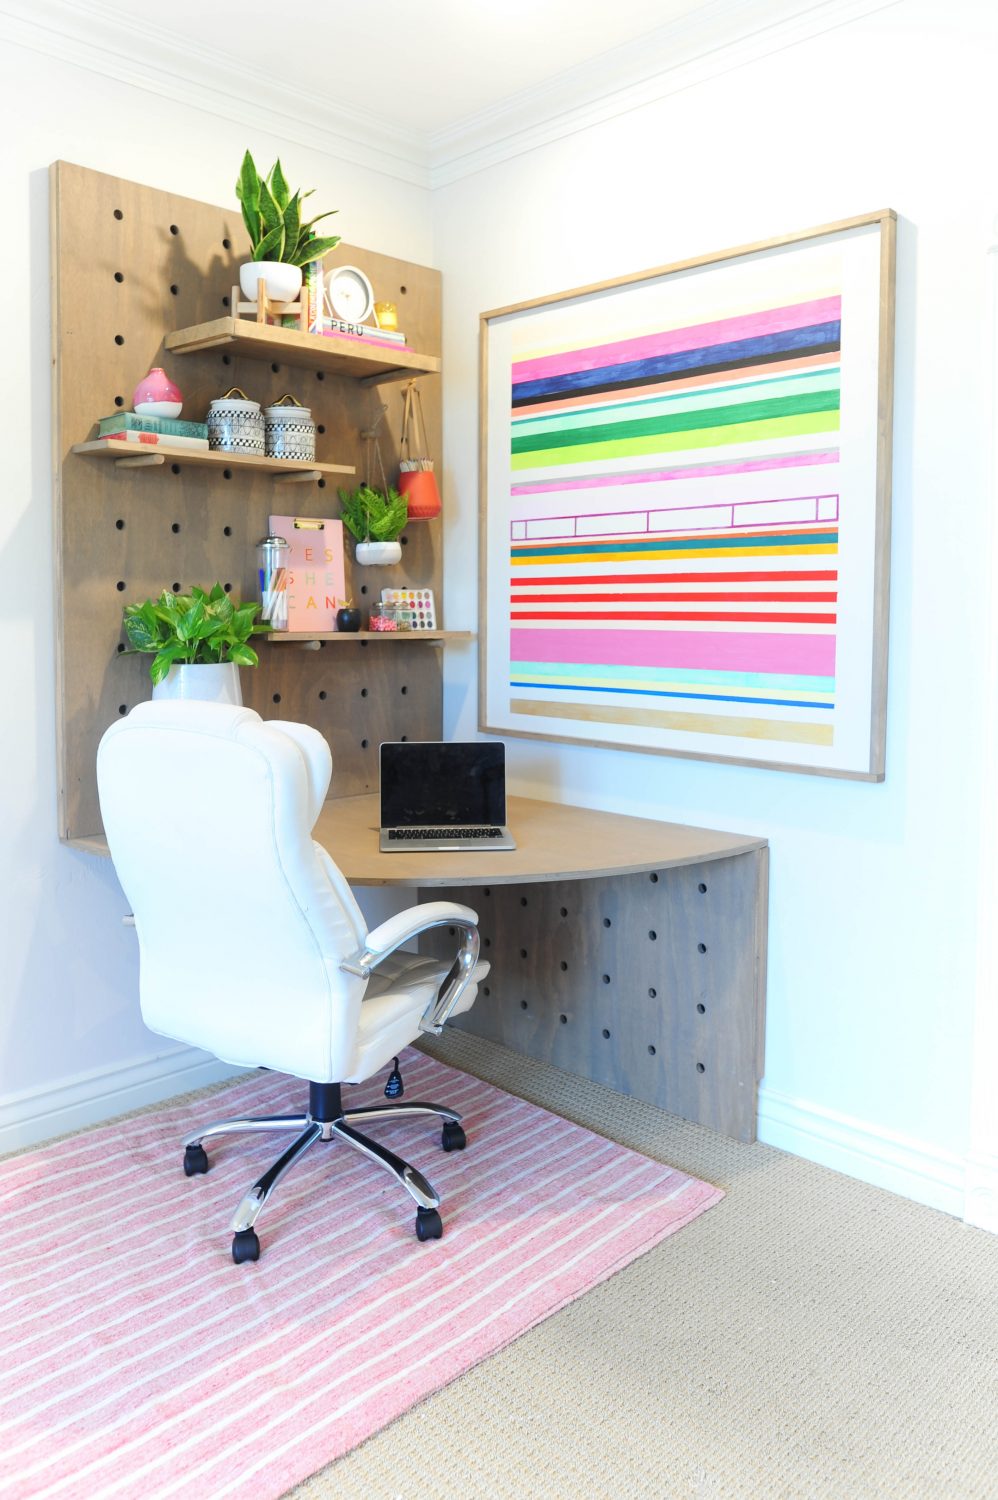
If your family is already in a school-at-home scenario, you will probably agree that the kids need a happy, colorful, yet calm spot in your home to concentrate. For me this means a designated spot specifically for them.
I’ve partnered with my friends from Frog Tape to show you a spot that will hopefully help inspire you to create a similar area in your home too! I created this spot with several goals:
1. Renter Friendly. Not often are DIY projects specifically renter friendly, and I wanted this project to help EVERYONE.
2. It must be able to fit in a corner in most homes or apartments.
3. It must be colorful, happy, yet calming for the kiddos.
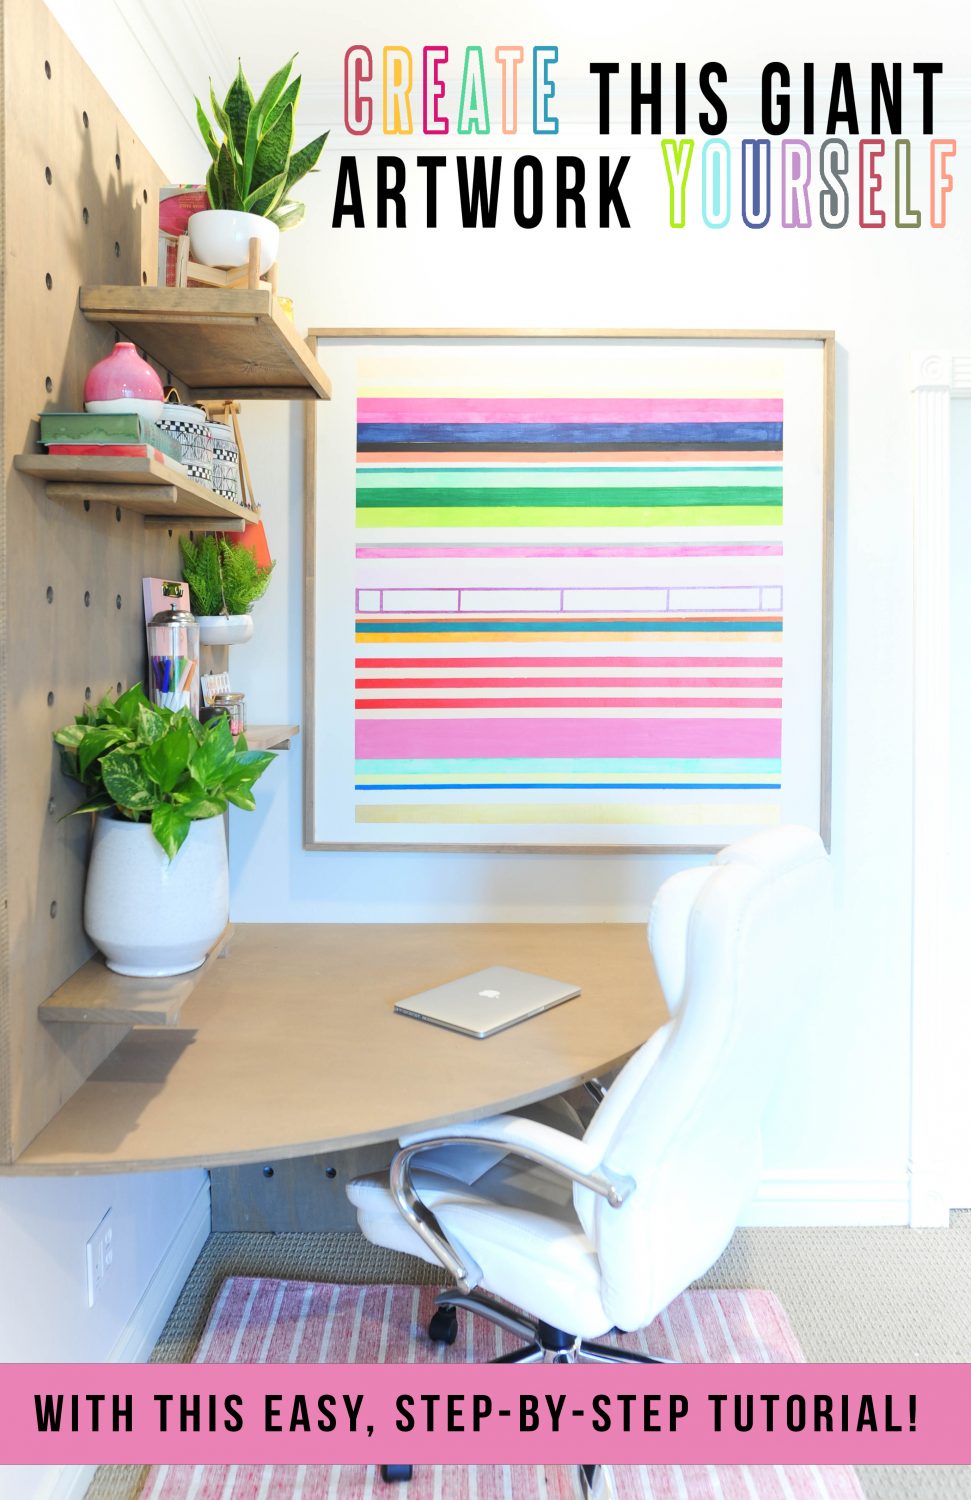
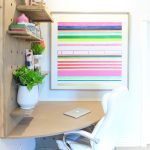
The tutorial today focuses specifically on the colorful wall art in the area, and it helps the space feel inviting, interesting, and kid-friendly.

Colorful Wall Art with Frog Tape
Ingredients
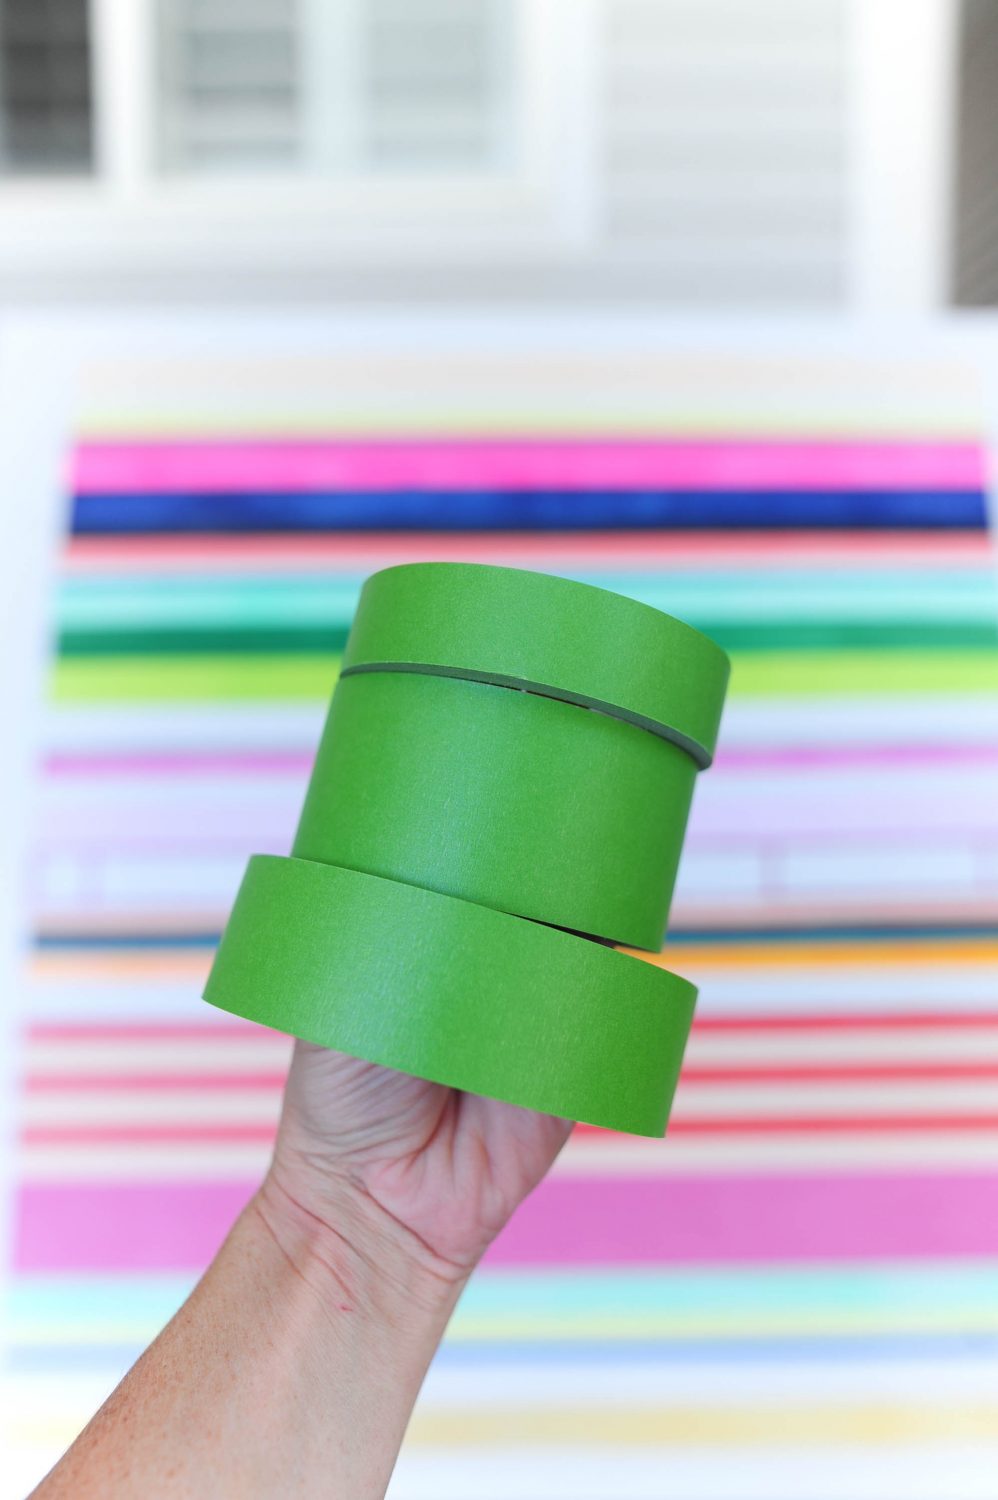
- 1 roll Frog Tape .94"
- 1 roll Frog Tape 1.41"
- 1 roll Frog Tape 1.88"
- 1 4'x8' 3/4" Pre-Sanded Plywood Sheet Have a nice Home Depot Employee cut it in half at the store. Keep the second 4'x4' sheet for a future project.
- 3 1"x3" high quality, pre-sanded boards
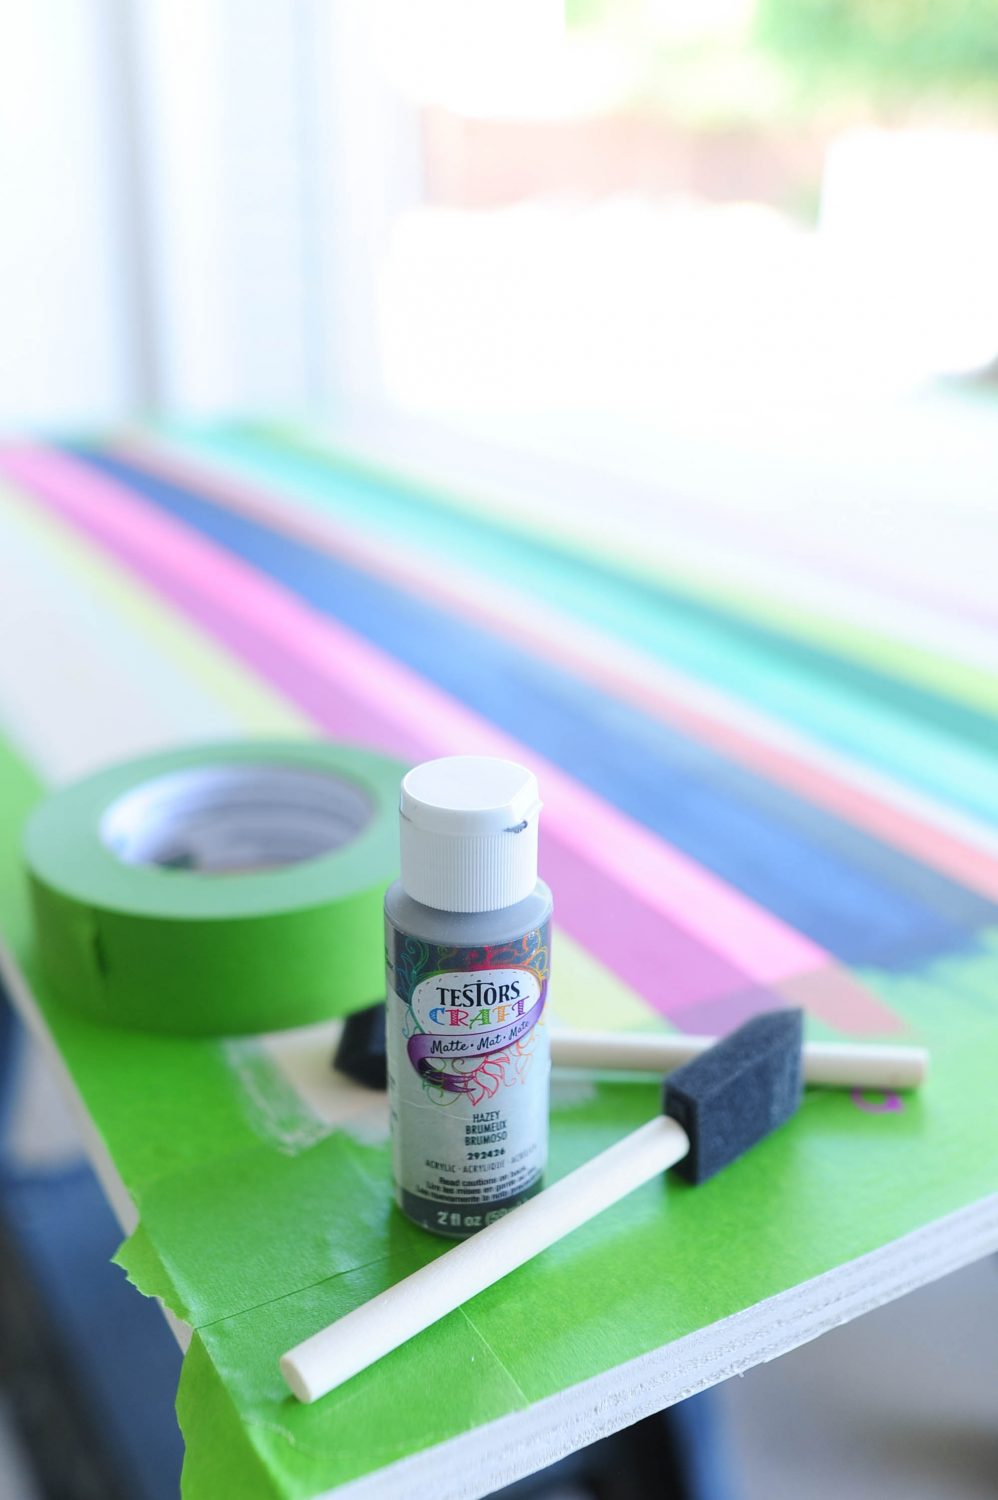
- 25 Assorted Craft Paint Colors
- 25 1" foam brushes
- 1 4" foam roller
- 1 quart white paint I used French Linen by Rust-Oleum
- 1 quart stain {optional} I used Flagstone by Varathane
- 1 staining pad
- 1 pair latex gloves
Instructions
-
Place 4'x4' piece of plywood on saw horses
-
Sand 4x4 plywood sheet with 220 grit sandpaper
-
Wipe off sawdust and paint with white paint. I used French Linen by Rust-Oleum. Let dry completely overnight.
-
Use 1.88 inch Frog Tape to make a double thick border around the entire board.
-
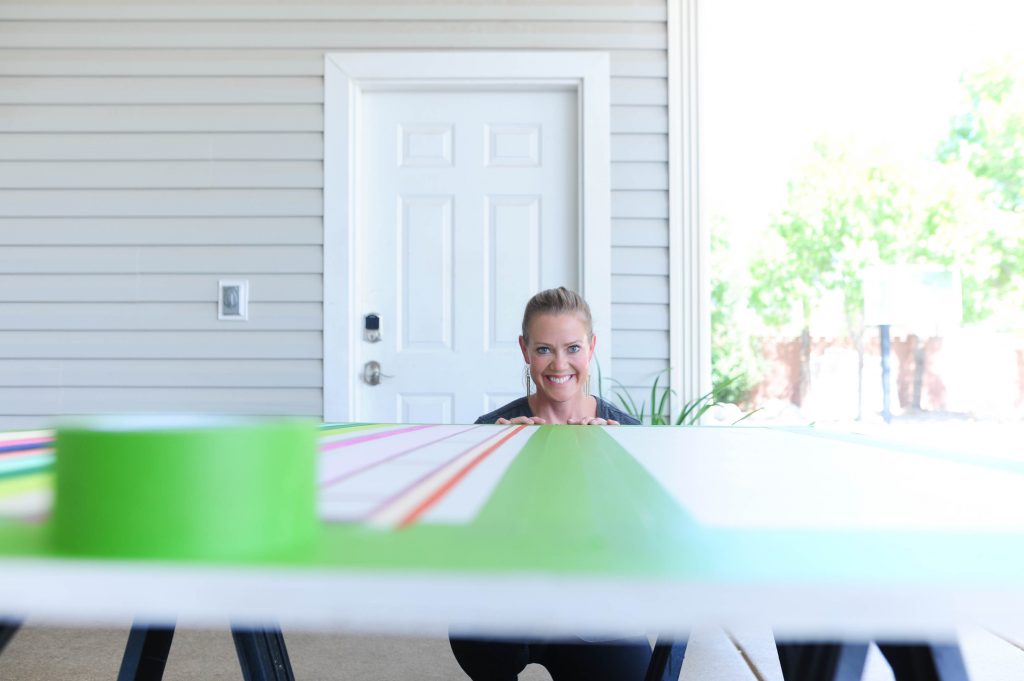
Apply three different widths of frog tape horizontally across the plywood in random order.
-
Remove frog tape strips one at a time and paint the stripe with craft paint. Use a foam paint brush. Wait for paint to dry completely.
-
After craft paint is completely dry, place Frog Tape strip back down to protect the stripe. Next, remove another strip of frog tape and repeat until the entire board is painted.
-
After all stripes are painted and dry, carefully remove the Frog tape strips.
-
Next, remove the frog tape border.
-
Stain 1X2 Boards and let dry
-
Cut boards for the frame and nail to the plywood with Brad Nailer
-
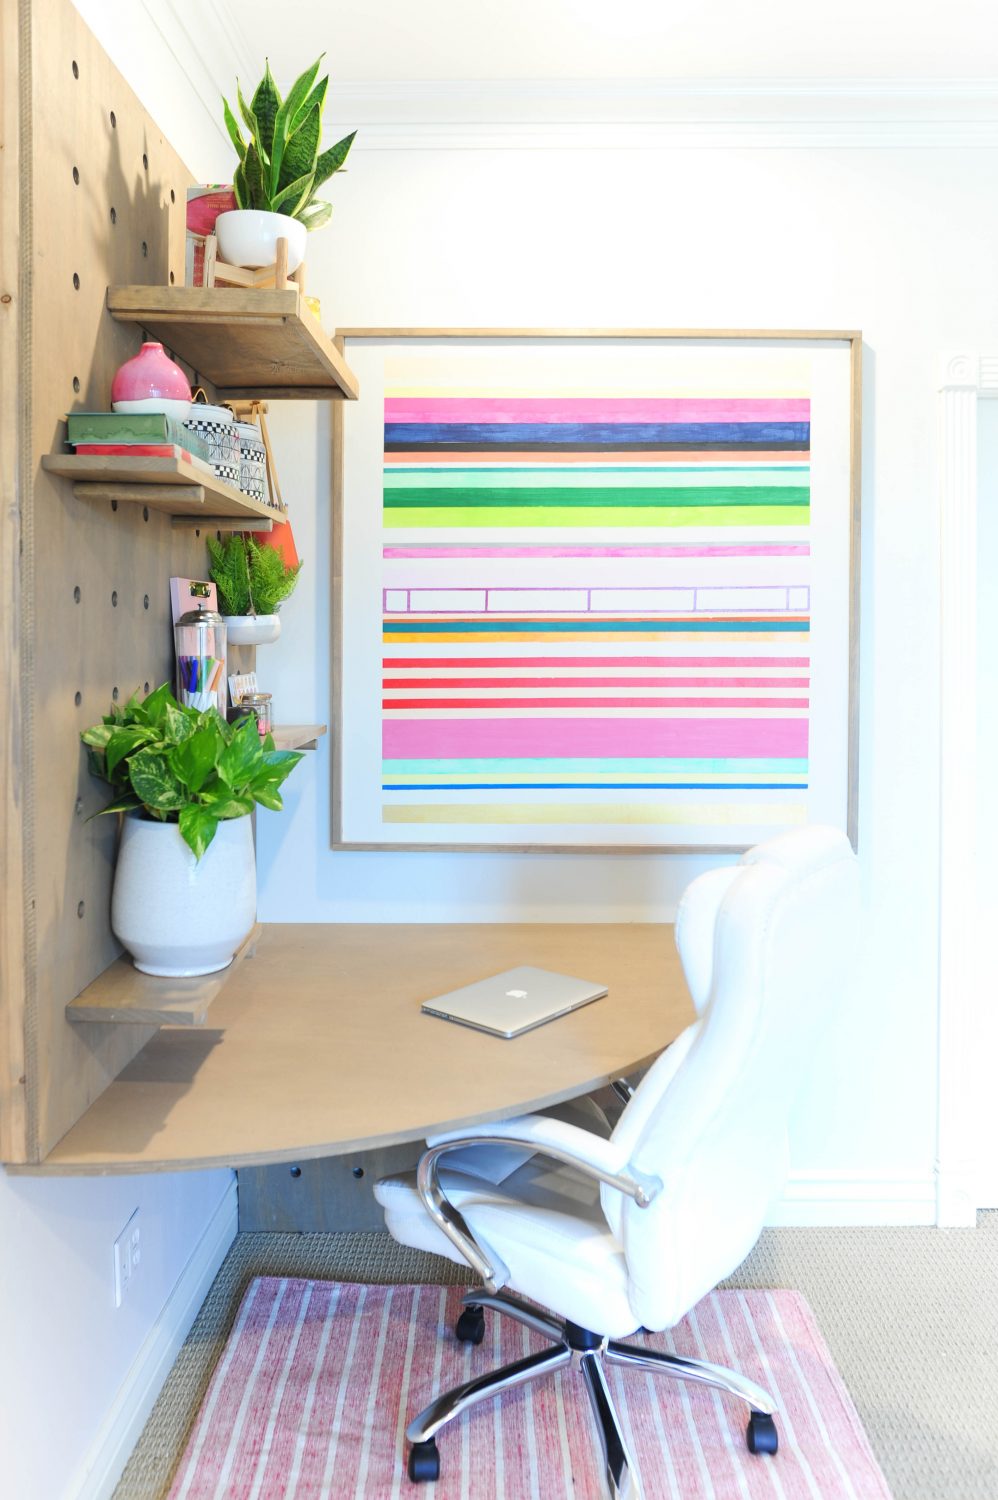
Admire your beautiful work of art!
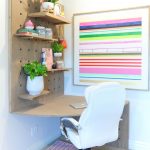
Looks like a great corner!