Knowing I was on the hunt for a certain type of dresser, my daughter recently sent me this from the local facebook marketplace. Without skipping a beat, I told her to contact the seller to tell them I was on my way, lest someone else should beat me to the punch on this amazing find.
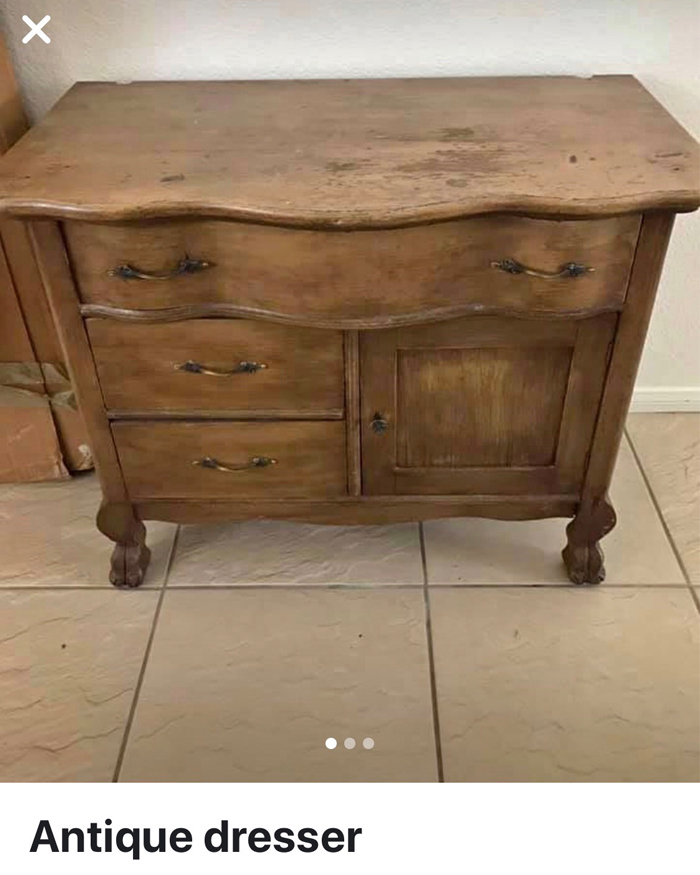
When I arrived to pick up the little gem, I realized why no one was racing me to get it…
TIP: When a marketplace post doesn’t have dimensions, ASK! Or, you could always use the floor tiles in the photo to give you an idea of size…

It turns out, not only was the dresser WAAAAAY smaller in person than it appeared in the photo, it was covered in layers of gross brown paint and had pretty severe damage. When the lady selling the dresser told me how it had belonged to her sister who had since passed and that she and her husband were selling everything to spend their final days together traveling, I didn’t have the heart to tell her it wasn’t quite what I had been hoping for.
On the bright side, the dresser was small enough that I could easily lift it myself, and it fit with room to spare in the back seat of my car.
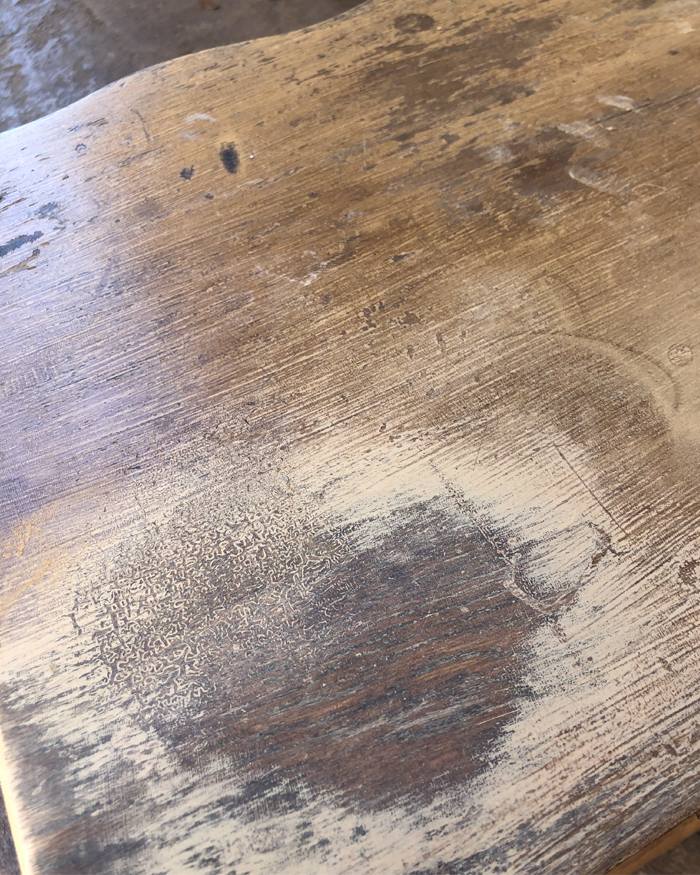
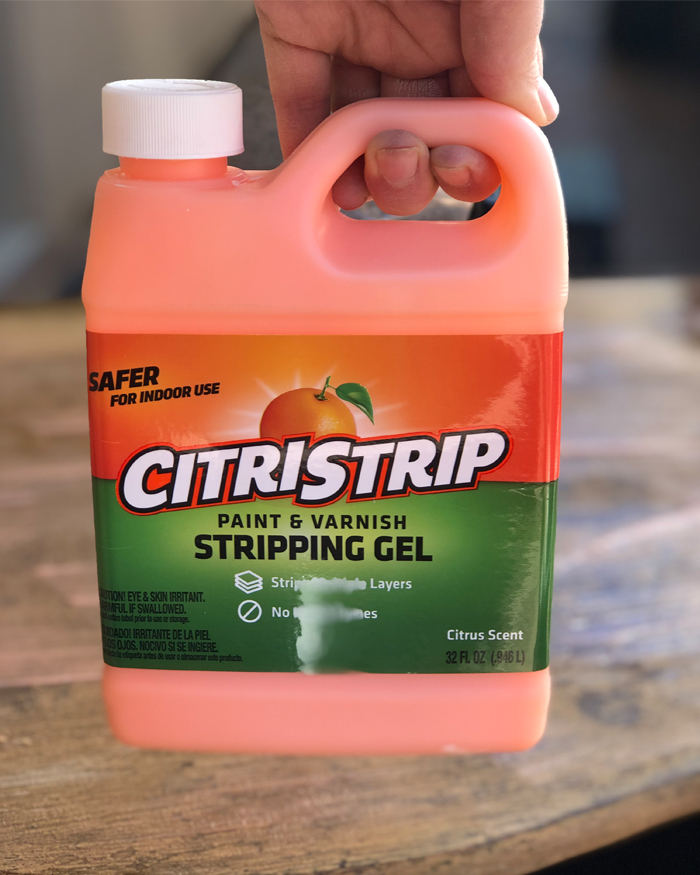
In order to do the whitewash finish that I wanted on the top, I had to first strip the whole top. This involved Citristrip and an orbital sander. Click here for step-by-step instructions for stripping.
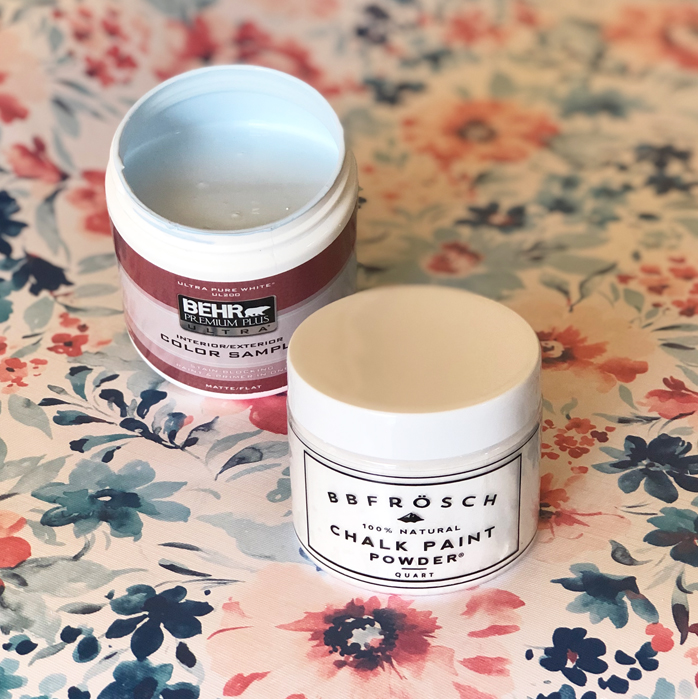
Once the top was stripped, I gave it a gorgeous whitewash finish using white paint I had already mixed with BB Frösch and was leftover from a previous project.
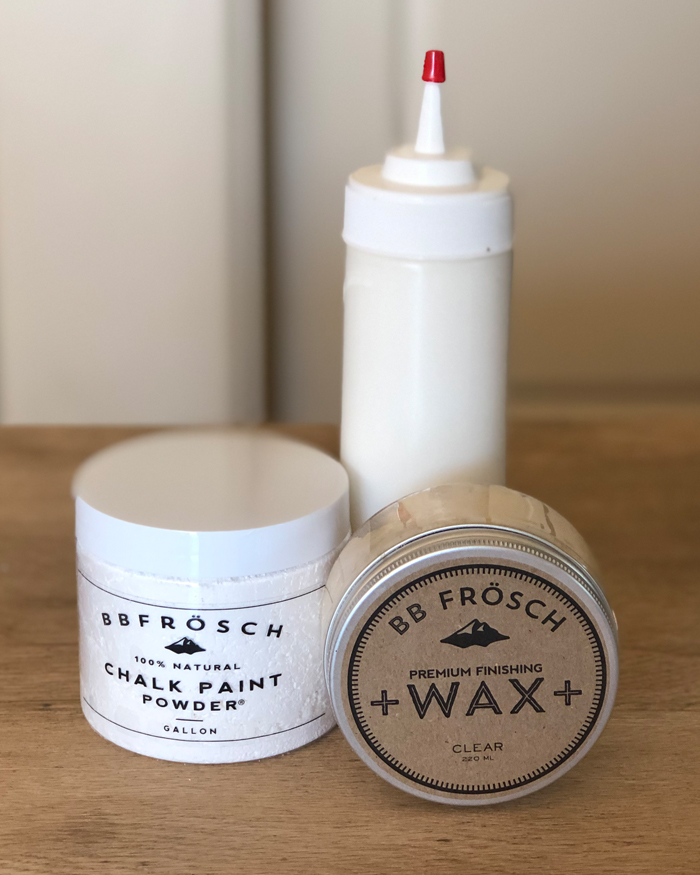
This technique is the same as the faux stain technique, only with white paint instead of dark! Simply squeeze a small amount of paint onto a paint tray, then wet your brush and swirl into your paint.
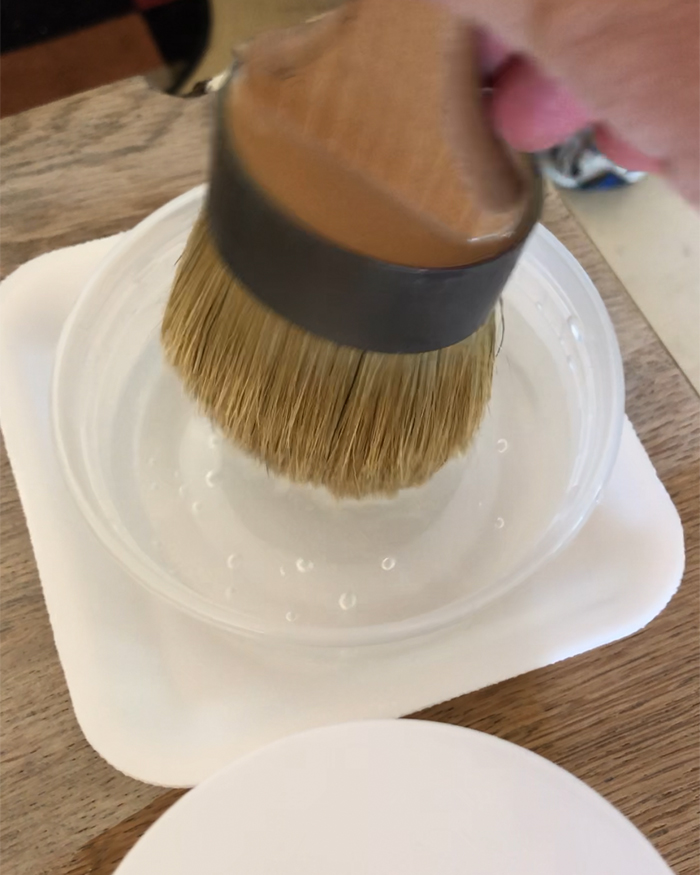
Moving with the grain, apply watered down paint, then immediately wipe with a lint free huck cloth. This will reveal the underlying grain. If you don’t see as much grain as you’d like, simply use a little more water. If you see too much grain, just use less water. Easy peezy!
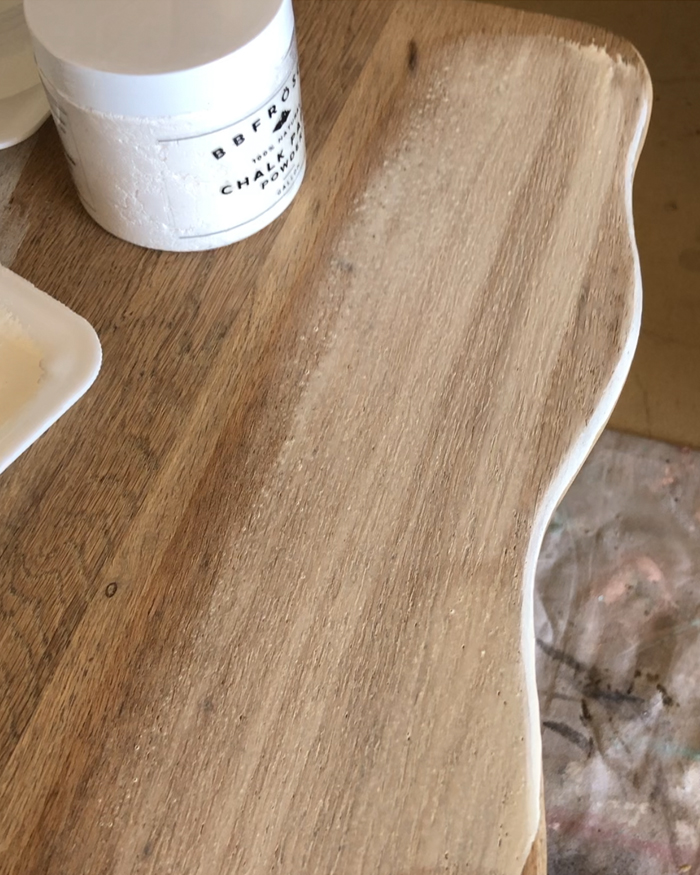
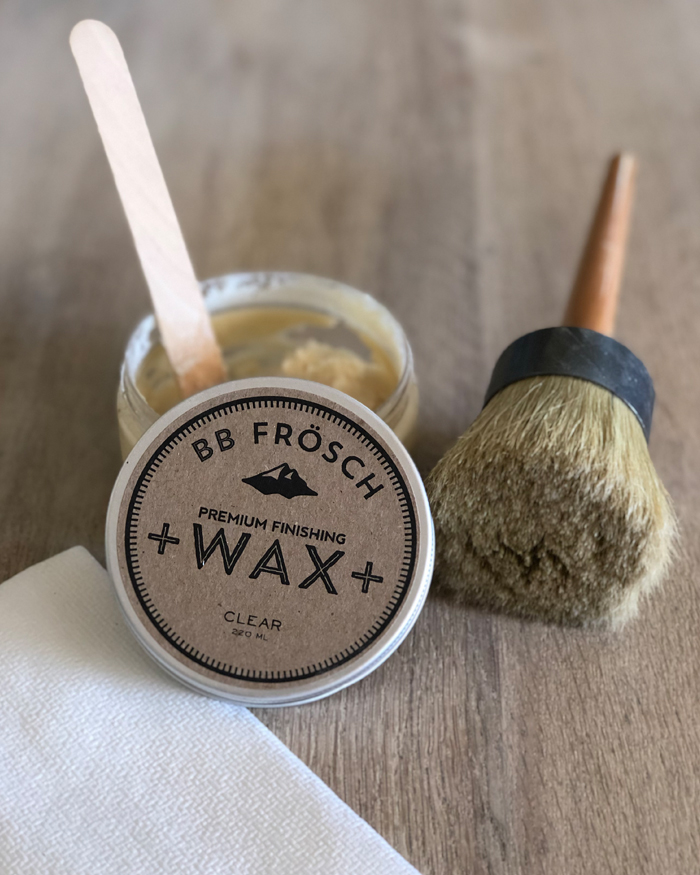
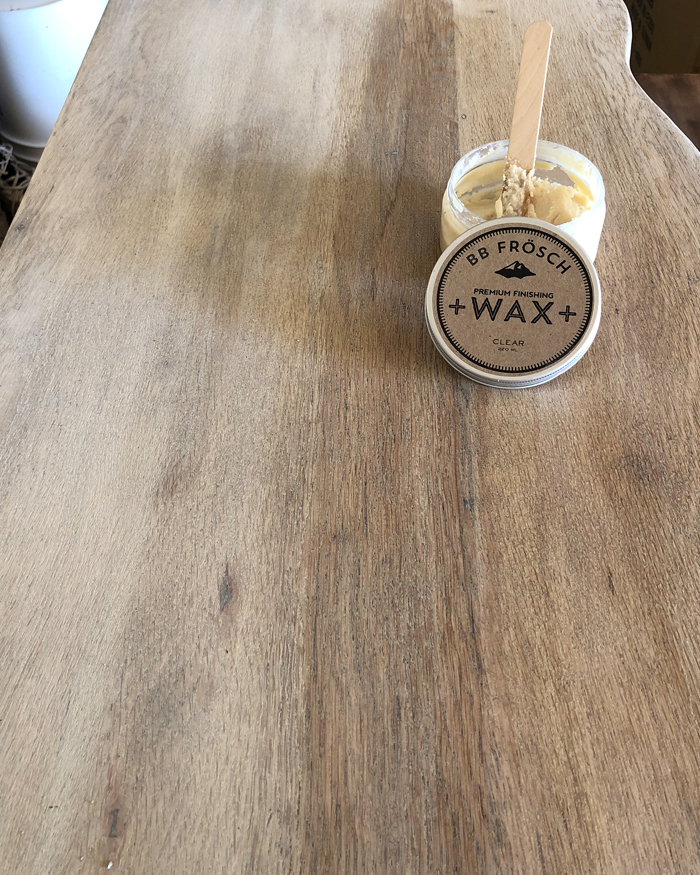
Once the paint was dry, I sealed the finish with BB Frösch Clear Premium Finishing Wax. This wax not only dries and cures quickly, it makes the white wash really pop.
In the photo below, the right side is waxed and the left side is un-waxed.
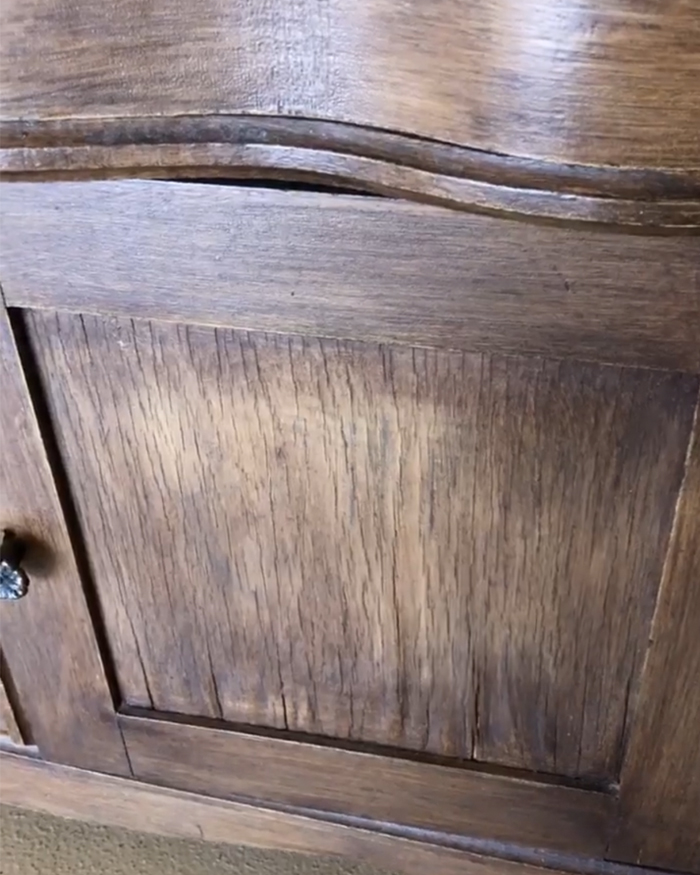
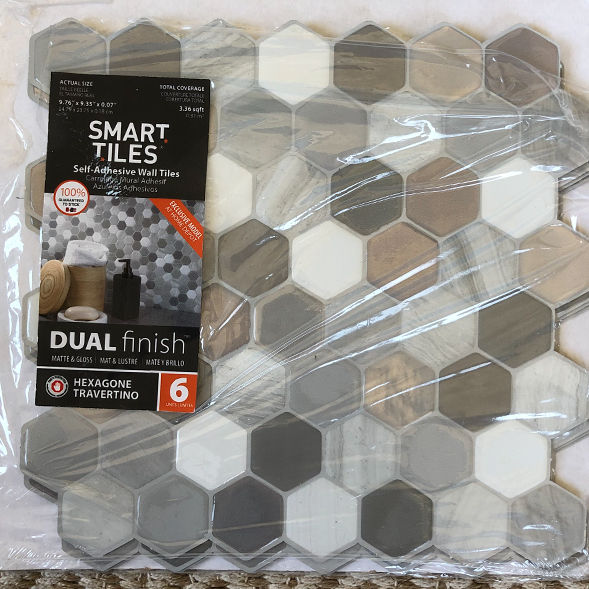
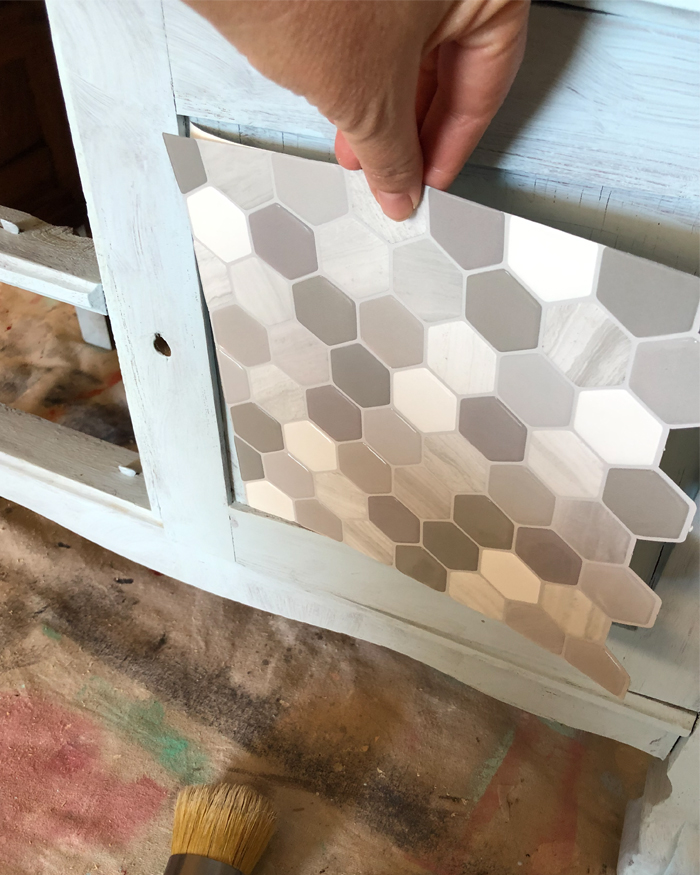
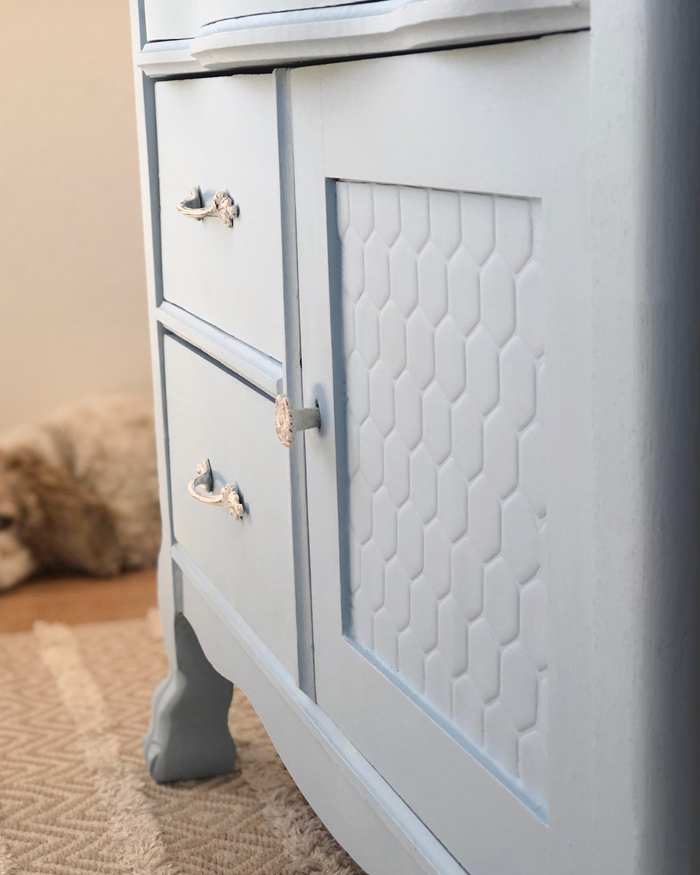
With the top done, I had to address the cracked and warped door. I originally planned to just replace the wood piece, but I found this peel-and-stick backsplash tile at Home Depot and thought I’d give it a try.
It was so easy to cut it to fit the door, and paint right over. I had already painted one coat of blue on the dresser before realizing it would be smart to apply the tile so I could paint everything at once. It only took two coats for the dresser and the fake tile–just one sample jar of paint!
One of the nice things about paint mixed with BB Frösch is that it bonds to all kinds of surfaces—including fake tile!
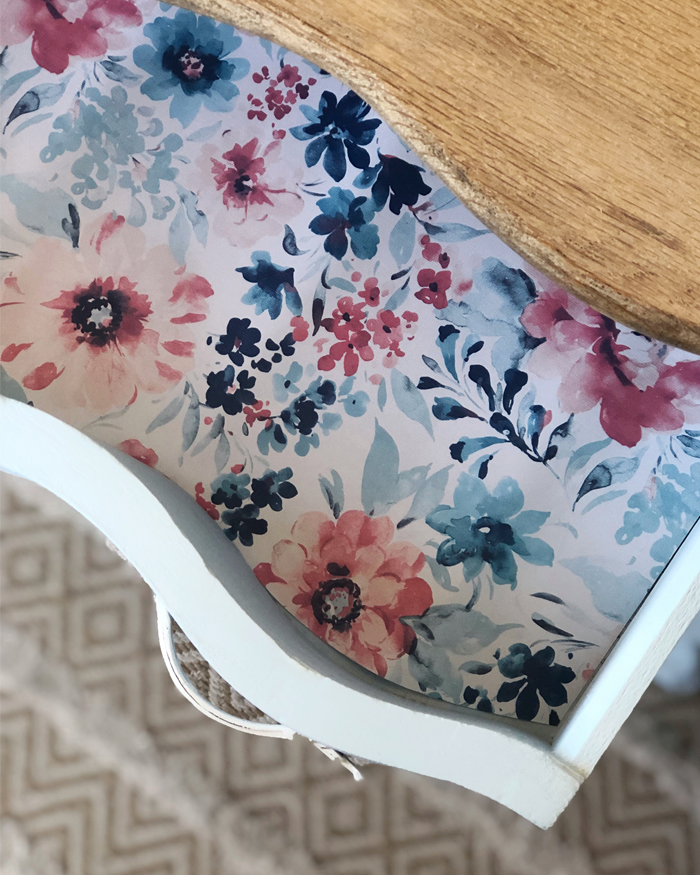
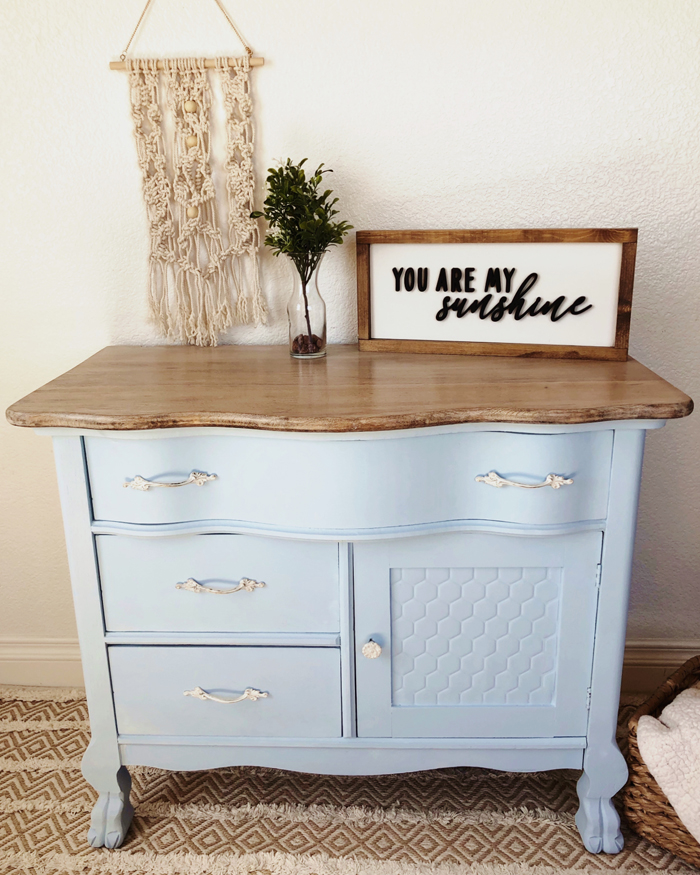
I found the most beautiful premium wrapping paper at Home Goods to use as a drawer liner. I waffled back and forth between color matching the dark blue and the light blue, I ultimately decided to go with light since I almost always choose dark blue. The color is Behr “Breezy Blue.”
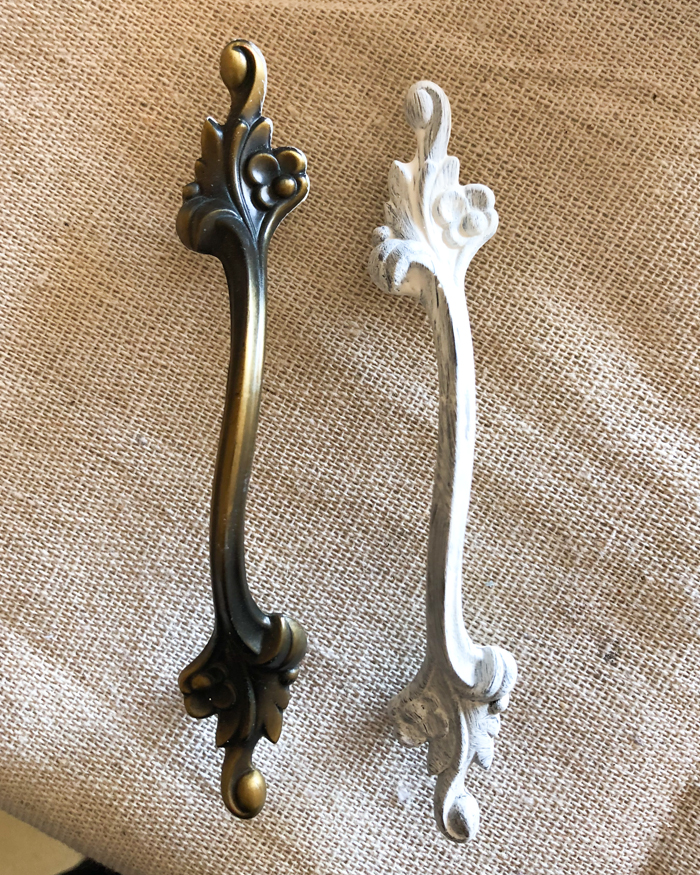
Once the dresser was painted, I painted the handles white and distressed them a little. Then, I waxed the dresser and handles with BB Frösch Clear Premium Finishing Wax.
Next, I cut the wrapping paper to fit the drawers. The drawers already had liners, so I was able to use the existing liner as a pattern.
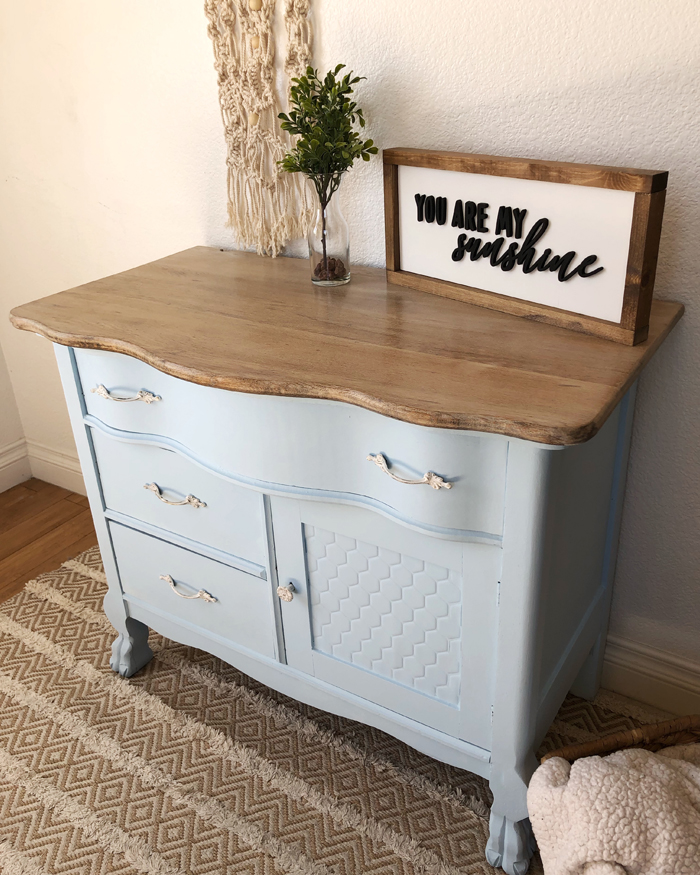
Since the dresser is only big enough for pint-sized treasures, it’s going to my grand-daughters, and I remain in search of a bigger one for my house!
I love how cute the painted fake tile looks on the door–like it’s quilted!
On a side note, I tried my hand at macrame for the first time. Truth be told, it took me about five times longer to do the macrame than it did the dresser!
Follow BB Frösch on Instagram, where you can find the stripping process on my story highlights.
Find more affordable chalk paint inspiration at bbfrosch.com. Follow BB Frösch on Pinterest and Facebook.
I have a dresser I want to paint. This was a timely post. Thanks!
That is adorable. I love the faux tile idea; I’m totally going to steal it!
Fascinating informatio! Can’t wait to explore this technique! Thank you!
Super job! I learned a few things! Thank you!
Did you use any additional adhesive to adhere the tiles? I want to add self adhesive wallpaper to a dresser I’m working on but I’m afraid it might eventually become loose and fall off. Did you cover it with a polyurethane to keep it intact?
The “tiles” came with adhesive on the back which is pretty strong. So, no, I didn’t add any additional adhesive. As for sealing it after painting, yes! It is important to seal any chalk painted piece for protection. I used BB Frösch Premium Finishing Wax on this so it would be consistent with how I sealed the rest of the piece.