The laundry room for a big family like mine is the heart of the home. If my laundry room isn’t functioning, I’m not functioning. Can I get and AMEN!!?!
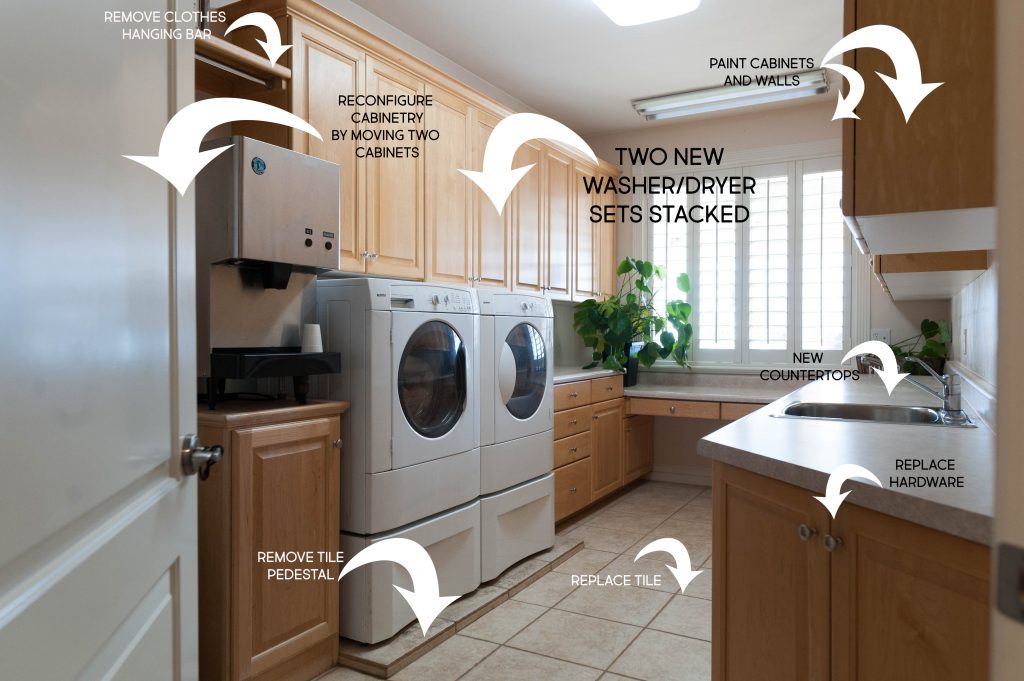
When we moved into our Dream Home, I made a plan for the laundry room. This is what it looked like upon move in:
![]()
We quickly came up with a renovation plan to make it function a little better for me and my family.
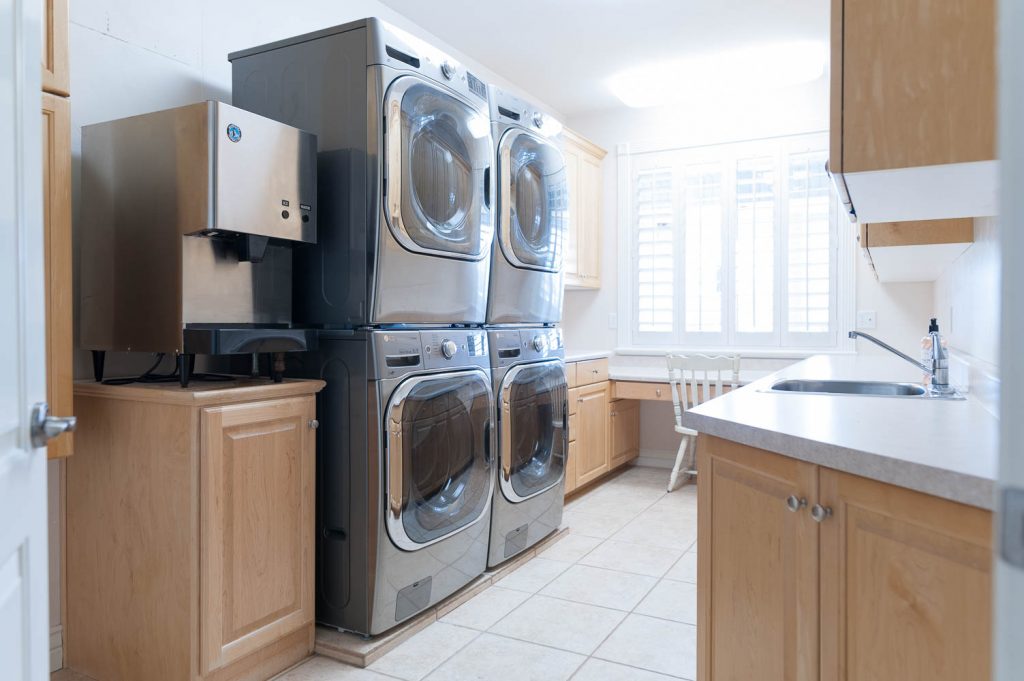
As you can see, the room is big. It’s so nice, and I’m so grateful for the space. It just needed a facelift to match the vibe I wanted in the home, and functionality is always super important to me. So, in 2018, we reconfigured the laundry room to hold two sets of washers and dryers. This has been the. best. decision. ever. We are still in love with our LG Washers and Dryers, and would recommend them with a 5 star rating. Heck, I’d give them 6 stars if I could. Each fits a double load of laundry, and we absolutely love them.
And before I get a million questions, YES, this room has an ice maker/water dispenser, and YES, we love it. We have the Hoshizaki ice/water dispenser. It’s marvelous, and we are addicted to pebble ice.
This is what the room looked like after we moved the room around and plumbed it for two washer/dryer sets.
 Life happened, and the laundry room makeover took a back seat to other priorities. So, for two years, the room stayed the same. Which is totally fine because renovating the laundry room is definitely inconvenient, because who wants to go several weeks without a washer and dryer? I had a VISION though, and we finally decided it was time to tackle the project.
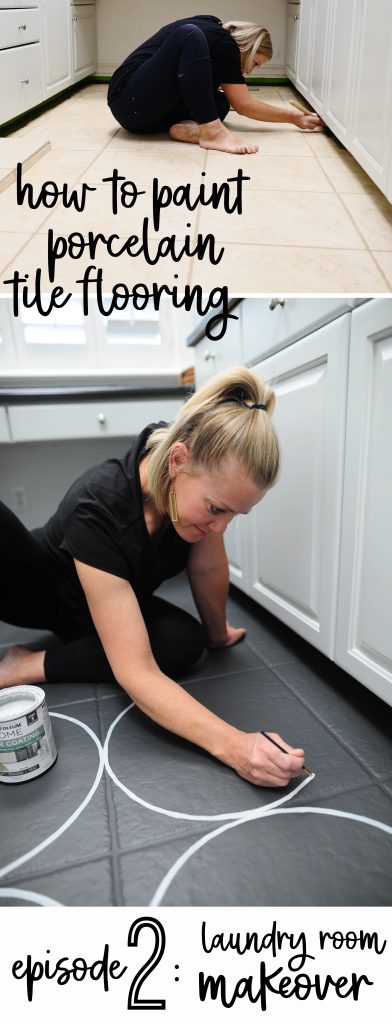
But, I’m actually super happy that we hadn’t done the project yet because Rust-Oleum just came out with a new product for PAINTING flooring. In fact they just started selling it in Utah! Yep, you read that correctly. I’m so excited because when we removed the tile in our last house, it was a HUGE undertaking. So, the idea of painting the floors instead of ripping out tiling was super enticing.
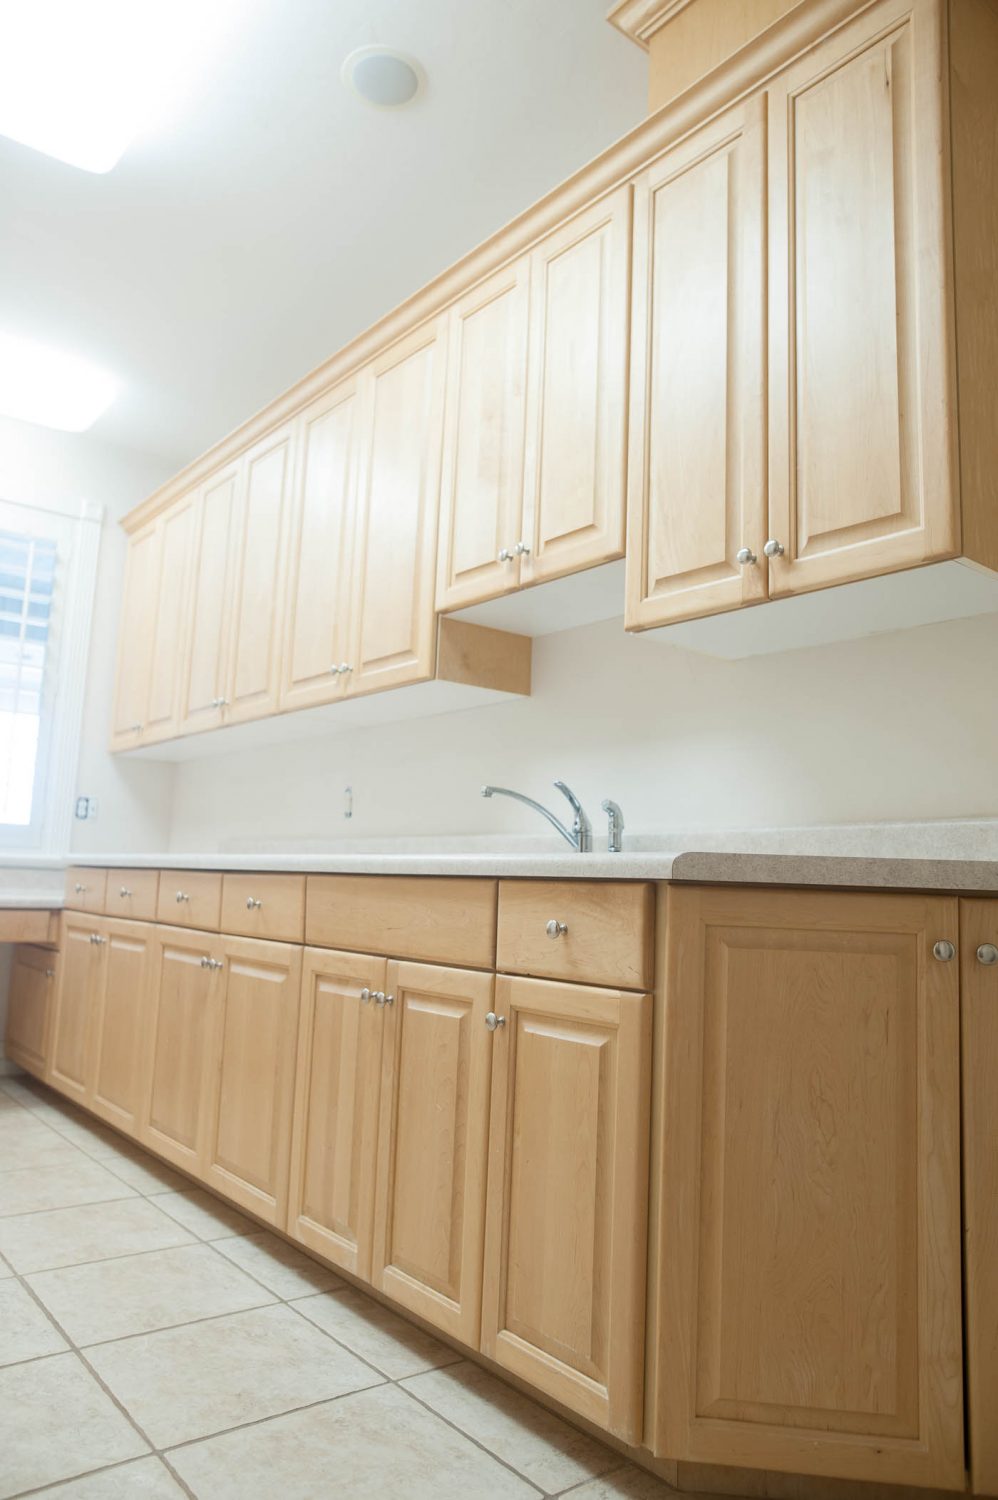
So, before we dig deep into DIY tutorials, this is what the room looked like three weeks ago:
![]()
![]()
![]()
I cannot WAIT to show you what it looks like now. {Don’t forget to click on the next episode in the series to follow the journey to the reveal!}
If you are curious what products we used for this room makeover, check them out below.
![]()
We used:
On the floors:
A Small amount of Krud Kutter to degrease the floors before painting them. Cost: About $7.00
Two Quarts Rust-Oleum Home Floor Coating in Charcoal Gray for the base coat of the flooring. Cost: About $40.00
1 Quart Rust-Oleum Home Floor Coating in Smoke for the pattern on the flooring. Cost: About $20.00
2 Quarts Rust-Oleum Home Floor Top Coating in Matte Clear {If you buy them in a kit, you don’t have to buy them in a 6-pack} Cost: About $40.00.
On the cabinets:
Two {because I have so many cabinets} Rust-Oleum Cabinet Transformation Kits in Iced Gray Cost: About $170.00
On the countertops:
2 Quarts Rust-Oleum Countertop Coating in Black : Cost: About $44.00
Total cost of this renovation: $321.00
xoxo,
Brooke
To head to episode 2, click on the picture below: