When my friends from Rust-Oleum® asked me to create a fun wedding centerpiece, I was instantly extremely excited!

Pretending to plan a wedding table scape has been soooo much fun! It also made me realize that pretty darn soon, my nieces and nephews will start to get married too! I hit Pinterest and started brainstorming. My centerpieces were inspired by a friend’s upcoming wedding, and she loves rustic wood and plans to use a similar wood tone as wine barrels in her wedding design. She also has a classic taste so I wanted these centerpieces to reflect that.
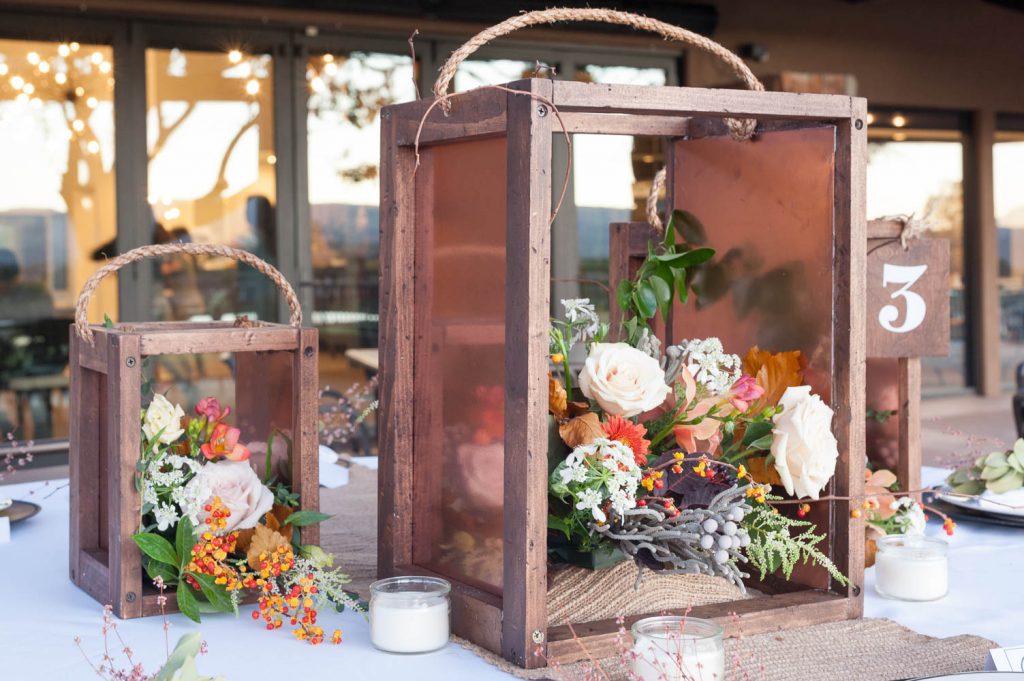
I knew that lanterns would be soooo pretty. Plus, lanterns are EXPENSIVE! As I searched for wedding centerpieces with lanterns, I realized that it wasn’t uncommon for one lantern to cost upwards of $50 for ONE! I knew that making lanterns could be very simple, and could create a stunning centerpiece for not a lot of money.
I started by drawing up the plan.
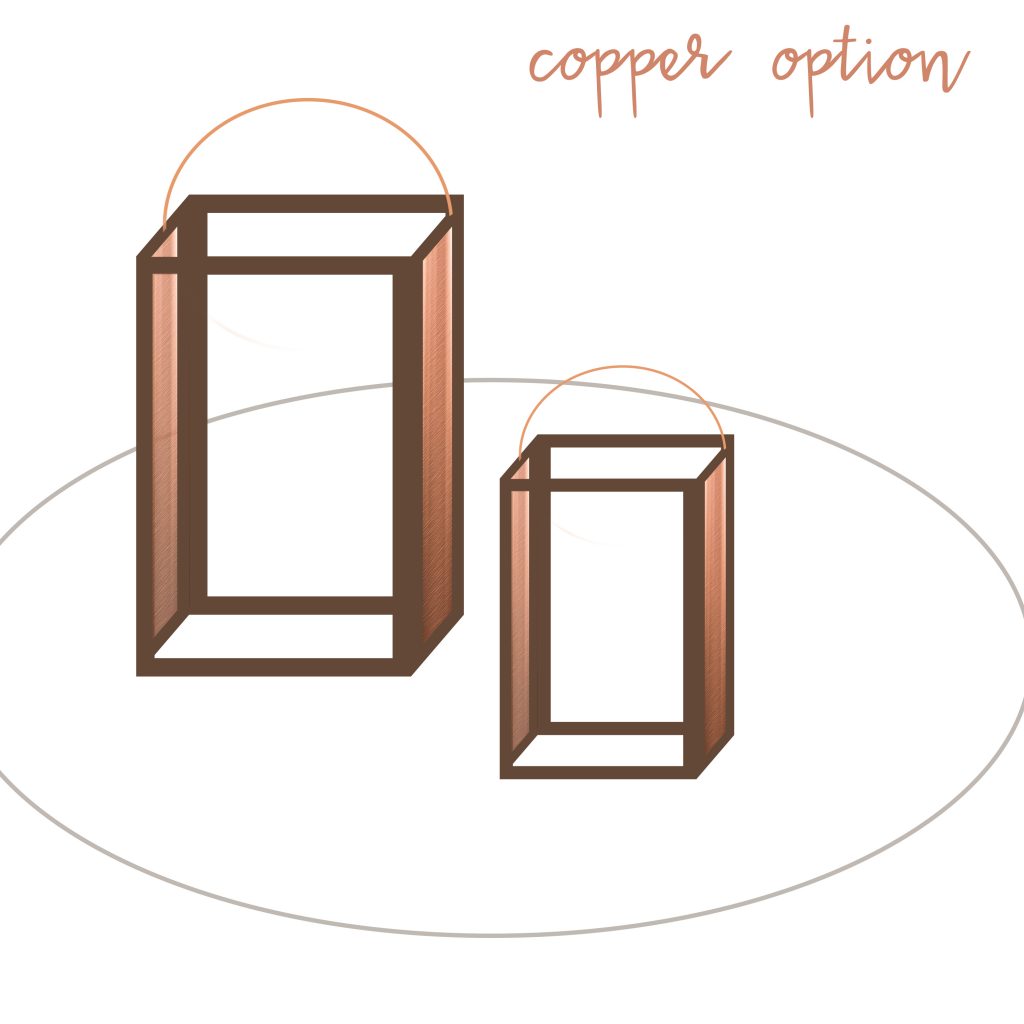
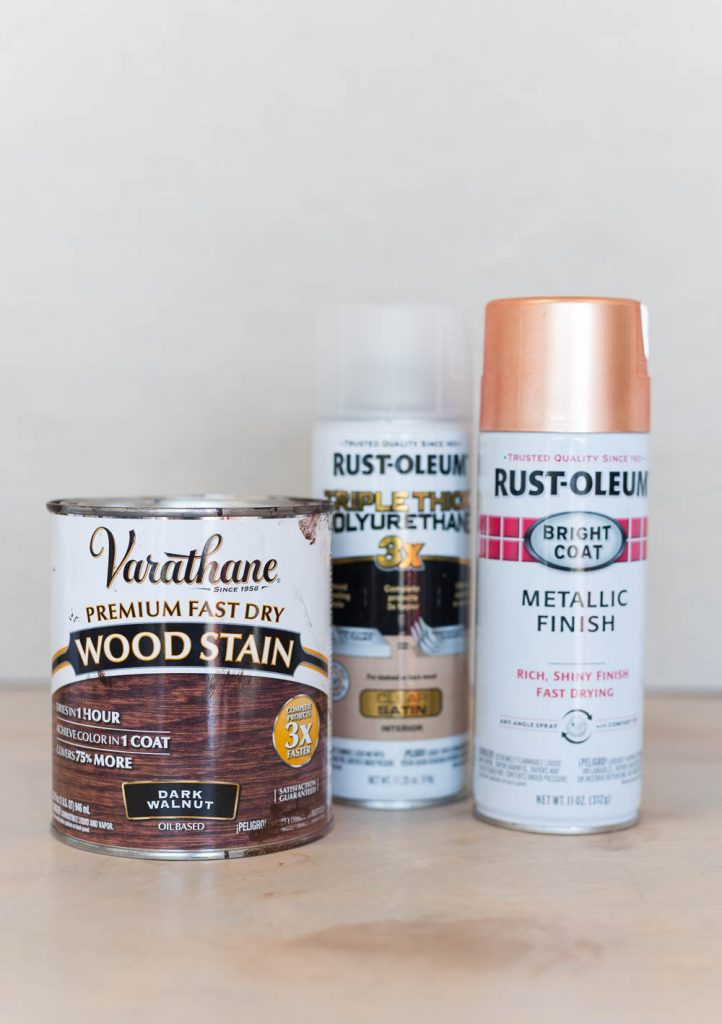
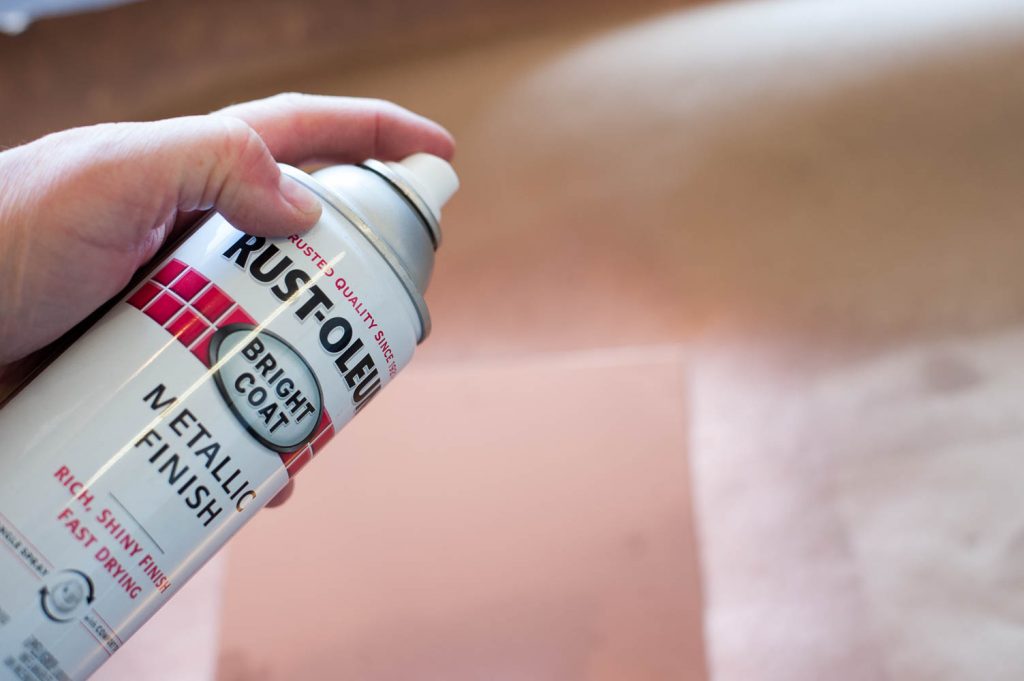
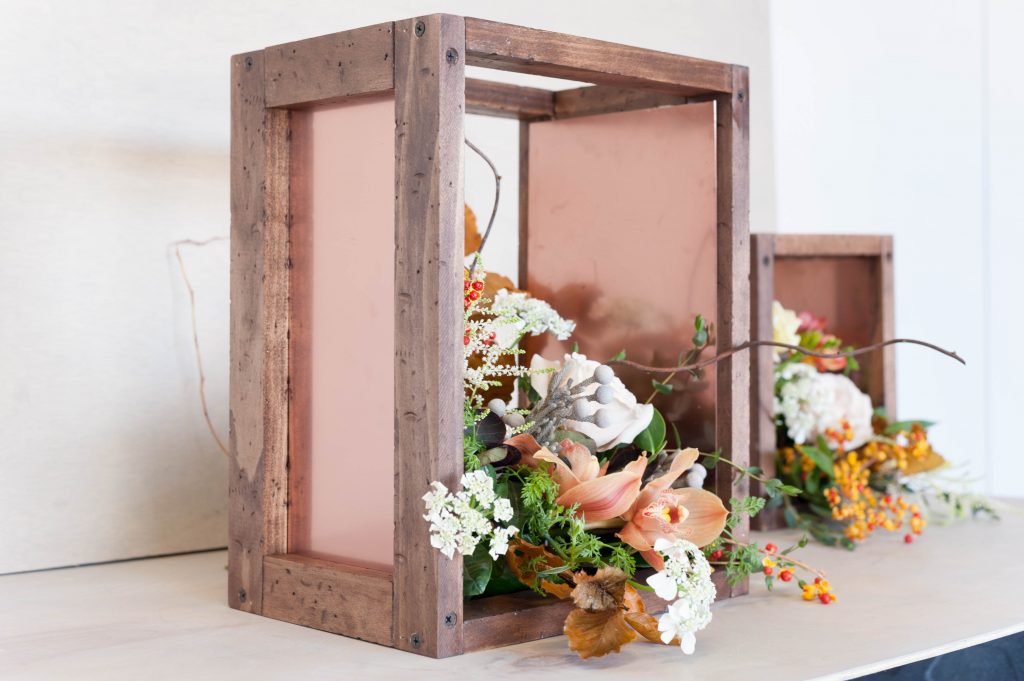
Since copper is all the rage, and Rustoleum has an amazing copper spray paint, I chose to incorporate it into the design too. I used Rust-Oleum bright coat copper, Rust-Oleum Triple Thick spray poly, and Varathane dark walnut for this project.
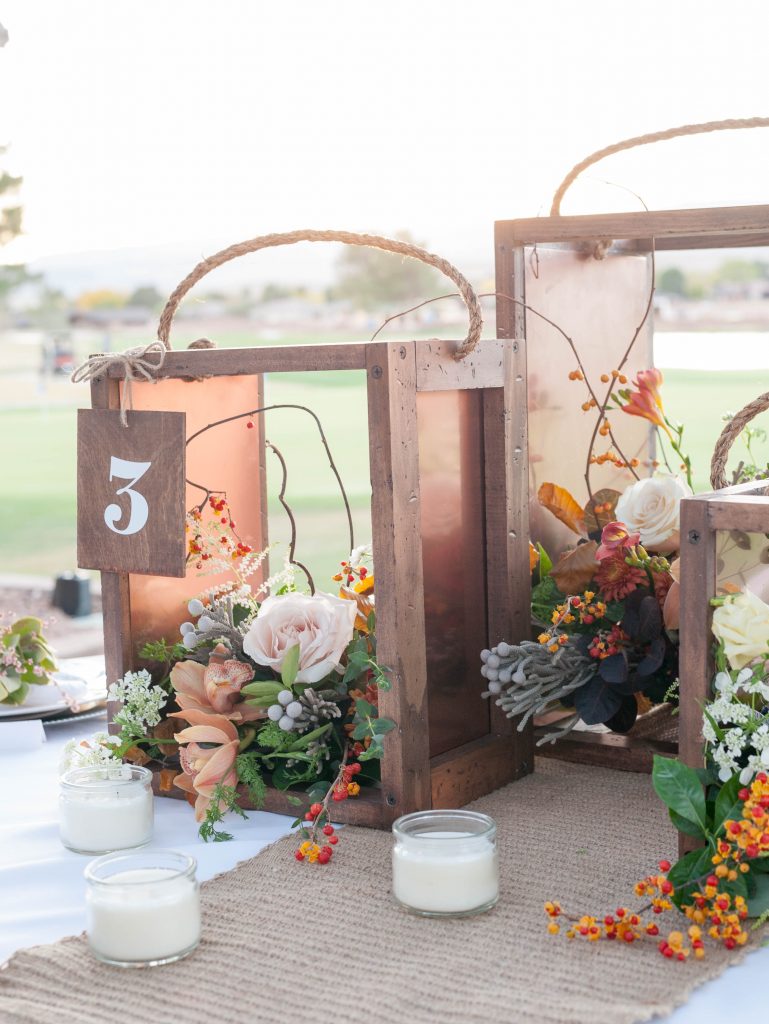
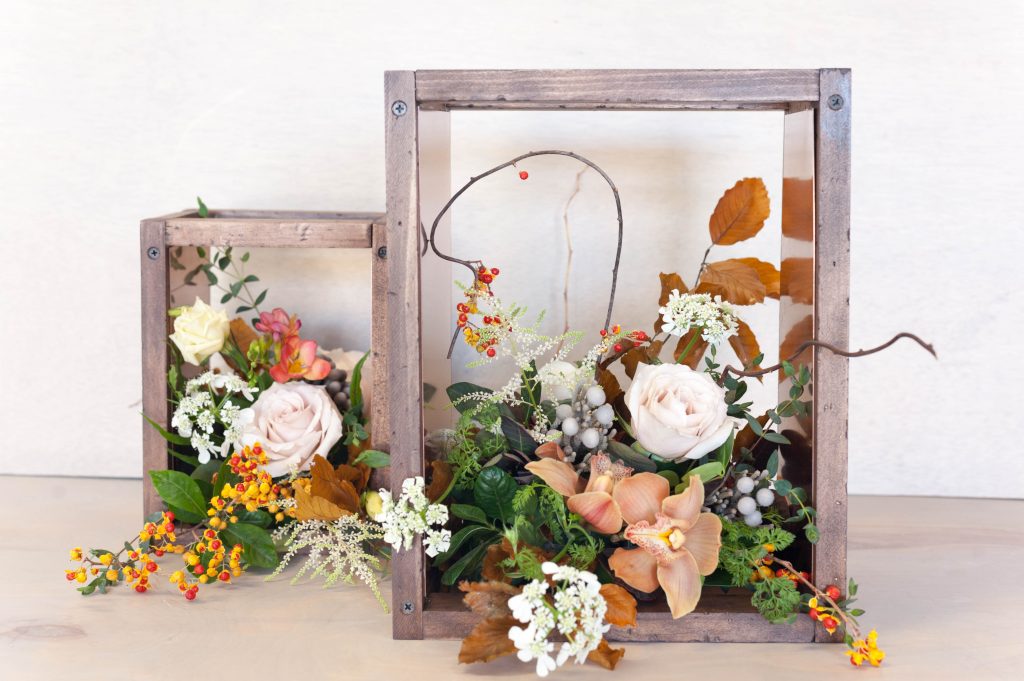
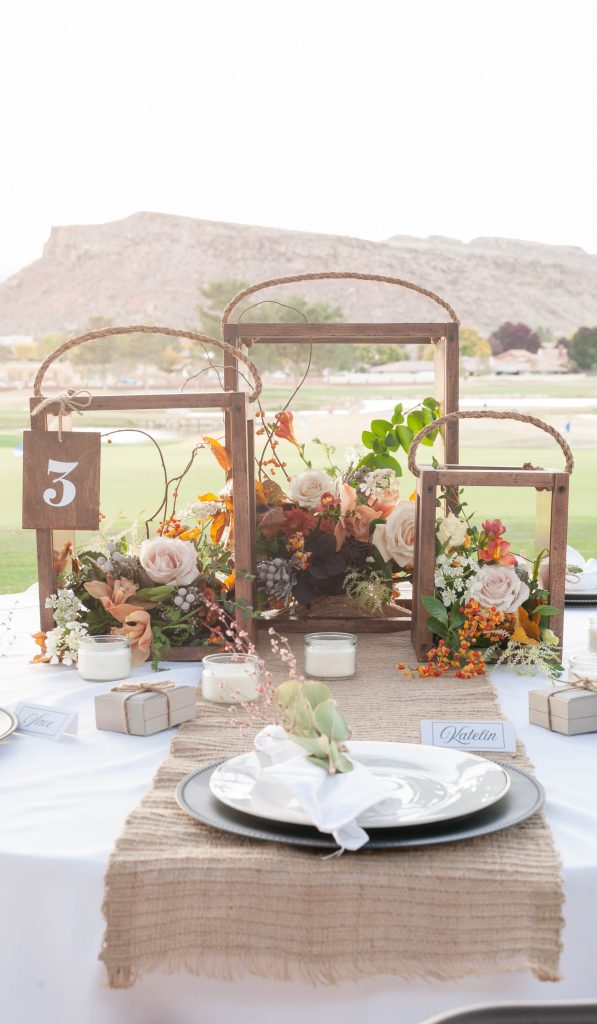
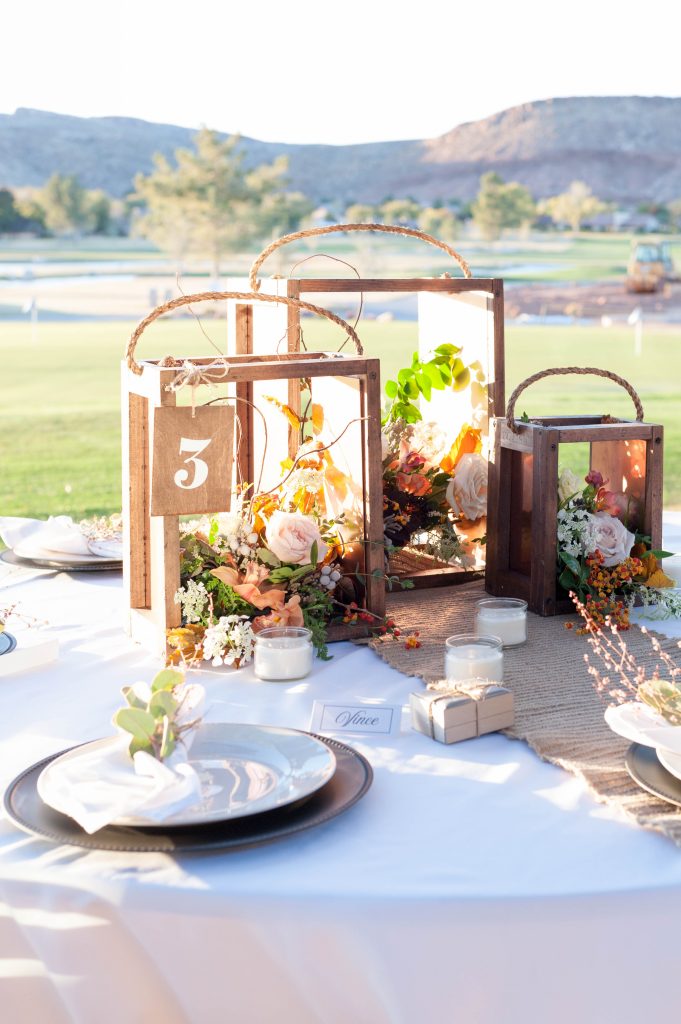
The end result made me want to plan a wedding. Or have a redo on my wedding actually! HAHA. Look how beautiful they turned out!
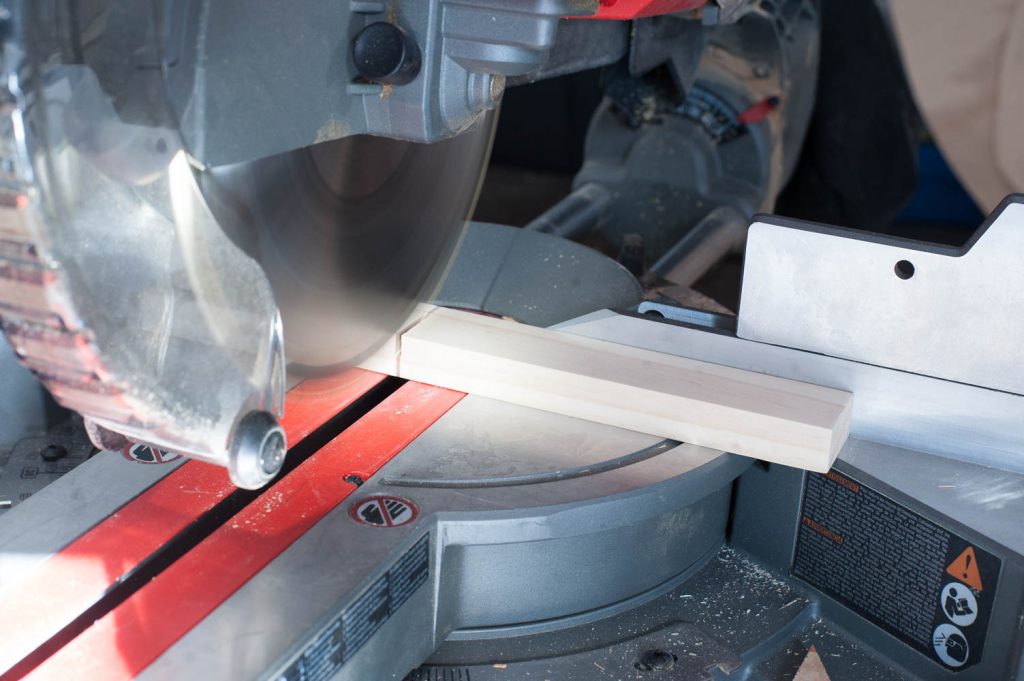
Step 1: Cut 1X2s to the size you want your lanterns to be. My biggest lantern is 12inches wide and 18 inches tall. The middle sized one is 8inches wide and 14 inches tall. And the small one is 6 inches wide and 10 inches tall.
Step 2: Next, sand the boards so that they are nice and smooth. 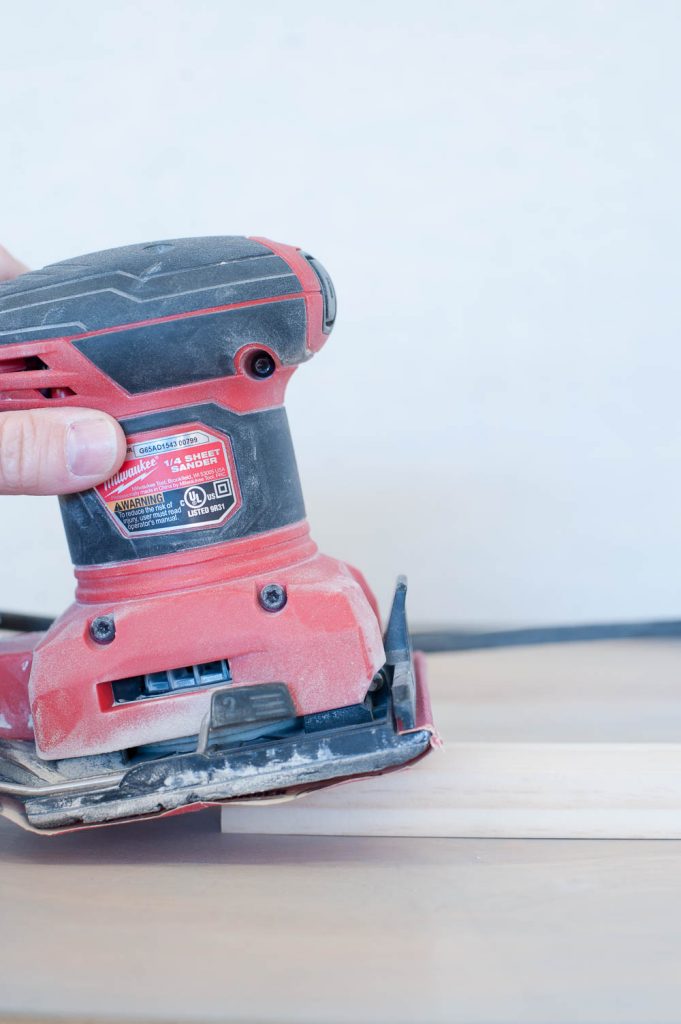
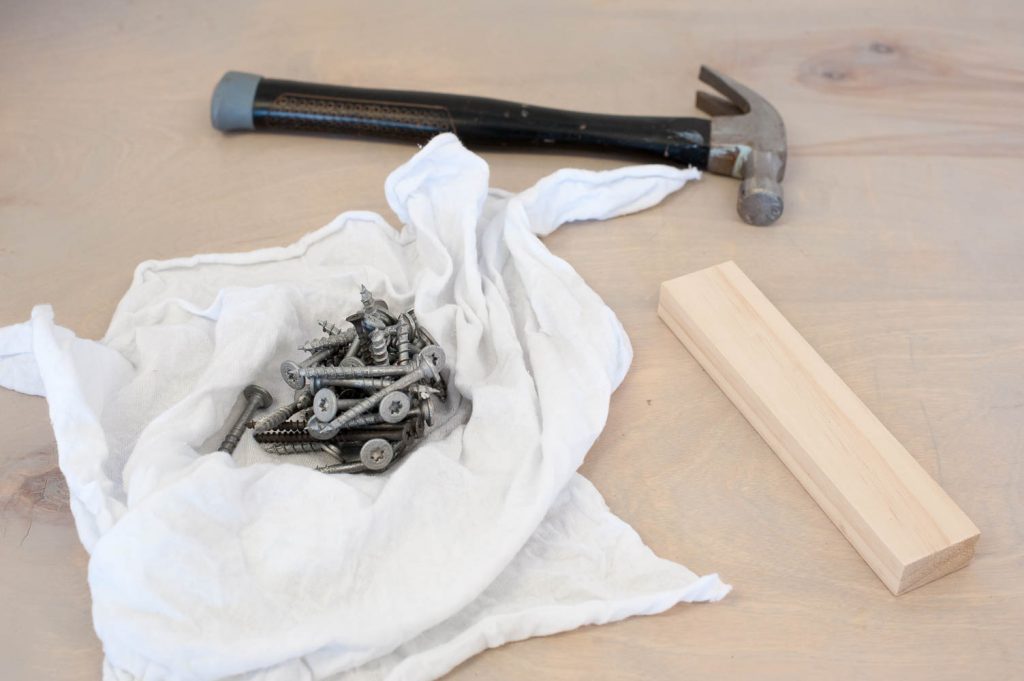
Step 3: Distress the boards. I got a pile of screws and wrapped them into a piece of scrap fabric and hit the boards as hard as I could. It was a great way to work out a little pent up aggression. 🙂 Plus we hit the boards with a small hammer too.
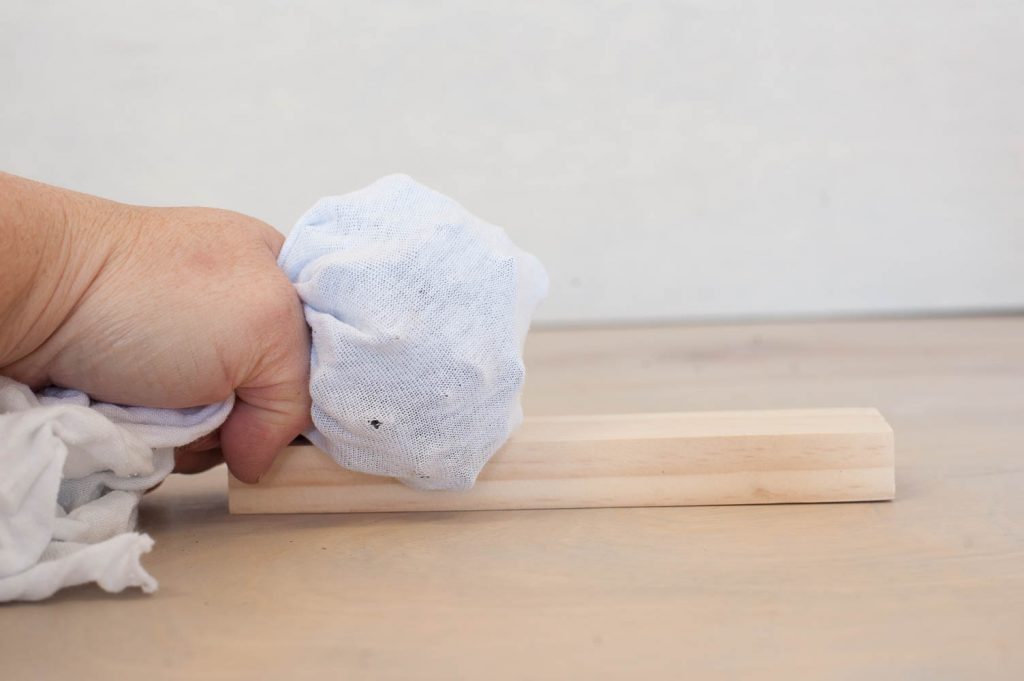
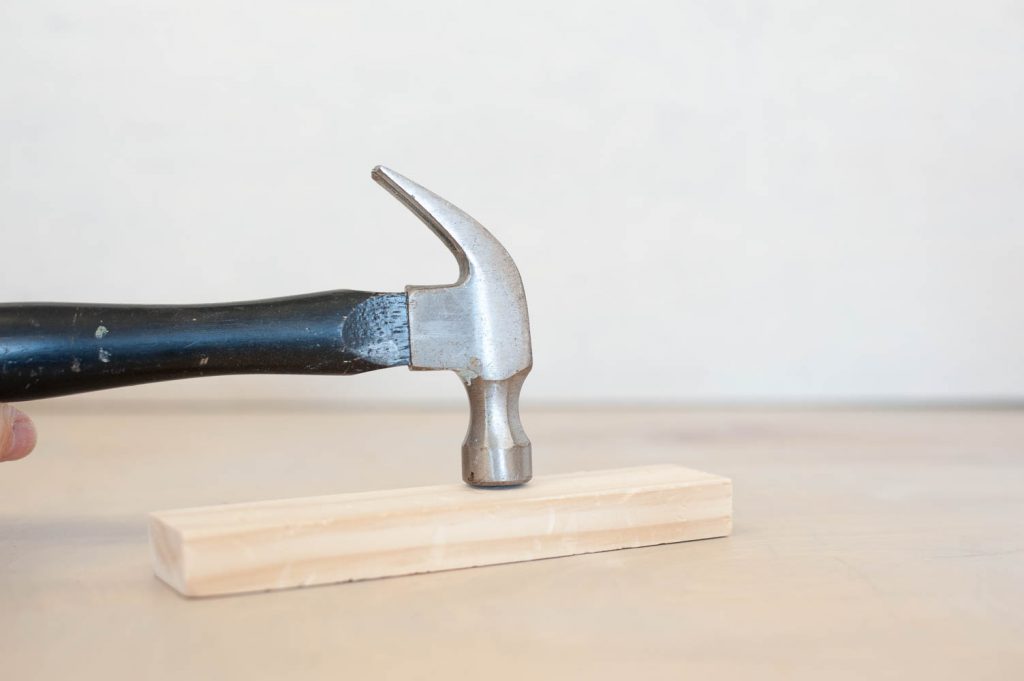
This is what the wood board looked like prior to being distressed: 
The boards looked pretty beat up after we got done with them. But that was exactly the look we wanted!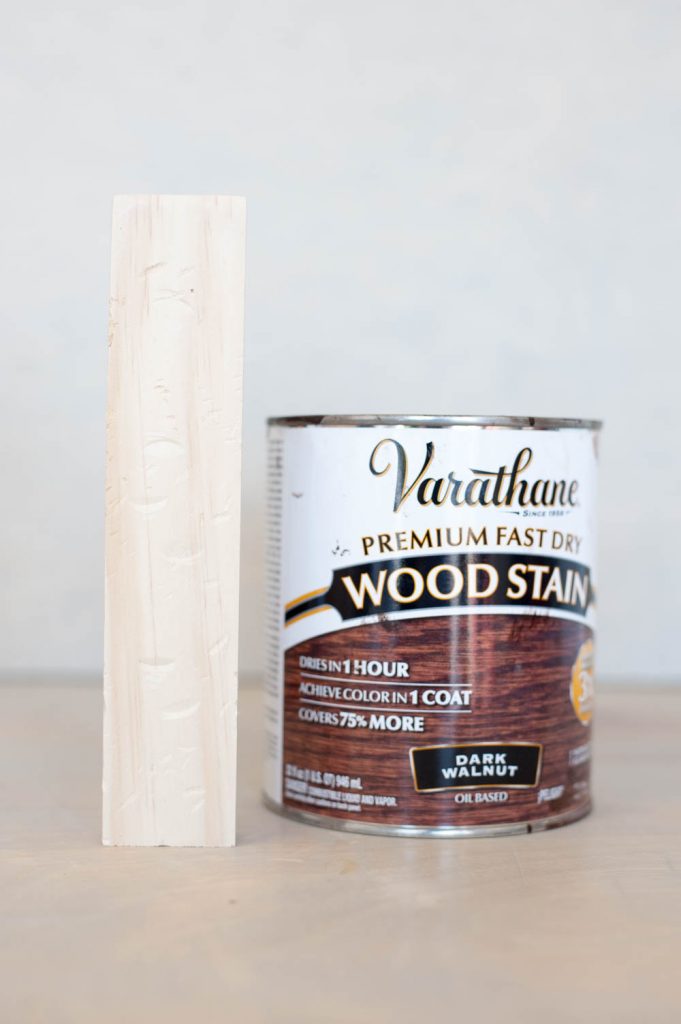
Step 4: Next, I stained them with Varathane Dark Walnut wood stain. 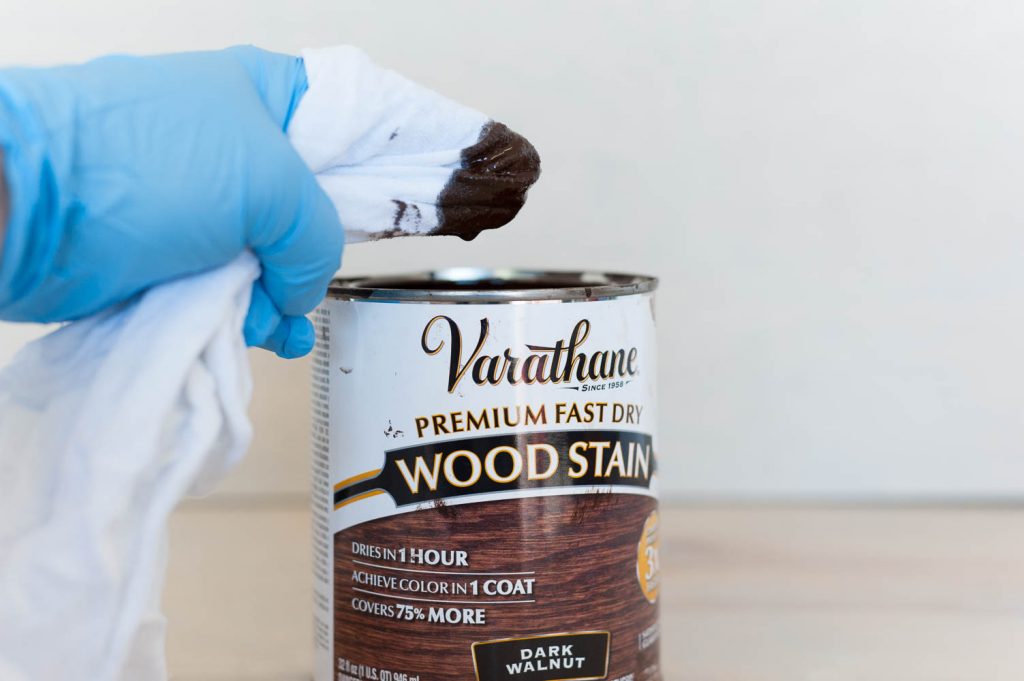
Let the stain sit for a minute or two…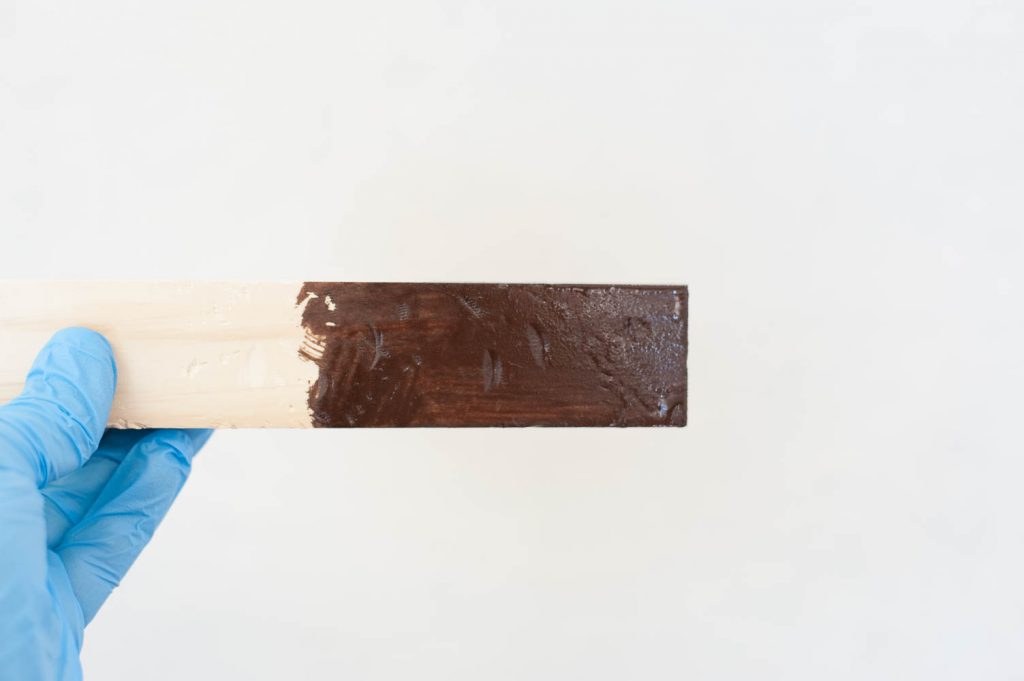
Then I wipe it off with a lint free cloth. 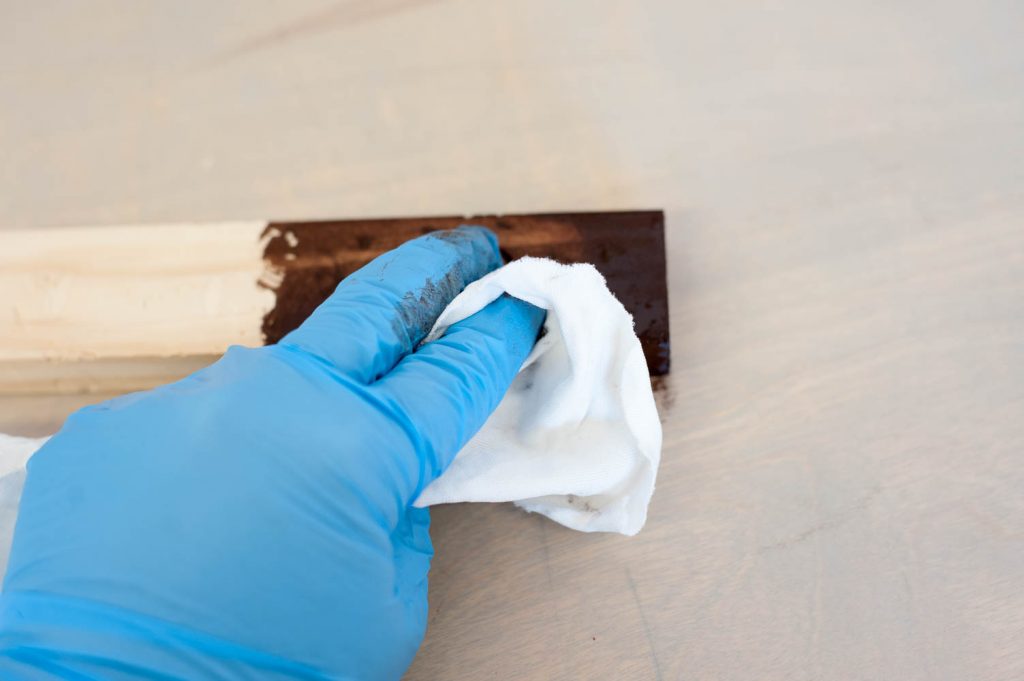 I absolutely loved how to boards turned out. They were exactly what I had pictured in my head. The distressed parts turned out darker. I love it!

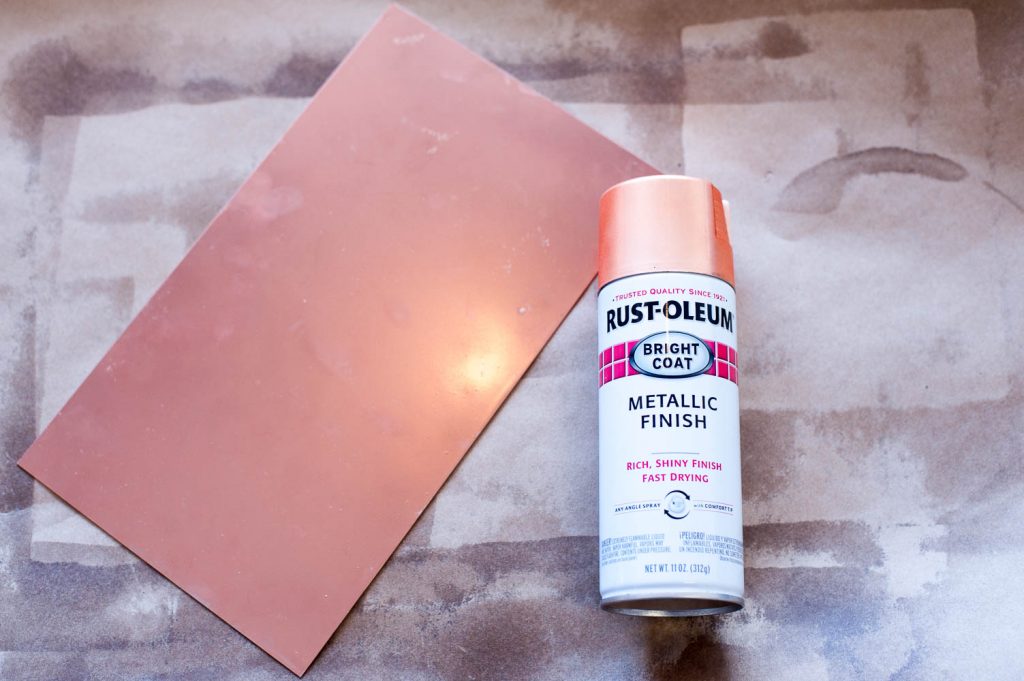
Step 5: While the boards dried, I painted pieces of sheet metal for the sides of each lantern. We had a sheet metal company in town cut the pieces for us so they would fit perfectly. We did two coats of copper on each metal section.
Step 6: After the wood pieces dry, spray them with Triple Thick Poly. I used Satin sheen.
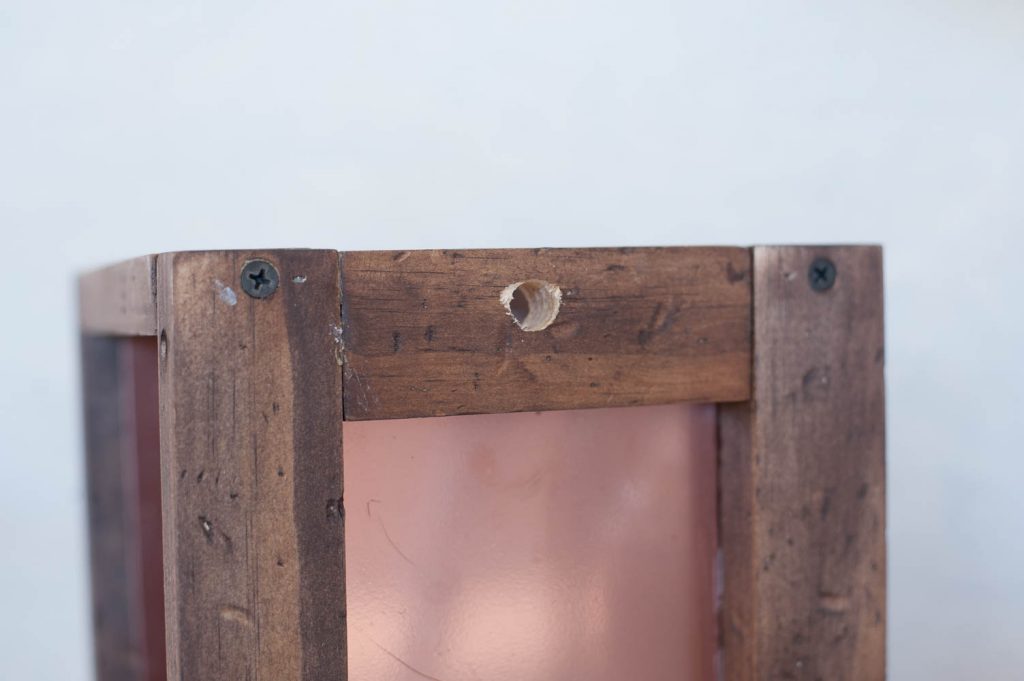
Step 7: Pre-drill the holes with a countersink bit so that the screws will sit flush with your wood.
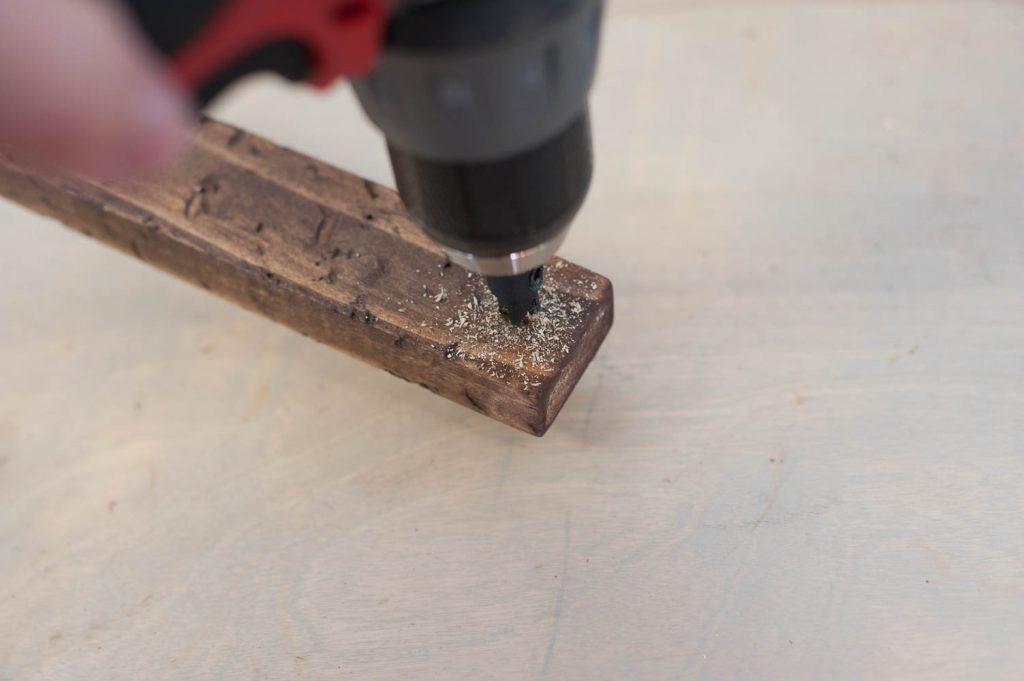
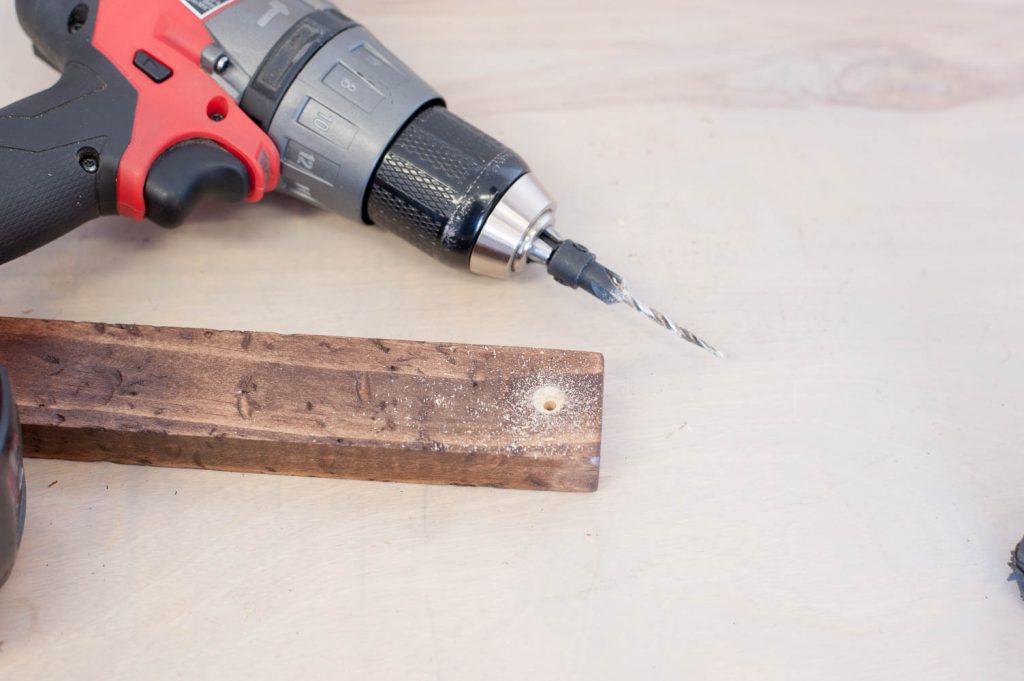
See how it creates a pocket for the screw to sit perfectly into?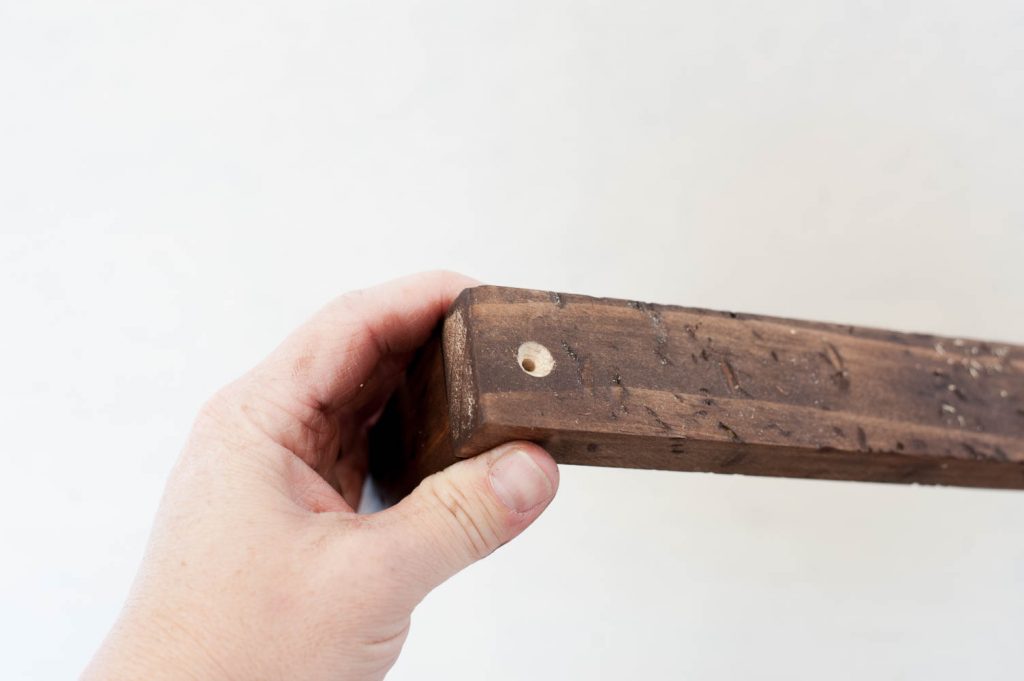
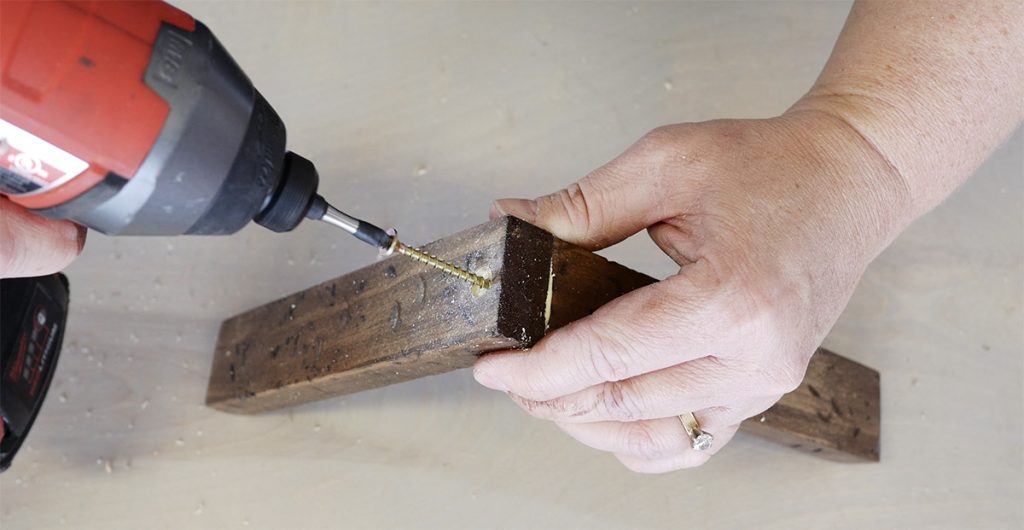
Step 8: Assemble the lanterns! I assembled the two squares on the sides first, and then screwed them together with the cross pieces. 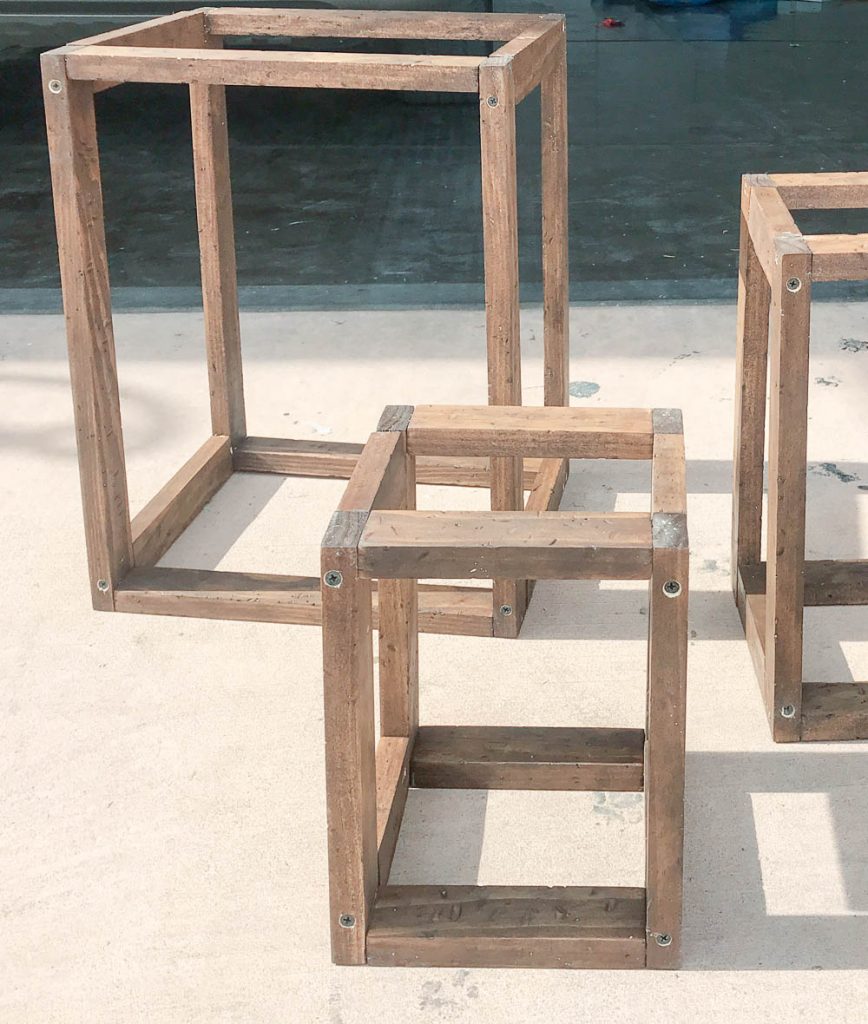
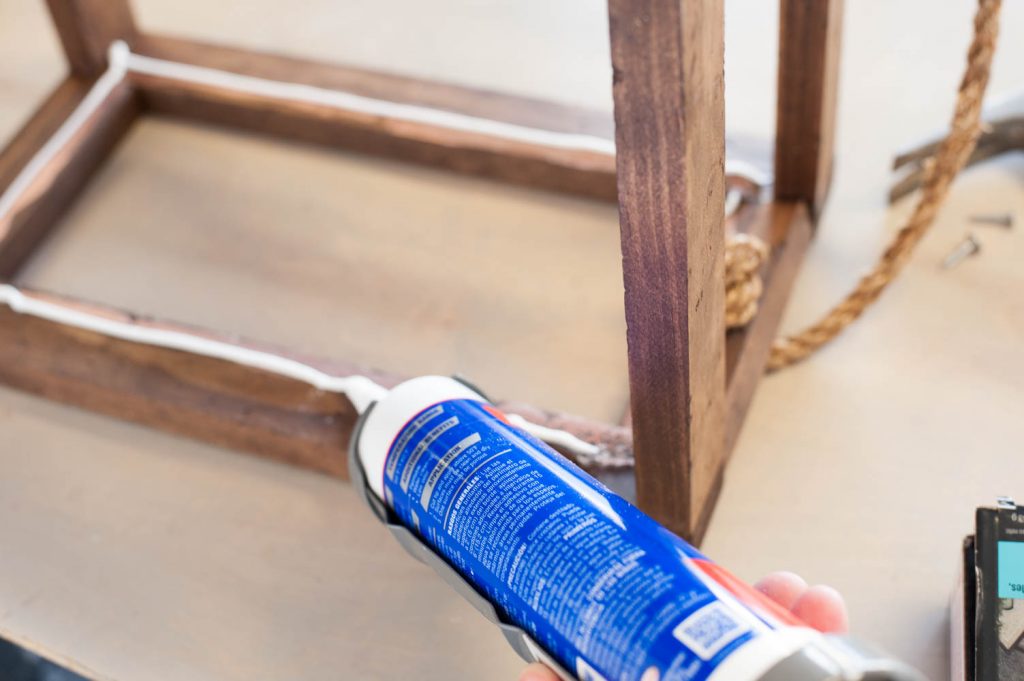
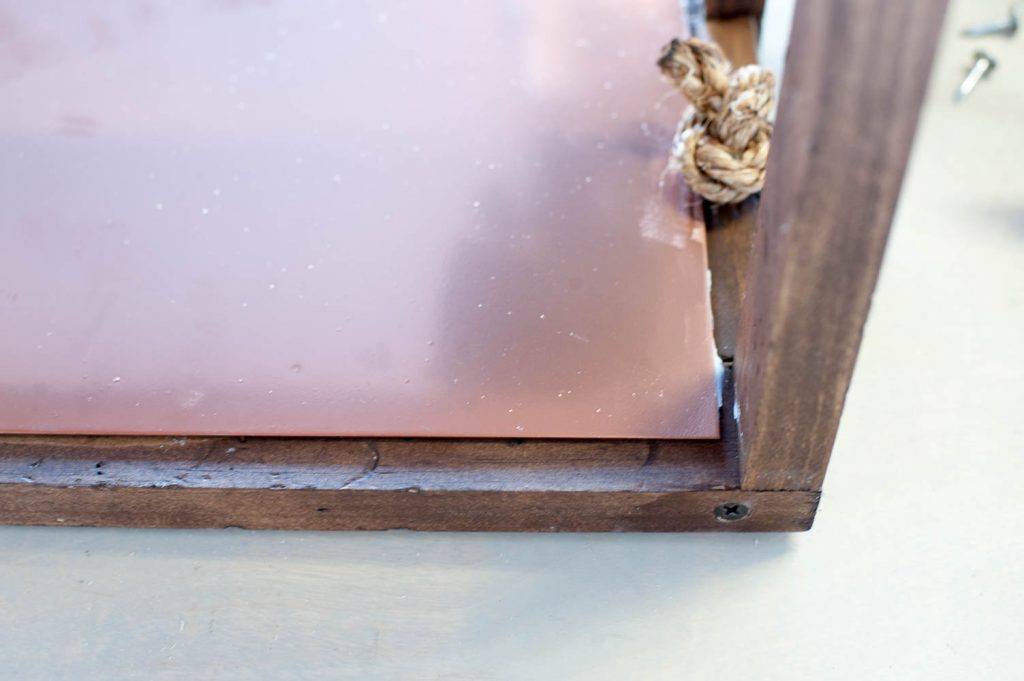
Step 9: Glue on the copper metal. Put a thin bead of construction glue onto the wood, and press the copper into place. Be careful, some of the construction glue dries white. So if it seeps out, make sure you wash it off or it will dry white.
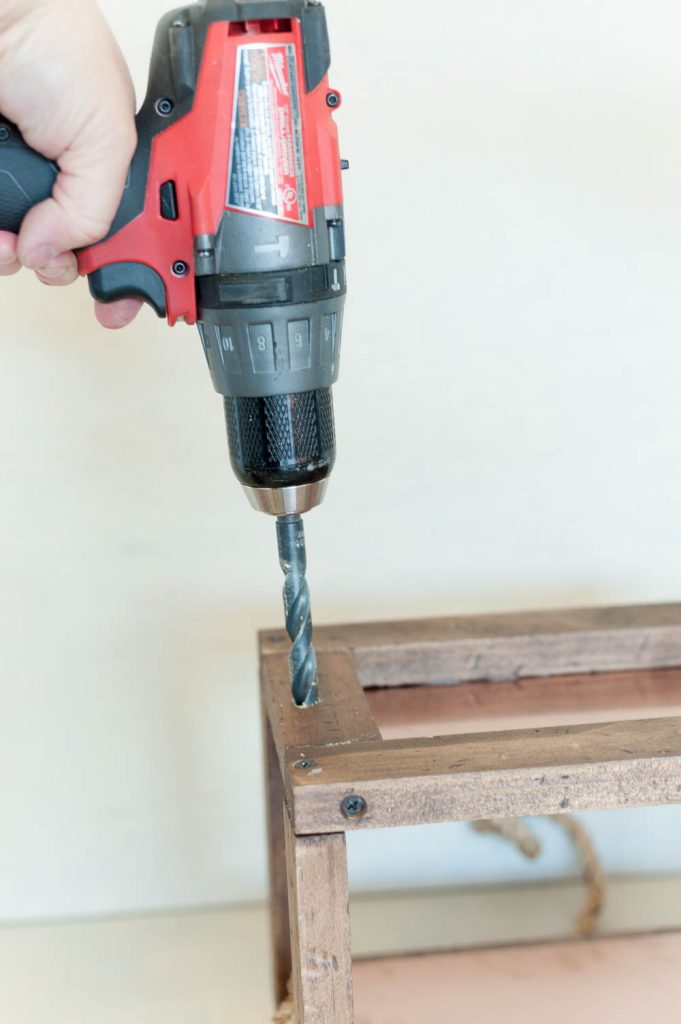
Step 10: Drill a hole in the top of the lantern on both sides for your rope handles.
Step 11: {Optional} Cut a piece of rope for the handle.
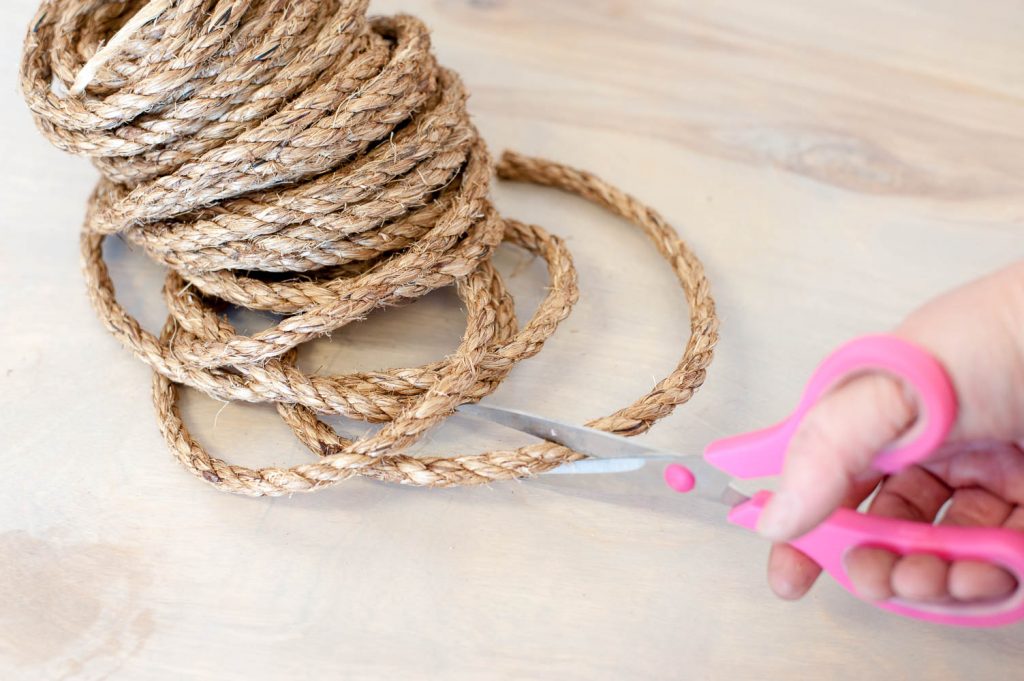
Put a piece of tape around the end so that it will fit through the hole. 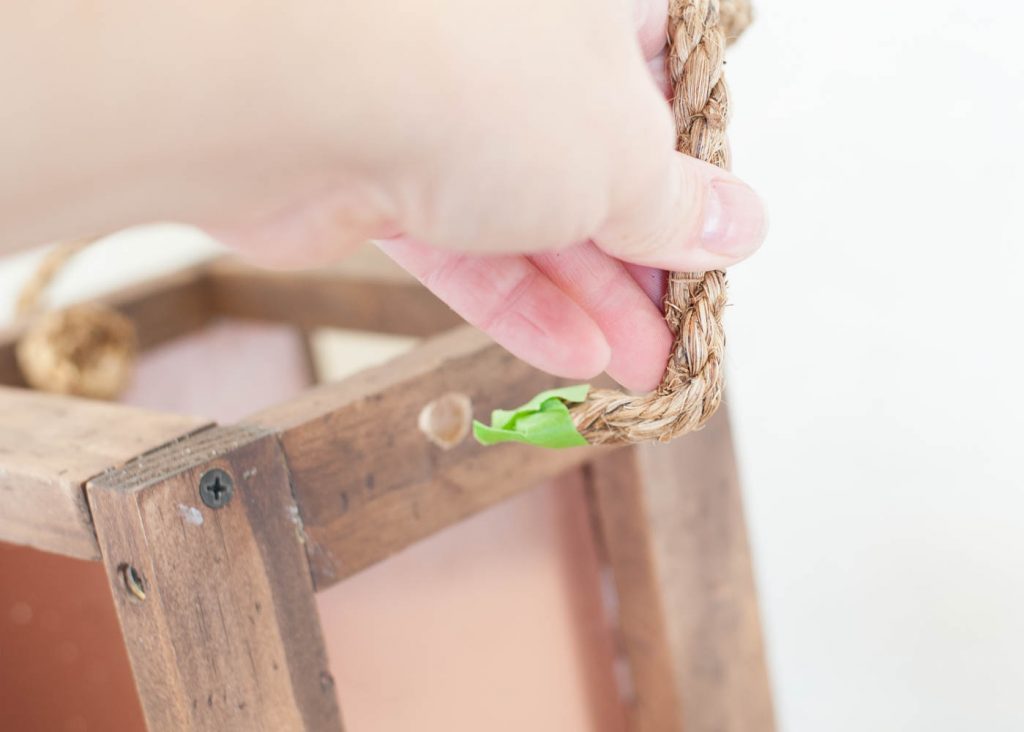
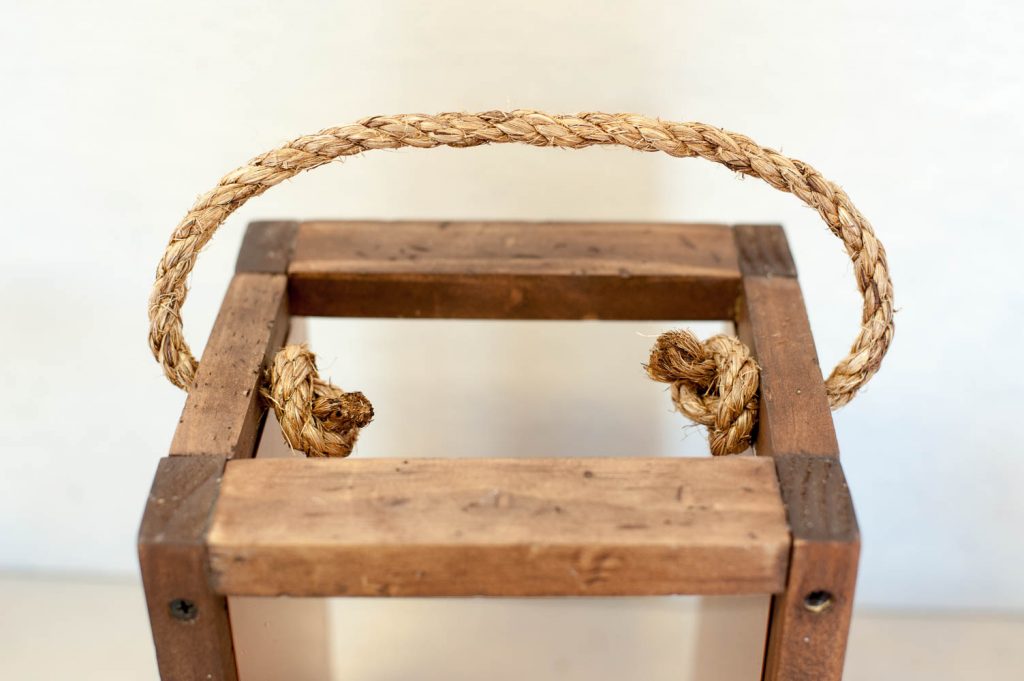
And tie a tight knot on the inside to hold it in place. 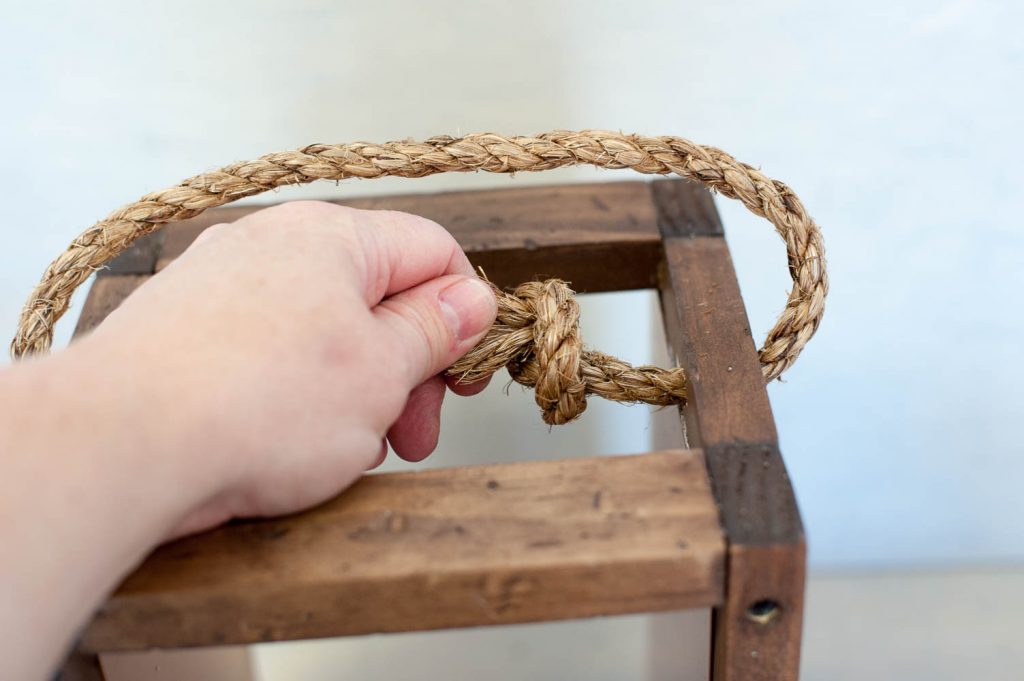
And burn the edge with a lighter to tame the fraying rope.
Step 12: Add flowers and your magnificent centerpieces are complete!
These amazing flowers are from Bloomers in St. George Utah. I’m a huge fan, and I’m obsessed at how cute they turned out!
I even like them without the rope handle. But, I decided it needed just a little somethin’ somethin’ on the top.
A big thank you to the Bloomington Country Club for letting me set up my fun mock wedding on their patio. It was BEAUTIFUL! I would host a reception there in a heartbeat!
Brides are lucky they get to plan weddings right now. I’m dying over these!
Hope you like them too.
Happy Monday!
xoxo,
Brooke
How much did it cost in materials to make these three lanterns?
Around $40 total
Brooke! Love this!
Did the sheets come cut to size or did you cut them? If you cut them, what did you use to make straight cuts? Thank yo in advance!