I have a friend whose son Benson is absolutely enthralled with super heroes right now. He loves them. So, after talking with his Mom, we decided why not decorate his room with some large, super hero focal points to create a space that he will love?
Benson’s Mom Jo started out by obtaining the furniture that she needed in the room. She picked up a twin bed at Goodwill and she is painting it a neutral gray color. This bed will last past the super hero stage. 🙂 Her next task is to find some bedding that doesn’t SCREAM “super hero.” She wants something that will last and will go with multiple themes. This is possible with a little bit of searching. Chase’s mom had the same desire when I helped with his room a while back.
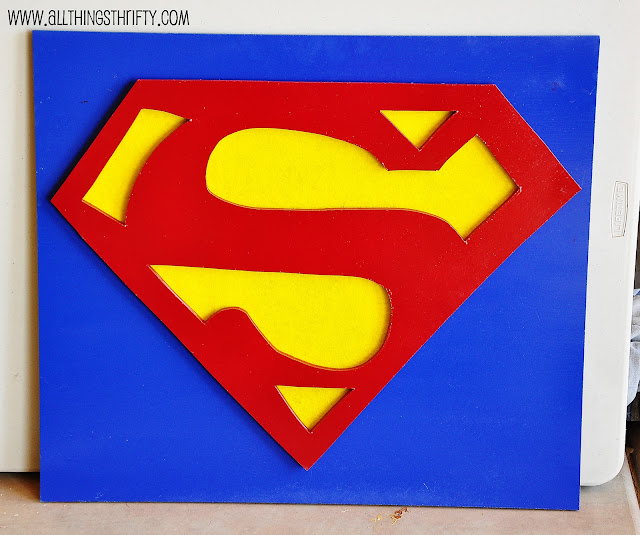
I had the chance to help create the super hero focal points for Benson’s room, and it was sooo much fun! I will start out by showing you the superman art that we created out of MDF. Over the next few days, I will showcase several others also. 🙂
We started out by buying a 4 X 8 foot sheet of 1/2 inch MDF from Lowes. We even had them cut it for us. Those workers are great!
I helped design the Super Hero Wall art by creating a three dimensional art piece that was fairly large in size. You can see in the design below that the MDF pieces were layered to create that dimension.
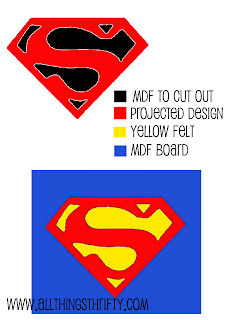
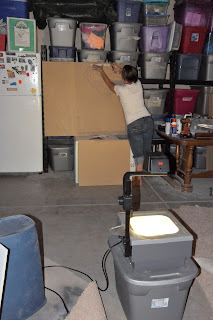
Step 1: Project the image on the MDF using an old school overhead projector. I do not trust myself to be able to draw something like this, so a projector takes out that stress.
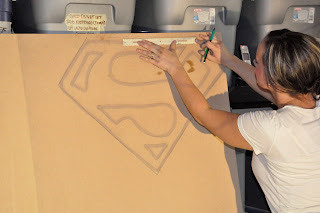
Step 2: Use a pencil to trace the image onto the board. Here is Jo tracing away! 🙂
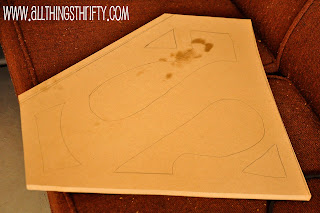
Step 3: Cut out the design with a jigsaw. I was VERY proud of myself for doing a lot of the cutting myself with a jigsaw. I learned that going slow makes it much easier to make a straight cut. 🙂

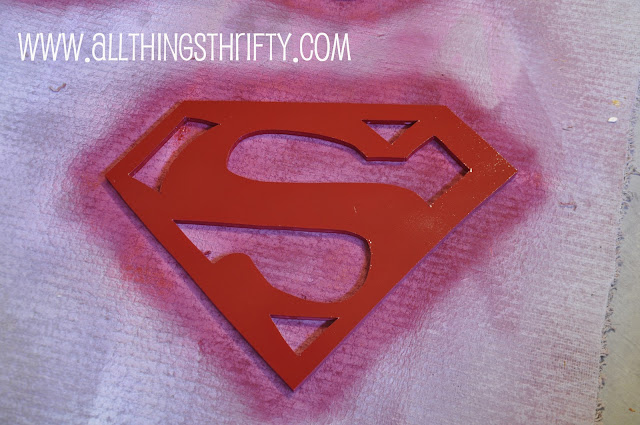
Step 5: Prime and paint the boards. We used KILZ primer and Krylon Cherry Red spray paint.
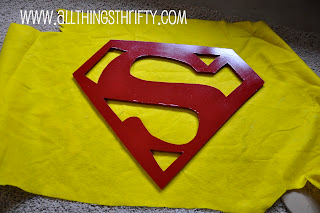
Step 6: I am aware that this part could be done in several different ways, but I decided that a super-easy and cheap way to create the yellow on the Superman sign would be to upholster the back with yellow felt. I could have painted the board behind it yellow, but I decided against it. I used an air staple gun to do affix the felt onto the board.
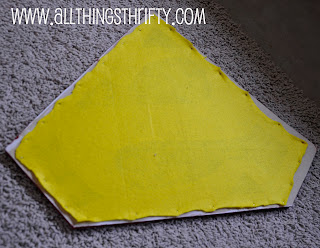
This is what it looked like on the back. I trimmed the felt with scissors when it was complete.
Doesn’t it look great!?!? I love the bright colors!

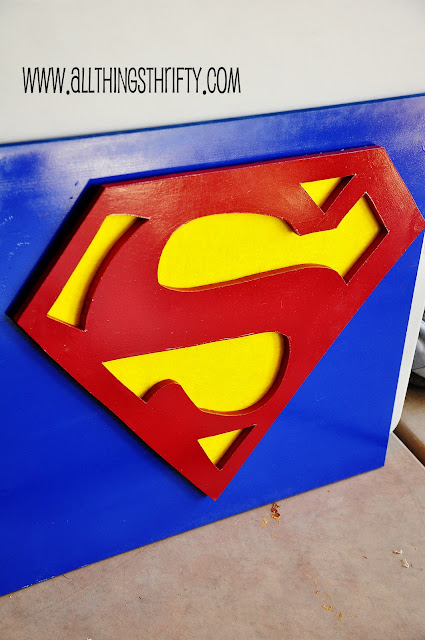
Step 7: Paint a board to mount the design to. We painted a rectangular board blue to mount the Superman art onto. This helps create the dimension that I was mentioning above. As I mentioned above, the Lowes workers helped cut the MDF for us. The boards measured 28 inches by about 24 inches.
Step 8: Mount the design to the board. We (I mean my hubby) carefully stapled the design onto the board from the back. He measured carefully to be sure he was in the right spot.
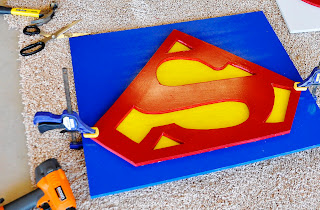
Voila! The extra large focal point is complete!
You should have seen Benson’s face when he saw them!
Stay tuned for a few more super hero art projects in the next few days!
I had a client once who wanted to know how to design a room for her 4 year old son that would last for 7-8 years. I struggled with the answer to that because a 4 year old and a 12 year old are going to have COMPLETELY different interests. Of course you can create a space that is fairly age neutral that would last that long, but that is no fun for your young child.
So, in my opinion, instead of decorating for the “long run” I would suggest to make your child’s room a room that they will enjoy and be excited about. Granted, this doesn’t mean that you should decorate the entire room with cheesy decorations mixed with Mickey Mouse, Transformers, and Zu-Zu pets because that is what your child is into right now. I think there is a fine line to walk when decorating kids bedrooms. Plus, you will have to redecorate the room in a few years if you take this route, so making some neutral choices will help save costs in the long run.
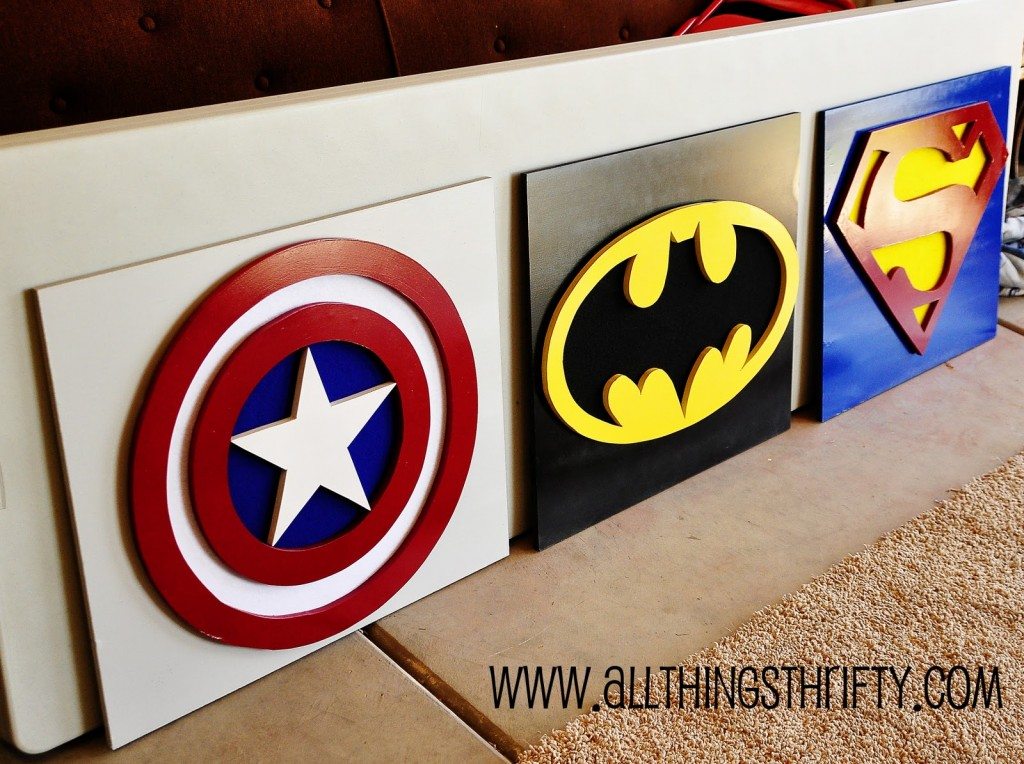
Update: Here are all three of the superhero wall art projects! They turned out DARLING! Update: Look how cute all three super hero projects look together!! I love them! Click here for the captain america sign and click here for the batman tutorial!
Love it! I would bet you made his year with that Superman project!!
Love the bright colors!!
Just curious what bedding was chosen. I am in the process of finding bedding for my son that is transitioning into a big boy bed, but wan't something that is cute but generic. I'd love to see what you guys picked.
Bedding hasn't been chosen yet. I will keep you posted. 🙂
I'm doing a Superhero classroom theme and this is exactly what I needed to find. Thanks for sharing.
Would you recommend using another piece of wood material for the letter S or Batman symbol. I purchased MDF for back board and we have left over particle board or will it not look as nice? perhaps it might fall apart while cutting?
Exactly. I would only recommend MDF so that it looks nice and smooth. I’m sure you can use other materials too, but if you are spending the time to cut it out, I wouldn’t risk it. Good luck!