First of all, I accidentally posted this yesterday (and it wasn’t even ready yet) so I have to apologize to those of you who may have seen it! I caught it within minutes and took it off so that I could finish the directions!
About a month ago, I had a post called Mom’s Ultimate Survival Kit. It was a fun project that I made for Christmas. I wanted to include a tutorial on how to make the felt flower on the kit, so here you go!

Sidenote: I’ve had a bunch of e-mails asking for what the SKU or name is for this fabric, and I don’t have it. I know I bought it at JoAnn’s in the canvas home decor section. So…if you have the sku or name of the fabric…PRETTY please leave me a comment!
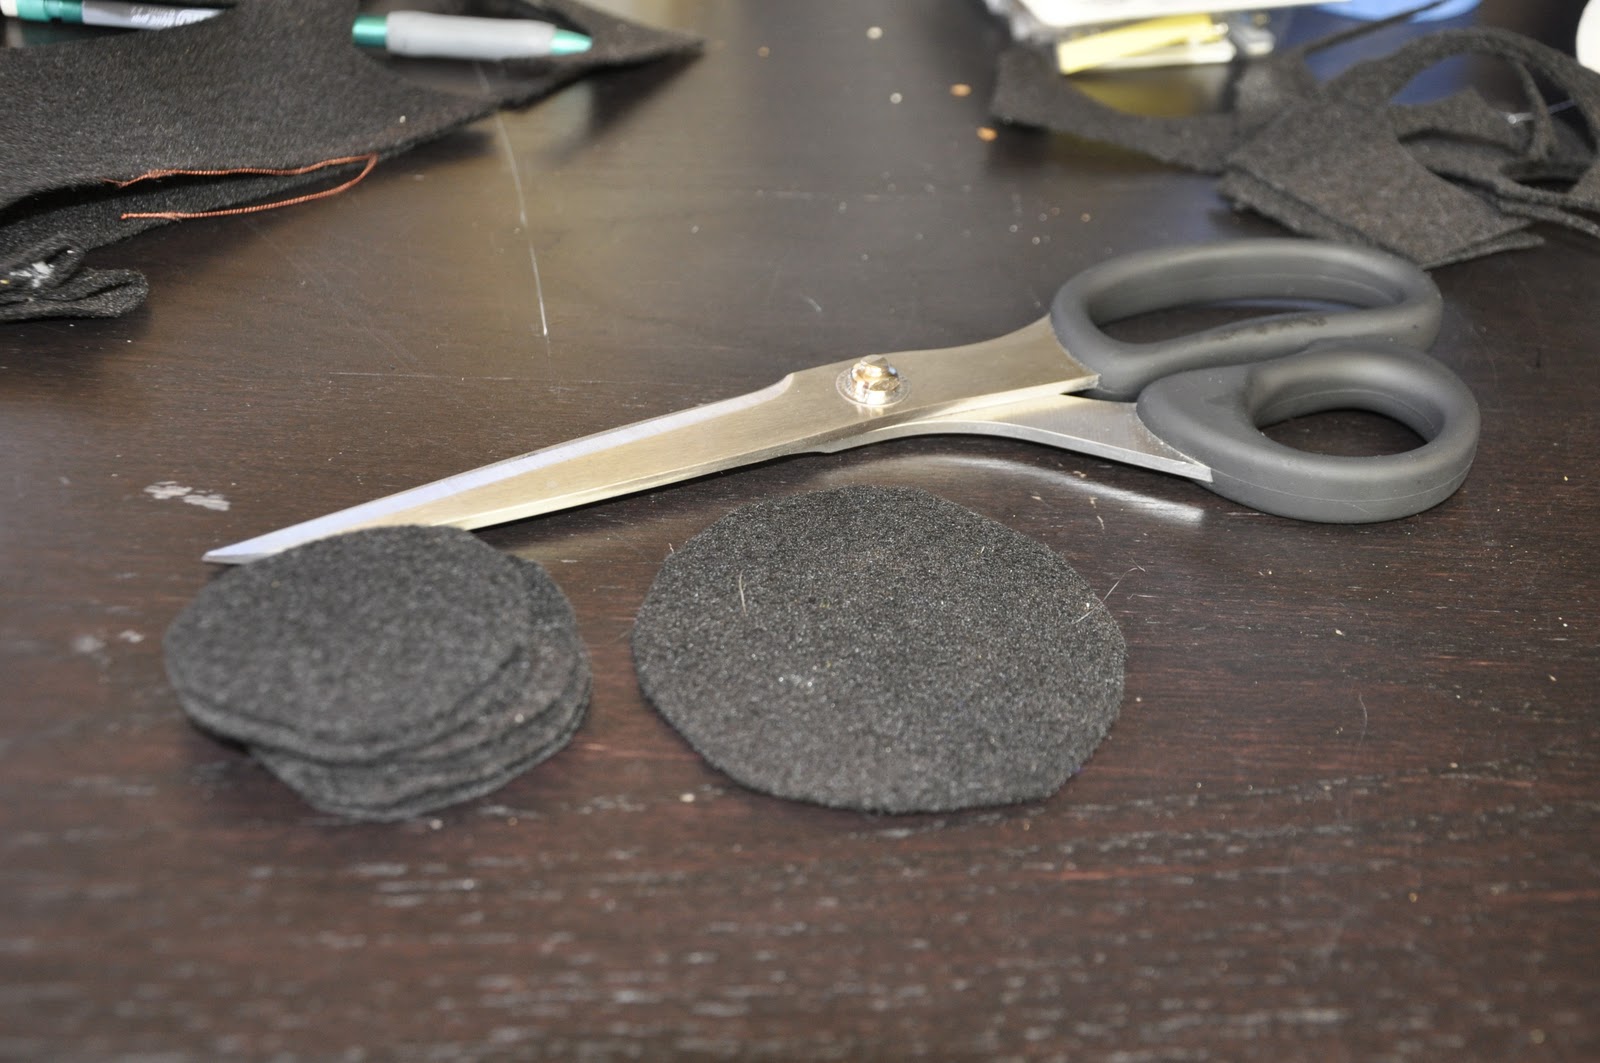
Step 1: First I cut a larger circle and several smaller circles with my fabric scissors.
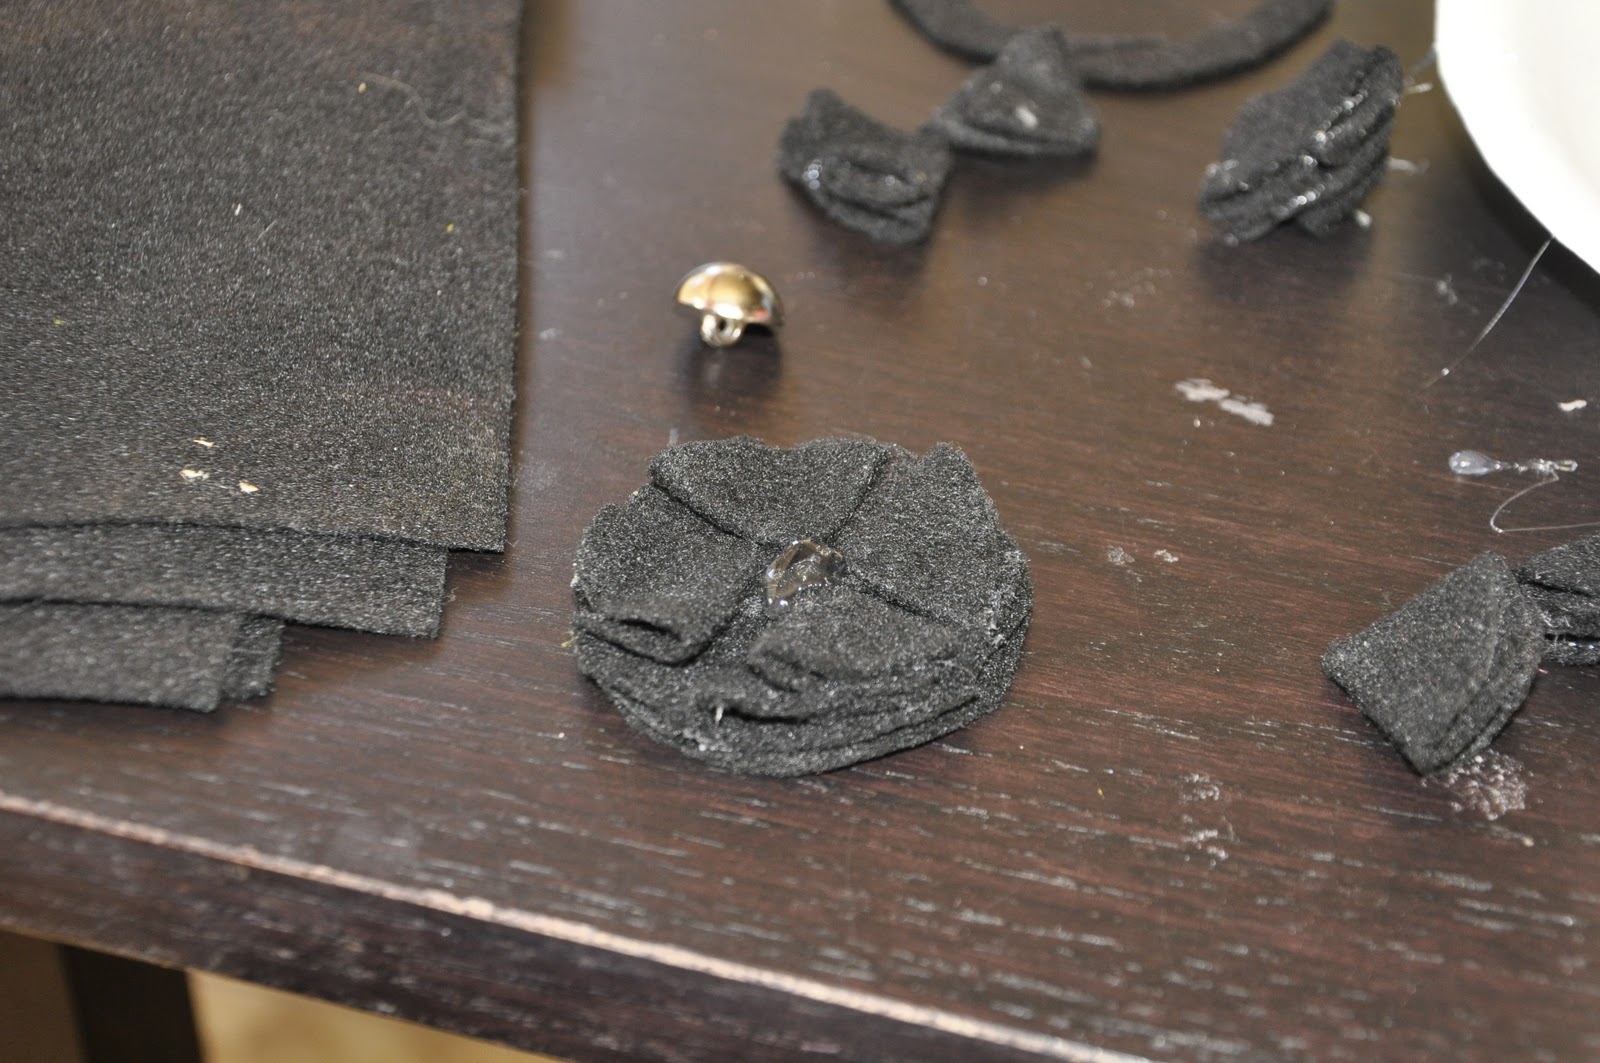
Step 2: I put a dollop of hot glue in the center of one of the smaller circles.
Step 3: Next, I squished the circle together and held it while it glued. Repeat three more times so that you have four squished/glued circles.

Step 4: Next, glue the four squished circles onto the bigger felt circle.

This is what it looks like at this point.
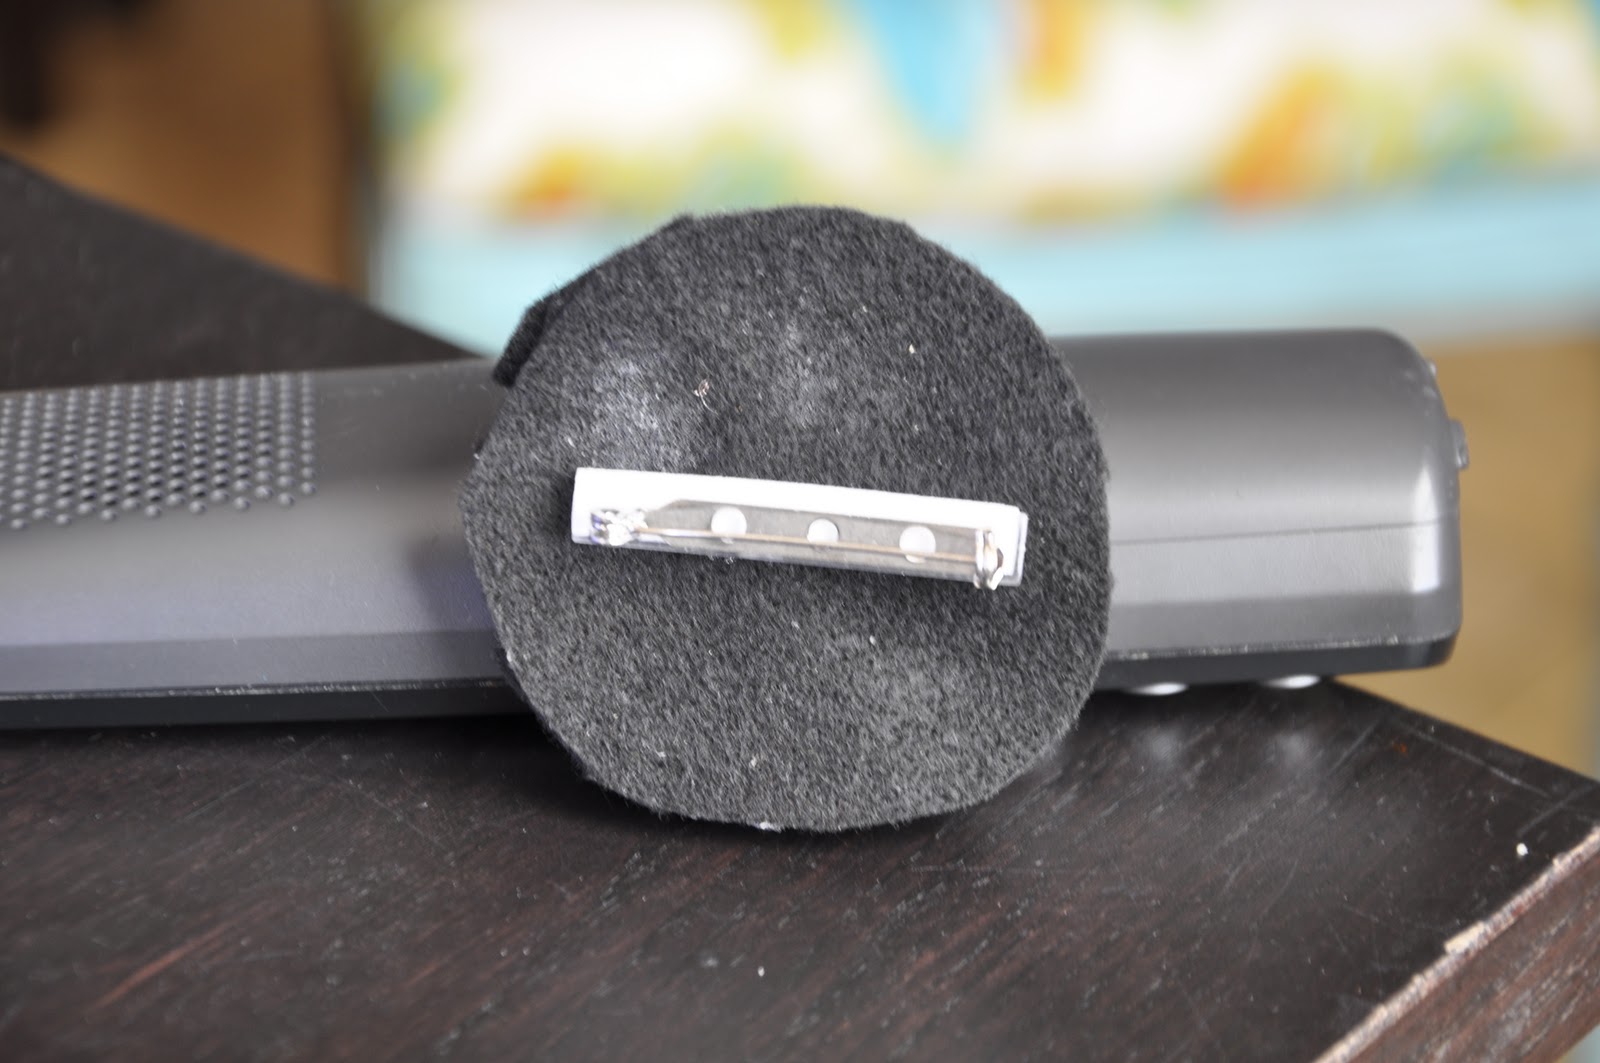
Step 5: Glue a fastener to the back. I bought mine at Micheal’s Crafts.

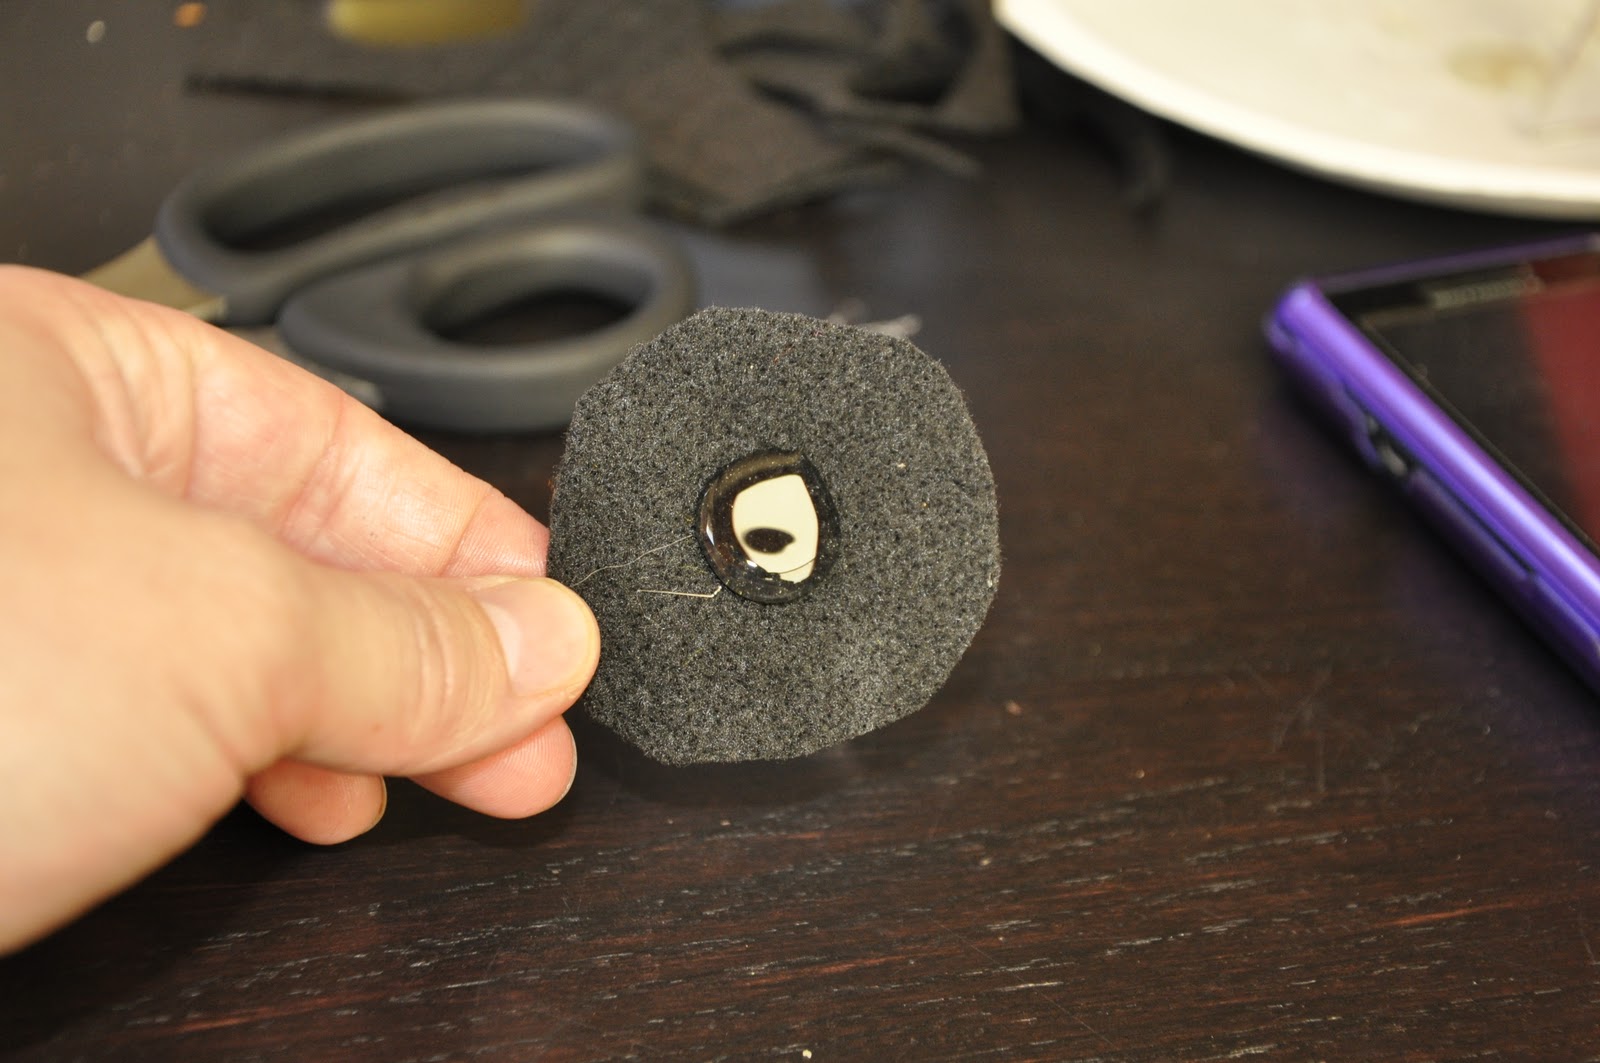
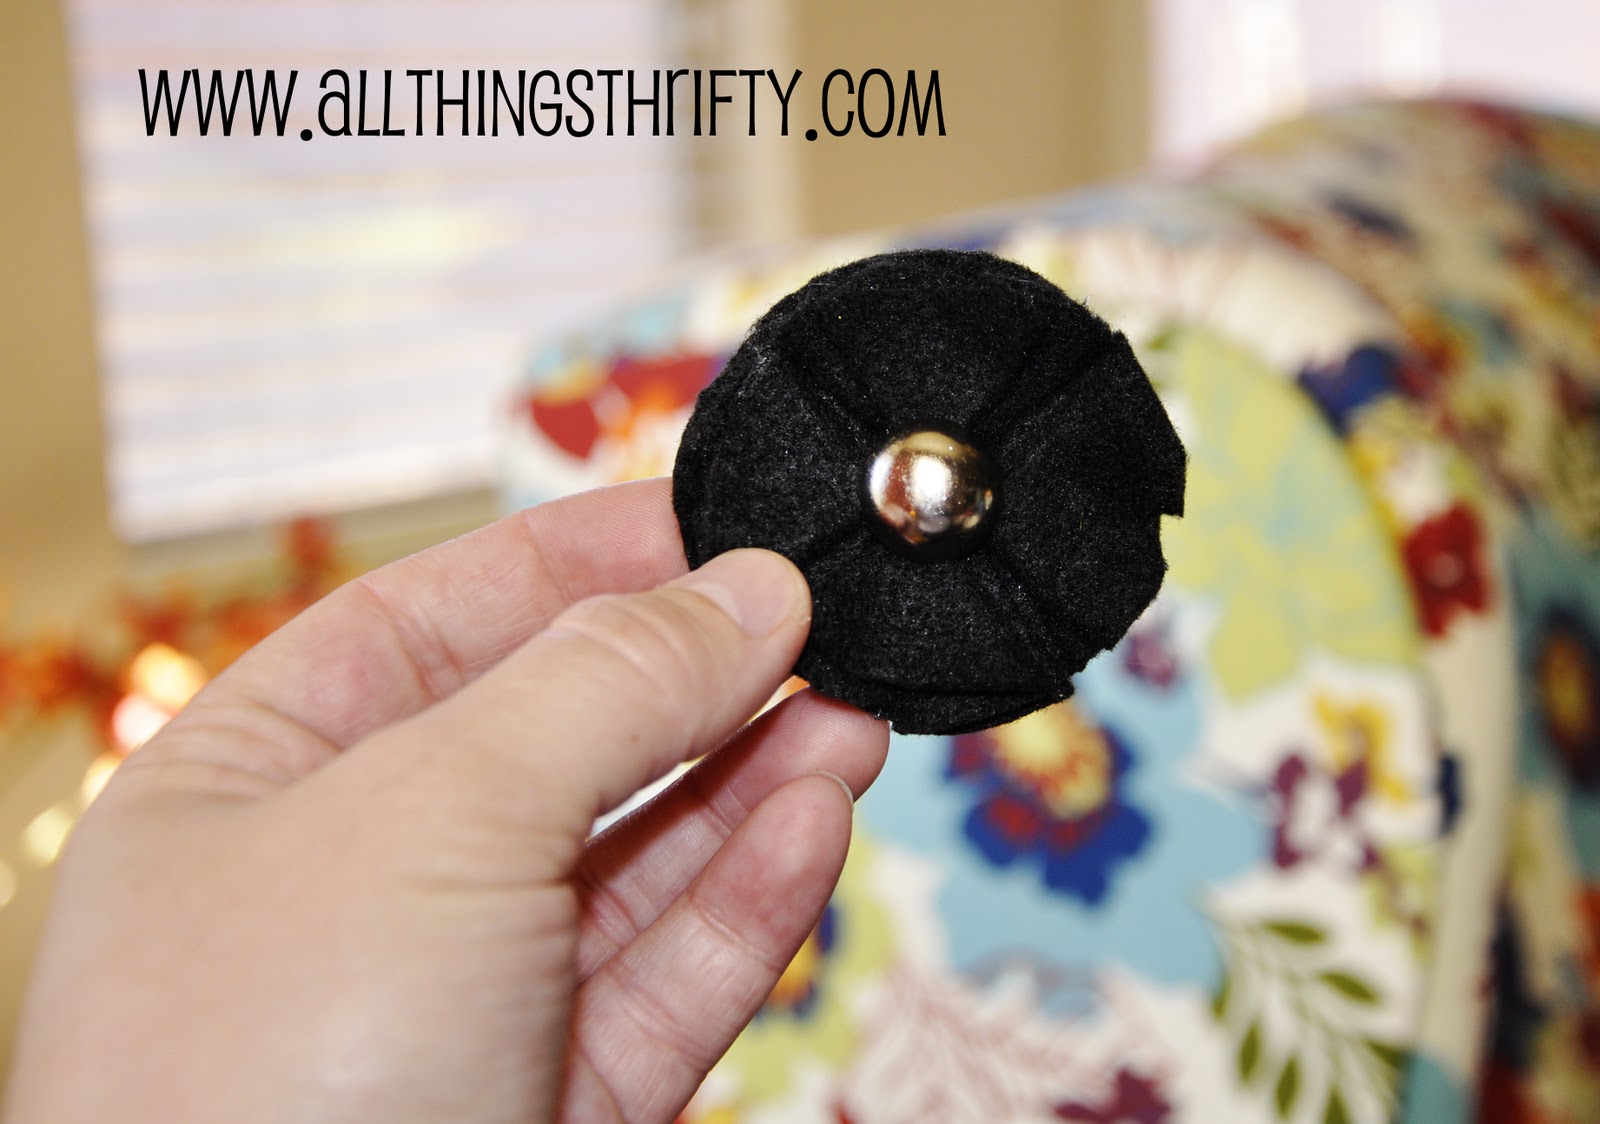
Step 6: Hot glue an embellishment in the center. This will cover up your hot glue that you can see in the center.
Voila! You are done! What a super-duper cheap way to make a flower!

So cute! I'll have to try this.. they'd look super cute on some pillows!
This is darling! I love this… and you make it look so easy! Thank you!