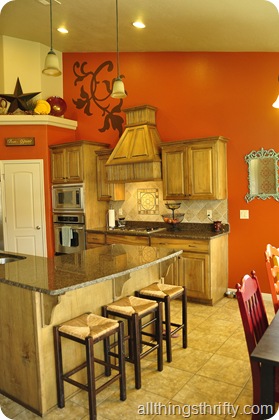
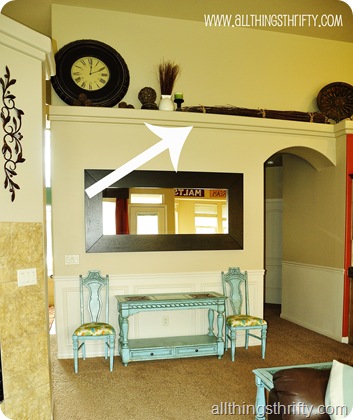
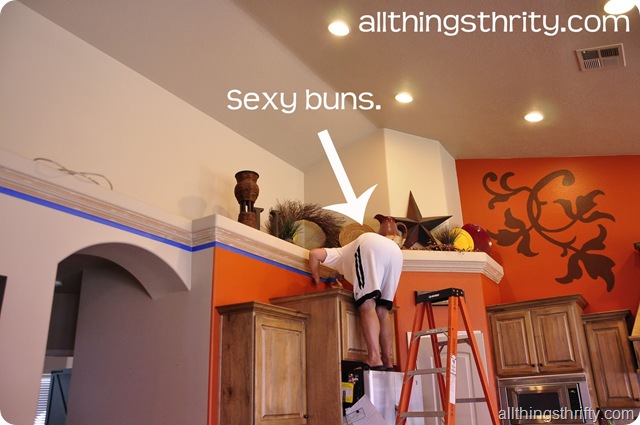
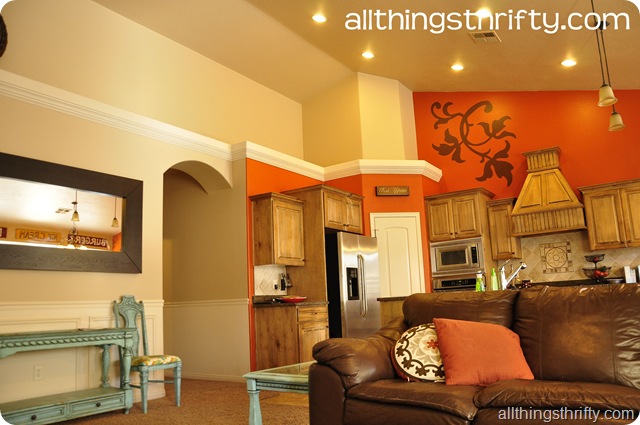
I know you won’t be surprised when I tell you I have needed a change in my home for awhile now. I am a decorating addict, and I’m afraid that decorating is something that I just can’t seem to ever be “done” with. Ha ha! I love it when people come to my house and they say, “This house is ALWAYS changing!!” It cracks me up {not so much for my husband, but that is besides the point.} When we moved into our home, the plant shelves intimidated me, and I ended up putting all my old decor up there for a few years.
You can get a few little glimpses of the decor that once was below! I know, I know, all you can stare at is my husband’s cute butt sticking straight up in the air…it’s ok. I give you permission to stare. BAHAHA.
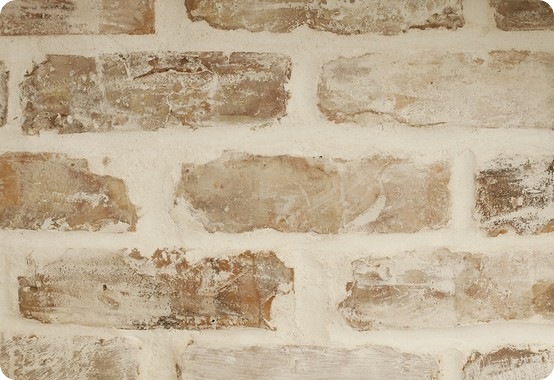 Source
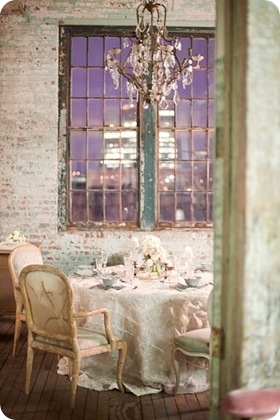
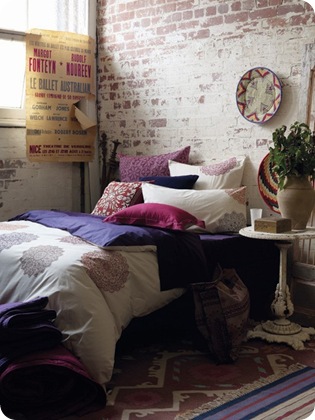
Source Source
Sidenote: If you want to follow my Inspiration board in Pinterest, you are welcome to. 🙂 After I finally decided that I wanted brick on the wall, I had to go on a “convince Dan to like brick” campaign. It took a few months. But, it worked. He loved the idea. I just had to show him my vision. {He tends to question my vision sometimes.} After we had established the plan, we got busy on our plan of attack!
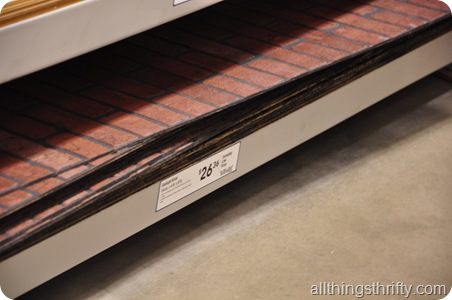
First, we carefully measured the space above the plant shelf and figured out how many panels we would need to go across the entire space. In order for the brick to look even, we needed the bricks to match up perfectly. Then we headed to Lowes to pick up the faux brick panels. Each sheet was 26.36 {SUPER CHEAP!! YAY}.
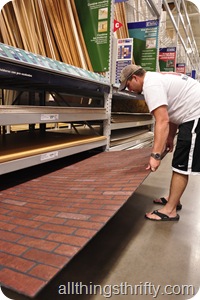
Then we started installing the bad boys. Of course when I say “we” I mean HIM. {I’m not much help with this part since I was preventing my children from crawling up the ladder 99.9% of the time}. Mr. All Things Thrifty rocks.
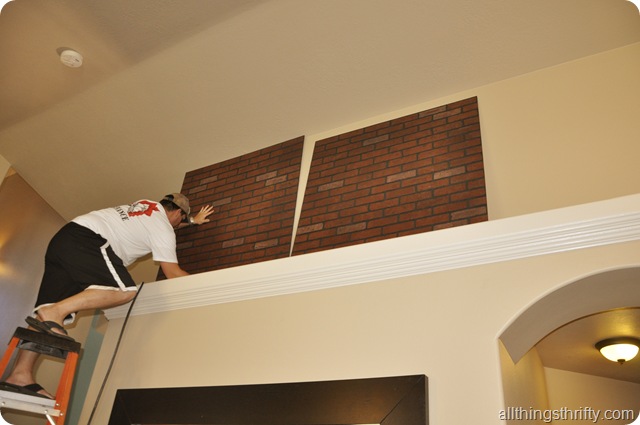 Luckily, I know someone who is a MAJOR perfectionist when it comes to this stuff. {Me, not so much…my hubby is super detail-oriented}.
 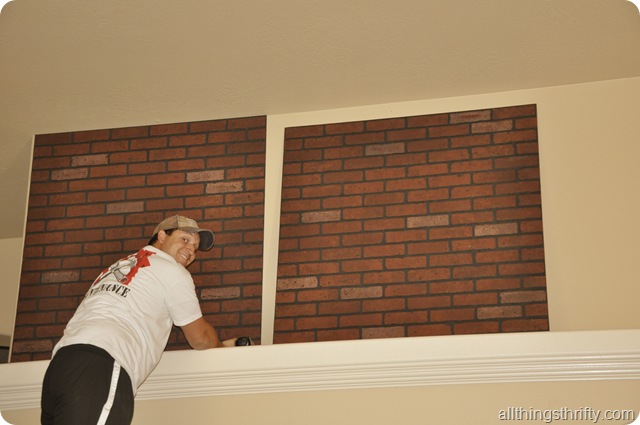 With a few minor hiccups {those darn hiccups} we finally got the brick installed! Want to know the hiccups? Ok, so the brick panels are NOT created equal. Some of them have crooked bricks. Some of the brick panels had broken corners, too. Lameness. Some of the panels had uneven grout lines and wouldn’t line up. So, we learned to be SUPER picky when we were picking out the boards. We even laid them out on the floor at LOWES to make sure they would line up once they were cut and hung on the wall. Listen to me…do NOT make my same mistakes. Look closely BEFORE you get the panels home and realize they won’t work. Ha ha.
 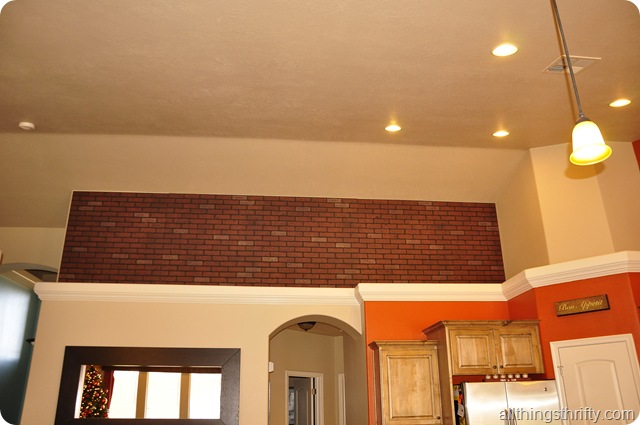 Are you anxious to see how we made it look OLD!?!? You are just going to have to wait for PART 2!! xoxo.
UPDATE: Here is the link to PART 2: How to make brick look old!

Oh no I can't wait. Please tell me the painting is already done and you are going to post the next step tomorrow. No? Darn. I am loving this project, you definately have vision my dear.
Thanks for sharing,
Traci
looks cool already…but i have a question? is that a christmas tree i spy?
Oh my gosh seriously! I'm DYING! I can't wait to see it! This might just be the inspiration I needed for my accent wall in my bedroom. I'm kinda over the whole stenciling one wall thing and these bricks would look LOVELY! I'm checkin back 😉
Ack! What a neat idea. Can't wait to see how it turns? turned? out.
OMGoodness…can't WAIT to see how it turns out!!!!!!! Eeek!
SO Cool! Always inspired when I come here. 🙂
I LOVE brick! I want faux brick in my plain, uninspired kitchen. I don't know if Campaign Convince My Husband has even a ghost of a chance though.
I could just kiss you!! I have wanted a brick wall forever and if it's something inexpensive easy to install – better still!!
I will so be around for your next post. New follower here!
oh my gosh… you have such amazing ideas. I look at your blog every day for inspiration and i get so jealous of your ridiculous talent…
love it!!!
I am on the edge of my seat waiting to see how you transformed that brick… darn! How unfair, lol. My parent's kitchen has had that brick look paneling up for years… I can't remember it without it for the past 30 ish years. I would so love to see how you manage to perk it up because I'd love to do something with the brick at their house! I've so wanted to rip those stinkers down for so long so please please please don't make me wait too long to see how you pretty it up!
I am SO excited to see how this one turns out! What a terrific idea.
Already digging it and looking forward to part two..thought of doing brick veneers in our dining room, but if yours comes out good, I may have to rethink my plan!
Cheers!
I love this idea! Can't wait to see how it turned out!
I have wanted to do this in my kitchen for years! Let me just tell you how lucky you are, I can think up project after project but the hubby runs the other way! And tell your's not to wear flip flops on the ladder, I broke my foot like that!
WAITING>>>>
@Suburban Sticher…Ha ha. I was waiting for someone to notice. Yep. This project has been in the works for a few months. 🙂 It might even be already DONE…you are just going to have to wait and see.
I cannot wait!
WOW – it bet it turns out great! Can't wait to see.
I can't wait to see how it turned out Brooke! How mean to make us wait!:)
Puh-lease hurry…I NEED to see how this came out! I am in love! 🙂
Ha, I thought my DH was the only one. I have to work on him months too, he hates change. I have a dear friend that just keeps telling me to stop asking him and just do it. But alas she is not married. Can't wait to see the finished project.
Can't wait to see the finished product, I am new to your blog and new to blogging, Icheck your blog everyday, love all of your ideas. My hubby is handy but not willing, I keep showing him all the stuff your hubby does and am hoping the guilt will work. lol
You are so talented and I love your vision, don't make us wait too long to see the finished product. Tobey of Tobeystrashortreasure
Been lurking a while, but now you've got my attention! Can't wait to see the finished project. And that hiccup you made would have been the same one we would have made too. It just happens like that sometimes!
I can't wait! Your vision blows me away!
NO!!!!!!! Wait?? I don't think I can! I simply can not wait to see it! I know it will look amazing just like everything else you do 🙂
Oh man, we have to wait?? I bet it looks fantastic!
Hurry! I'm dying to see how it turns out!~Kathy (middlechildmom)
I second that…I have to try this too!
Ack! Cliffhanger!?! So mean! 🙂
I too am a Pinterest fanatic. I am in love with old brick and found the same panels a few months ago at Lowe's. It took about a month of convincing, but my trophy hubby finally got on board and we now have faux brick in our Master bedroom. We haven't had time to distress ours yet, so I am looking forward to seeing what you do.
Oh no, I cannot wait! Looking forward to the finished project!!
Love your inspiro photos and already saw part two to this too. Like how you went out on a limb with this. I might (MIGHT) get brave enough to try this on a small swatch. Do you think maybe gesso or even modeling paste would give it even mor eof the thick texture in your first and last inspiro photos?
Gorgeous, brave work!
Bernadette
http://www.b3hd.blogspot.com
Hey I just wanted to post and let you know that your blog has given me so much inspiration and I have even started to redo furniture! I love your stuff~~
Kellilelacheur@hotmail.com
This comment has been removed by the author.