
Well hello! We are Mallory and Savannah from Classy Clutter! We about died when Brooke asked us to guest post on All Things Thrifty! Her blog is only the reason we started blogging 3 years ago! (Insert shocked/excited/ecstatic face here) 😉
We are super excited to share our DIY Color block pillow tutorial with you all today. Now, let me preface this with a disclaimer. ANYone can sew this! This is an absolute first timer, beginner sewing tutorial. If you have a sewing machine, you can do this; whether you’ve used it before or not! So so easy! Let’s get started, shall we?
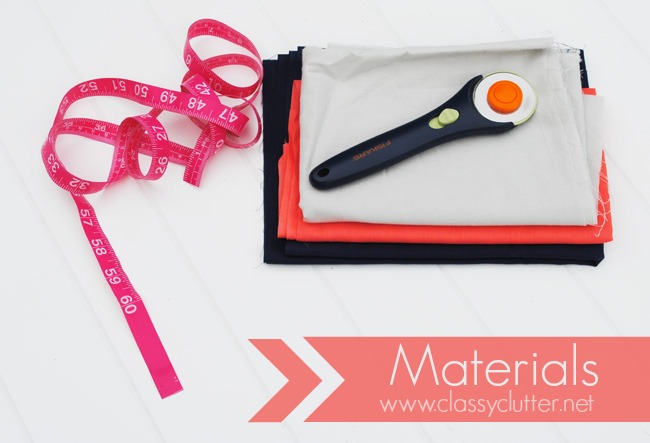
First, gather your fabric and some basic sewing materials. You will also need a sewing machine, obviously! Choose 3 solid colored fabrics and you only need like a quarter yard of each accent color and 1/2 a yard of your main color. We used 1/4 yard of light grey and color and 1/2 a yard of navy. This is really inexpensive fabric from Joann’s. It’s just plain cotton.
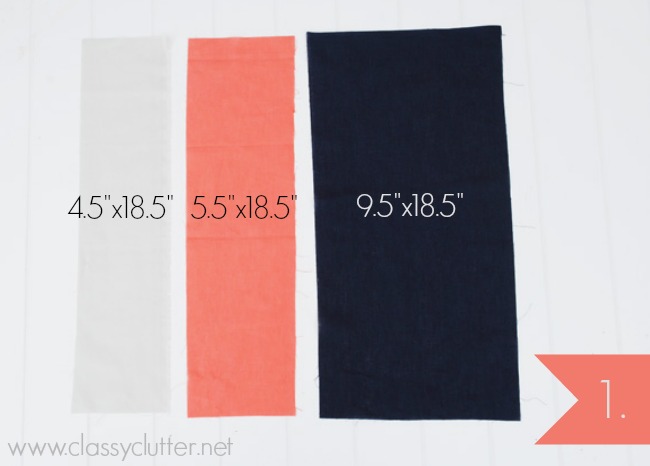
Next, cut your color block pieces. This tutorial is for an 18″ square pillow so you may need to adjust your measurements if you’re doing a smaller or larger pillow. I’ve found 18×18″ to be somewhat standard. You will need to cut 3 rectangles (pictured above) and 18.5″x18.5″ square in your main color for the back. The back of this pillow is in the navy blue.
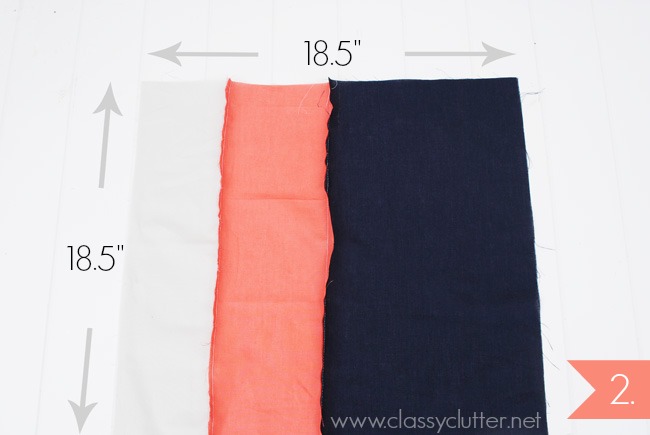
Next, using a 1/4 seam allowance, sew your rectangles together to create the color block look. Then, place the right sides together of your 18.5″ squares and sew along 3 sides. Your pillow cover will be 18″x18″ square. There is 1/2″ extra for 1/4″ seam allowances on each side. Does that make sense?
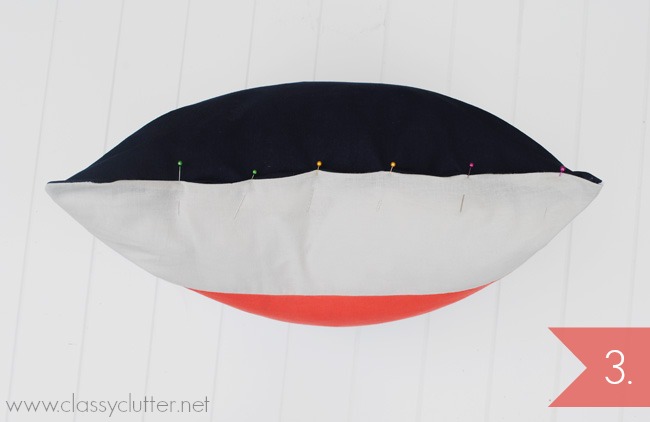
Turn your sewn pillow cover right side out and insert a pillow form. After you have your pillow cover stuffed with a pillow form, pin the final side folding in the raw edges. Then, sew along the side you pinned and voila! DONE!
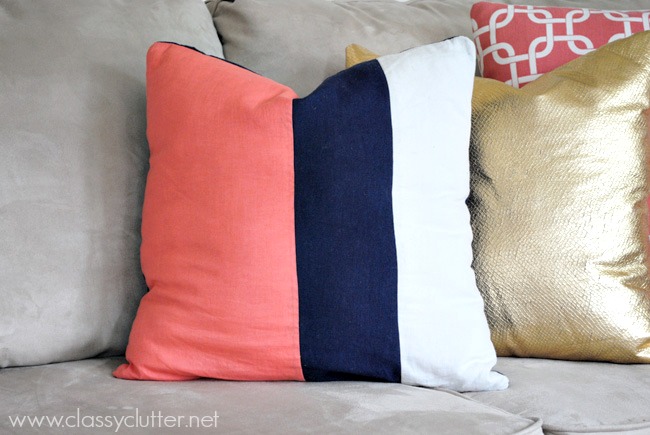
This is another pillow I did with Coral as the main color. I love it both ways.
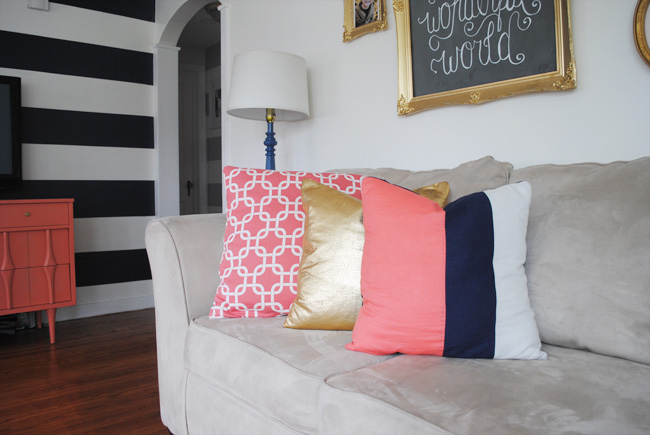
Here it is all propped pretty on my couch with some other pillows I used. If you want to be able to wash your pillow covers, use this tutorial for creating an envelope cover for the back side. It’s SUPER easy too, just requires a little more fabric. You could also insert a zipper if you’d like! I, for one, still need to work on my zipper sewing skills. 😉

Thanks SO much for having us Brooke! We’d love if you all would head over and check out our blog, Classy Clutter!
Pop on over and check out some of our fun projects!

It may be a simple tutorial, but I like the effect! Very cute pillow and sometimes doing something simple, even for seasoned sewists, is a great escape!