This post is sponsored by 3M DIY just keepin’ it real folks.
It was long past the time to lay our leaf wall from 2010 to rest. It fought a good fight, and it had a great run. The truth is, I never even used this room. My desk {which is on the opposite wall in this picture} was always full of clutter, and the the room was pretty much the “catch-all” for the entire house. It was time for a change for sure!

I drew up this sketch in Photoshop, and in less than a week, the room was done.

I guess when enough is enough, you make it happen, right?
The products we used for this project:
-4” MDF boards {We used 7 eight foot boards}
-Miter Saw
-Brad Nail Gun and Compressor
-16X20 Picture frames
-Digital Bird Files
–Scotch™ Indoor Fasteners
–3M™ SandBlaster™ Pro Advanced Sandpaper with NO-SLIP GRIP 220
Before I painted the wall, I sanded each edge of the leaves on the wall because there was a slight raised line on the edge from when I painted the leaves on the wall in the first place. I sanded quickly with 220 grit sand paper. The raised lip was gone in less than 10 minutes of sanding.
I chose Behr Dolphin Fin as the color for this room and it is absolutely perfect. We actually painted it twice because the first grey I chose was purple. Good times.
It’s a good thing we had plenty of our trusty ScotchBlue™ Painter’s Tape to finish the job…ahem twice. ![]()

Next, the hubsters installed the molding. He is a trooper this one. I’ve heard it from friends and family for years, and I completely agree, HE IS AWESOME for putting up with all my projects. In fact, he is usually the one putting up the projects. <—-See what I did there? He took one look at my sketch and the next day I had the MDF sitting in my garage waiting for installation day. The molding cost us less than $30.00 for all the materials.
We aren’t super fancy around here, so our design measurements look like this:

As you can see in the pictures below, Dan cut the MDF on a 45 degree angle on each of the joints of the molding. For the entire tutorial and cut list, check out the tutorial post.


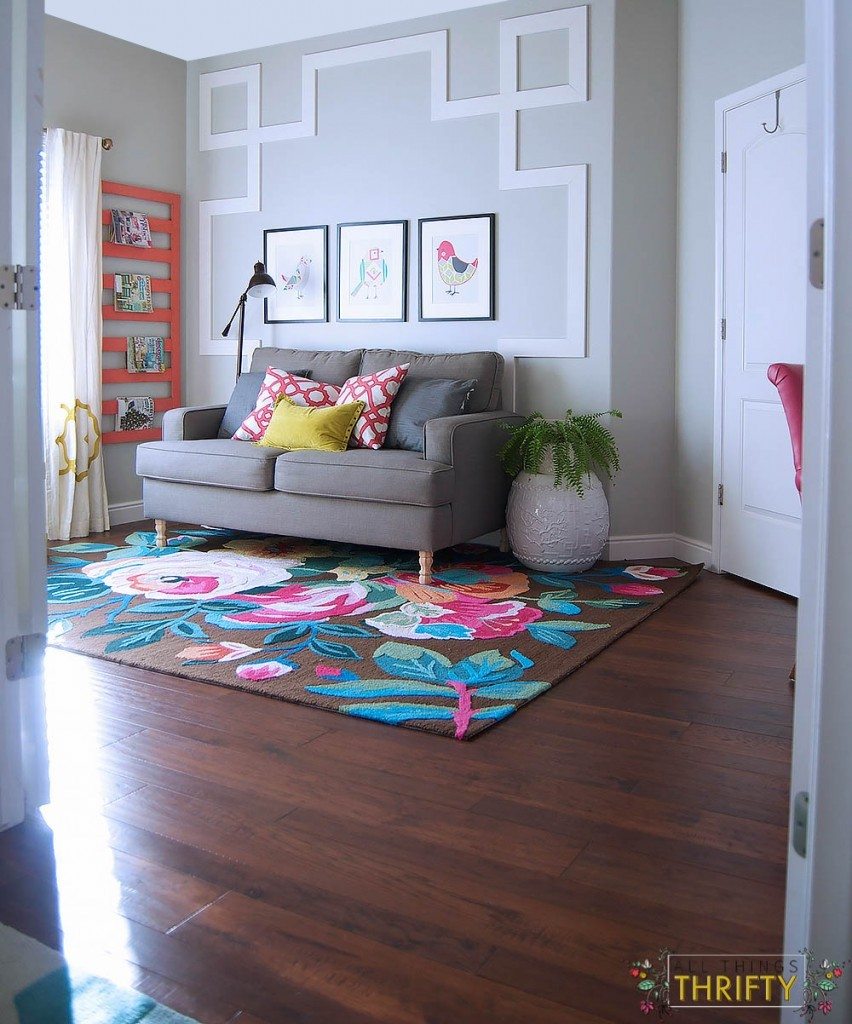
It turned out even better than I could have imagined….{I need a new light for this room, yes I am aware}.

The room is so bright, cheery, and calming! I have spent more time in this room in the past three days than I have in the past six months.

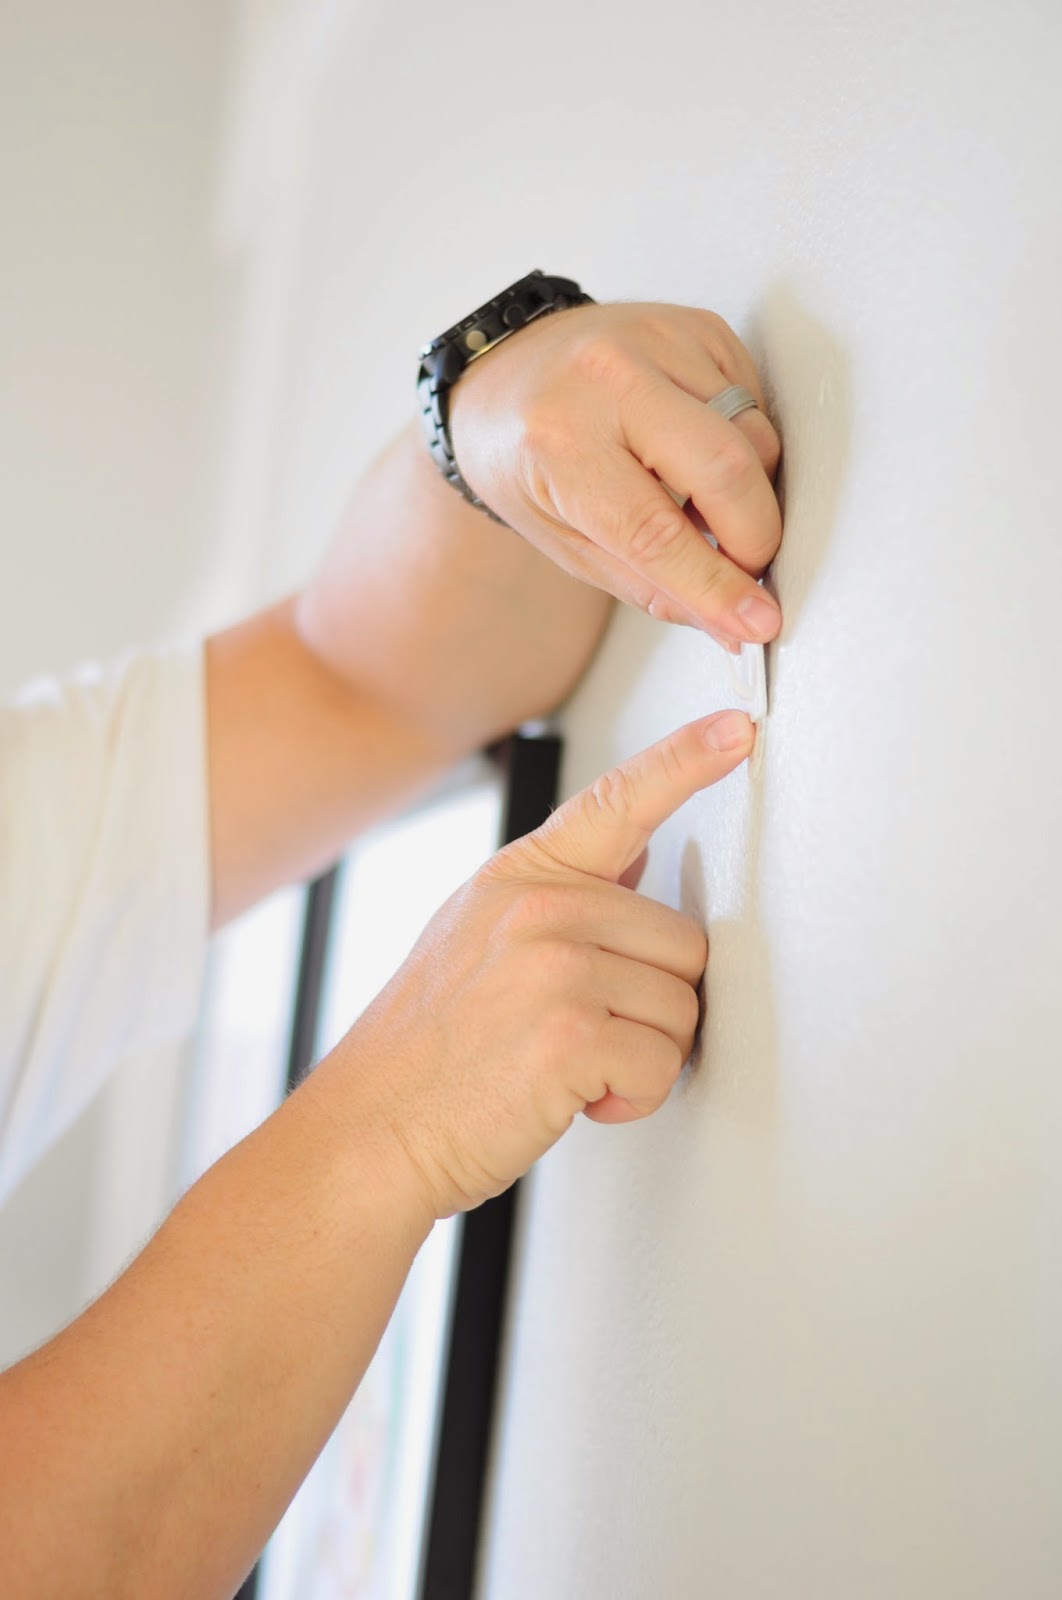
3M has great products to help with mounting and fastening items to your walls easily. We hung the pictures with our trusty 3M Indoor Fasteners so that we don’t have holes in the walls.
")

")
")
We also tested using our trusty Command™ Picture Hanging Strips. These are less permanent than Scotch™ Indoor Fasteners.
and voila, the room is a sanctuary!

I could sit in here for hours.

It’s so bright in this room that it’s been pretty hard to get a good picture actually!

And we still need to paint the ceiling, but I couldn’t wait to show you!

We will be working on the other parts of the room in the next few weeks, so stay tuned!

Does anyone have any lighting advice? The ceiling fan has got to go.
UDATED 2015: The carpet is gone! Check out the new room HERE:
I am proud to be a 3M- sponsored blogger, and, as part of my responsibilities, I get the opportunity to evaluate new products from 3M DIY. Opinions are my own and additional product used in the project were selected by me. You can also visit 3M DIY on Pinterest,Twitter, and Facebook.


Love a good Greek Key! This is great because the scale is so big – love it!!
Thanks Sarah! xoxo.
Hi Brooke, wow I love this amazing idea, it’s really wonderfull how it changed the room overall for better, I’m starting to go through your blog but for what I’ve seen it’s amazing, please, count me as a follower! I would love if you go through my own personal blog: hhttp://bettyandamugofcocoa.blogspot.com/ , and don’t hesitate to visit my portfolio http://www.bettyindesign.weebly.com for sure I would like your opinion and suggestions on both
Betty
I LOVE your rug!!! I’ve never been nuts about area rugs (they give me a old, traditional granny feel) but the one you have here is so fresh and colorful. Where can I find one for myself?
Hi Athena! This one is from RugsUSA. 🙂