Hey there all you thrifty thrifty people! I am so happy to be back hanging out with you all and contributing to All Things Thrifty again!
I am Allison from Two Thirty~Five Designs, where I blog about Design & DIY with a splash of fashion and food. Last time we chatted, I showed you how I changed my brass lamp garage sale find into something a bit more modern.
Today I’m back with a little rug I whipped up yesterday afternoon. It is easy. Crazy easy…you’ll hardly believe it.
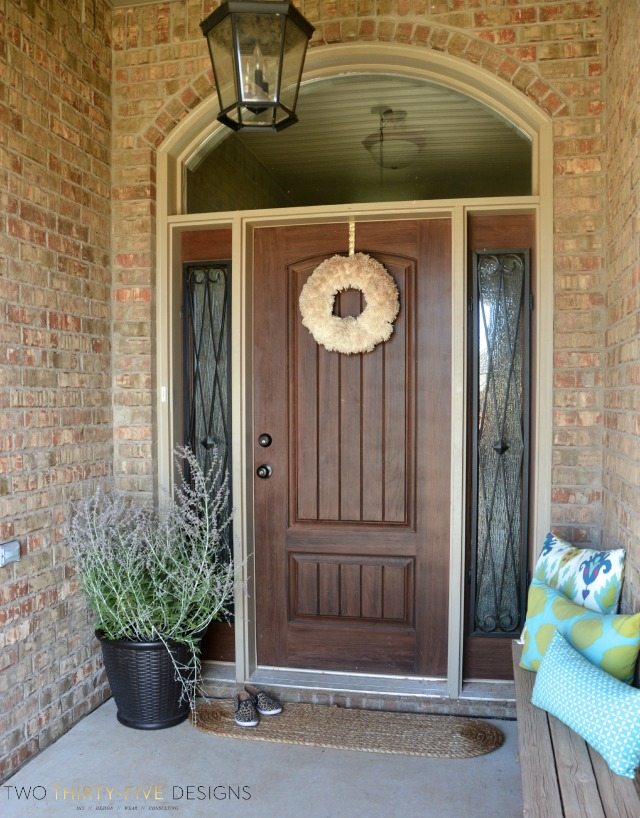
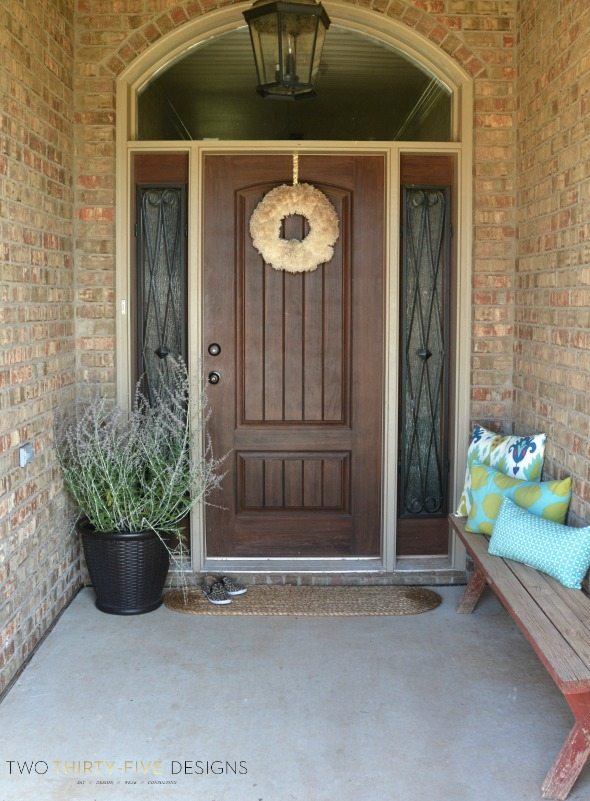
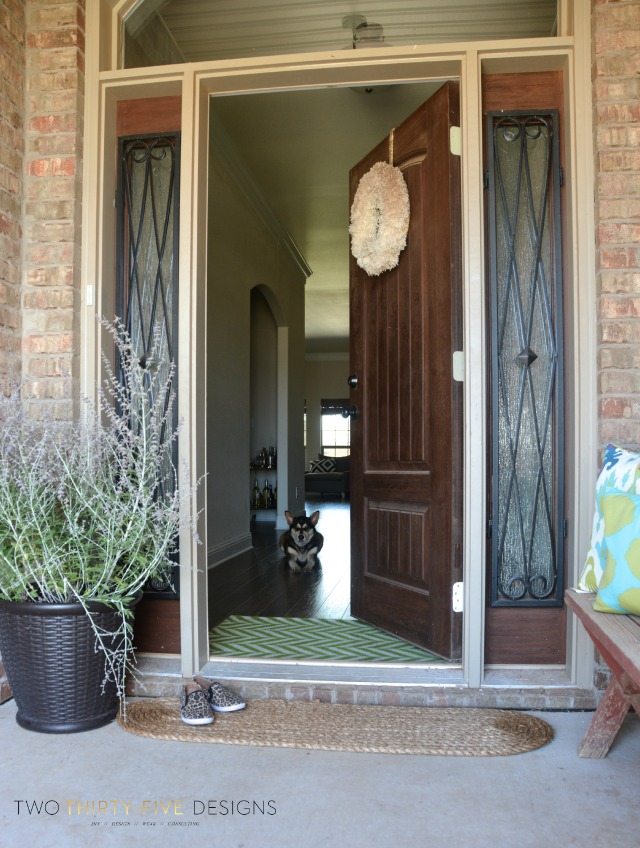
I have been eyeing rugs that are wide enough for the width of our front door, but not too massive and didn’t come close to the kids college funds.
I have been floored by some of the prices I came across.
So during my daily trips to the hardware store, I had a moment in the rope aisle where I brain stormed and attempted to figure up many feet I would need.
I told the employee I needed 80 feet of rope and some duct tape. He was a tad hesitant in helping me out at first.
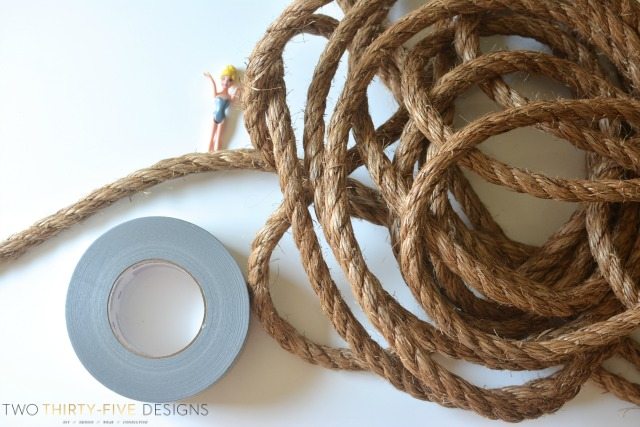
*no princesses were harmed in the making of this rug*
(I swear these things multiple at our house)
Materials:
Manila Rope (I purchased 80ft of 1 1/2 in diameter)
Two rolls of all weather duct tape
Scissors
Utility Knife (for trimming excess tape)
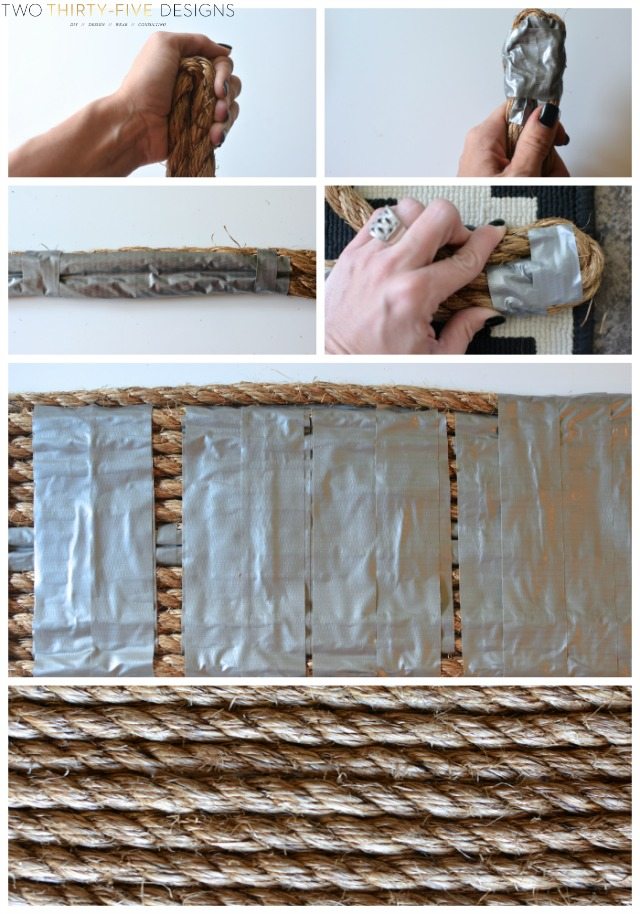
1. Measure out how long you want your center piece to be (I used the width of the door), then fold and pinch at the end.
2. Tightly place tape on one side to secure.
3. Run rope side by side against the middle piece, securing with tape as you go. You can see that I ran tape lengthwise on the center piece, then secured the two by running small strips in the other direction.
4. When you get to the end, loop rope around the edge and secure with tape.
5. Go back and forth, forth and back, over and over, again and again. The rope twists as you go, so right before I hit each curve, I would stand up and untwist the rest of the rope. It’s a little bit tedious in the beginning because of the length, but is so helpful to have it straight and not twist up and tear the tape while you are working on it.
After I got into a grove, I would just run pieces up and down, securing at the top, pulling tight, and layering each piece of tape on top of each other. When I finished wrapping the rope around, I ran a solid layer of duct tape along the bottom to fully secure it all.
6. After you are finished, flip over and trim excess tape.
Then admire your handiwork.
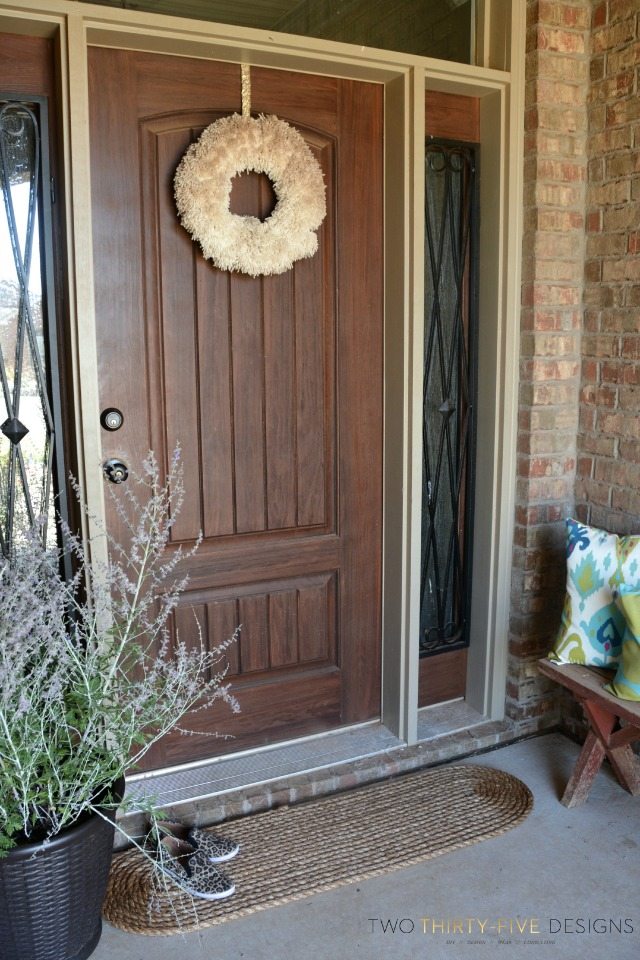
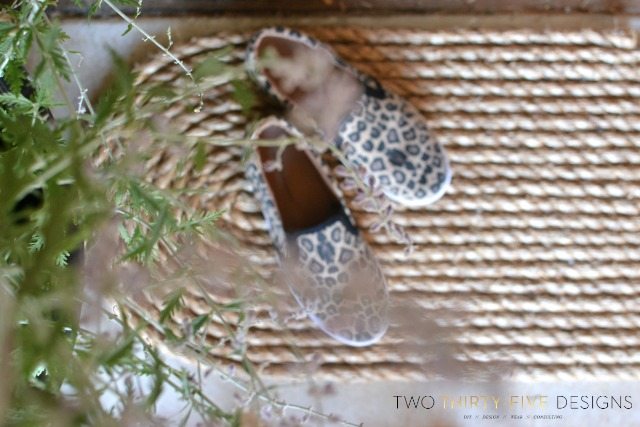
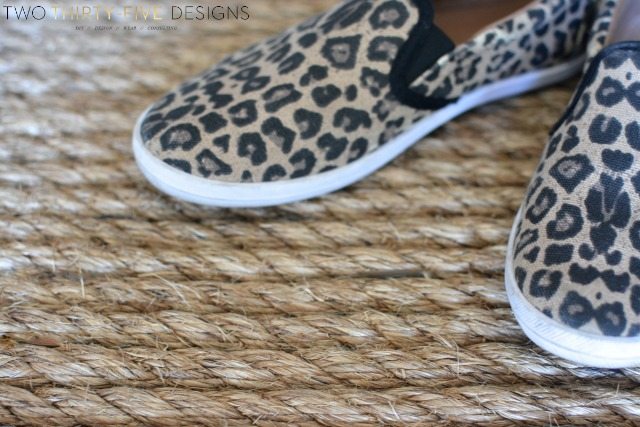
It’s super thick and a great material to wipe little feet on that forget when they played in the dirt and grass.
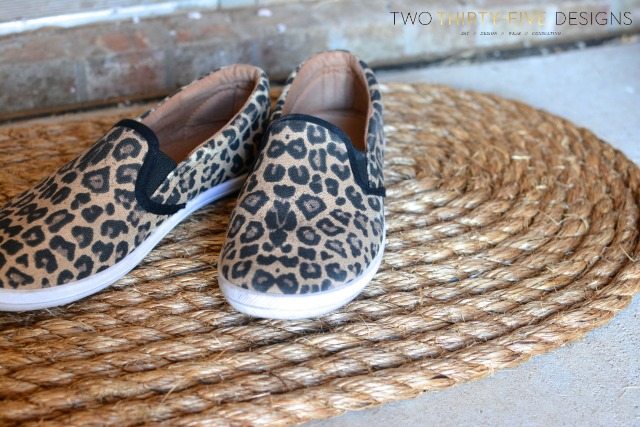
oh, and it’s great for the ones who think they rule the house, but tend to sleep most of the day.
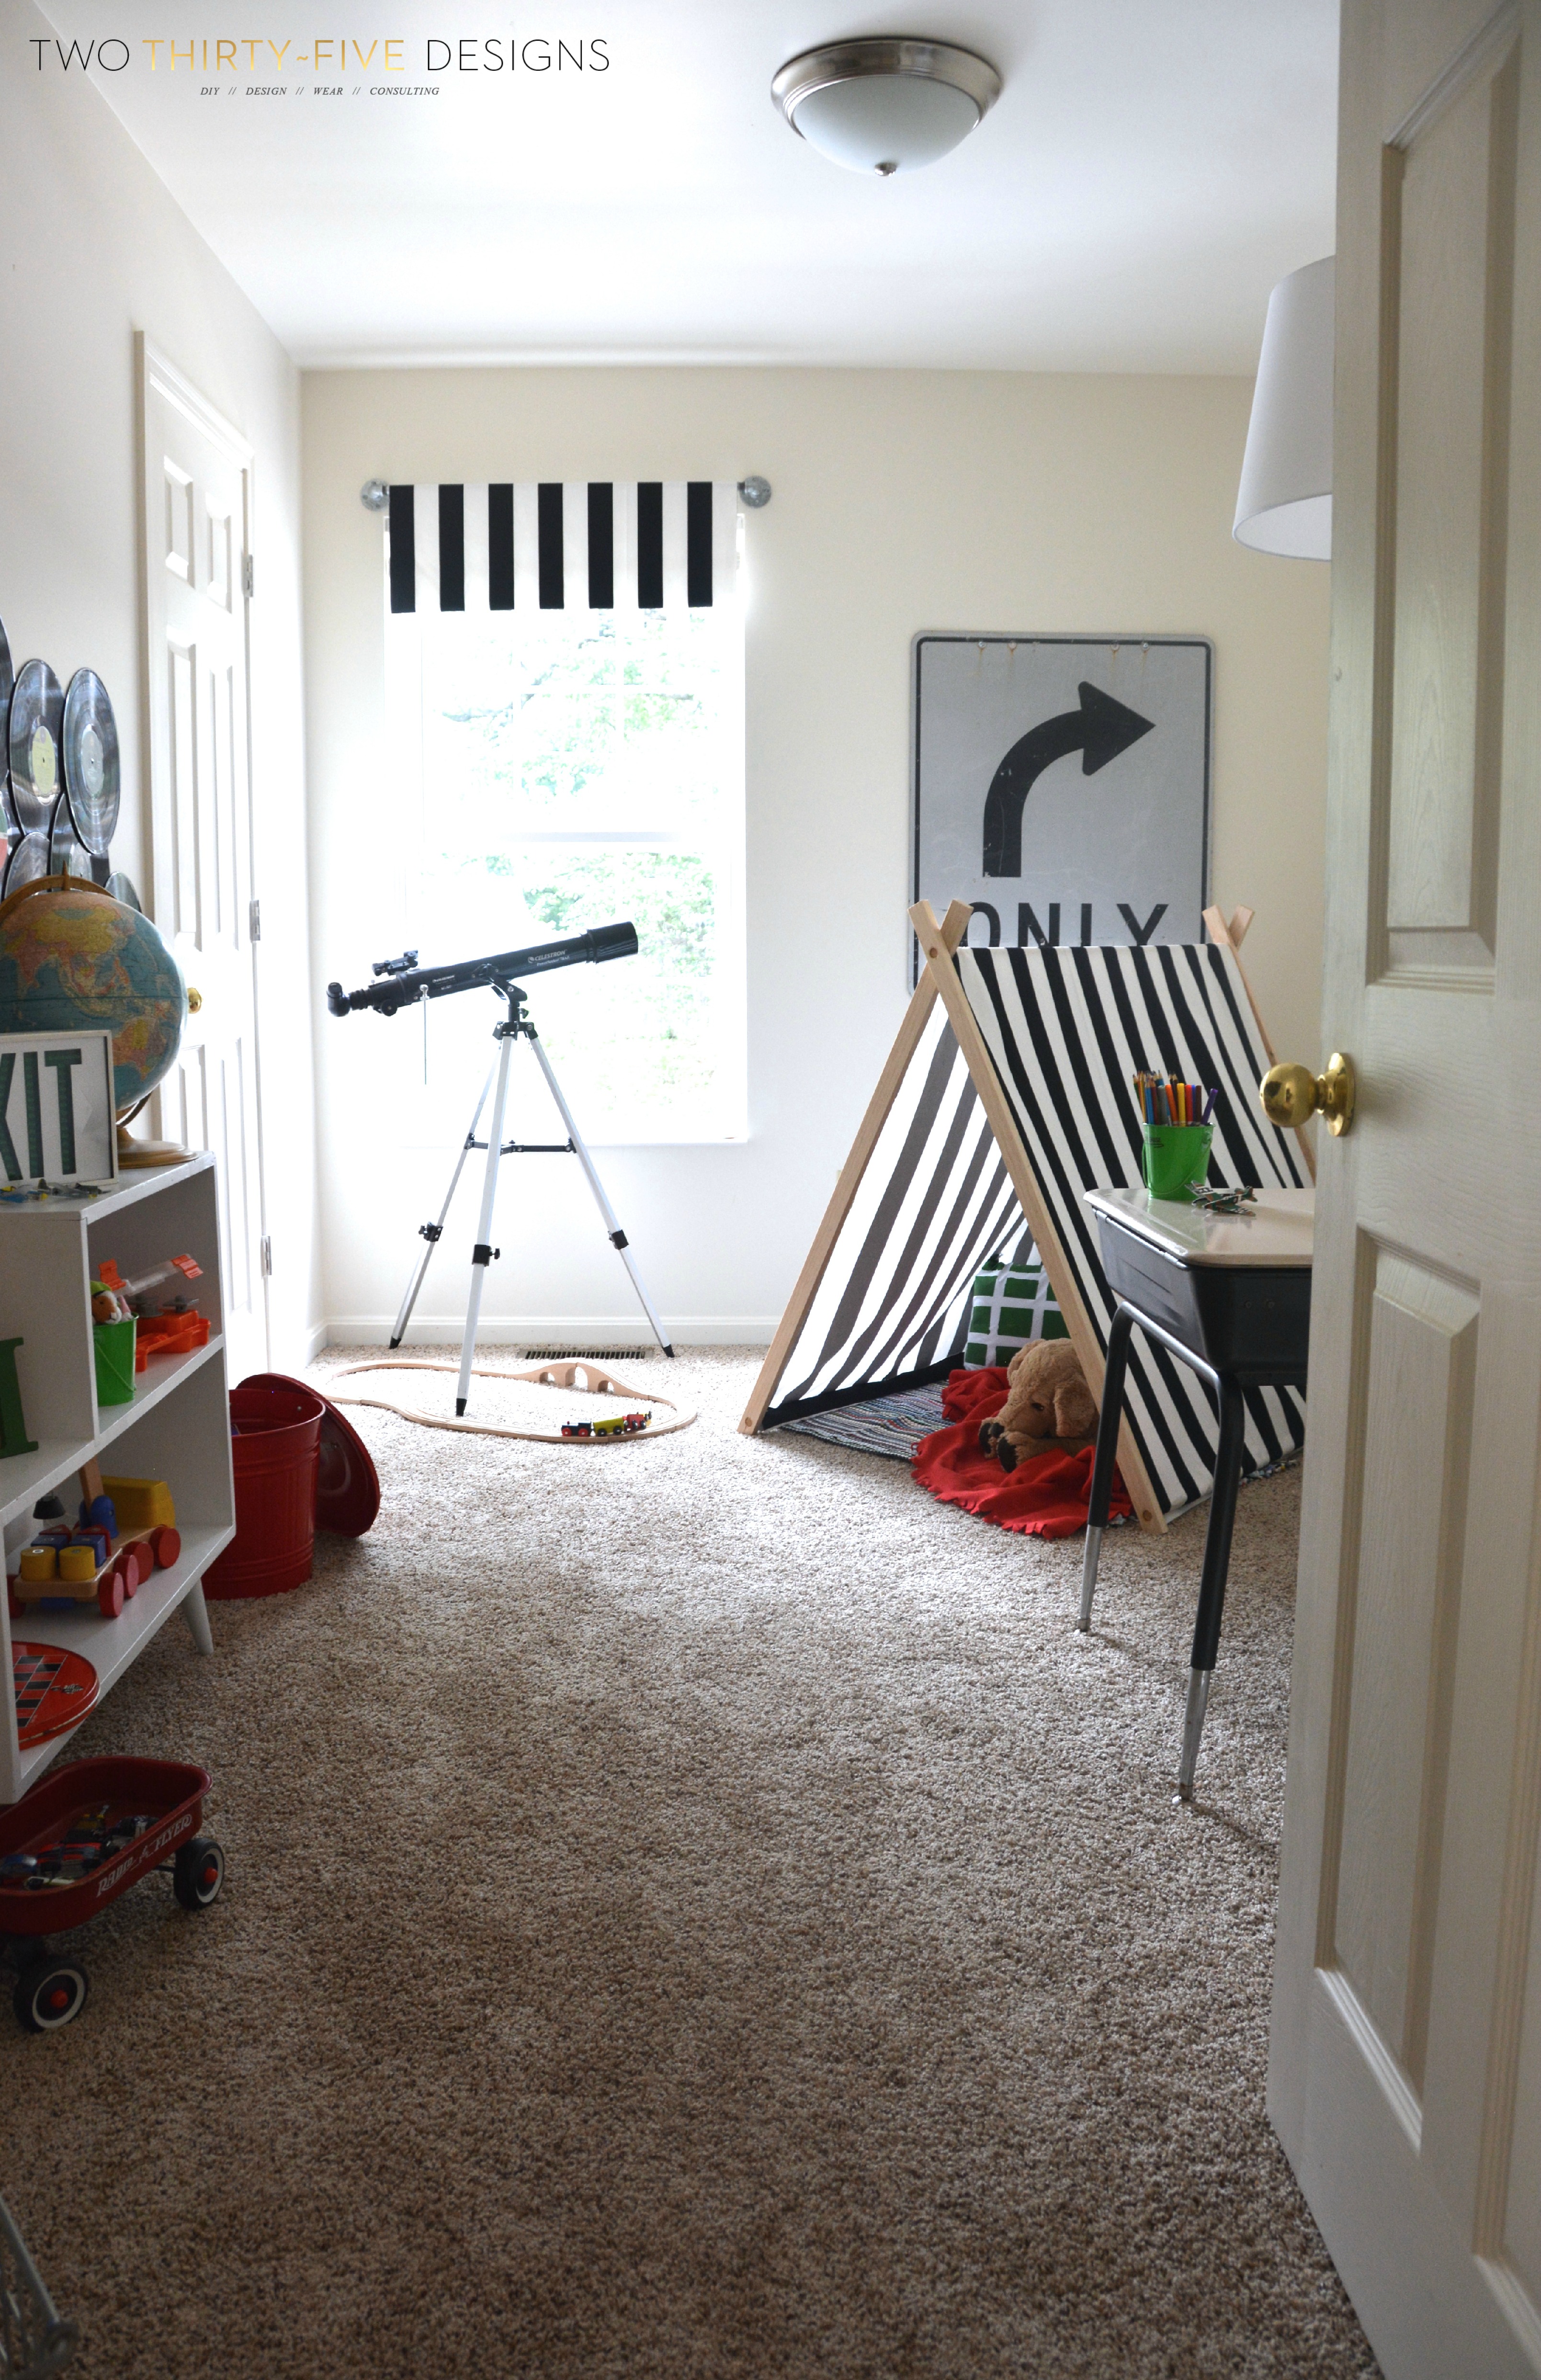
I recently hung out with Brooke at the 2014 GMC Hidden Treasure Adventure! I drew the playroom for my area, and just posted the full reveal!
But before I left, I put up the tutorial for my daughters Ikea Bunk Bed Hack

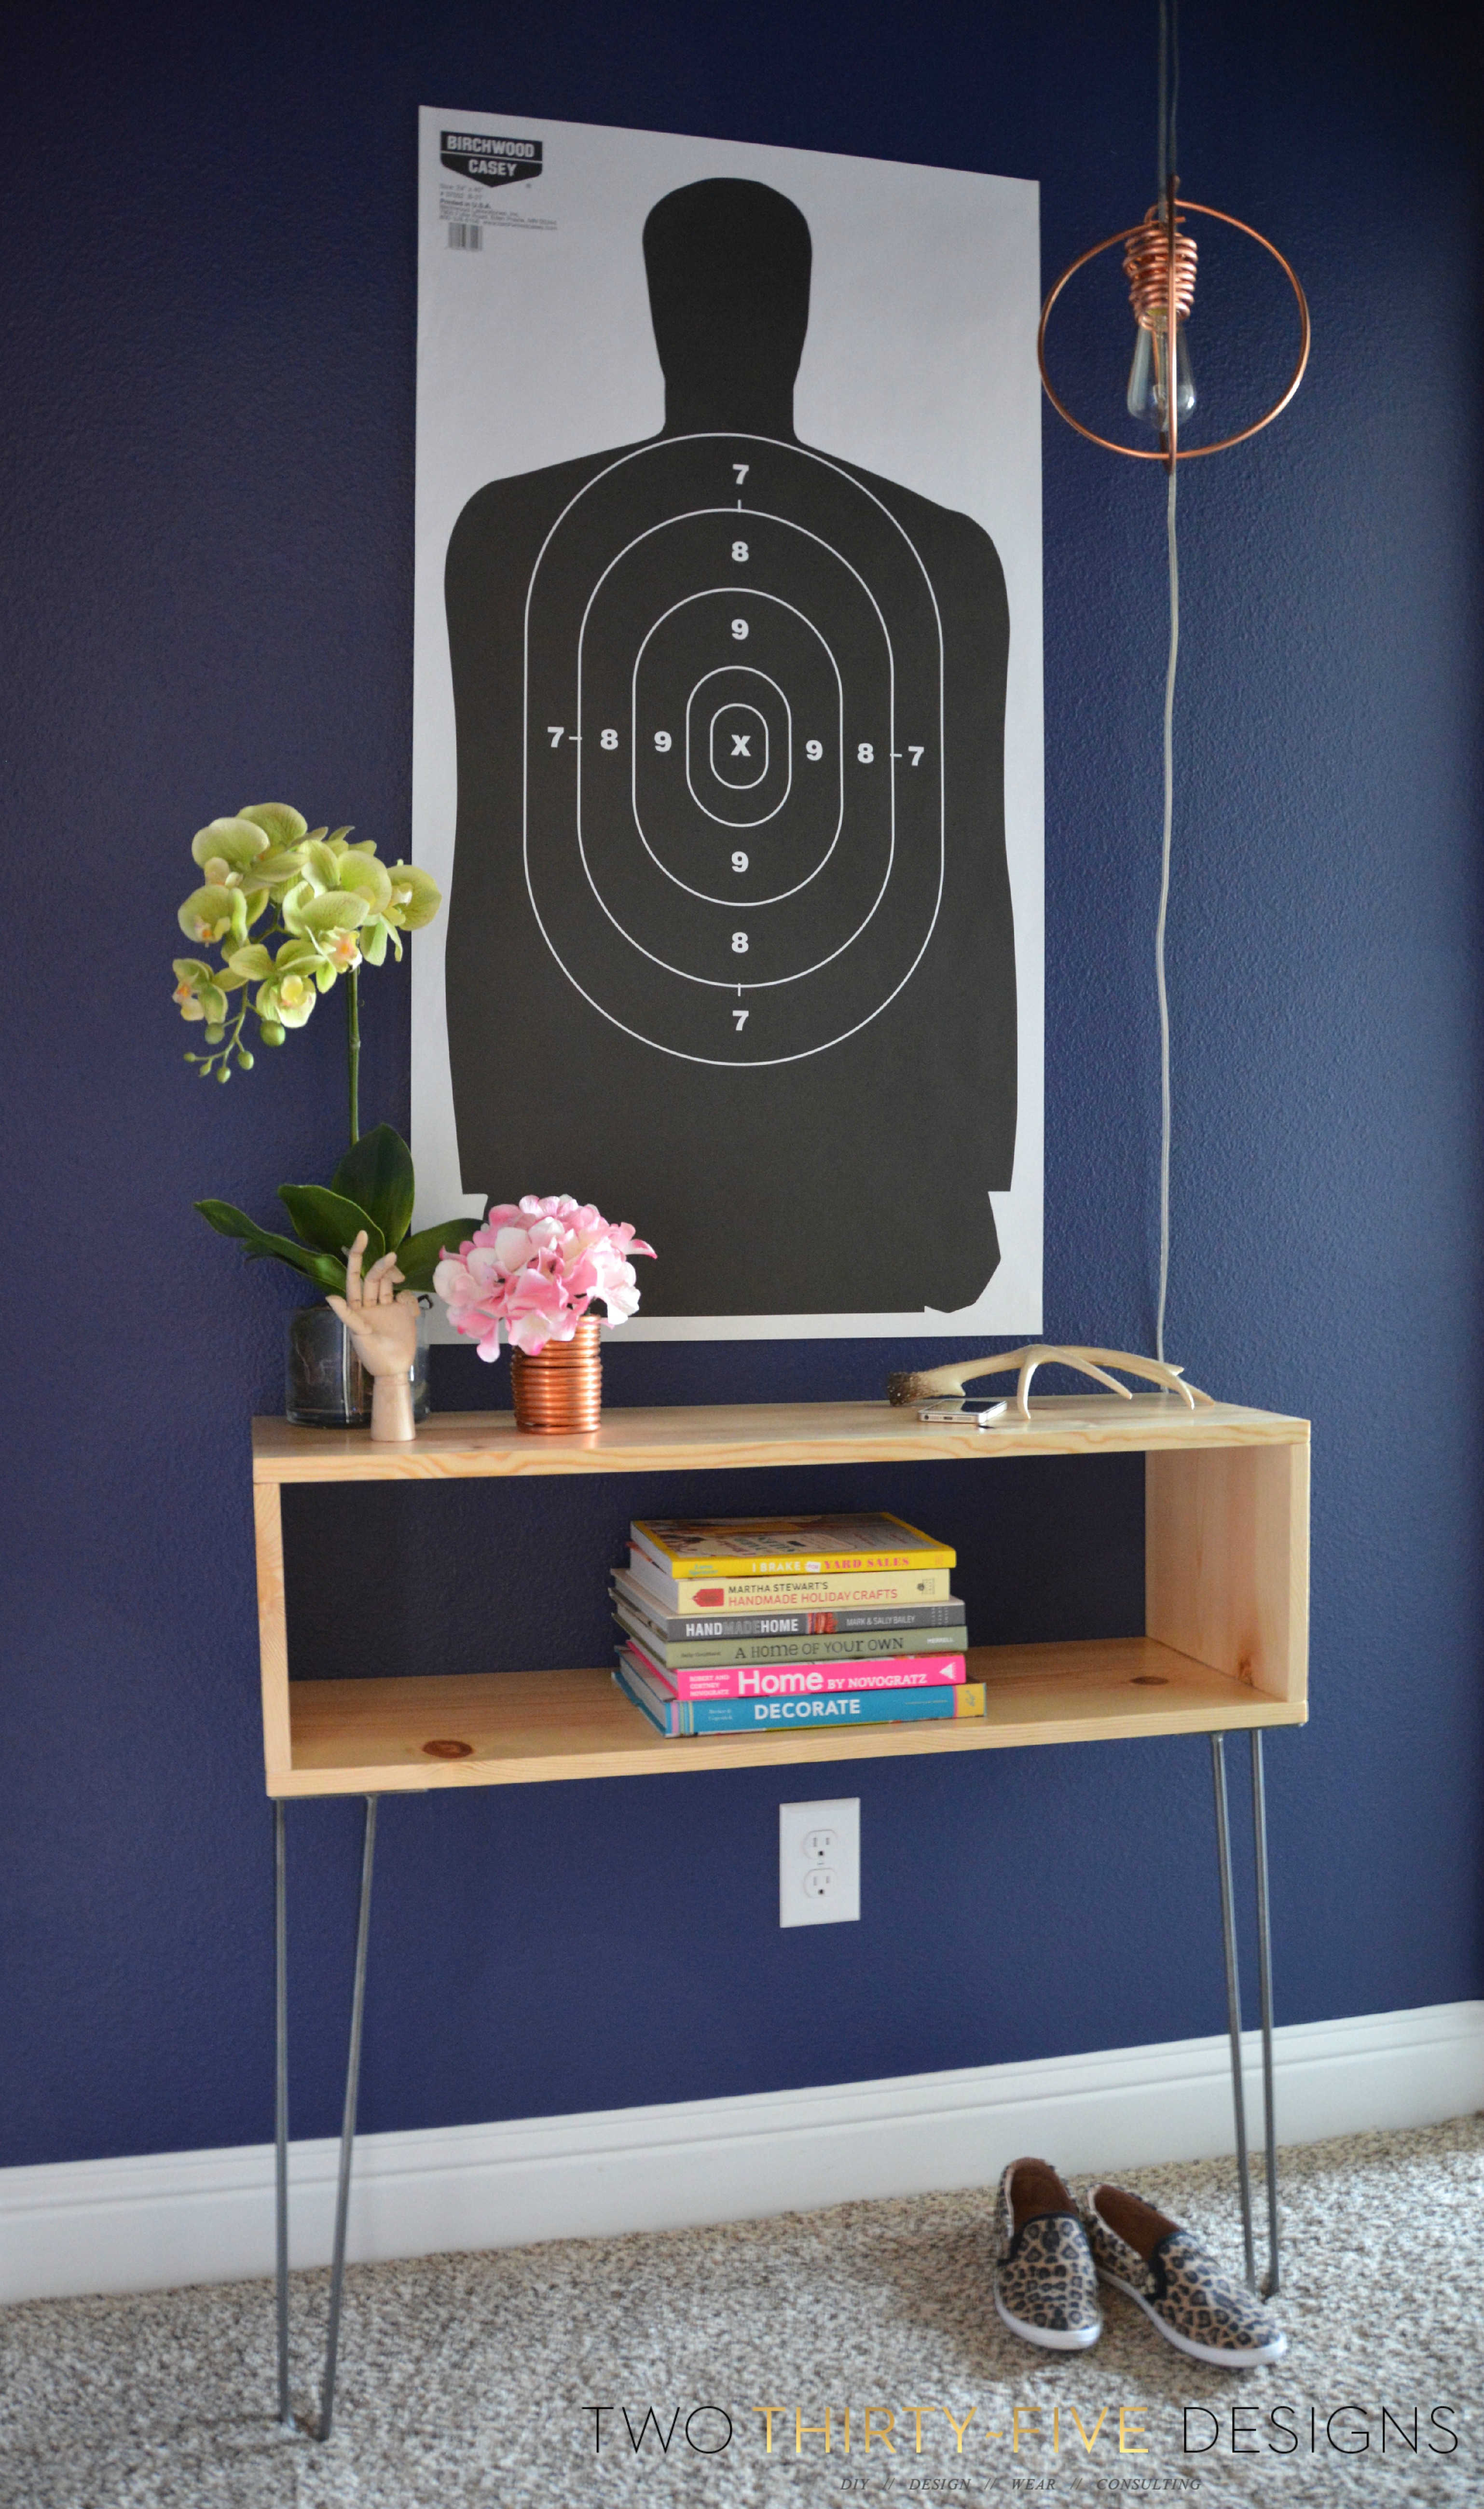
And another tutorial for my DIY Hairpin Console
Thanks so much to Brooke and you guys for having me!
Want to keep up with my projects and chat? I’m pretty social, in an internet kind of way, and would love even more to meet you!
Two Thirty~Five Designs // Instagram // Facebook // Pinterest // Google+ // Twitter
![]()
Your hardware store employee quip made me laugh outloud!
It’s SO true!! He just stared at me, and me, being my true self, kept joking about it!
LOVE this!!! Definitely something I will make for the house.
Thanks so much Gina!!
This is so cool!! I love using rope for DIY projects around the home but never considered making a rug with it! Genius! Pinned!
You are too kind!! I love finding new uses for old items!
Great idea and wonderful tutorial, although I’m perplexed by the human target.
Thanks so much!! Just a different type of art 😉
Allison, we went to Lowe’s and all they had was 3/4″ rope at .68 per foot. I love this idea, but which Hardware Store and if you don’t mind me asking, what did you end up paying? I wanted mine a bit wider than yours so I was prepared to ask for 100 feet, but I don’t want to spend $68.00! Thanks!
I was at Home Depot, and it was marked close to the same, but ended up charging .60 per foot.
If you did a circle, you might not need quite as much??
after weeks/months of use how is the rug holding up has it come apart at all?