Hey Thrifty Guys and Gals!
It’s Allison from Two Thirty~Five Designs :). I am crazy excited to show you guys this crazy easy tutorial for my DIY Copper Ladder today!
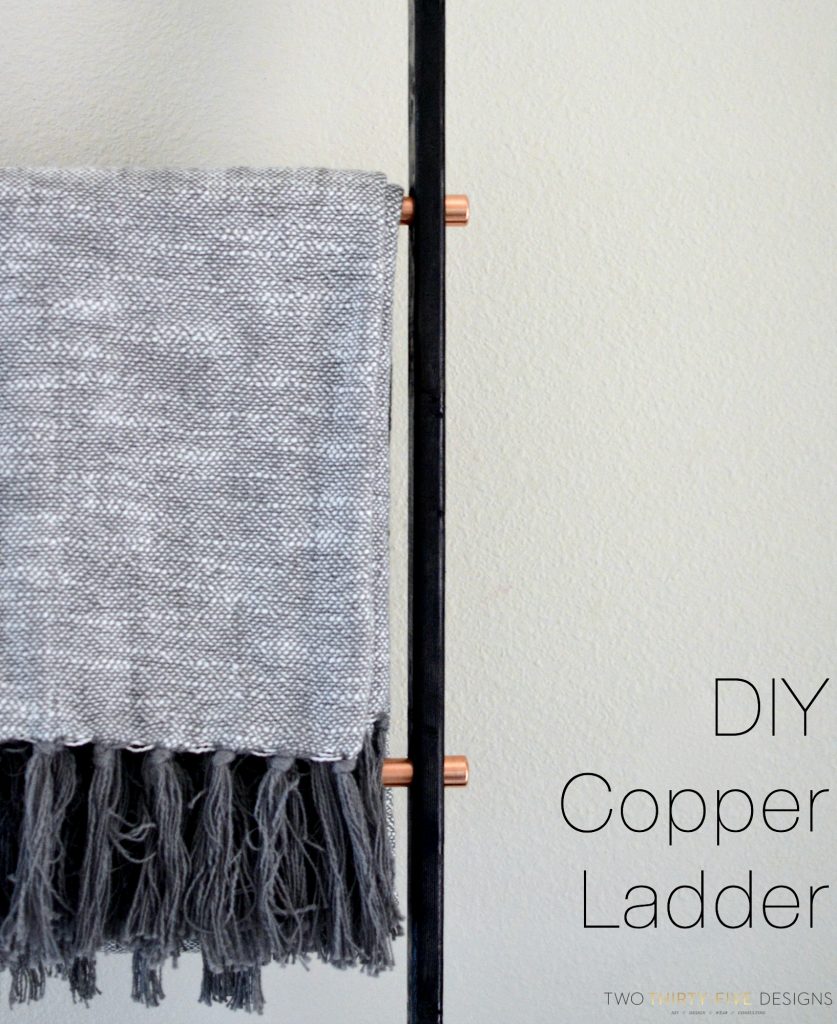
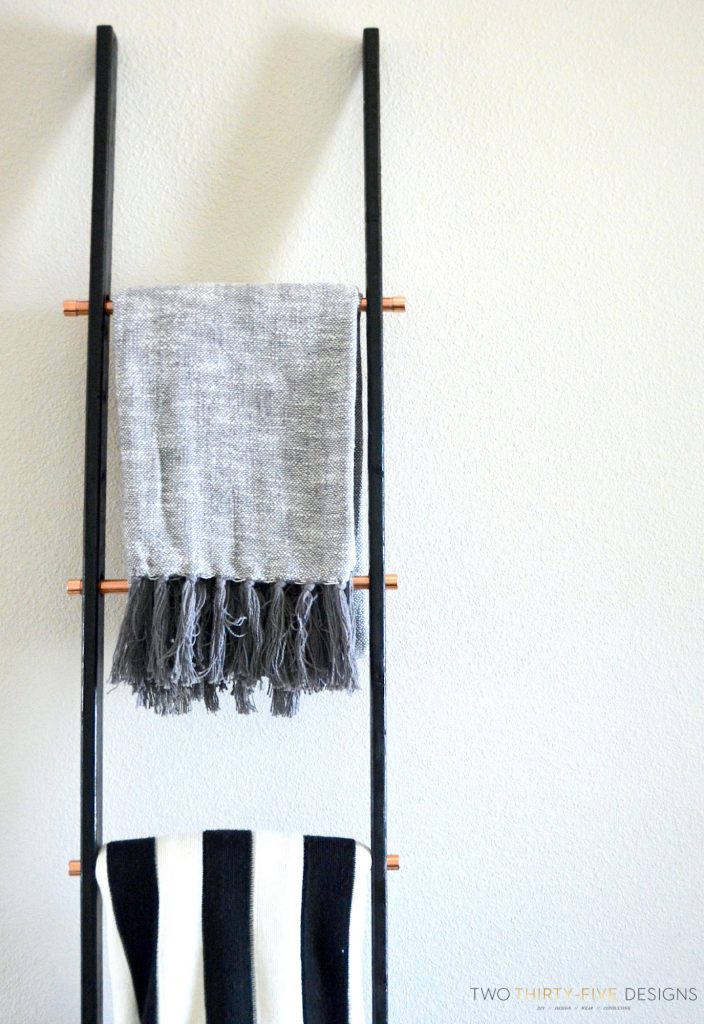
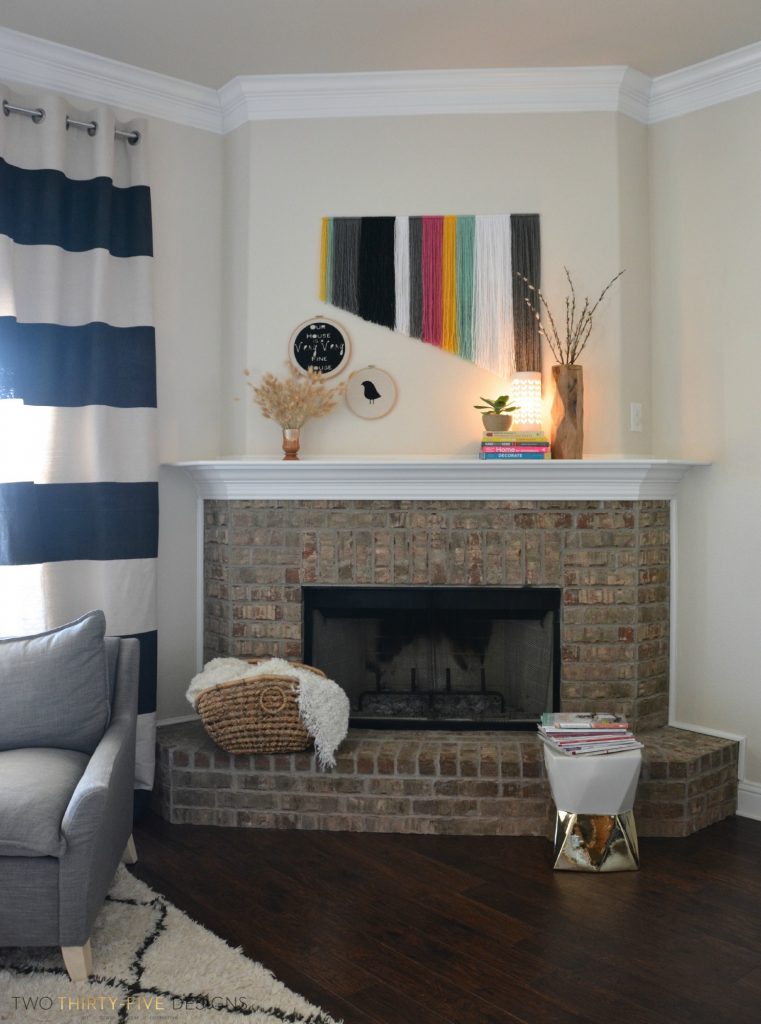
I am a huge throw person. I am constantly cold, and my kiddos are too, so there is usually a heaping pile of blankets laying around somewhere in the living room or play room. I wanted to get it all up off of the floor, but still accessible for us to just grab one. And still look good while storing the throws.
While trolling the hardware store, I decided that a ladder would be super easy, quick and take up minimal space.
Materials:
Two Pieces of Furring Strip Board 1 in. x 2 in. x 8 ft
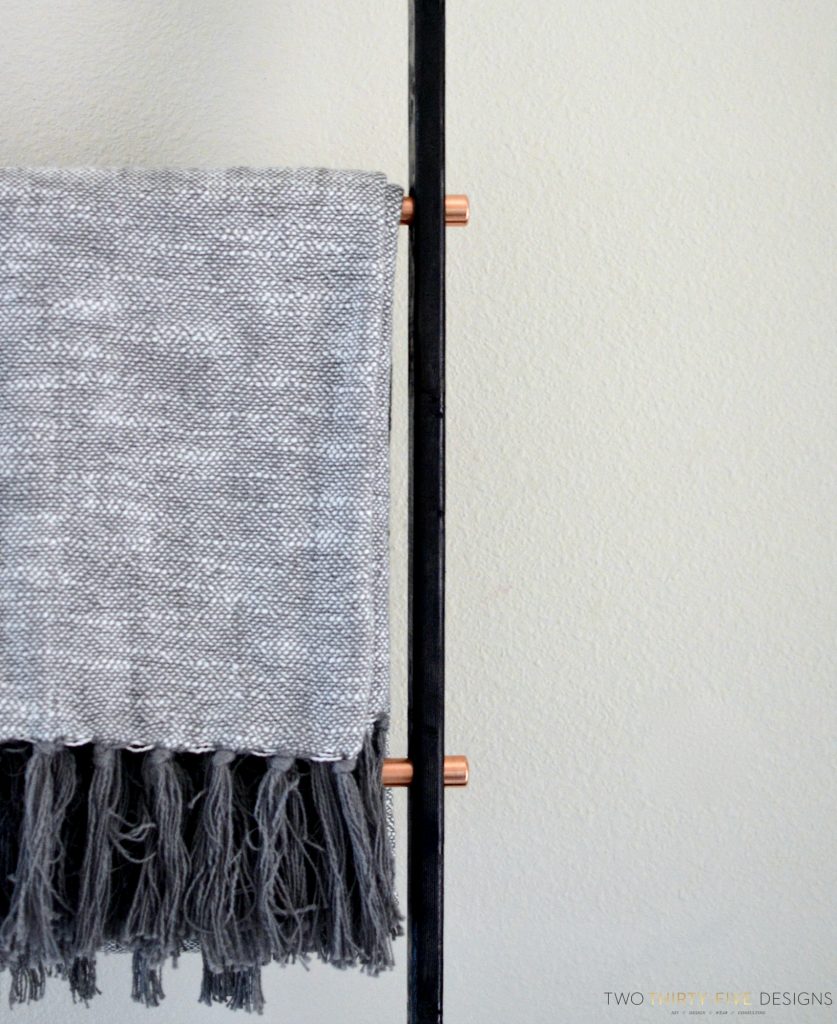
Copper Tubing 1/2″ Width (It’s cheaper to purchase a 10 foot tube)
Copper Tubing Caps 1/2″ (I knew I wanted 5 rungs so I purchased 10 caps)
E6000
Paint
Sand Paper or Electric Sander
Additional Materials:
Circular Saw
Drill with 3/4 Drill Bit
Clamps
(I listed these separately from the main materials because you can have it all cut in the store, and if you are really sweet, they just might drill the holes for you too. I chose to do it all at home. It’s super fast, and I wasn’t sure of the height that I wanted when I was in the store.)
Junior Tube Cutter
(Again, you can have your copper tubing cut in the store, but I wasn’t sure how wide that I wanted the ladder to be. The Junior Tube Cutter is super easy to use and sometimes faster than waiting on an employee to cut it.)
Directions:
Set the ends of your boards on level ground and clamp together, making sure the boards are even with each other.
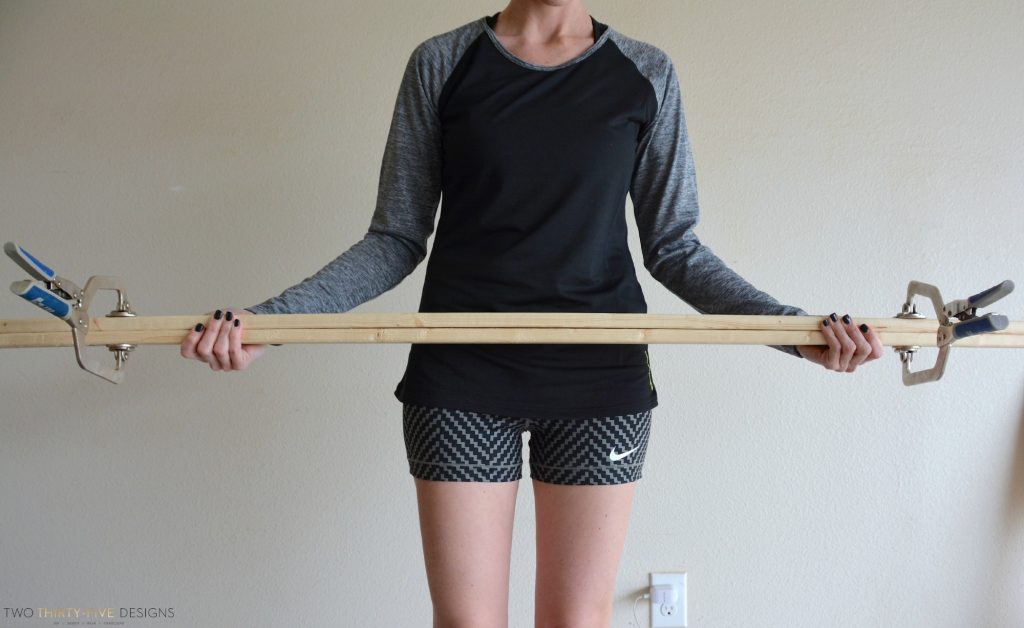
Measure off how tall you want you ladder to be and cut. Mine is exactly 6 foot tall.
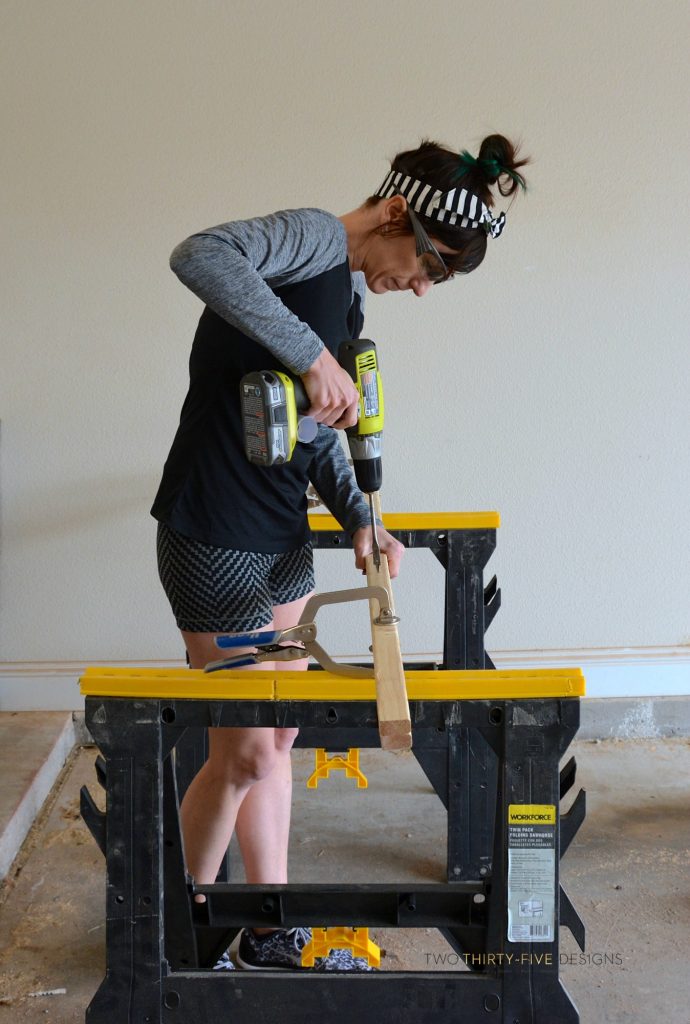
Leaving the clamps on, place the boards on a surface to drill the holes. My sawhorses were perfect. The clamps rested right in the middle of the sawhorse while I marked and drilled the holes.
I spaced each hole 12 inches apart.
After the holes are made, sand and paint.
While paint is drying, cut your copper tubing if needed.

After paint is dry, run each piece of copper through the holes in the wood. Apply a small amount of E6000 to the inside of each cap and place on the end of the tube.
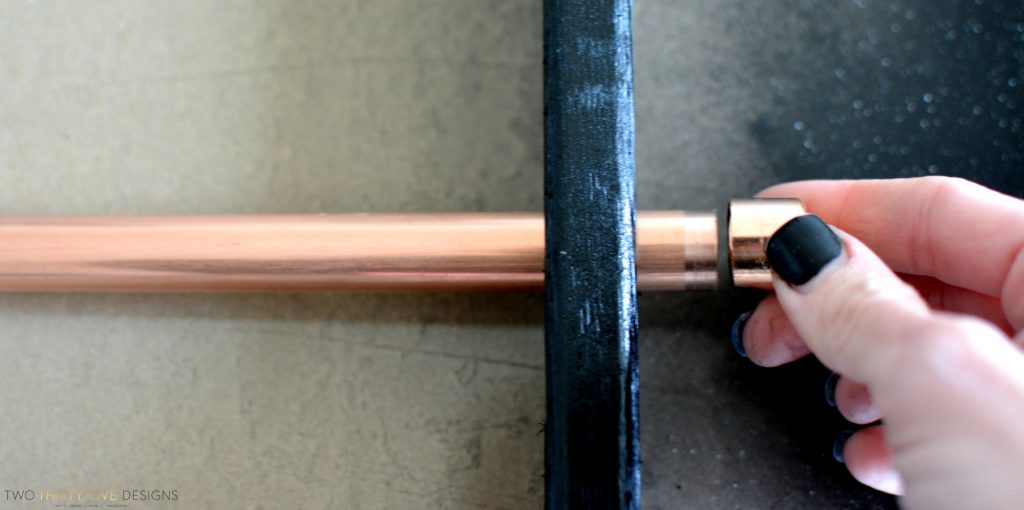
You can also place a small amount of E6000 in the bottom of each drilled hole, to keep the copper tubing in place.
Let the glue dry, set up, style and enjoy!
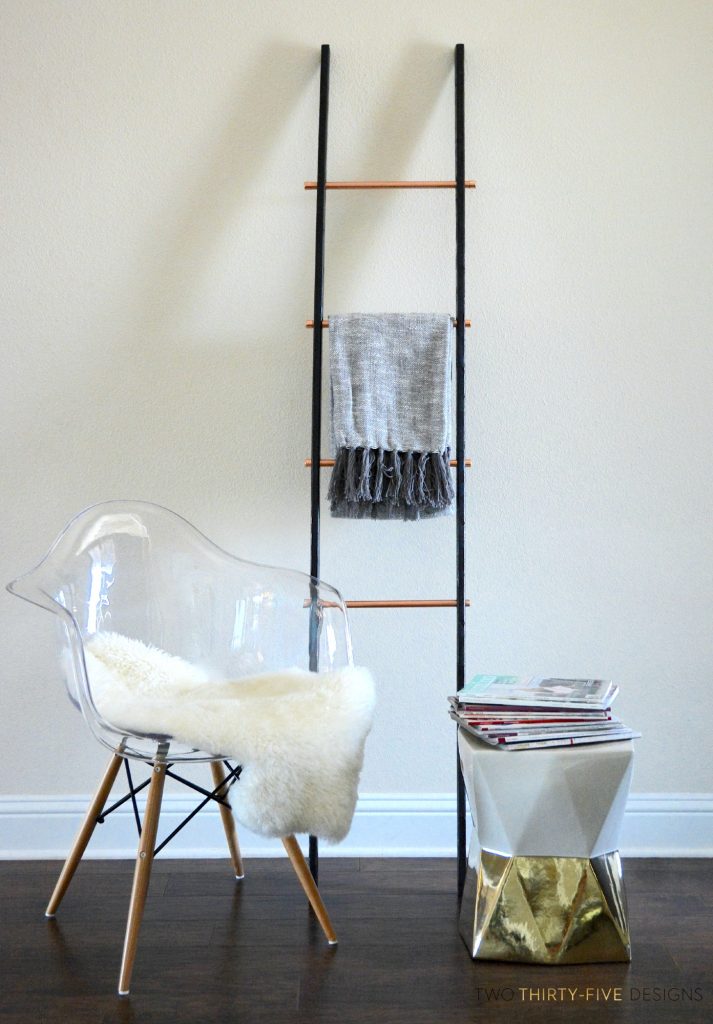
This would also be a fabulous way of storing magazines and newspapers!
I’ve been crafting away over in Texas 🙂
Feel free to hop on over and check out:
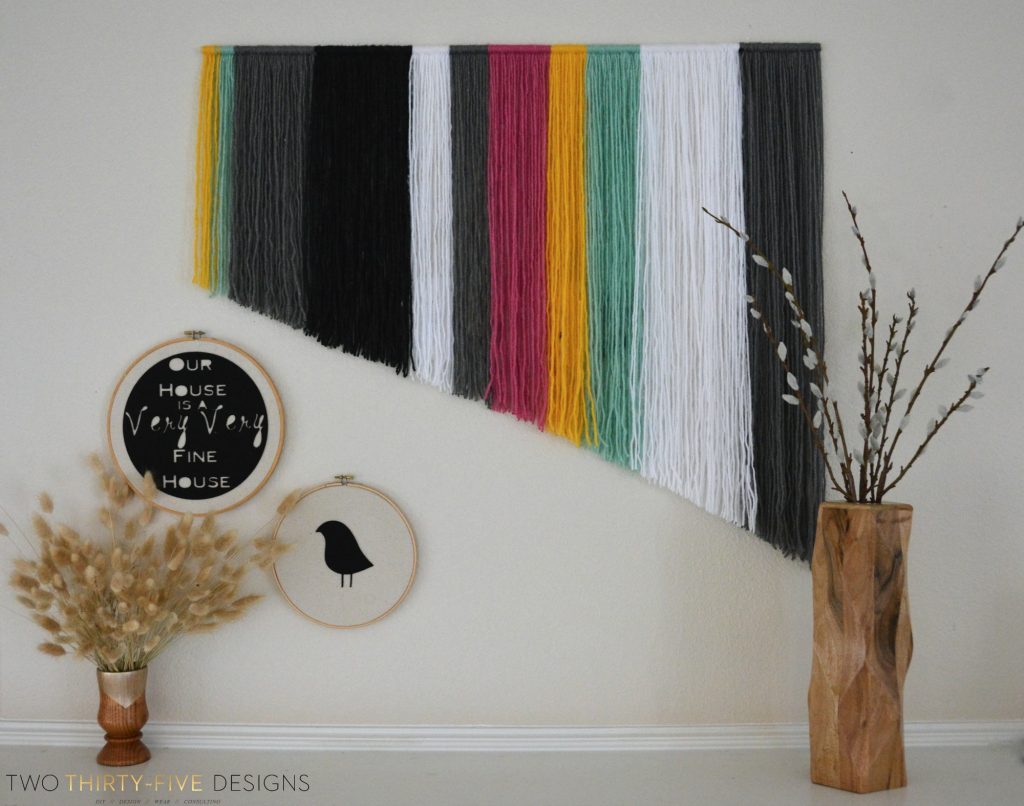
My DIY Yarn Wall Art,
And I participated with a great group of bloggers, where we swapped out thrift store items and made them into our own,
Swap It Like It’s Hot Thrift Store Swap
Thanks so much to Brooke and you guys for having me!
Want to keep up with my projects and chat? I’m pretty social, in an internet kind of way, and would love even more to meet you!
Two Thirty~Five Designs // Instagram // Facebook // Pinterest // Google+ // Twitter
![]()
thats such a beautiful accent <3 thrift store swap & make your own sounds like a great idea, too!