This blog post is sponsored by Rust-Oleum. All opinions are 100% mine.
If you missed episode 1 of this makeover series, don’t forget to start at the beginning!
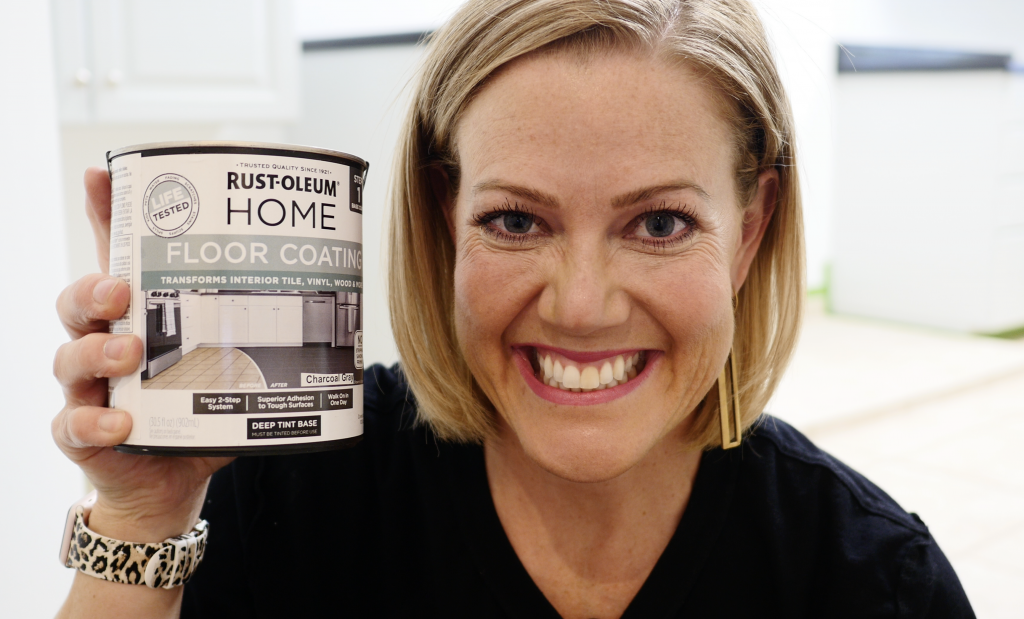
I have to admit, this project was months and months in the making. We had originally planned to rip out the tile in the laundry room, but after my friends at Rust-Oleum told me about a new product that was coming, I quickly halted our plans. I waited for the new floor coating product from Rust-Oleum HOME to hit the shelves in Utah.
![]()
The best part about this product, is that it can be used on multiple types of flooring! So if you have vinyl in your bathroom that you want to change, this product is PERFECT for that. Or, if you want to paint a rug on your hardwood flooring {like I did in this project in 2012}, this product is PERFECT for that too!
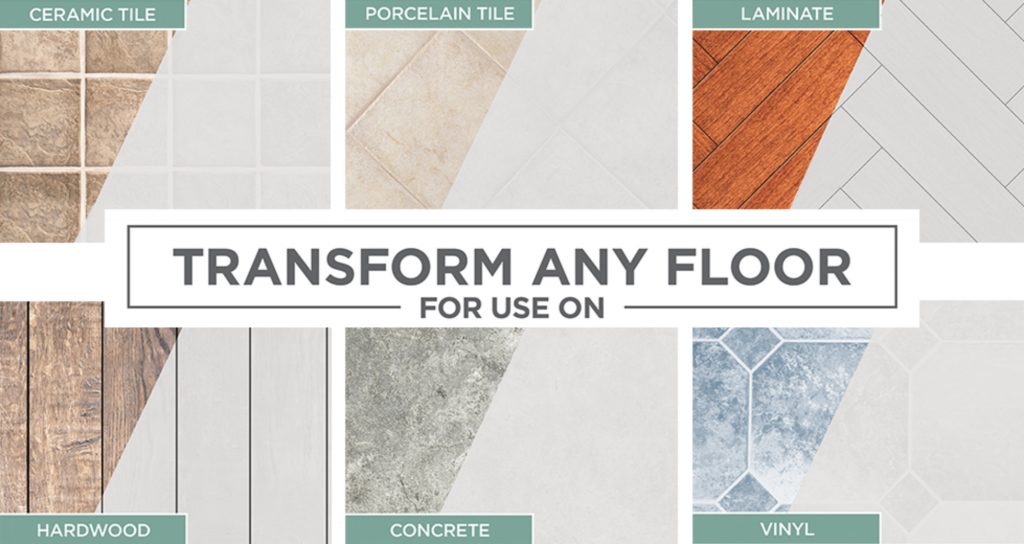
We are using the product on our porcelain tile in our laundry room. The room was a perfect blank slate, and I cannot wait to show you the end result. ![]()
Supplies needed:
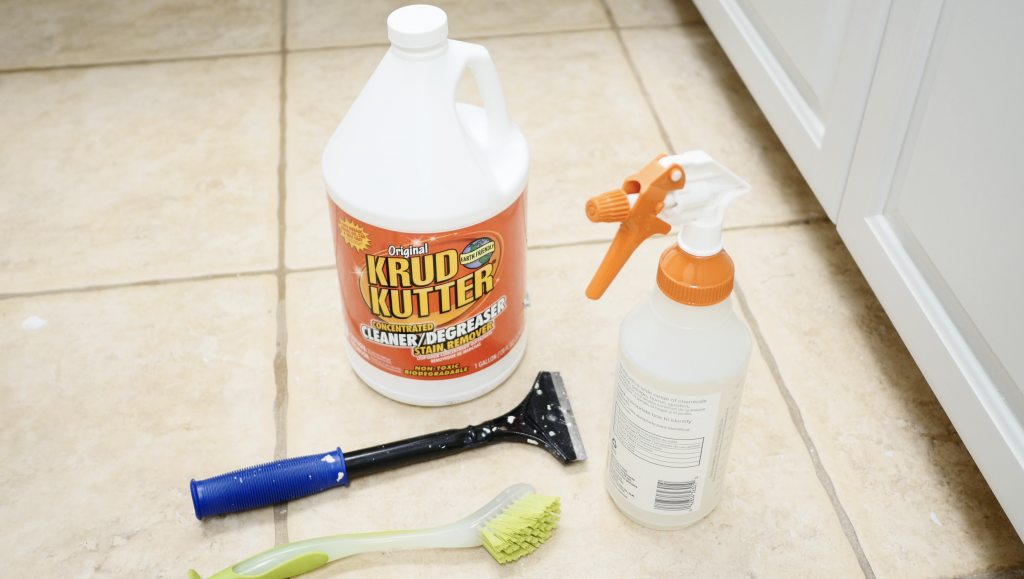
A Small amount of Krud Kutter to degrease the floors before painting them Cost: About $7.00
A small scrub brush, a lint free washcloth, a spray bottle of water, and a small scraper.
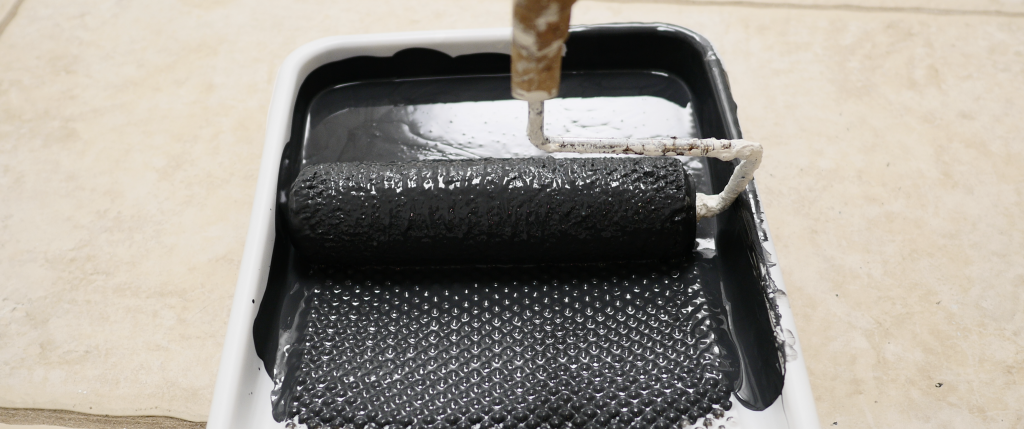
Two Quarts Rust-Oleum Home Floor Coating in Charcoal Gray for the base coat of the flooring. Cost: About $40.00
2 Quarts Rust-Oleum Home Floor Top Coating in Matte Clear {If you buy them in a kit, you don’t have to buy them in a 6-pack} Cost: About $40.00.
1 large roll of 2” wide Frog Tape Cost about $10
A high quality paint brush. My two favorite paint brushes are a Wooster shortcut and a Purdy angle brush. Cost about $5.00-$10.00
Paint Roller with extended pole to help your back from breaking
Four 3/8″ nap rollers {You can get only one and clean it out after each use, but since the rollers are inexpensive, I bought a pack for convenience}.
Four disposable paint trays {You can get only one and clean it out after each use, but since the rollers are inexpensive, I bought a pack for convenience}.
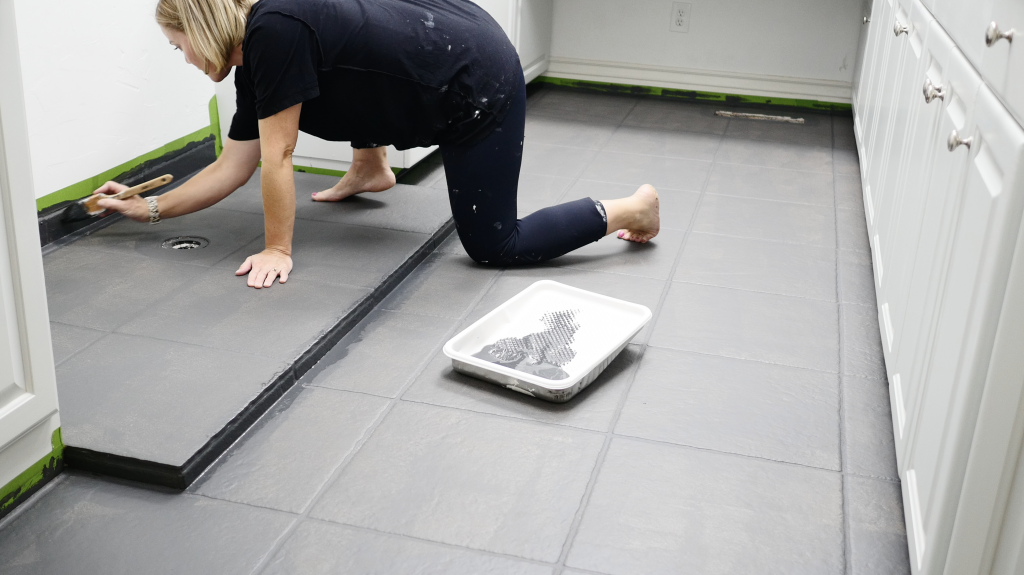
Step 1: Clean and degrease your floor with Krud Kutter degreaser.
Scrub it thoroughly with the scrub brush, spray it with water to rinse, wipe it with the lint free cloth or paper towels and wait for it to dry completely.
If you find any debris on your tile, use the scraper to remove and repeat step 1 until perfectly clean.
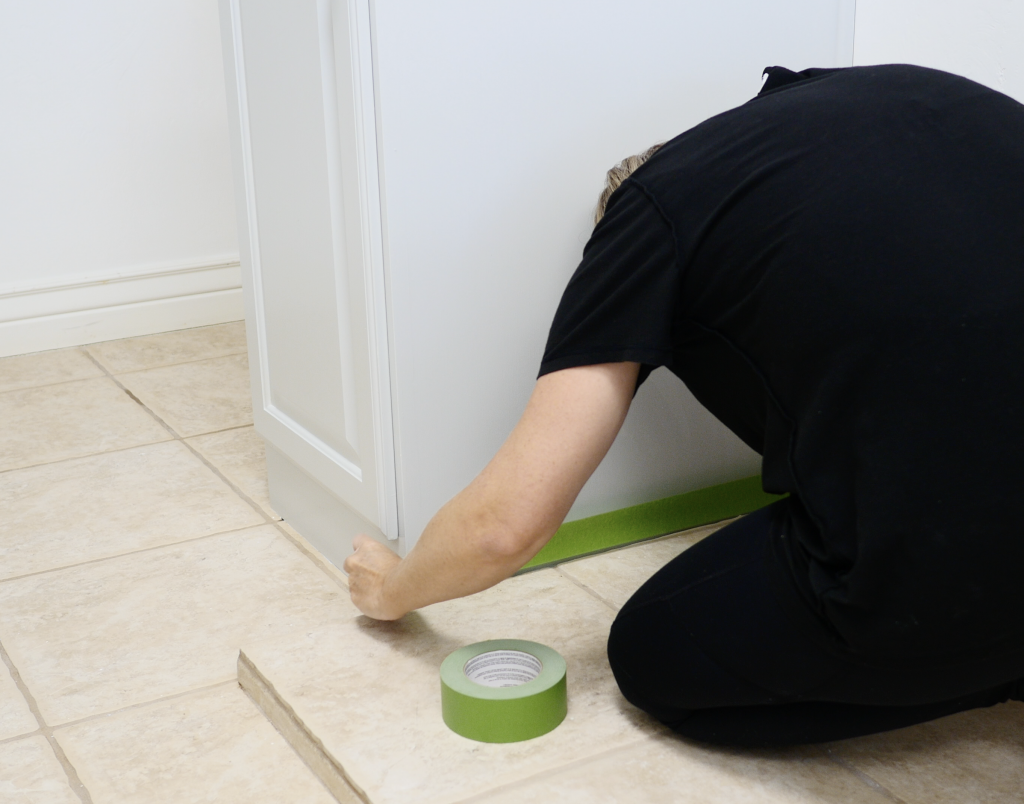
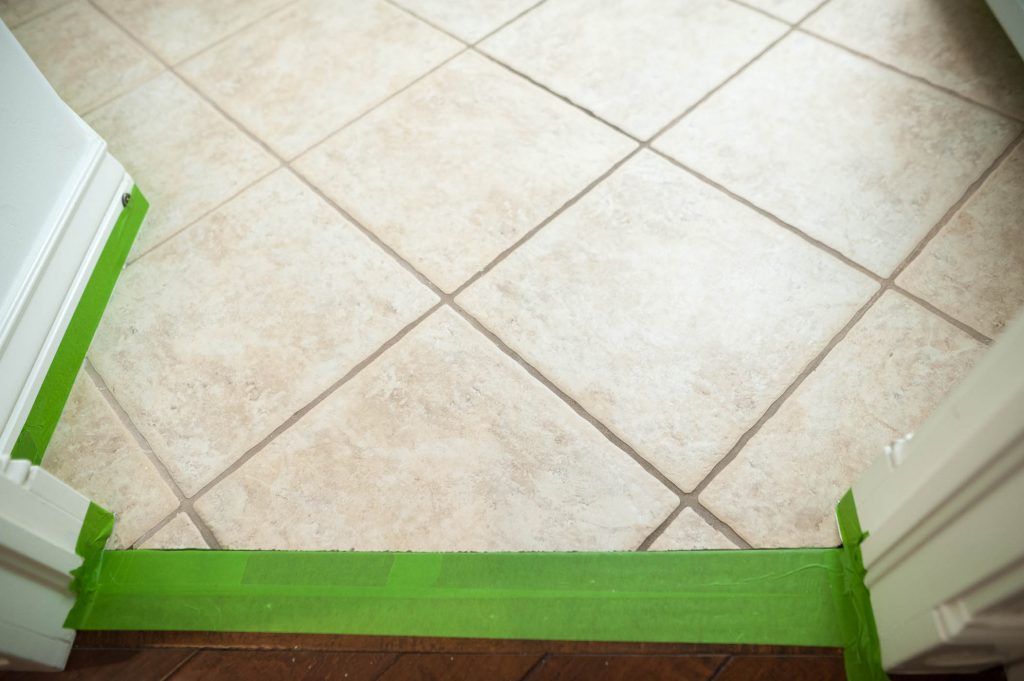
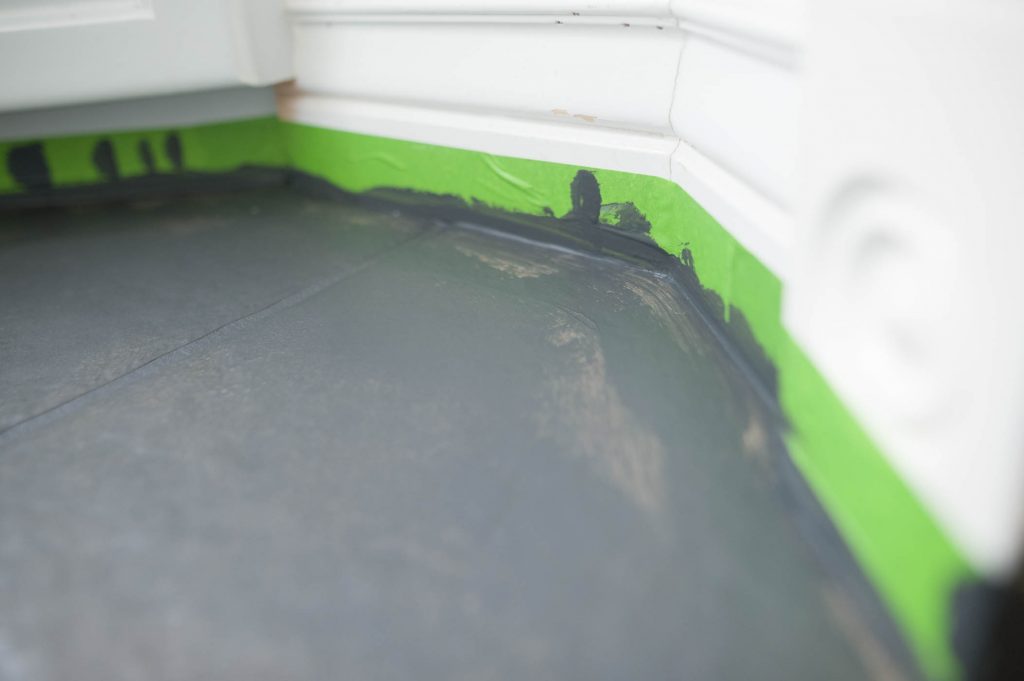
Step 2: Wait for tile to dry completely and tape off with Frog Tape.
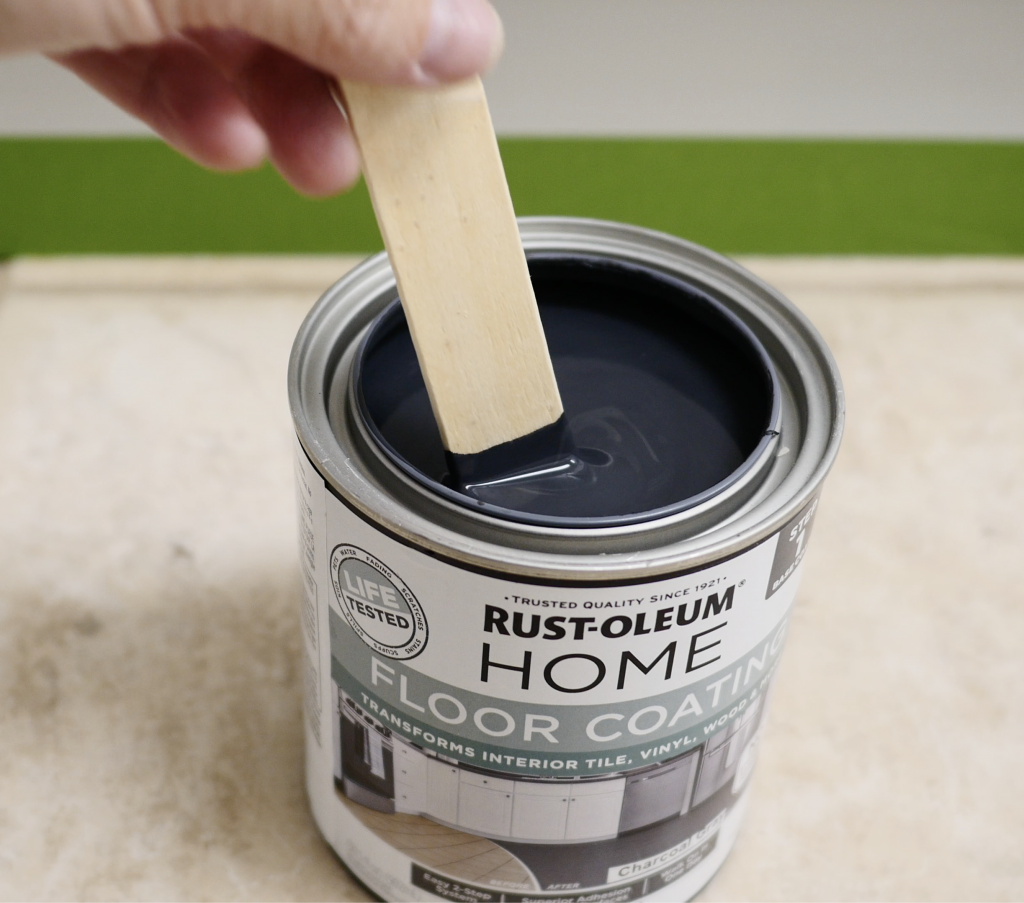
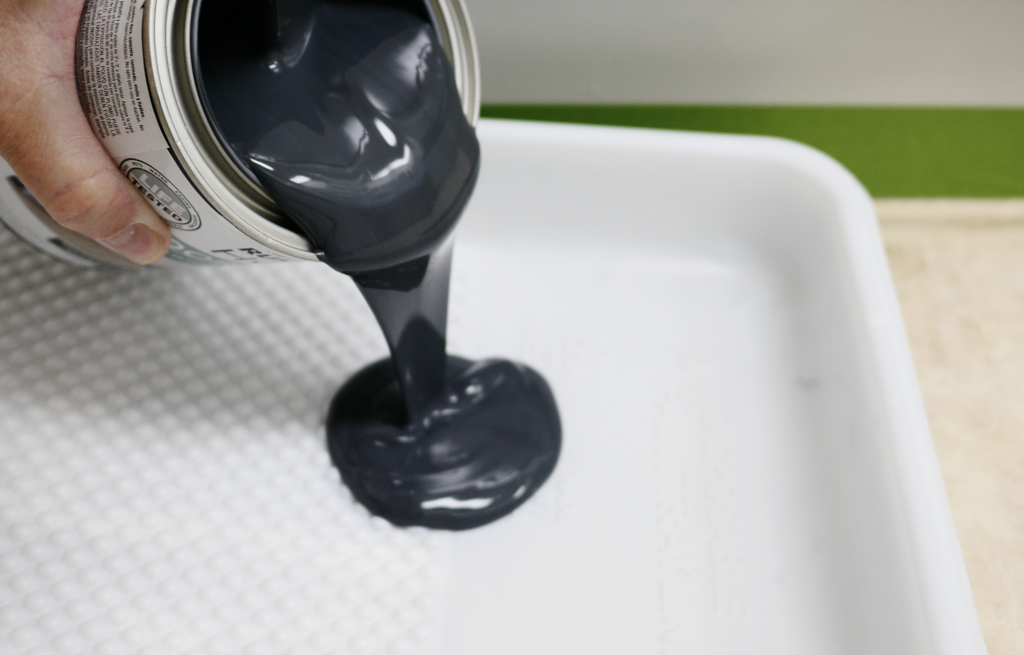
Step 3: Paint your floor with Rust-Oleum HOME Floor Coating.
Stir your Rust-Oleum Home Floor Coating Base Coat thoroughly with a stir stick, pour into a paint tray and use a high quality paint brush to cut in around the room.
NO, you do not need to prime or sand first. If you are extremely worried about the paint adhering to your floor, you can test a small area by painting a small amount first. There is instructions on how to test your floor on the side of the paint can.
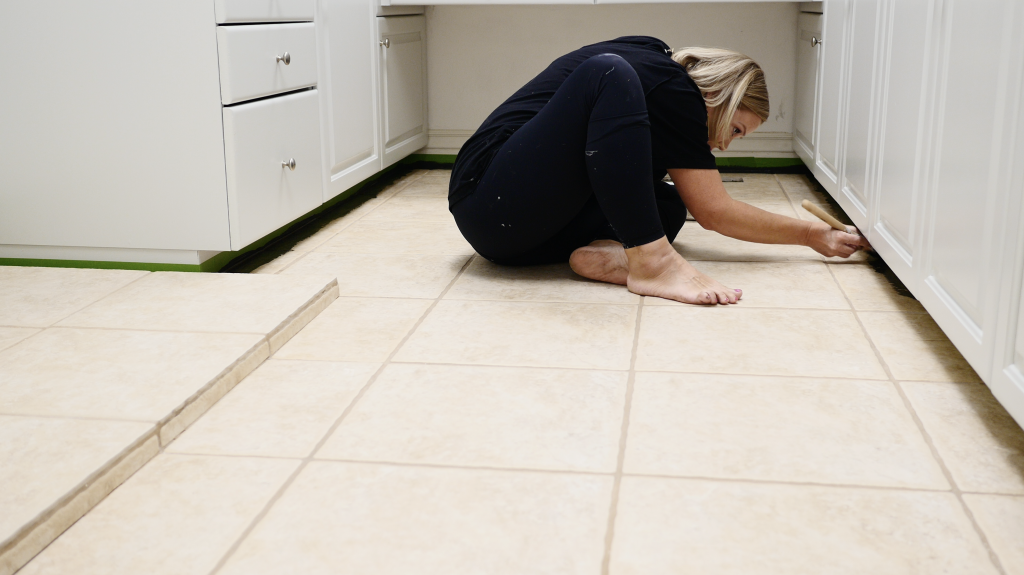
Make sure to cut in a few inches along the entire perimeter of the floor with a high quality brush, and also, cut in around any drains, or other level changes if you have them.

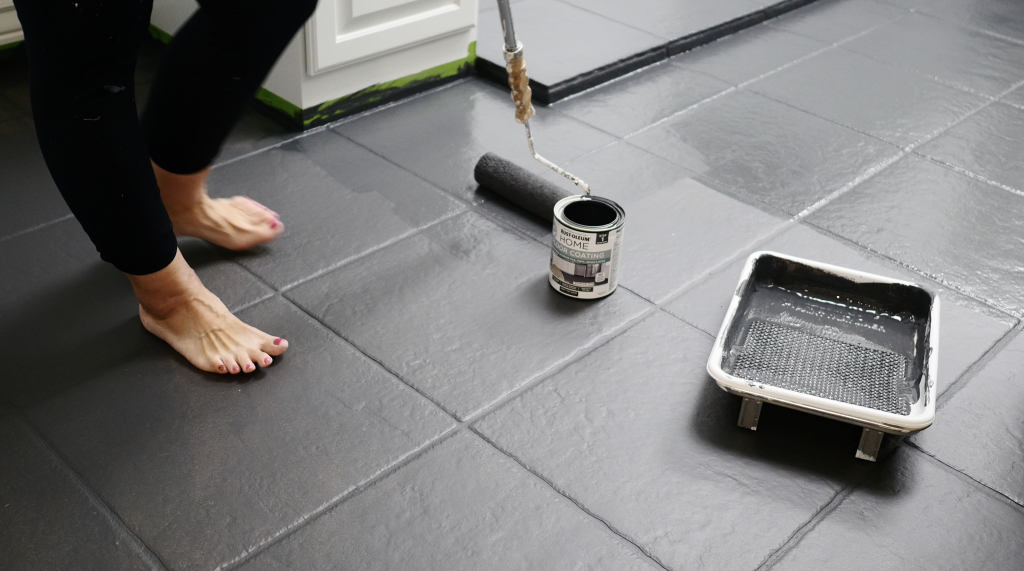
Step 4: Use an extendable paint pole and a 3/8” nap paint roller to cover the rest of the floor. TIP: make sure you roll the paint onto the floor right after you have cut in with a brush, that way your paint will still be wet and will blend together.
Make sure your paint roller is fully saturated and even before painting it onto the floor.
An extendable paint pole is a life saver so that you don’t have to be on your hands and knees to paint the floor. 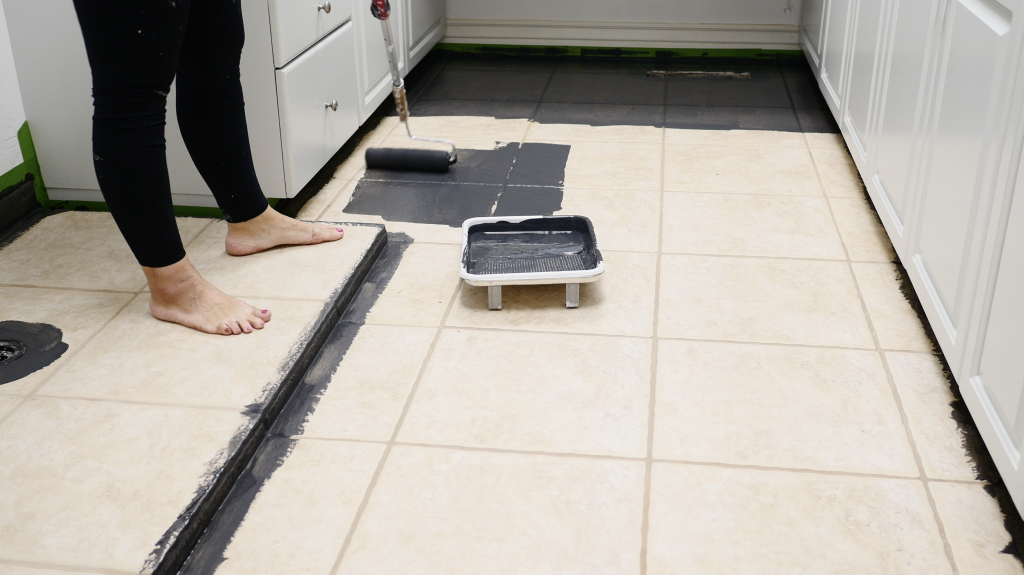
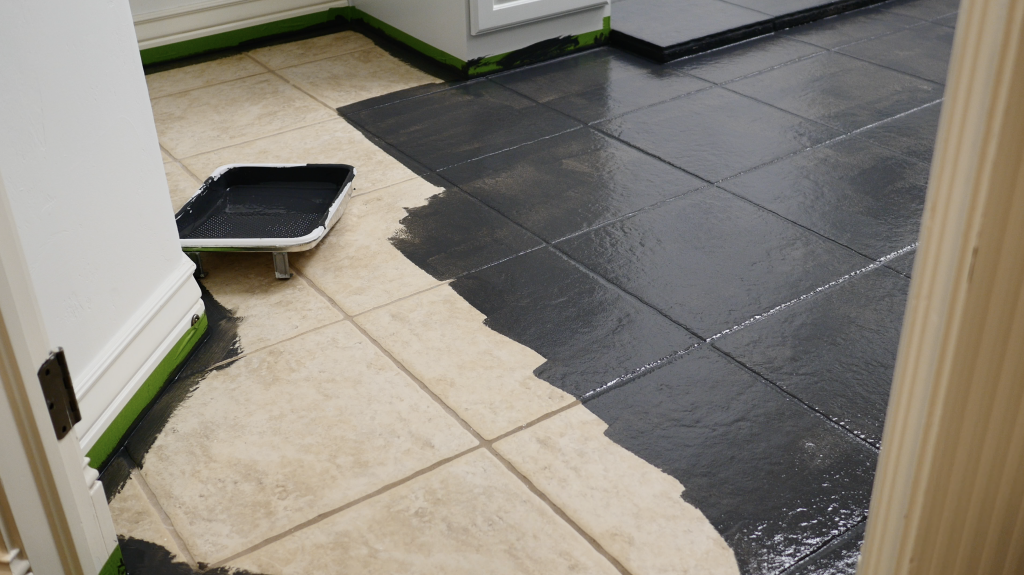
Your paint may cover in one coat depending on the degree of color change you are making. If you are like us and making a drastic change, plan on two coats to get full coverage.
After you have painted the entire floor, wait for it to dry 6 hours before re-coating.
After your paint is dry to the touch, you can walk on it, but be extremely careful not to scratch it. It is not fully cured, and you also haven’t top coated it yet.
Cut in the perimeter again with a brush and then roll on the second coat. You can use the same roller and paint tray if you remember to cover them with plastic or put them into a sealed ziplock bag, but if not, simply get a new roller and paint tray and start over.
We used charcoal gray, and the color is PERFECT. There are lots of colors to choose from, you can see the different color options HERE.
I rolled about a 3×3 foot square at a time and used a W or M pattern to cover the floor.
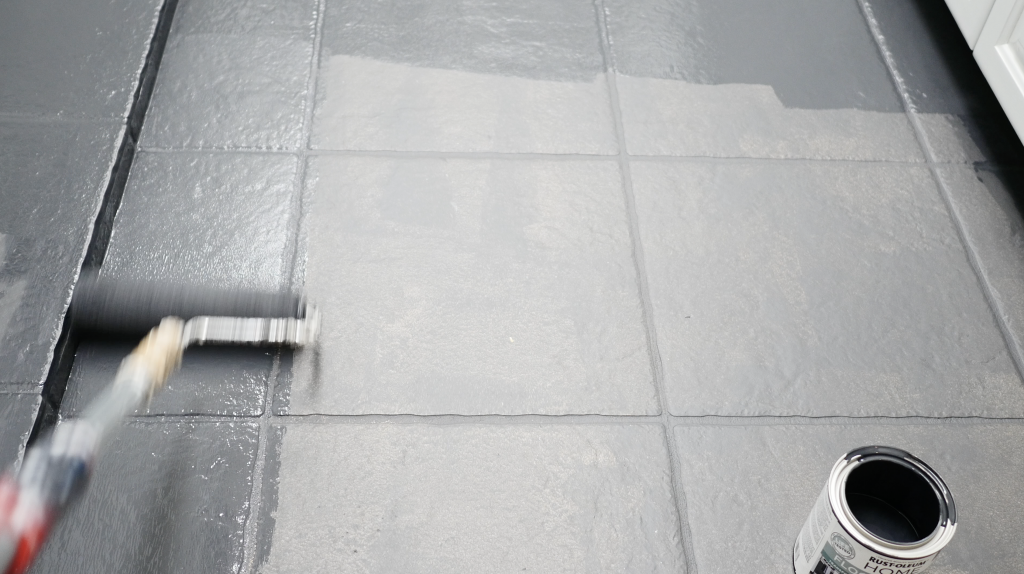
After the second coat dried, the floor was perfectly covered.
IMPORTANT: If I was done with my project, I would wait 6 hours and then use the clear matte topcoat to seal the tile. But, since I’m adding a design to my tile, I need to wait until that is done first.
![]()
This is what the room looked like before:
![]()
It already looked sooooo much better than the outdated porcelain tile, but I wanted to add some pizzaz.
Episode 3 is LIVE!!! I add a PATTERN to the tile with a lighter gray.
Thanks for following along! xoxo,
Brooke
We have a Very small bathroom that has porcelain tile. I would like to lighten up the bathroom but white sounds too stark. Suggestions??
What about a light grey?
Looks fabulous! I am painting Chef White over a sand colored tile. Very pleased. Thanks for the info!
It keeps scratching and peeling
Mine is not scratching and peeling at all. Mine is holding up great. Could you give me more information about your project details?
I have golden retrievers will their nails scratch it?
i have three dogs and they have not scratched mine yet!
Hi, do you know how this product would go in a wet area like a shower floor?
I doubt it would hold up for more than a few years.
Not sure if you had trouble when removing the frog tape, it took the paint off with it in some sections. I have already sealed it so I’m not sure how touching up those areas is going to work. I would advise not using tape if at all possible. Or remove it as you go before it drys.
Can you give me more details? Was the paint fully cured before you put the frog tape on it?