Although glazing furniture is our usual forte around here, we also use paint and stain to antique wood when we are looking for a more roughed-up look. I found a cool crate a few weeks ago, but it was $40.00. I knew I could recreate a similar crate for MUCH less, so I filed it away in the old noggin for a later date. It wasn’t long after that I was at JoAnn’s fabrics and I found a raw wood crate for $2.99. I was so excited that I started the project ASAP.
I hope you enjoy the newest tutorial about how to antique wood with paint and stain!
Items needed for this project:
220 grit sand paper
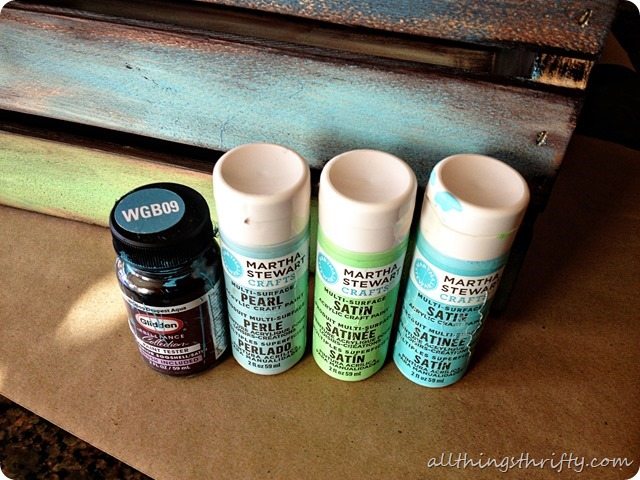
Craft paint, or any latex paint in your garage in the color of your choice
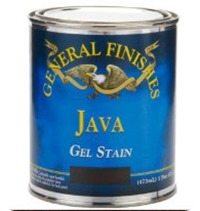
Gel Stain {I prefer General Finishes Java Gel Stain}
Acetone and a few cotton balls {in case of a mistake}
and an old Sock {yes, I said a sock}

Step 2: Paint your wood in an uneven fashion. 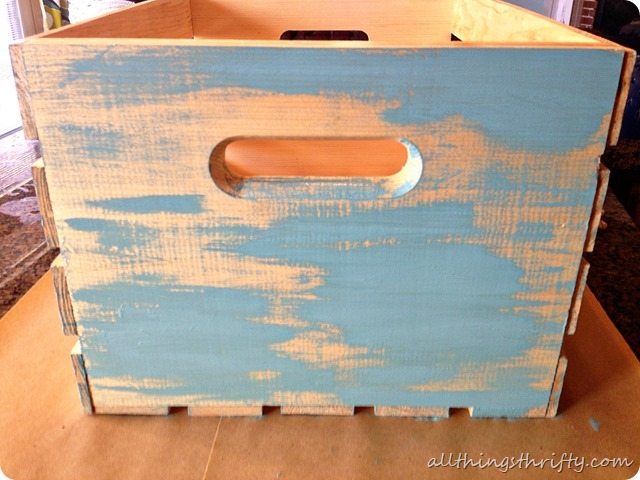
Step 3: Take your sock and dip it in the stain {you don’t need much on the sock}, and rub it along the edges of the wood and around the paint. 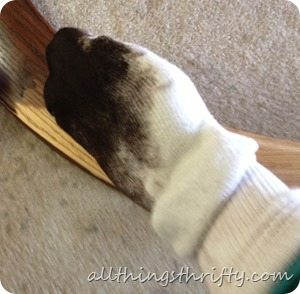
If you accidentally put too much stain on the paint, don’t worry. Just grab a little acetone on a cotton ball and rub it off. 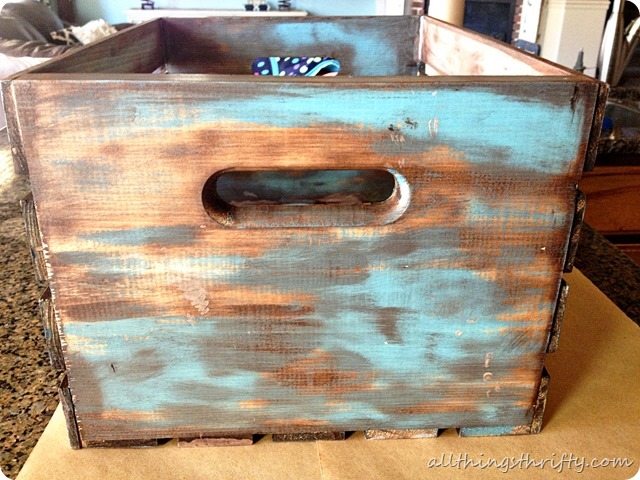
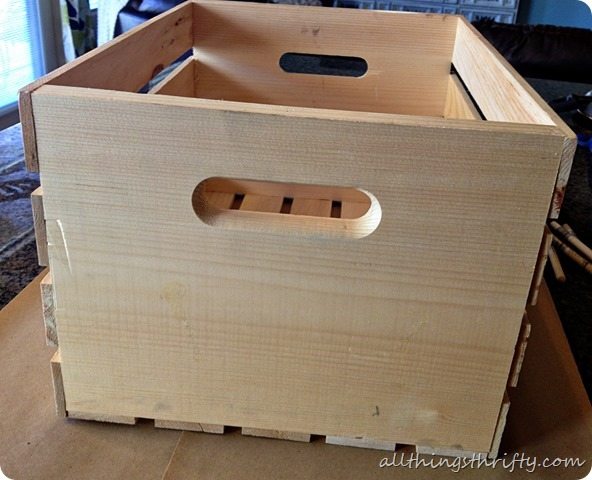
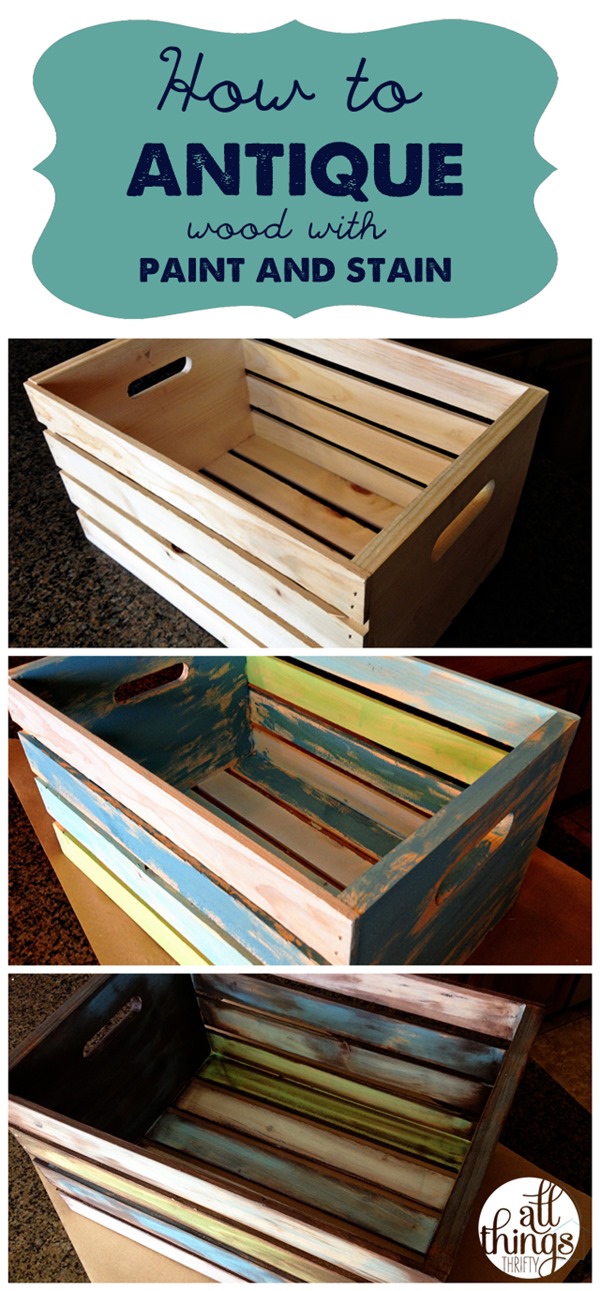
That’s it! Soon your project will start out looking like this…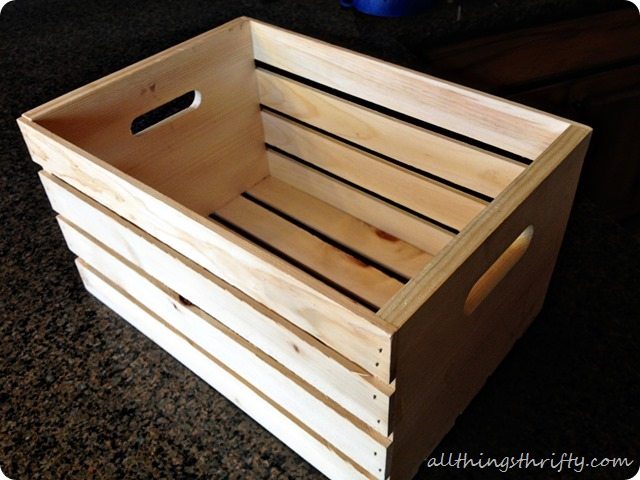
and after painting it, it will look like this…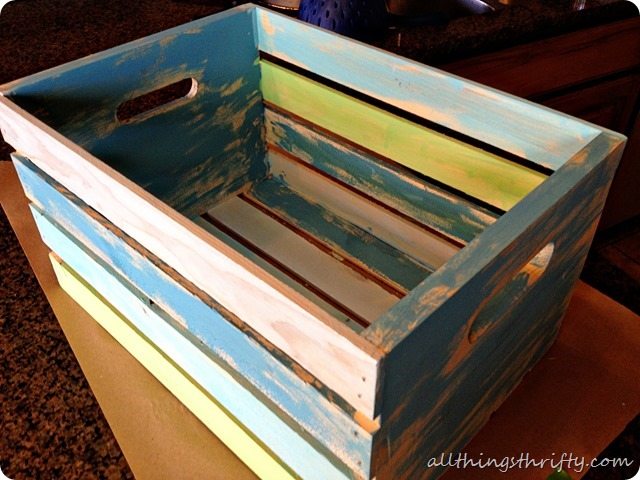
And then after the stain it is perfectly antiqued! 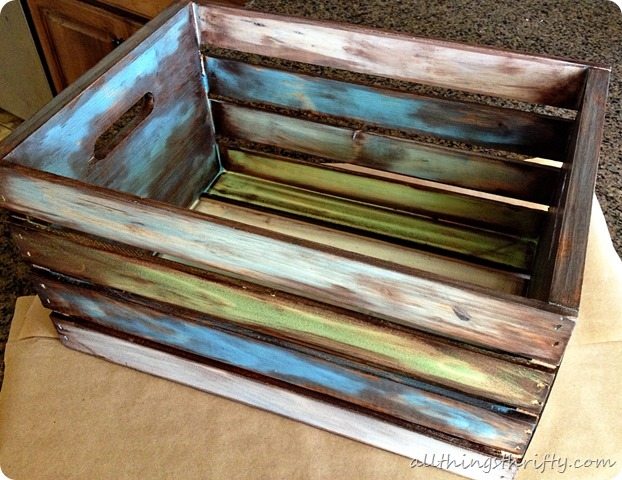
The crate was the perfect accessory for my new grey living room. 
I love it!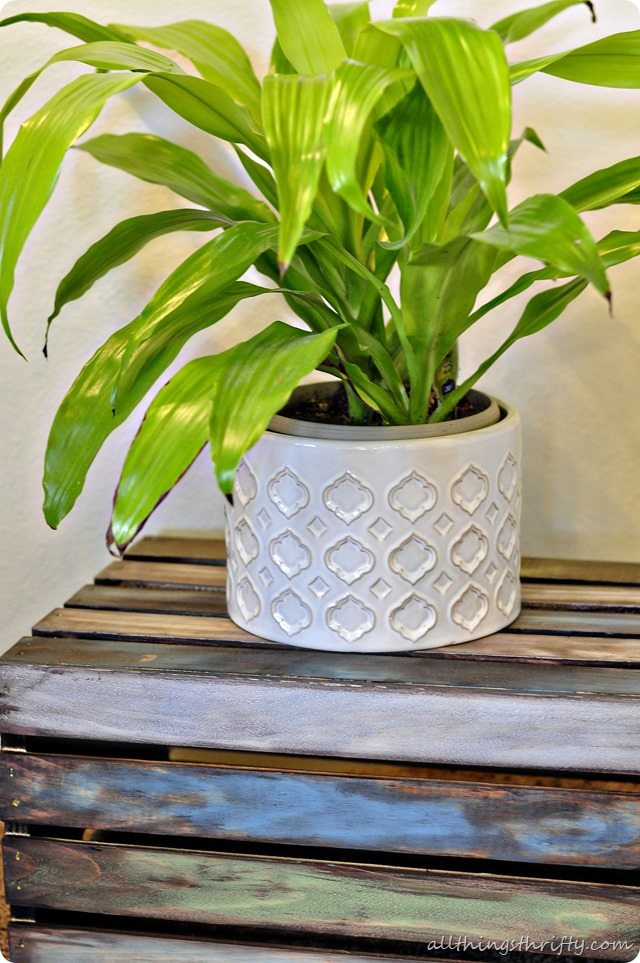
I hope you had a great weekend! Happy Monday!
xoxo,
Brooke

Hi Brooke……how good is that! It looks fantastic. Now I have to look out for a plain wooden crate. Oh the pressure! I have just recently started all the malarky of repurposing etc and am a woman on a mission…….put a paint brush in my hand and watch out!
That looks so great! So easy and creative too.
I love using old socks for staining and waxing! Love your crate! Love your room redo and so, so love you! Happy Monday my friend! PS-sharing this awesome idea on My Craft Channel fb page.
?Tausha
Love this Brooke!! Sounds like something I could try! It goes perfect in your newly painted living room (which is amaze-balls by the way)!
I love this idea….the crate looks great.
Love it!! It looks so great in your living room!! Thank you for the step by step tutorial!! I have had so much trouble with staining things, but I think I can do this project. Thanks so much!!
Looks great! And so cheap! Looks quick and easy too.
Oh awesome! This came out so nice, I love all the paint layers! I want to share it on my blog soon, but I’ll send my readers here for the full tutorial, if that’s OK?
Curious, how much were your crates? They are $12.99 near me, is that the norm?
If you have a store that sells only produce, check there. We have an apple store that sells their crates for 4 bucks and they are generally already ha e a weathered look!
I LOVE this, I can’t wait to try it out!!!!
Thank you for sharing this great tutorial! What a great idea and I can’t wait to try it!
X
Do you let the paint dry completely before staining?
Yes. Let it dry completely.
This tutorial looks beautiful, but it written in such a way that I have no idea what order anything happens, what exactly you used. The 1,2, 3 pictures don’t really jibe with the ones below. Sorry if you think I’m dumb, but it’s useful to write your post well enough that even, well, dumb people can get it. I think if the pictures were reordered or something somehow. I feel like you’ve inspired me to try it with just enough confusion for meto basically have to experiment on my own, most likely screw up the first one, and then figure it out myself, which defeats the purpose of blog surfing. Thanks for reading.
I do have steps on the post. Step 1: sand your wood, step 2: paint your wood in an uneven fashion, step 3: stain the remaining wood.
Can you seal this for outside use?
This caught my eye on Pinterest and it was INSTANT LOVE!! There is nothing about this that isn’t perfect. I tried zooming in to see what colors of Martha Stewart paint you used, but I wasn’t able to get in close enough. I want this exact look, so I am hoping you will still be able to share the colors, although I realize it has been a few years since this has been posted. Thank you for the inspiration!
We just did this on a old wooden toy box!!! It’s going to be a gift for my new grandson!!! Thank you! It looks amazing
You are welcome! What a great way to use this technique! What a lucky grandson! xoxo
Looks great. Can you use any stain. Growing up my family made crafts and we would antique some of the pieces. I tried this lately and found that the piece remained tacky and the stain rubs off. I have no idea what stain we used so many years ago. But we never had this issue.