 This post is sponsored by KILZ®. All Opinions are 100% mine.
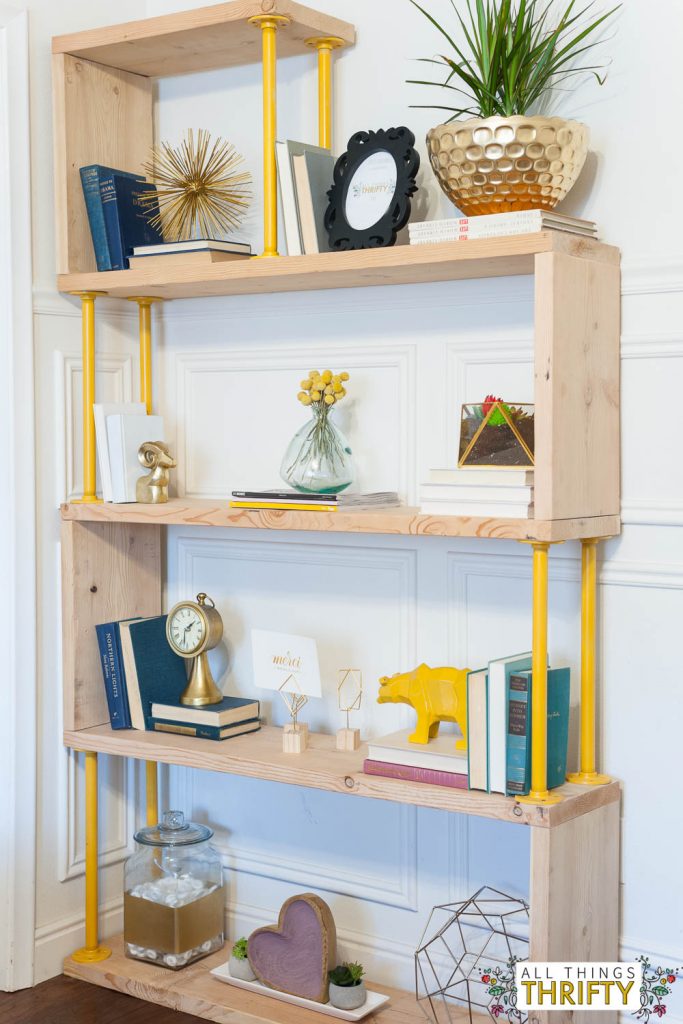
There are only a few times in my life where the stars have aligned and things have worked out perfectly. Case in point? Today’s post! 🙂 I had been toying with the idea of these shelves for awhile but wasn’t sure where I would put them since I knew I wanted them to be BIG. I had just decided to wait when I found new curtains for my bedroom and knew it needed a little “refresh”! See, meant to be! 😉 Let the galvanized shelves commence!
Items needed for this project:
Spray paint in the color of your choice
Roughly 26 feet Pine 2X12 Boards {be picky, you need straight boards}
2 1/2 inch and 1 1/2 inch Wood Cabinet Screws {these are amazing, and help prevent wood splitting.
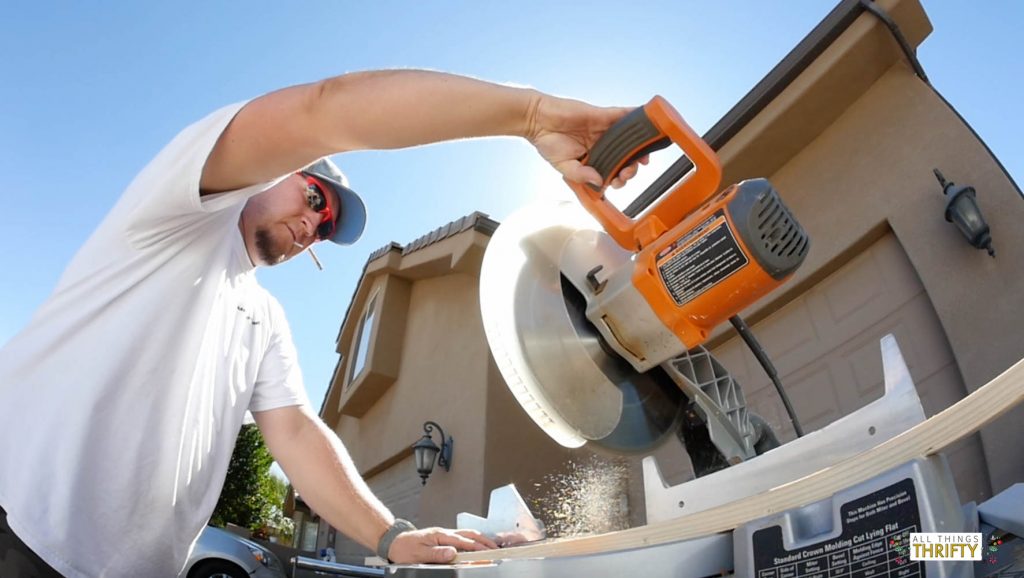
Sliding Miter Saw
220 Grit Sand Paper
Electric Sander
Drill
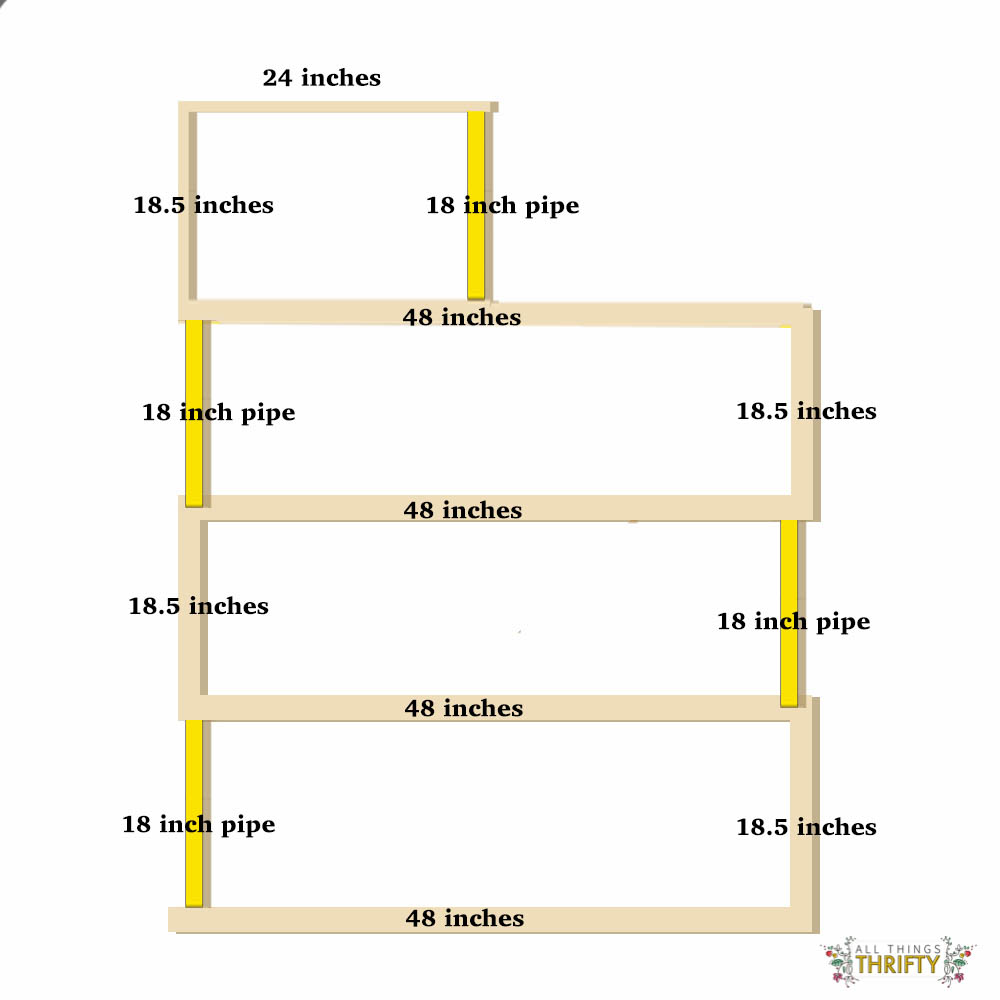
Cut List:
1 24 inch of 2X12
4 18.5 inch 2X12 boards
4 48 inch 2X12 boards
Pipe List:
8 18 inch galvanized pipes threaded on each side {We got ours at Home Depot}
36 galvanized floor flanges
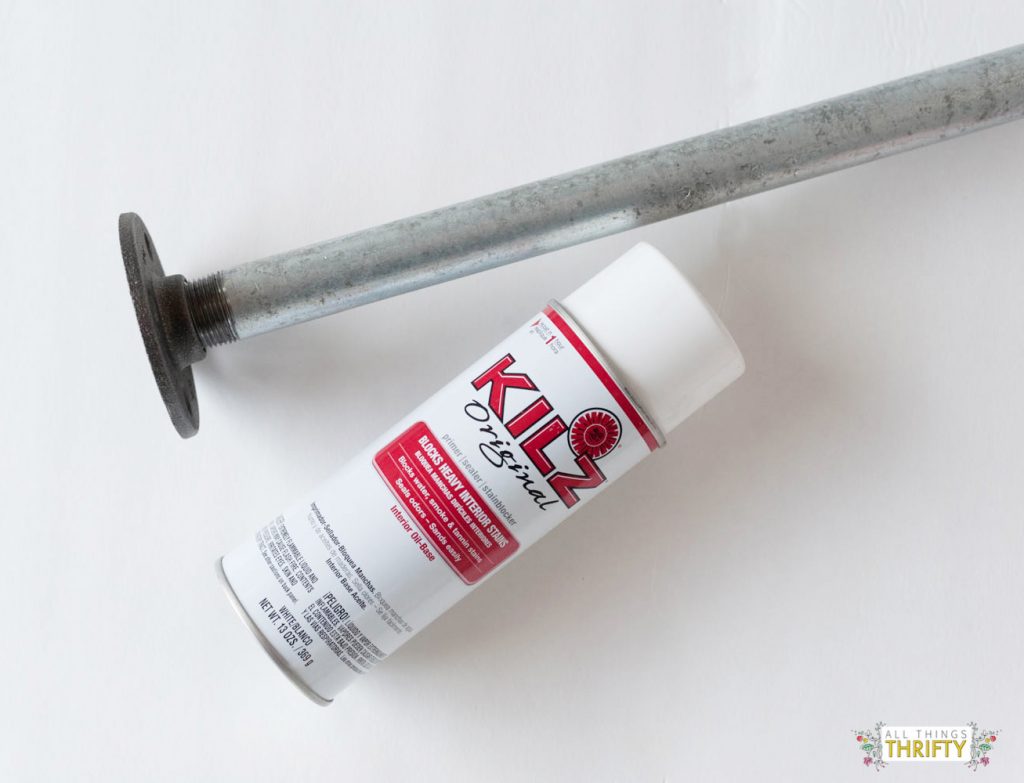
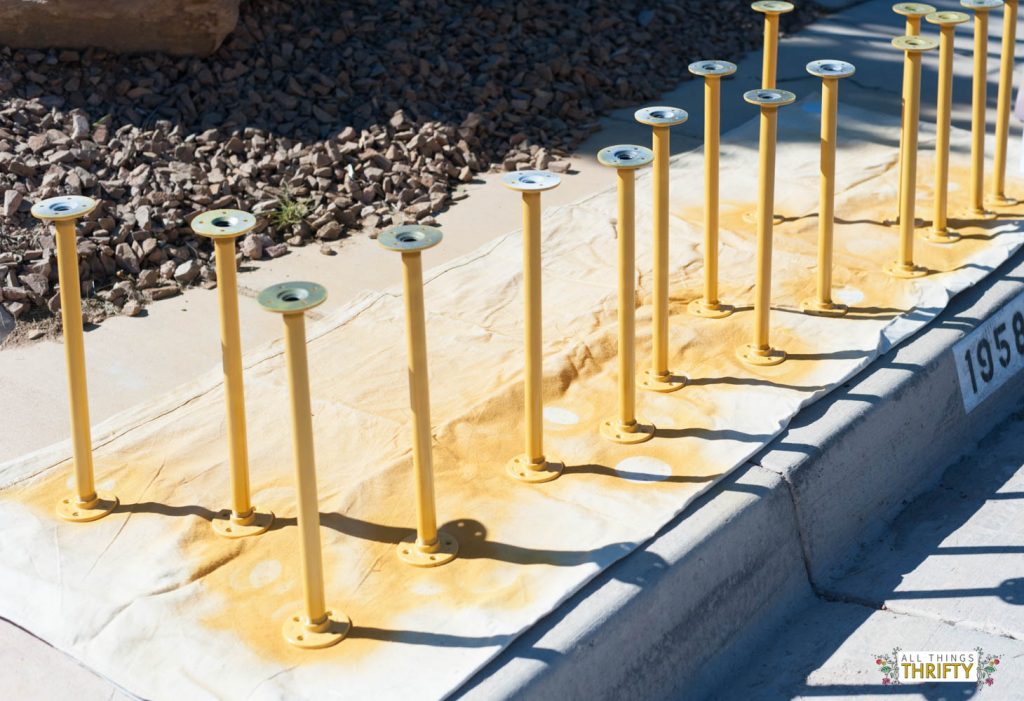
Step 1: Screw the floor flanges onto each of your pipes. Make sure to measure them after they are screwed on tight. Each pipe and flange should measure EXACTLY the same as the others. NOTE: If you don’t do this, your shelves will not be level, and that would be bad. Also, if you decide on a different height than 18.5 inches like us, you will need to cut your side boards differently.
Step 2: Cut your boards to the specified cut list above. If you use 2X12s like we did, you will need a sliding miter saw, since a regular miter saw will not cut 12 wide.
Step 3: After you have attached your flanges and measured your pipes precisely, paint them with KILZ® Original Spray Paint. This step is essential, the spray paint will adhere MUCH easier after you have primed the pipes.
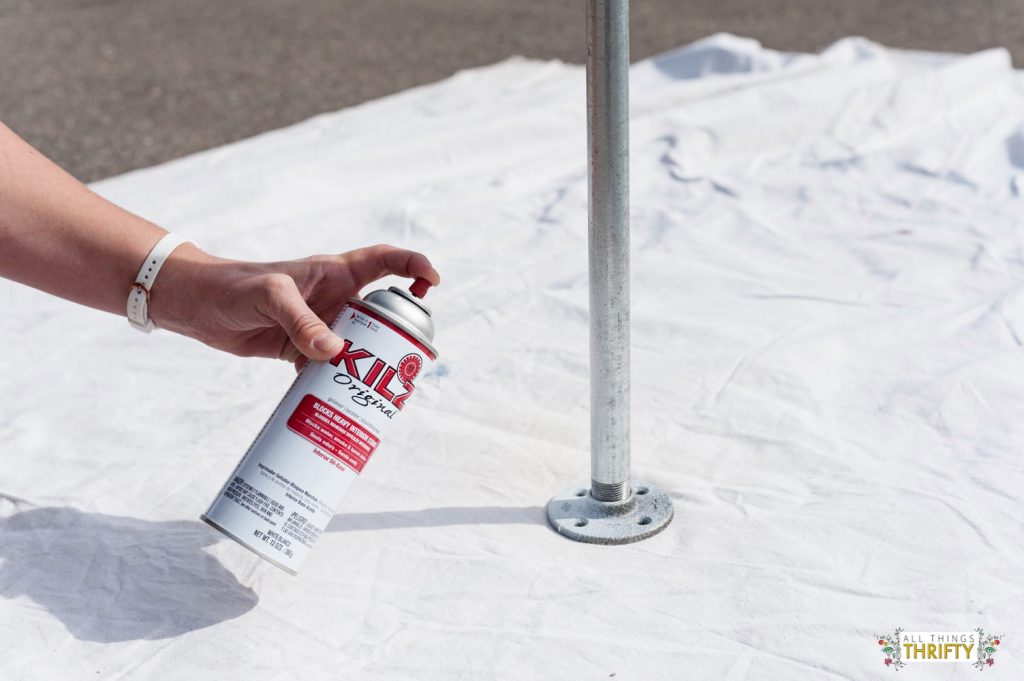
Step 4: After the KILZ® Original primer has dried, spray them with your favorite spray paint color. 
Let them dry completely before you move to the next step.
Step 5: Now that your boards are cut and pipes are drying, carefully sand your wood with the 220 grit sand paper. You will especially need to sand the ends where you cut your wood. I use an electric sander.
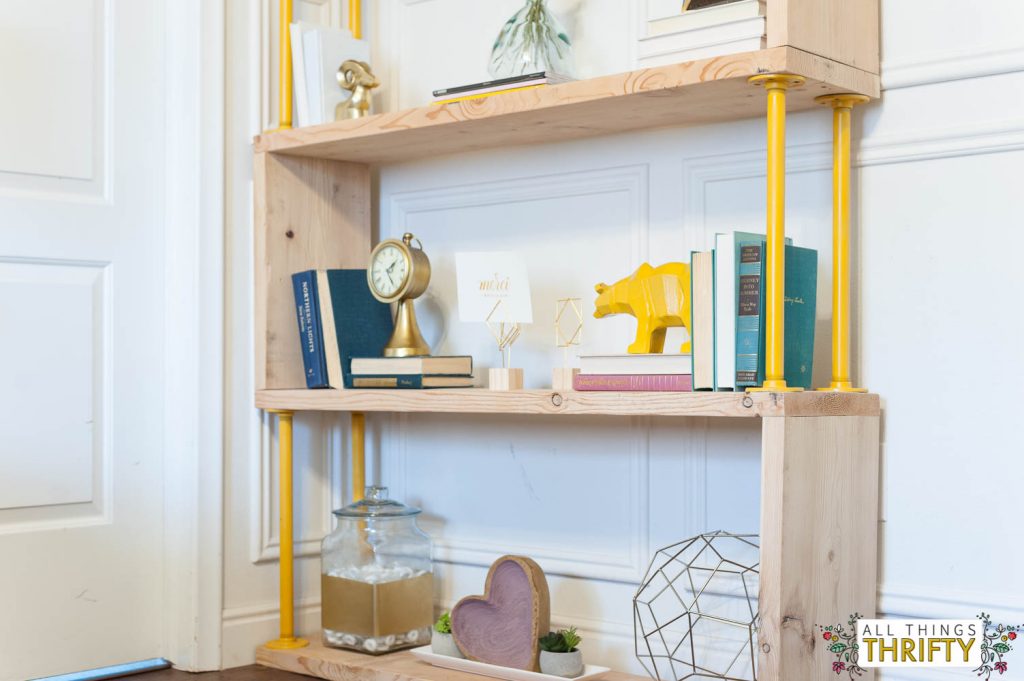
Step 6: Next, start at the top and start assembling the shelves with a drill and your cabinet screws. You will use the 1 1/2 inch screws to attach the pipes and the 2 1/2 inch screws to attach the wooden sides to the wooden shelves. Because you are using cabinet screws, you will not need to pre-drill any pilot holes. Make sure that you leave enough room for both sets of screws. In some spots, you will screw the wooden shelf and wooden side, but you will also need room to attach your pipes around the same spot.
Step 7: Place felt pads on the bottom shelf to protect your floor.
Step 8: {my personal favorite} DECORATE!
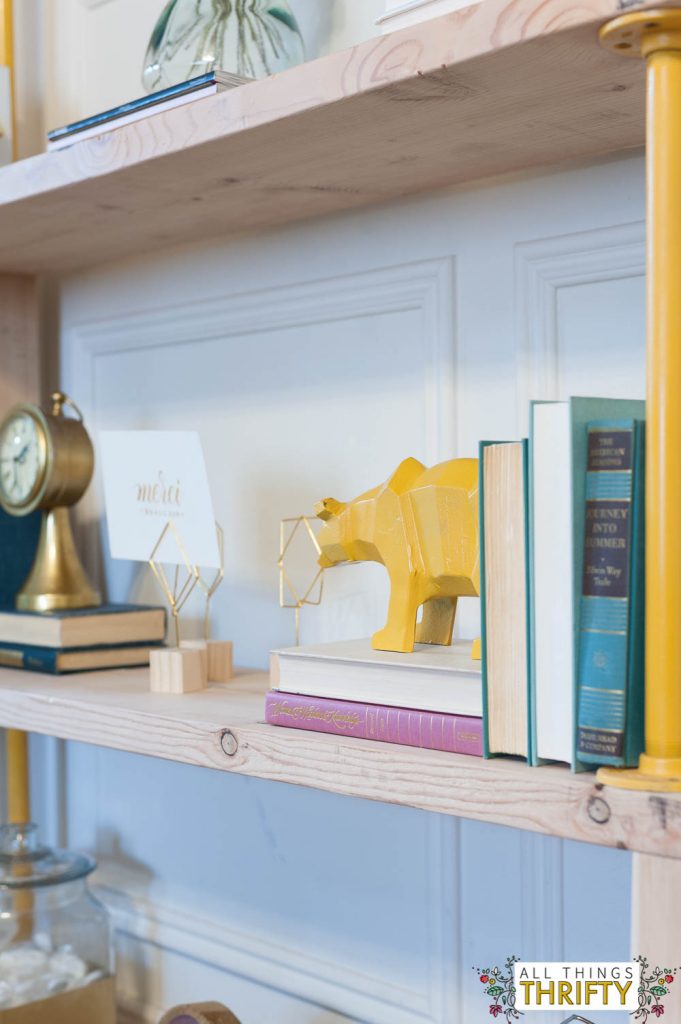
We loved the bare wood look, but staining the wood would be really cool too!
Just think of all the different color combinations! 🙂
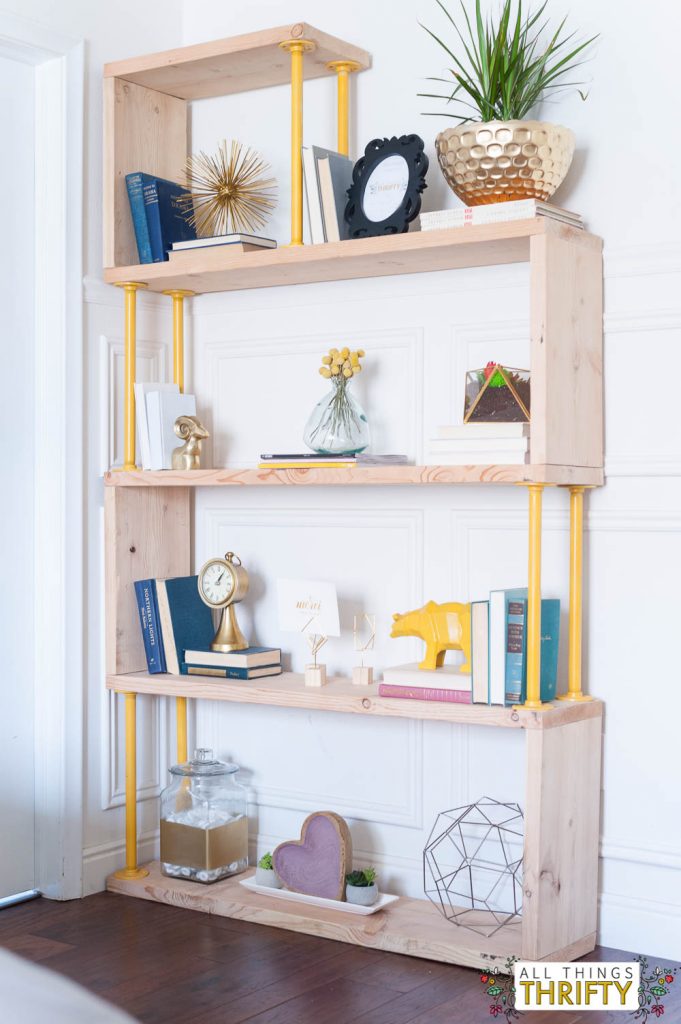
My shelf is in our Master Bedroom, but the shelf style could be cohesive to MANY different rooms.
Hope you like them!
xoxo,
Brooke
It’s beautiful!! Soo Fun..
I love these!! I love the pop of color with the yellow pipes. They would also look beautiful with the stained wood and pipes as is for a more industrial feel. Great work!
wow i absolutely love it!
Amazing!
This is so wonderful! Can’t wait to create a shelf on my own. Thanks for sharing this. Such an inspiration.
These DIY hacks just get better and better. Okay this is going to be my next project. Might need to borrow the sander and saw off Fat Lama or somewhere but overall this looks amazing. Your work is inspiring keep it up! x