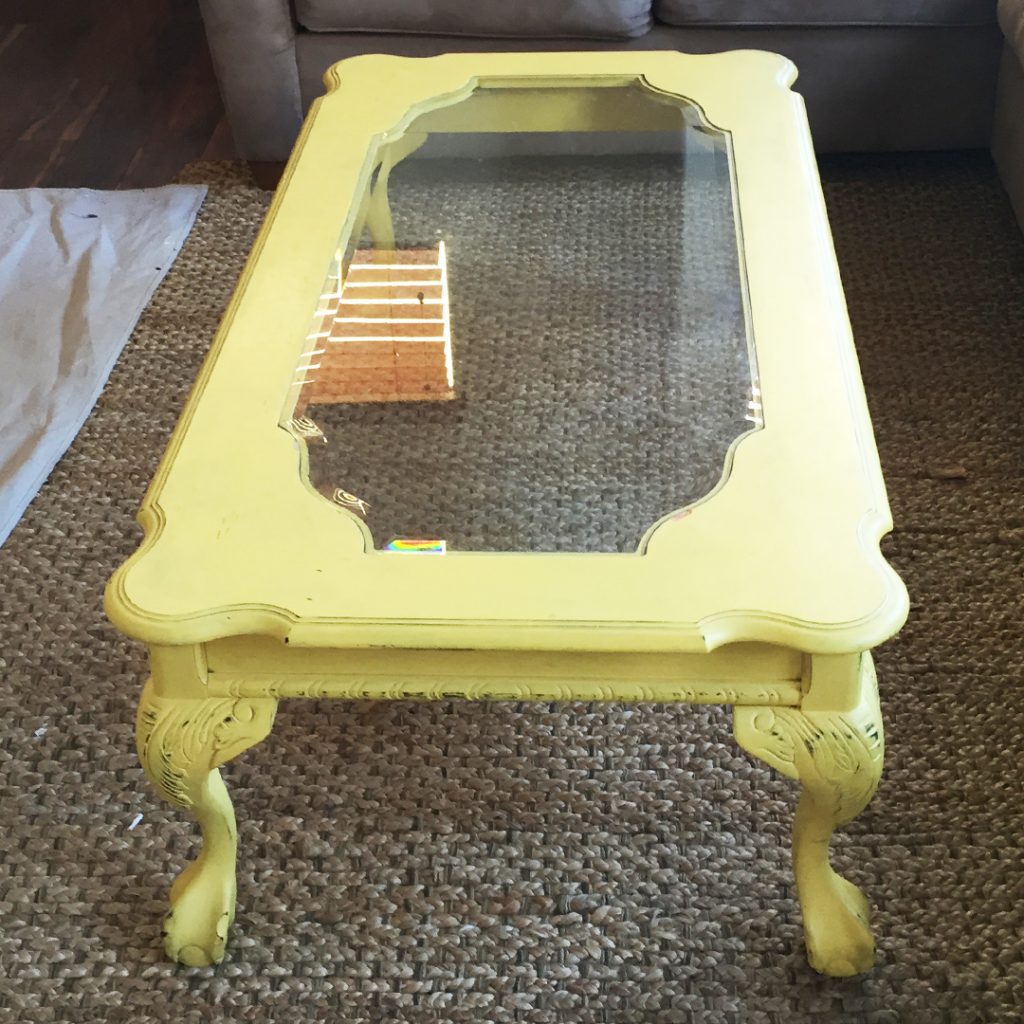
Once upon a time, my daughter was handed down an old coffee table that she promptly painted the current on-trend color:

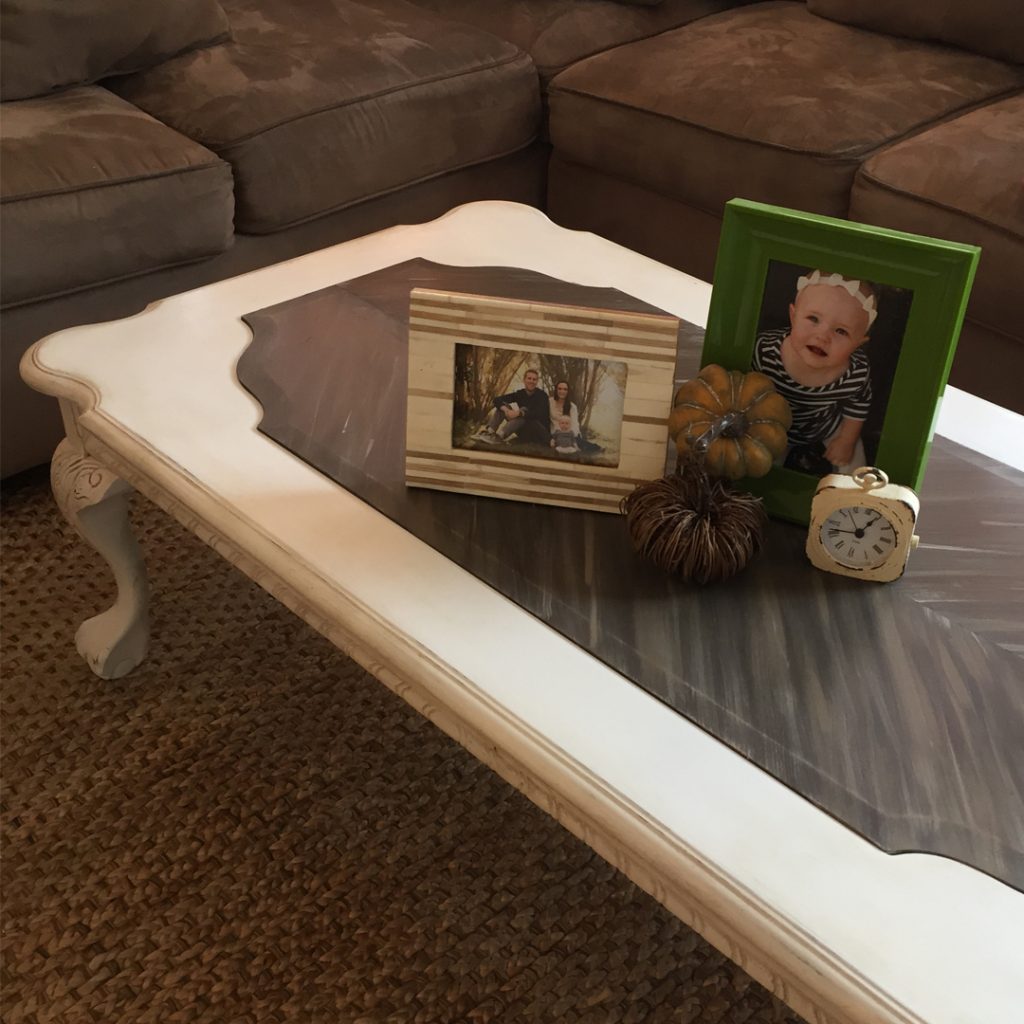
…which quickly became outdated so, together, we gave it another makeover:
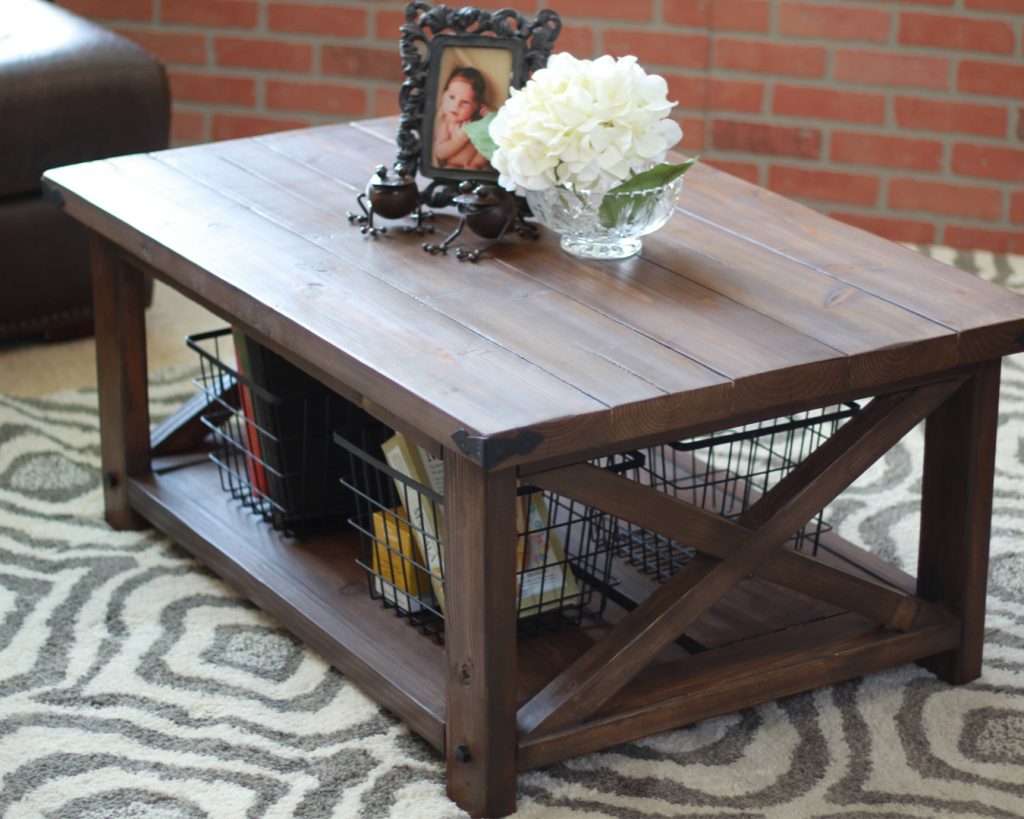
…which lasted about a year before the table was completely replaced with one Kacey and her husband built together:
Although it’s run as a coffee table had long since passed, I was convinced there was still life in the little guy, so I talked my son-in-law into removing the top and giving it to me:
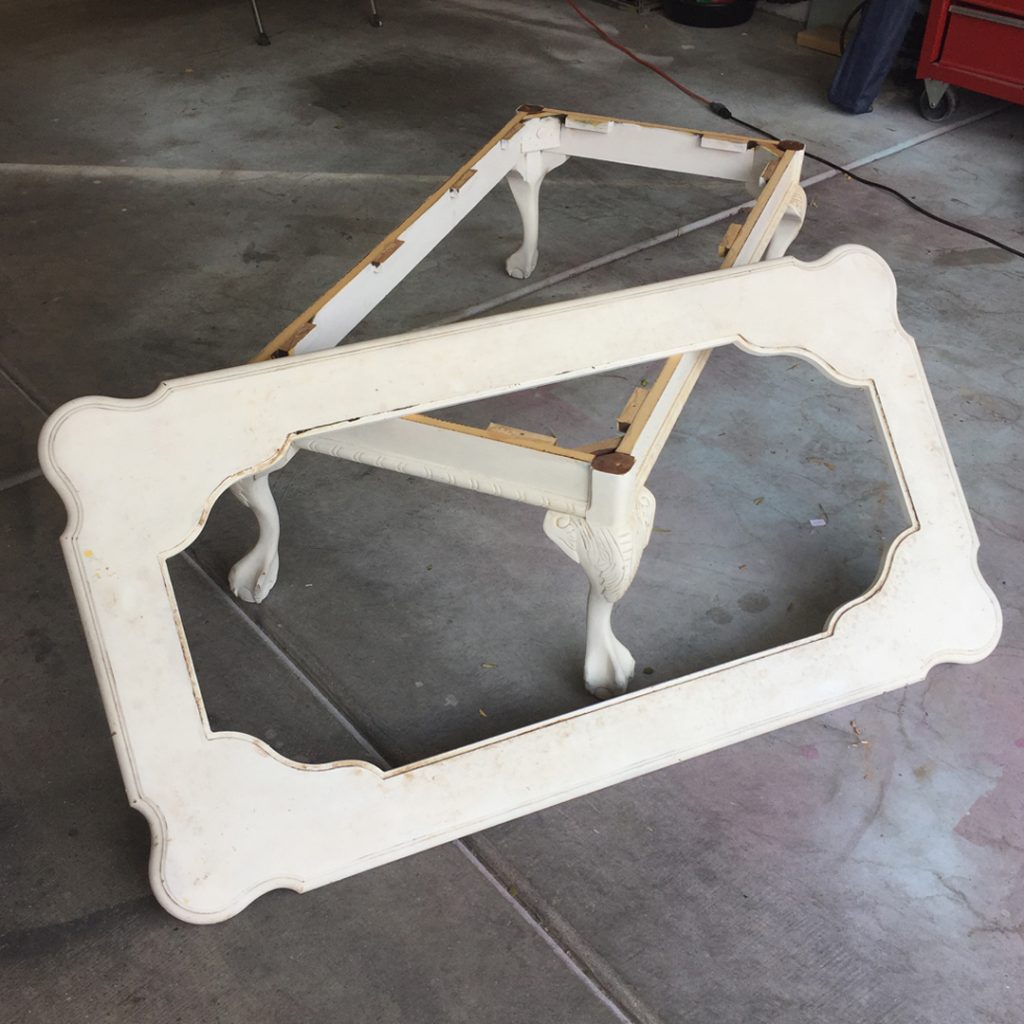
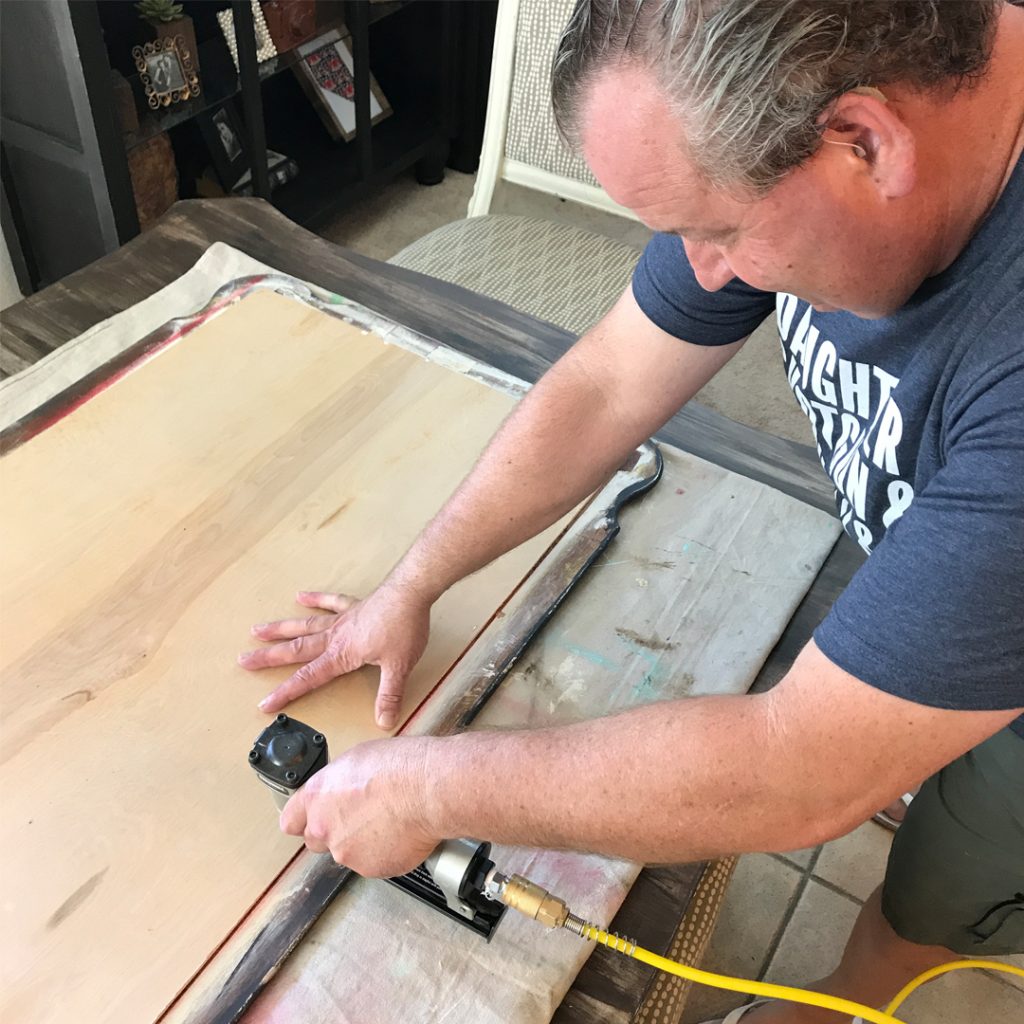
While Tommy cut the table apart, my husband cut a piece of thin wood (about 3/8” thick) that measured just bigger than the opening and just smaller than the table top.
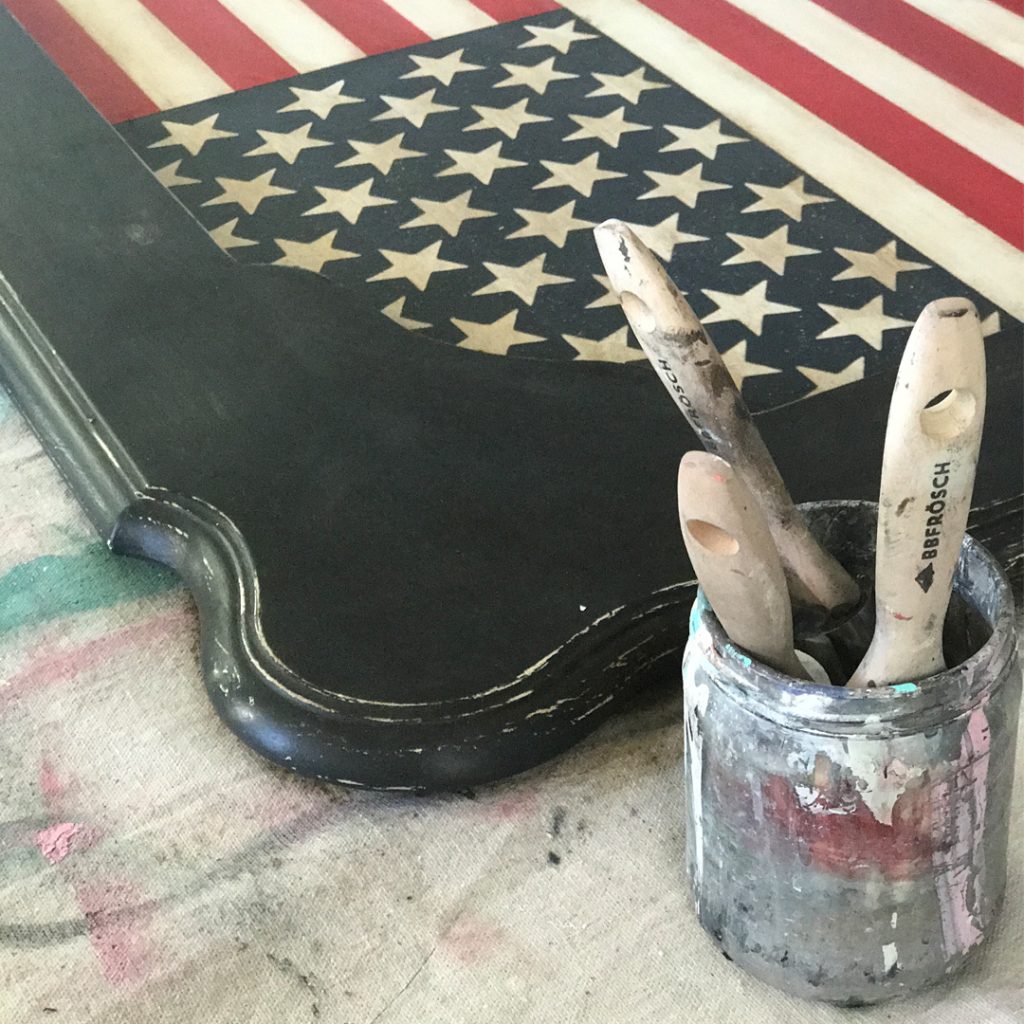
Then, I gathered my chalk painting supplies and got to work:

I always make my own chalk paint using BB Frösch Chalk Paint Powder. It’s waaaaay more affordable that the pre-mixed stuff, plus I can pick any paint brand I want in whatever colors I want. I happened to have red, white and navy already mixed and left over from previous projects. The white was really old (about two years, by my calculations), so it had thickened quite a bit. However, I didn’t thin it because I wanted an aged and worn look for this project. To achieve this, I painted the piece of wood my husband had cut with a thick coat of white. I used “dabbing” motions to create miniature peaks and valleys (hang tight to see what effect the peaks and valleys made.)*
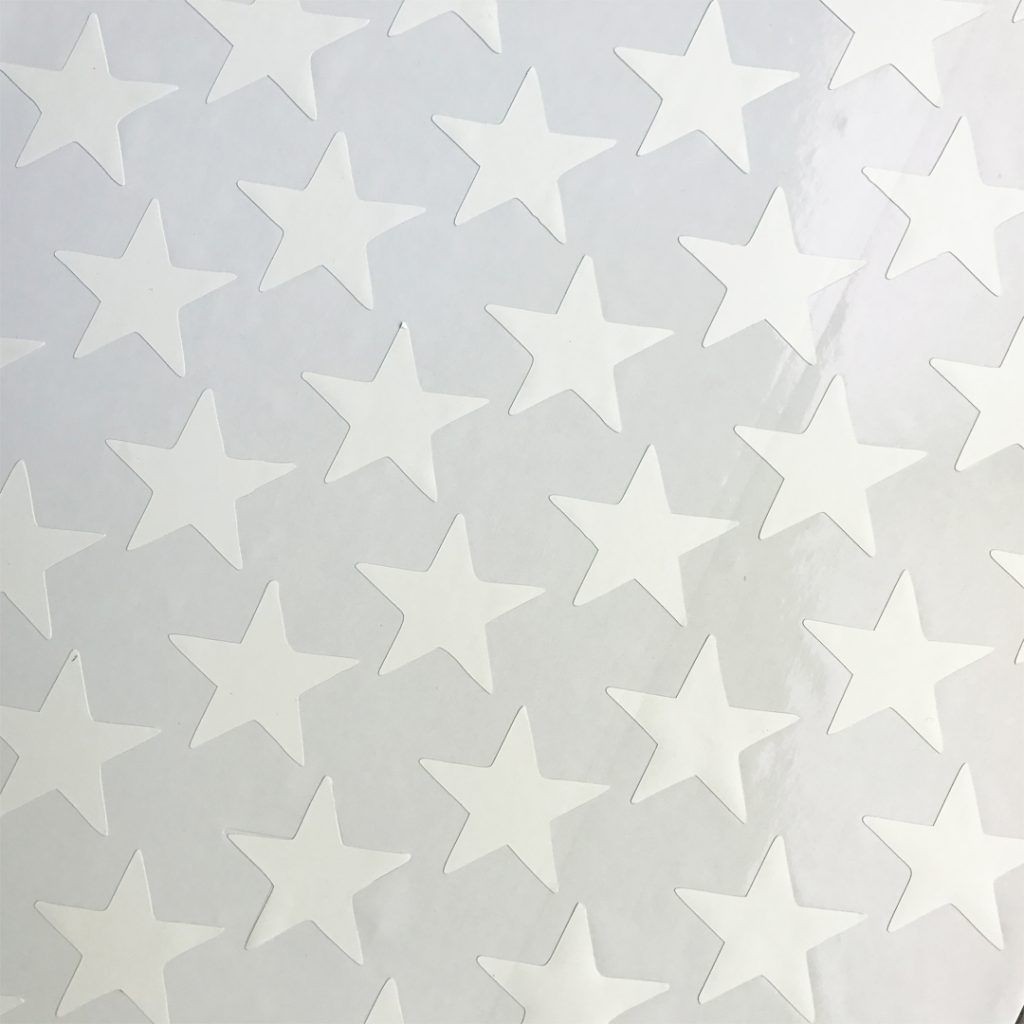
I made a stencil for the stars using my Silhouette Cameo. Instead of weeding the stars out, I removed the frame around the stars and used the actual starts as the stencil.
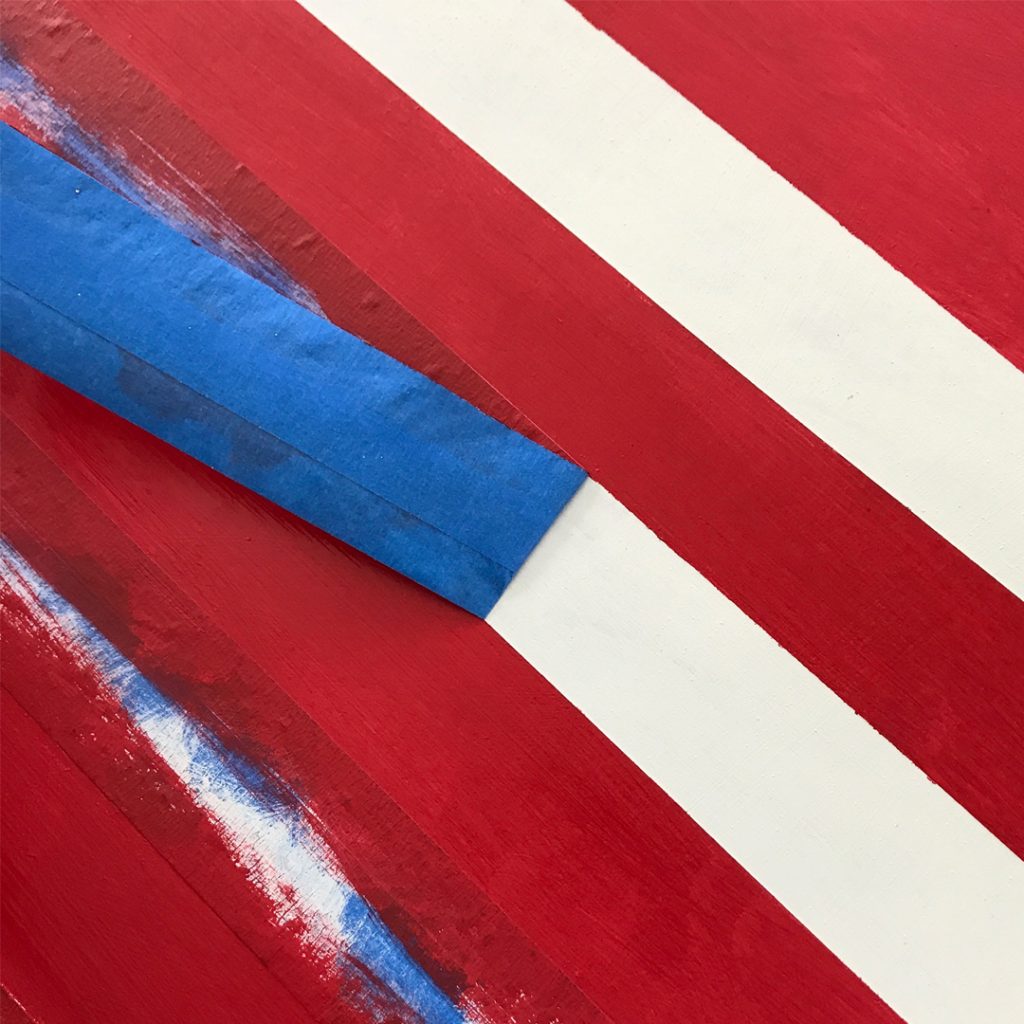
I placed the star stencil in the left corner of the painted board, then I created 13 stripes using blue painters tape.
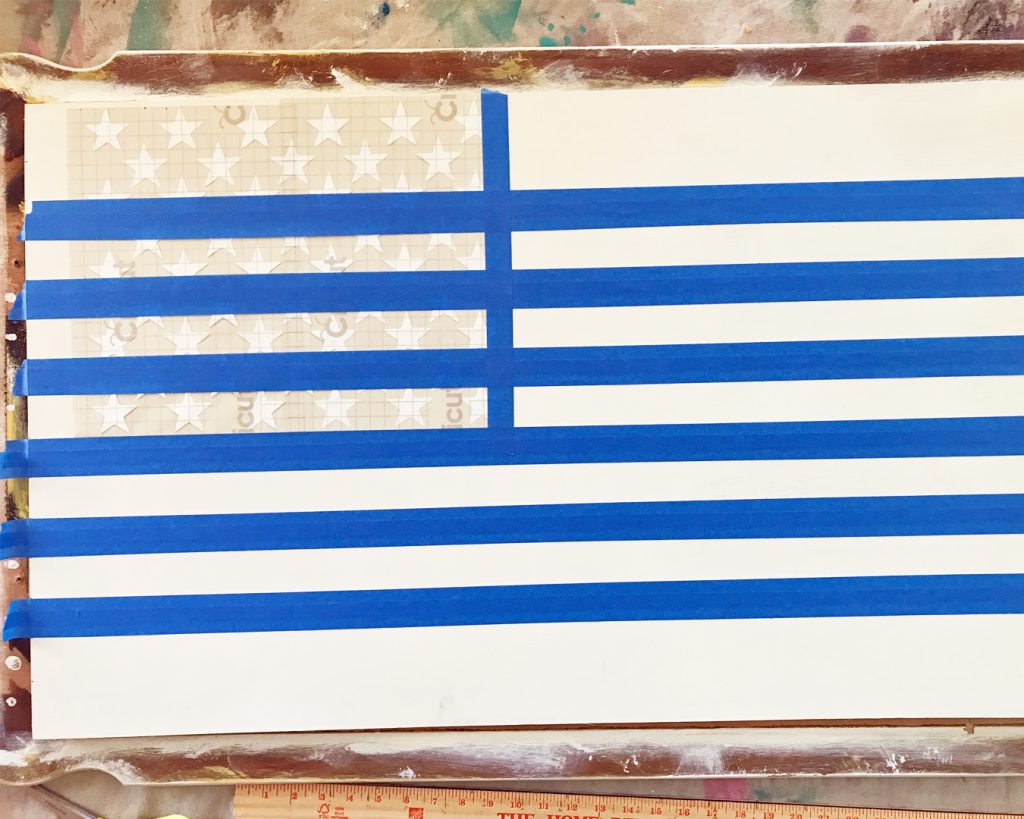
Note: The top and bottom stripes are bigger only because those parts will eventually be hidden behind the frame.
With my stars and stripes in place, I painted over the stencil and tape with the white paint:
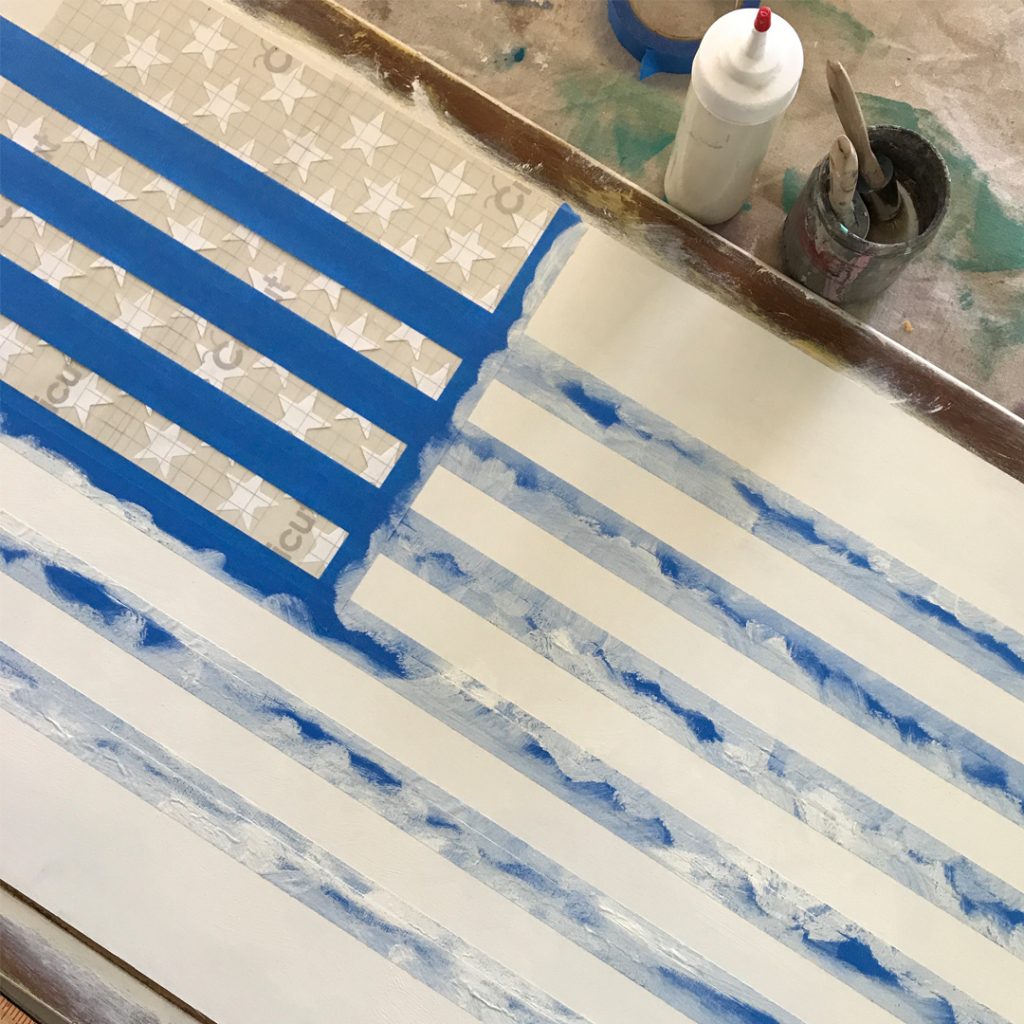
This step is really important if you want perfect stripes. Since some paint always seems to seep under painters tape, you want it to be the base color that seeps. That way, when you paint the second color, it can’t seep under the tape very easily.
With the edges of the blue tape painted and dry, I painted over the stripe area in red:
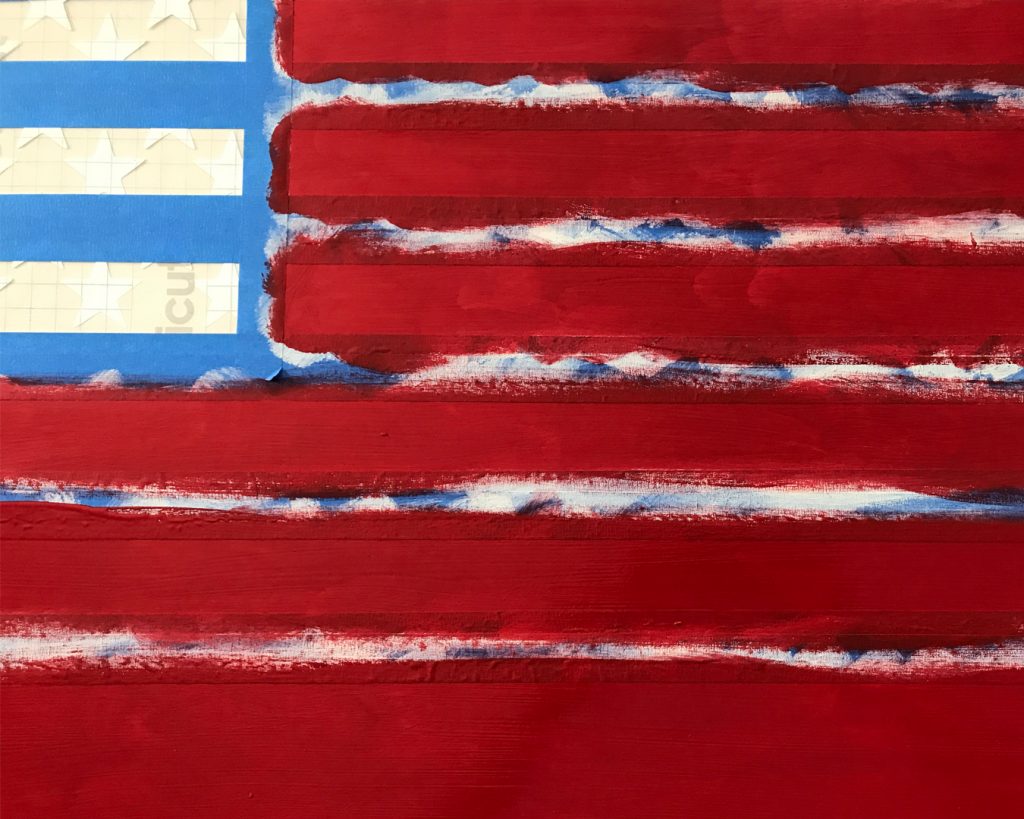
Then, the super-gratifying part (I loooove those perfect stripes!):
After the stripes were done, I taped off the stars area and painted over the stars first in white (same reasoning as getting perfect stripes.) Then I painted over the area in navy:
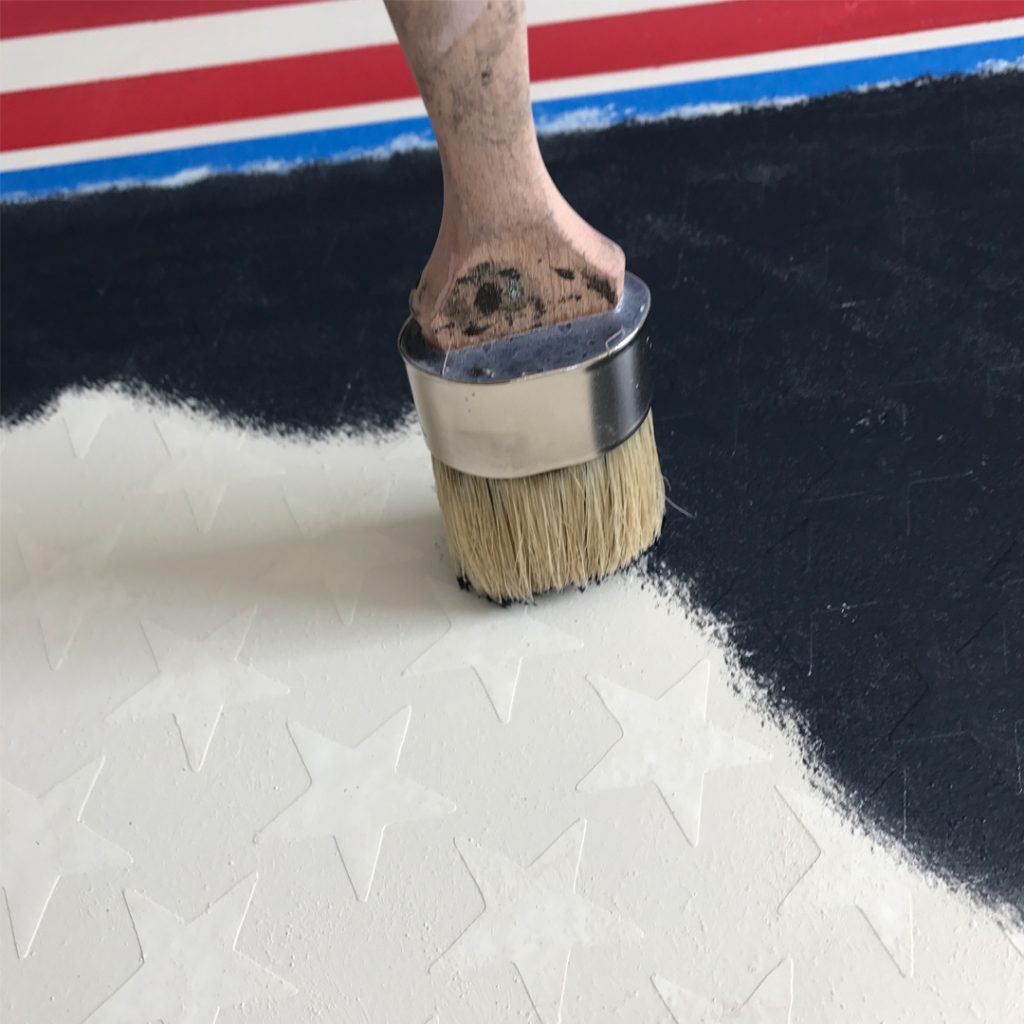
When stencilling, I use a fairly dry brush and a “stippling” motion (instead of typical brush strokes) as an added measure for keeping the top color from seeping under the stencil.
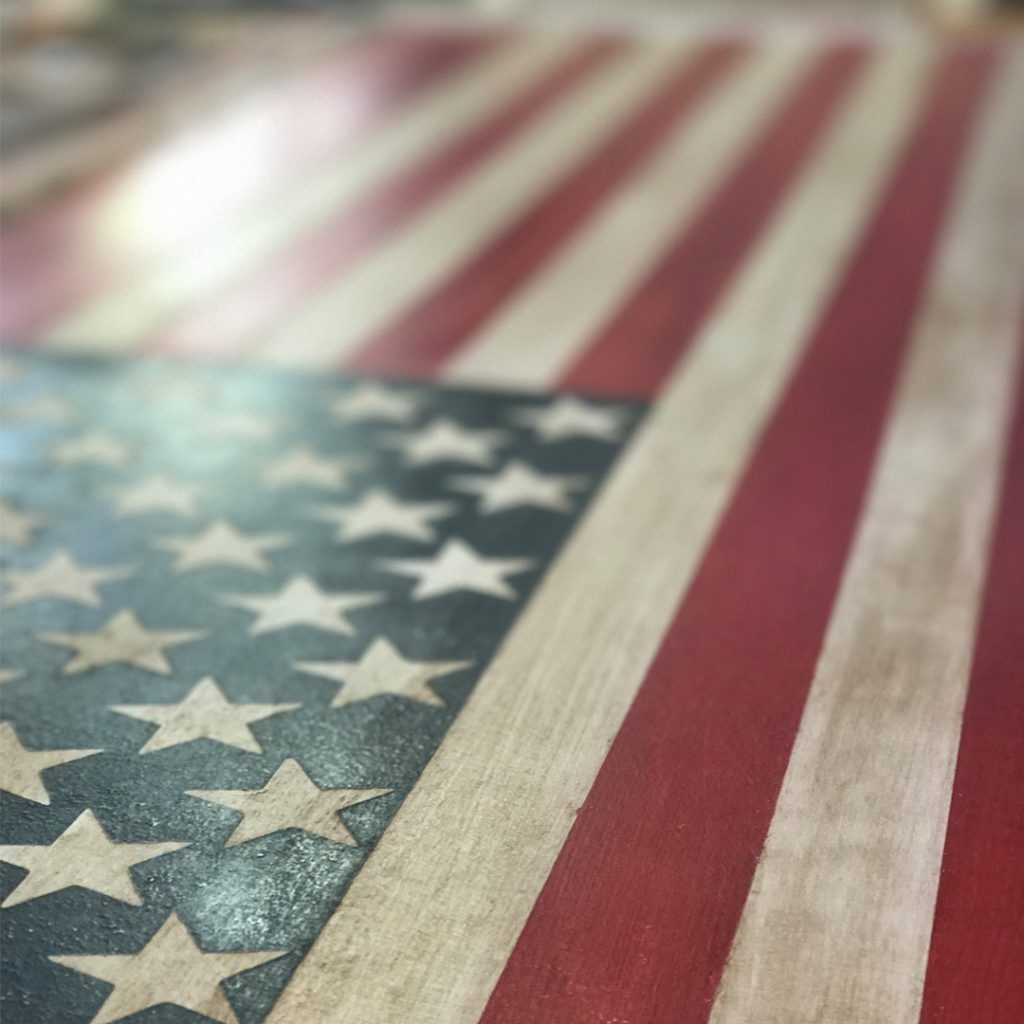
*Remember the “peaks-and-valleys” white base coat? Once the navy was painted over the stars area, I sanded it. This allowed the peaks and valleys of the underlying white chalk paint to show through, giving it an awesome, aged texture, and I got exactly the results I was hoping for!
In the following close-up of me peeling the vinyl star stencils off, you can see the texture created with the white chalk paint under the navy:
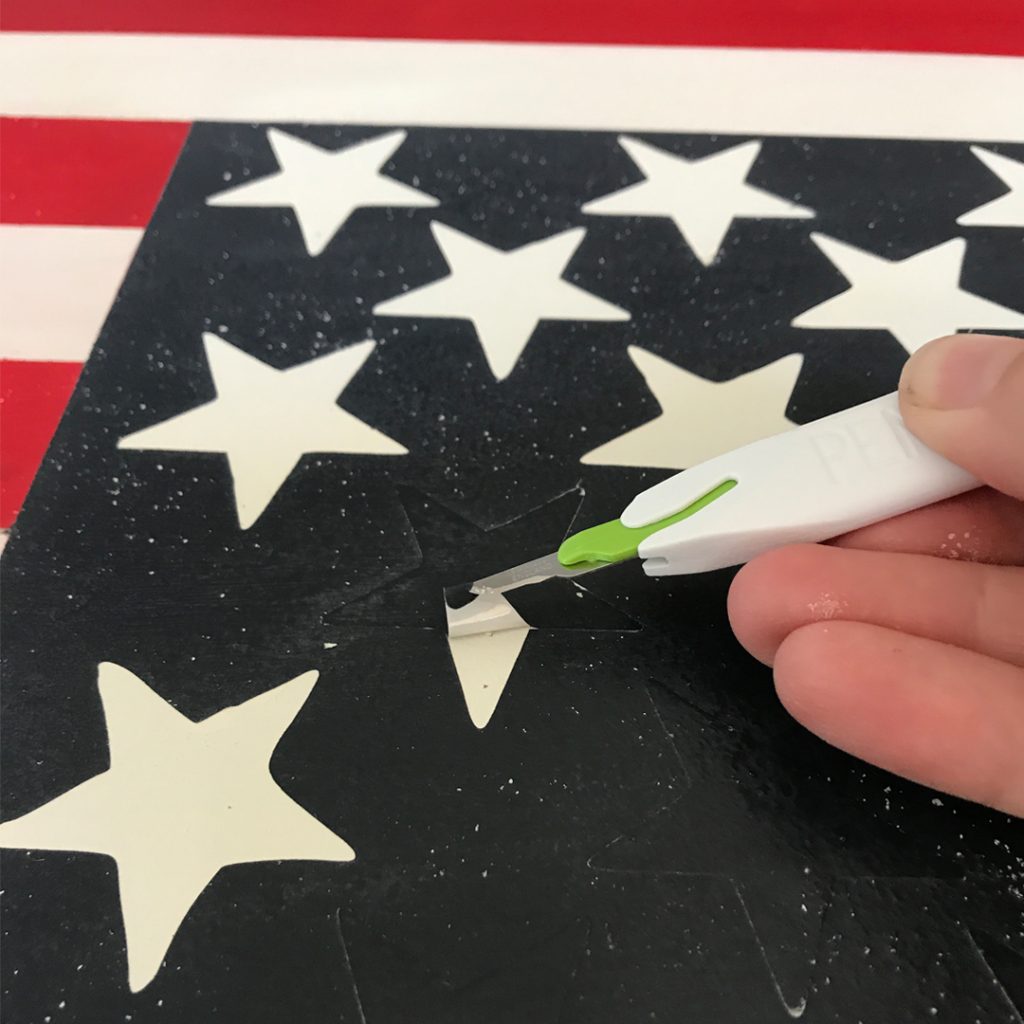
Note: Before removing the stencil, I waxed the whole area with BB Frösch Clear Premium Finishing Wax. That’s why it appears a little shiny in the photo. The clear wax helped seal the navy and kept it from accidentally dragging into the white stars.
Next, I created a little aging with BB Frösch Dark Premium Finishing Wax:
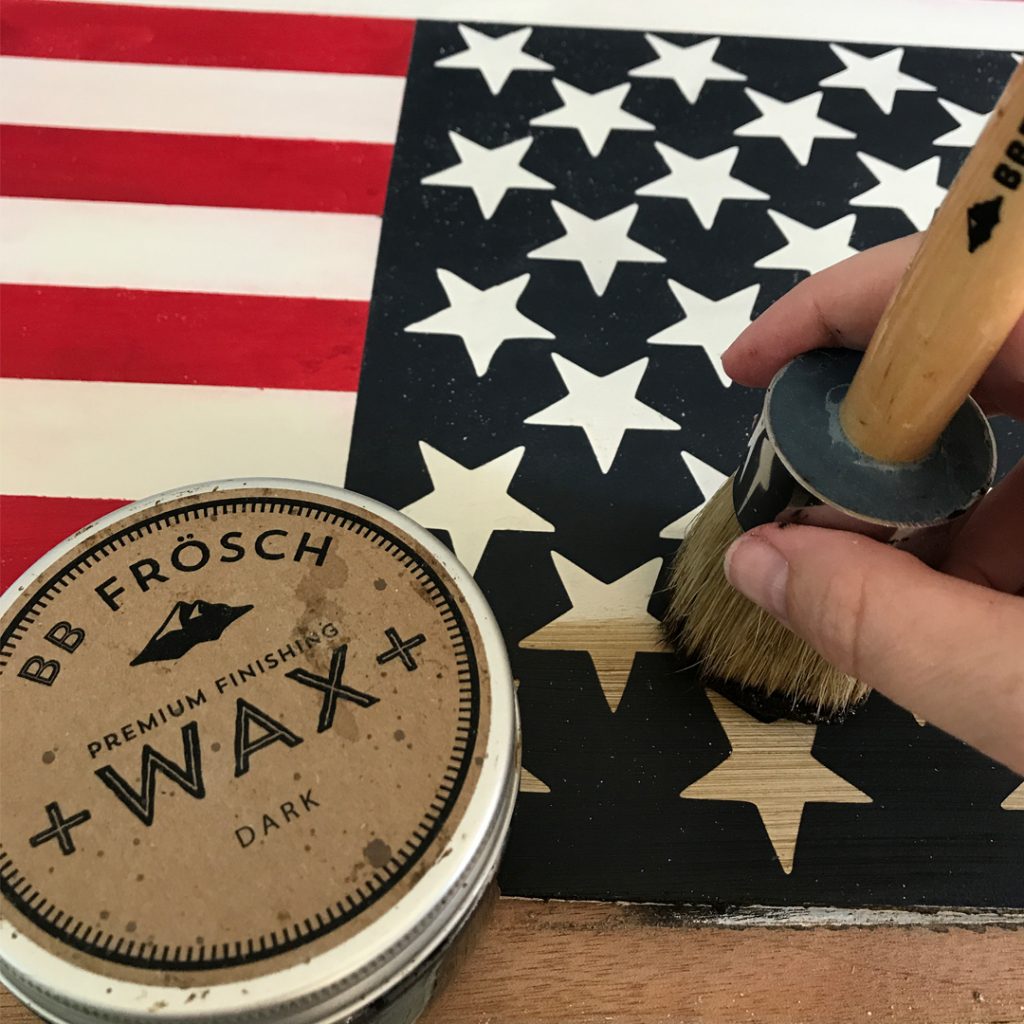
Here is the difference between clear wax and dark wax:
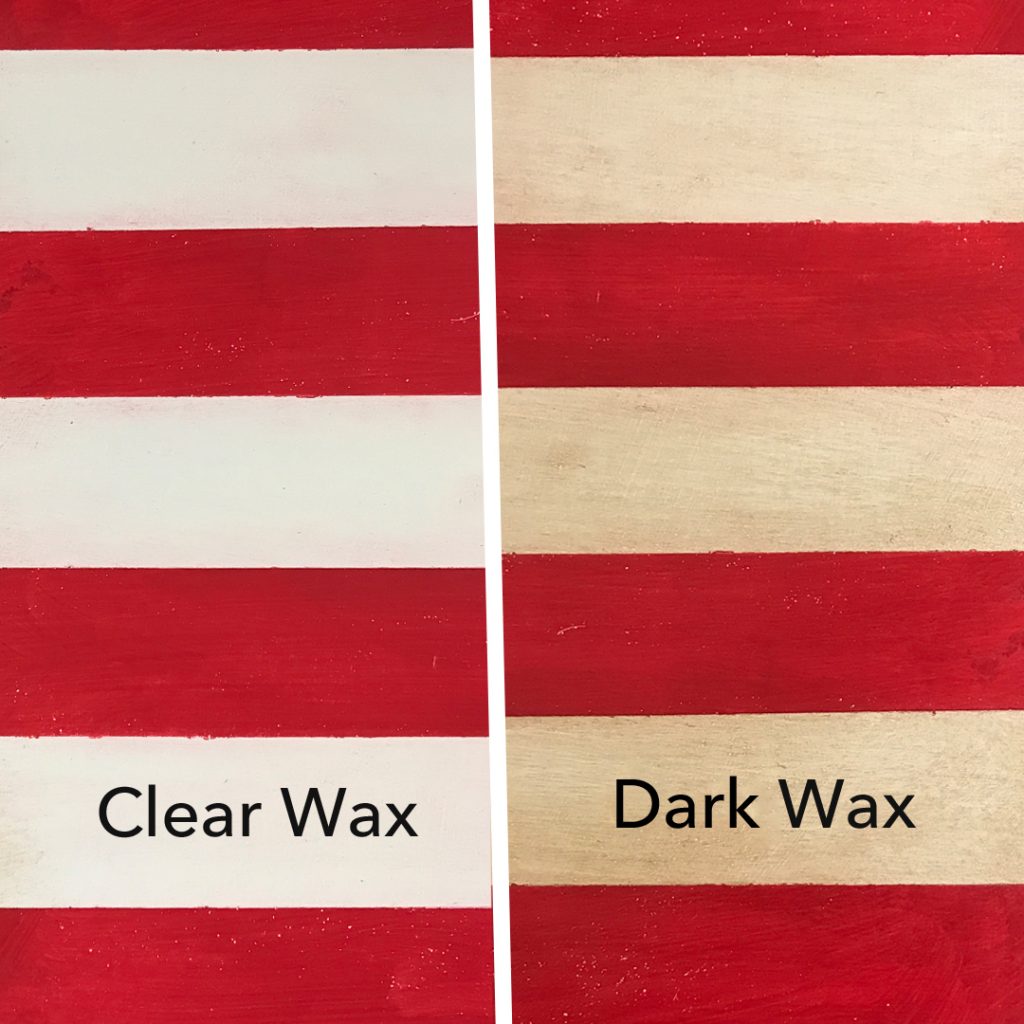
Note: It is not necessary to clear wax before dark waxing. However, I prefer some flexibility with my dark wax. Clear waxing first, or mixing clear wax with dark wax, allows me to “move” and adjust my dark wax a little. Also, clear waxing first allows me the option of “erasing” the dark wax later if I decide I don’t like it.
With my flag painted, distressed a little, and dark waxed, I was ready to add the whole reason I painted this flag…the coffee table top “frame”!
I painted the frame (former coffee table top) with my navy chalk paint. Then I added a little distressing and dark wax:
Jason stapled the flag onto the coffee table-top “frame” for me:
Then, I enlisted my favorite helpers for placement on my wall:
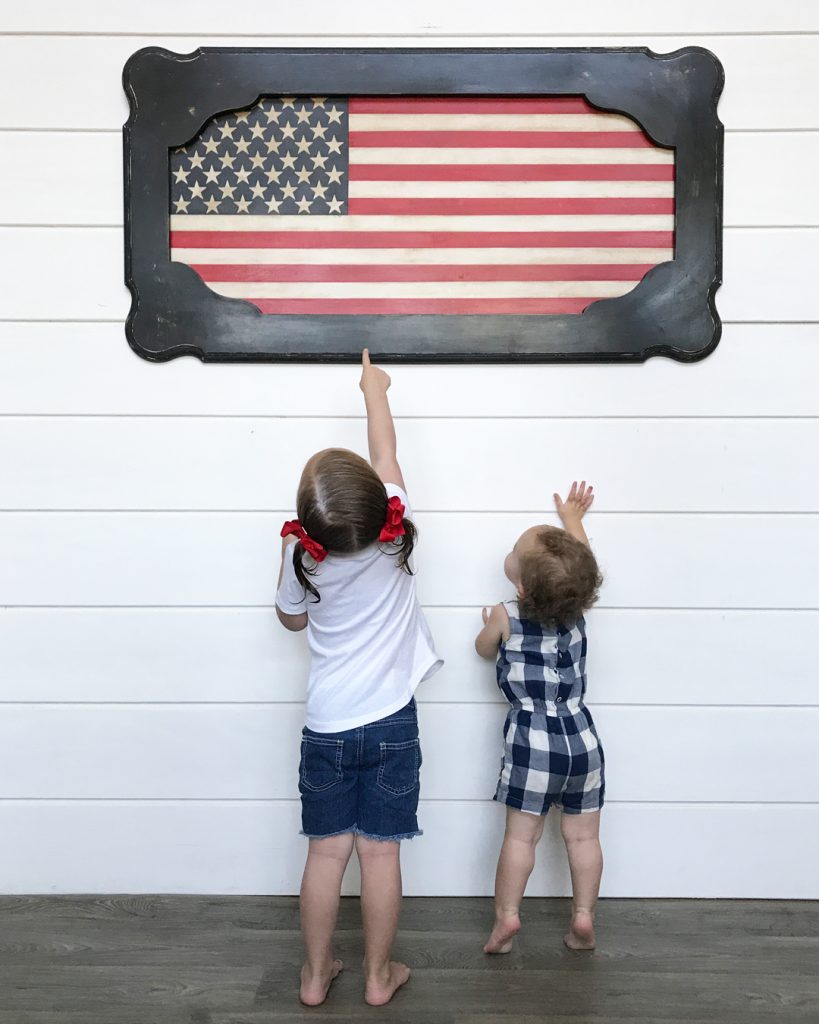
My original plan was to hang the coffee-table-turned-flag above my favorite red piece:
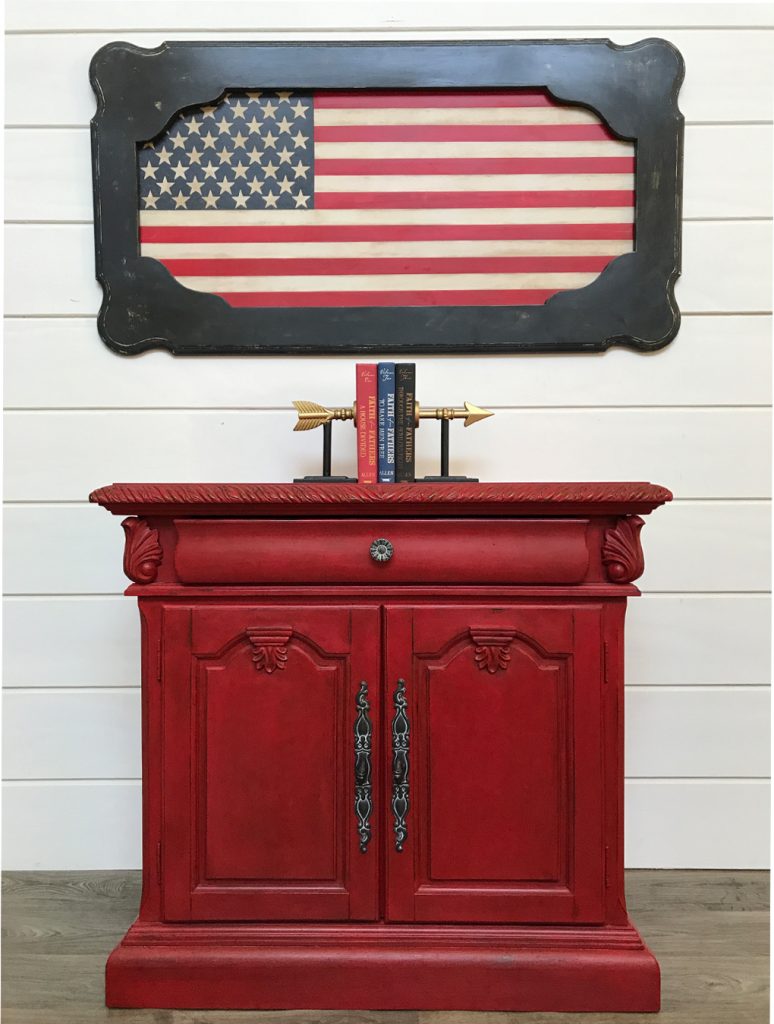
And I really liked it there:

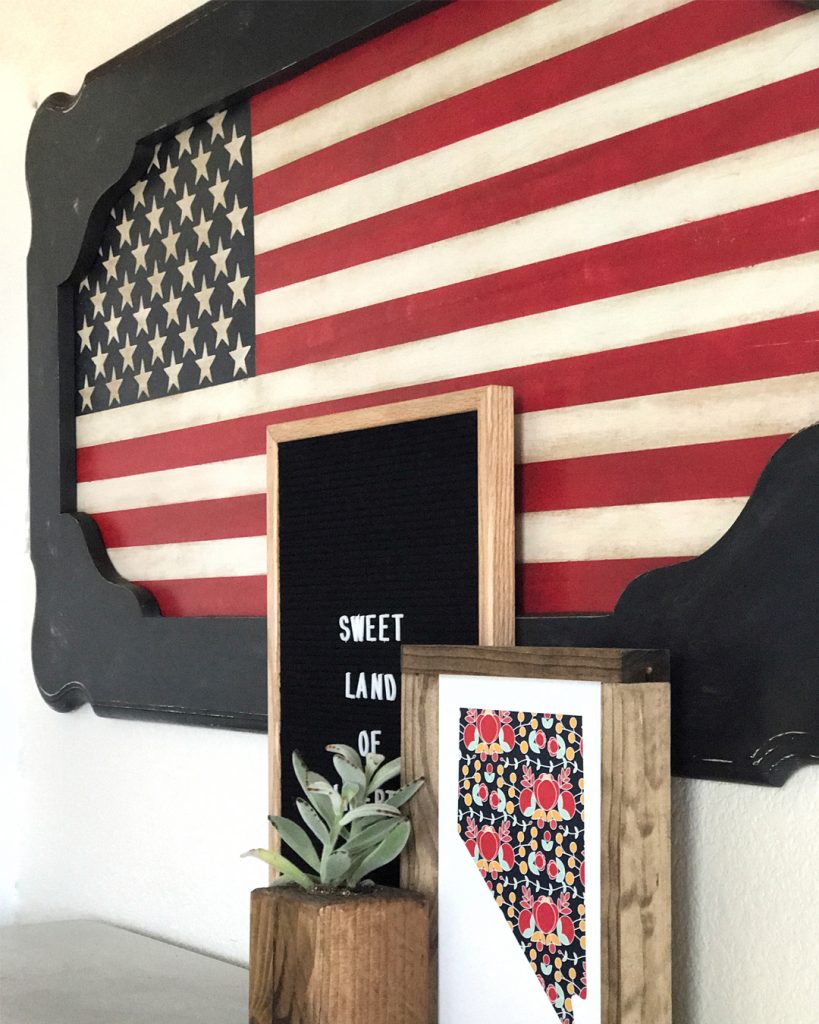
But, later that day, I was sitting at my kitchen table contemplating the Valentine decor that still hung above my grey chest (don’t judge) and decided the flag should go in the blank spot left behind my my glittered love sign:
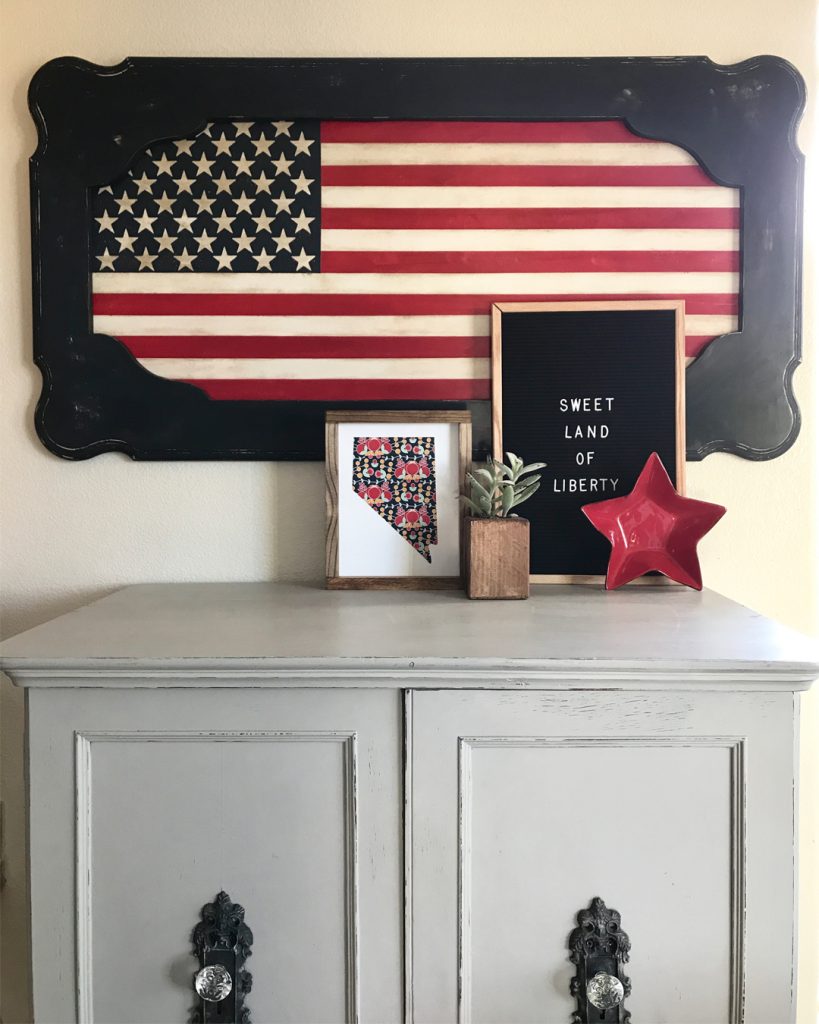
I can’t decide where I like my new patriotic wall decor more—the family room or the kitchen. I’m open to input on this because, if I’m honest, this little scene is probably going to stay up until sometime around Christmas…
Looking for more affordable chalk paint inspiration? Follow BB Frösch on Instagram, Pinterest and Facebook.
Sign up for a hands-on online chalk painting workshop here.

What a super thrify and beautiful project!!
I’m so glad I read this post. What an awesome idea to put down a base color so the color you actually want to show, with your stenciling paint, does not seep under the tape! That is the best idea I’ve heard for stenciling and so long and so so many problems. Thank you so much and I love the way the flag turned out as well as reverse it purpose in the tabletop. And by the way, you do not look like you have a grown daughter who is married. You’re a beautiful woman who has Obviously good genes and /or a good moisturizer!
Oh my goodness! You just made my whole day! Thank you!