Not long ago, I transformed my jewelry chest into a cool retro Dr. Pepper Machine and gave it to my daughter. I’ve been on the hunt ever since for a replacement, so when I found one for a good price on a local Facebook group, I couldn’t type “I’ll take it!” fast enough.
The experience is somewhat reminiscent of the episode of “The Middle” when Frankie got rid of her old dining table because she found a gorgeous maple dining set on Craigslist for only $50. The pictures made the set look amazing, but a few details were missing, and it turned out to be a dining set for a doll house. Super funny. Till it happens to you…
Needless to say, I was slightly disappointed when this is what I ended up with:
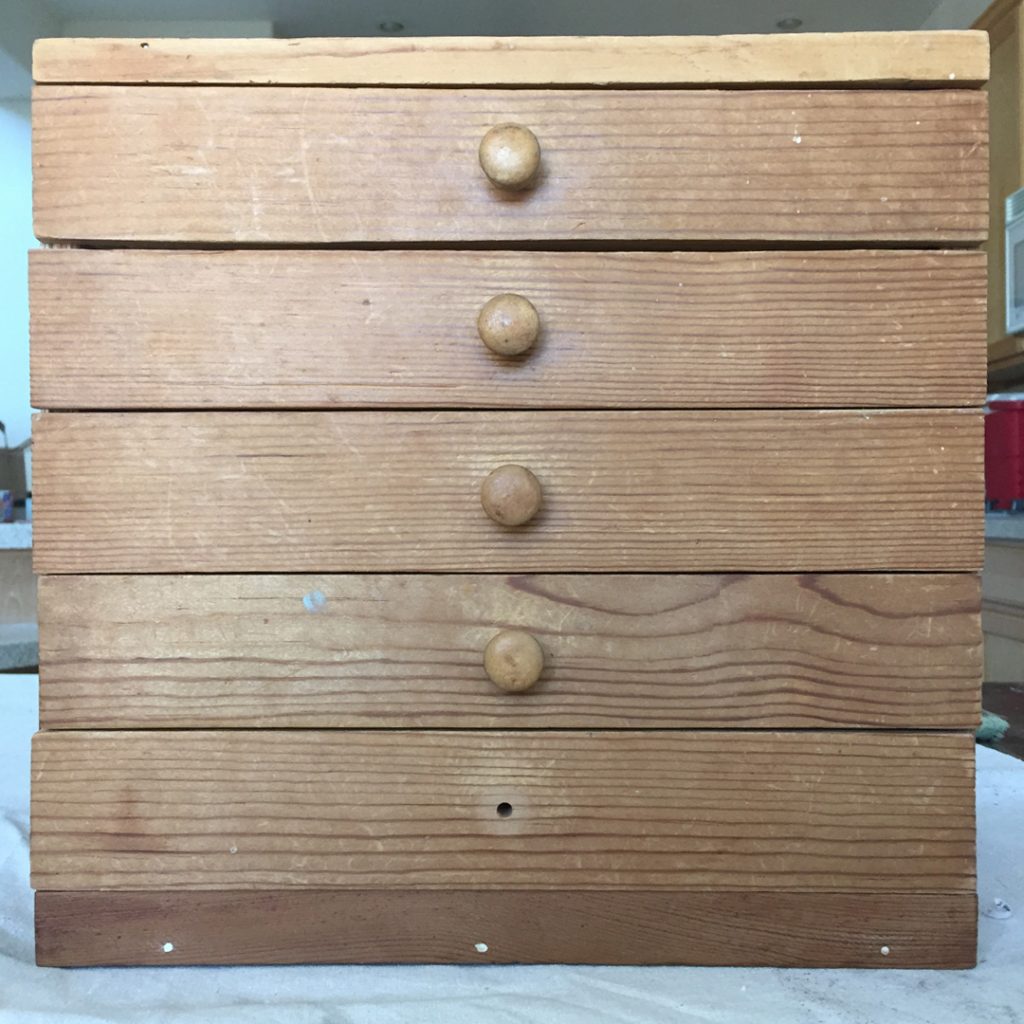
The only thing it had going for was…
Well, nothing.
Since I still needed a jewelry chest, I decided to suck it up and make something happen. As luck should have it, I found myself at Hobby Lobby a few days later and came across the most awesome fabric, and ideas began to form.
I bought the fabric and a few miniature card catalog drawer pulls from the scrapbook section.
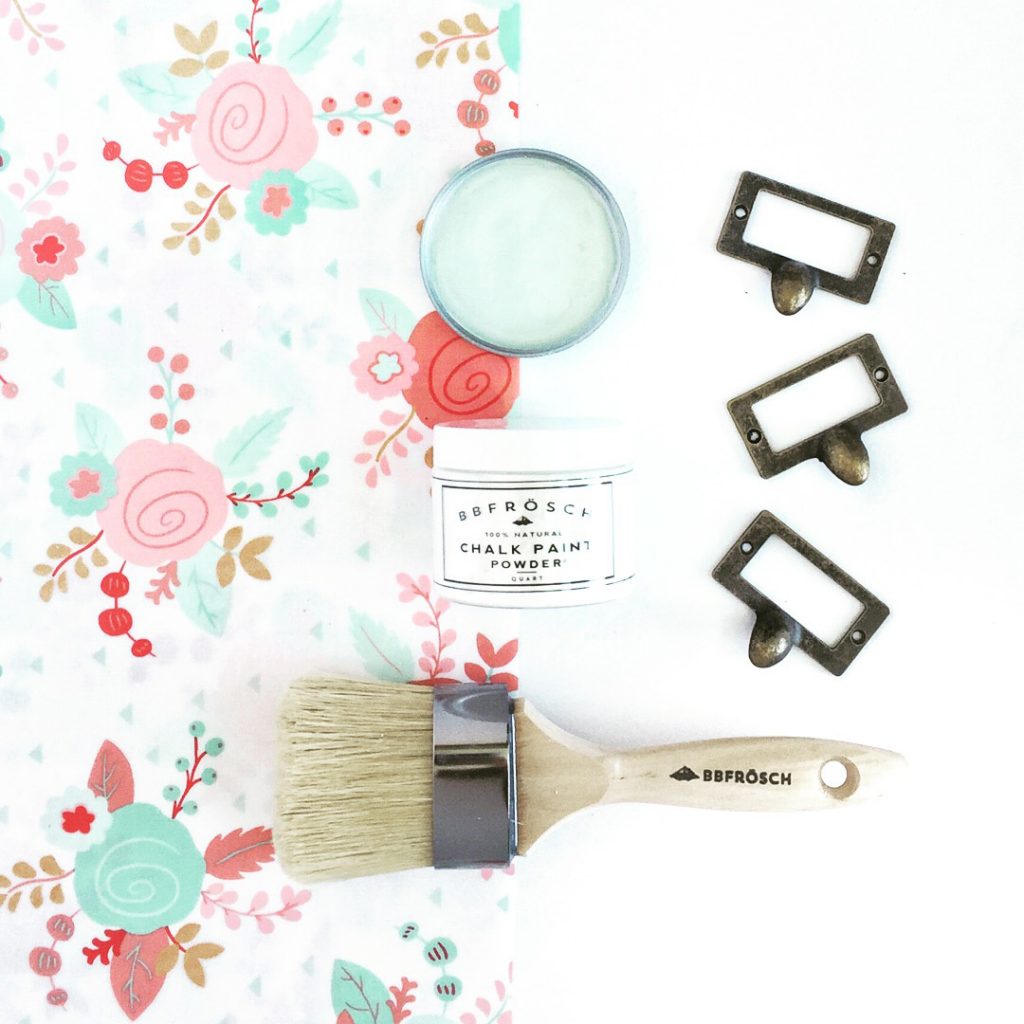
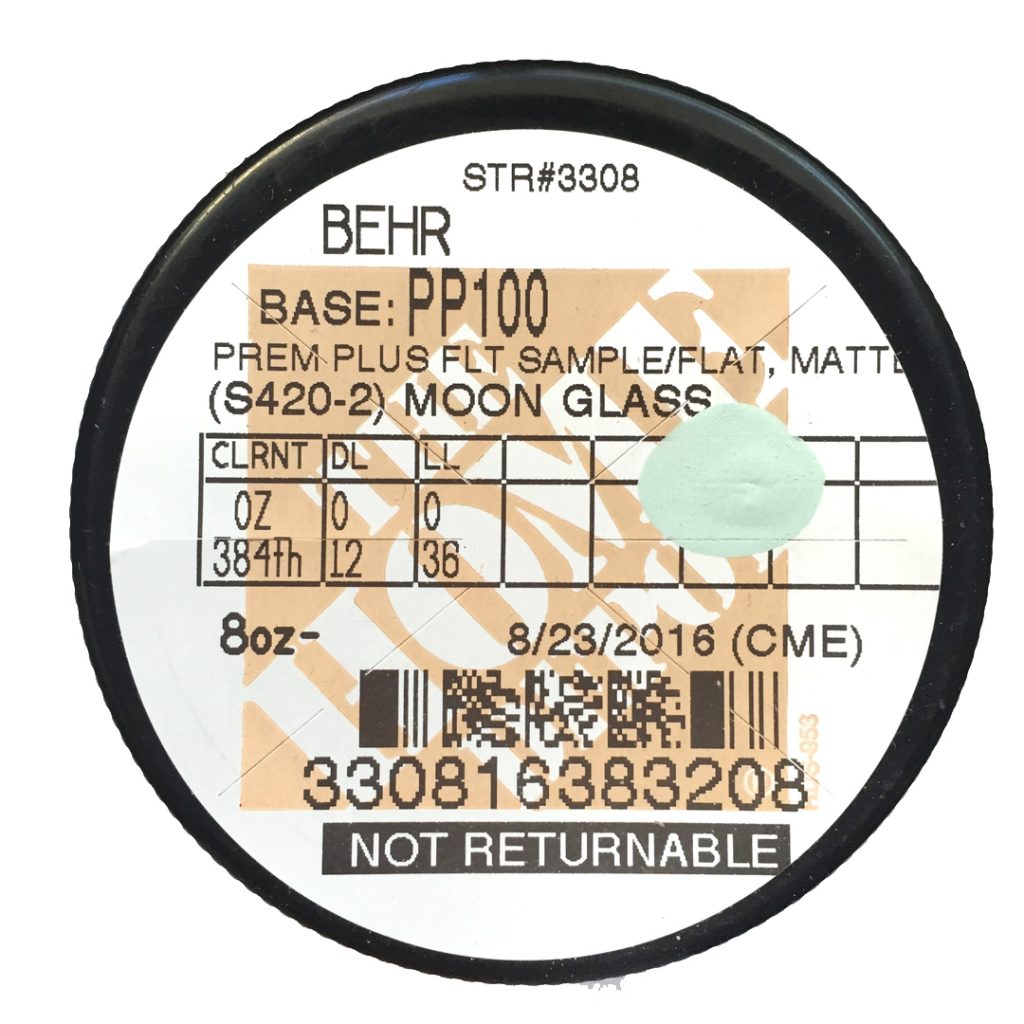
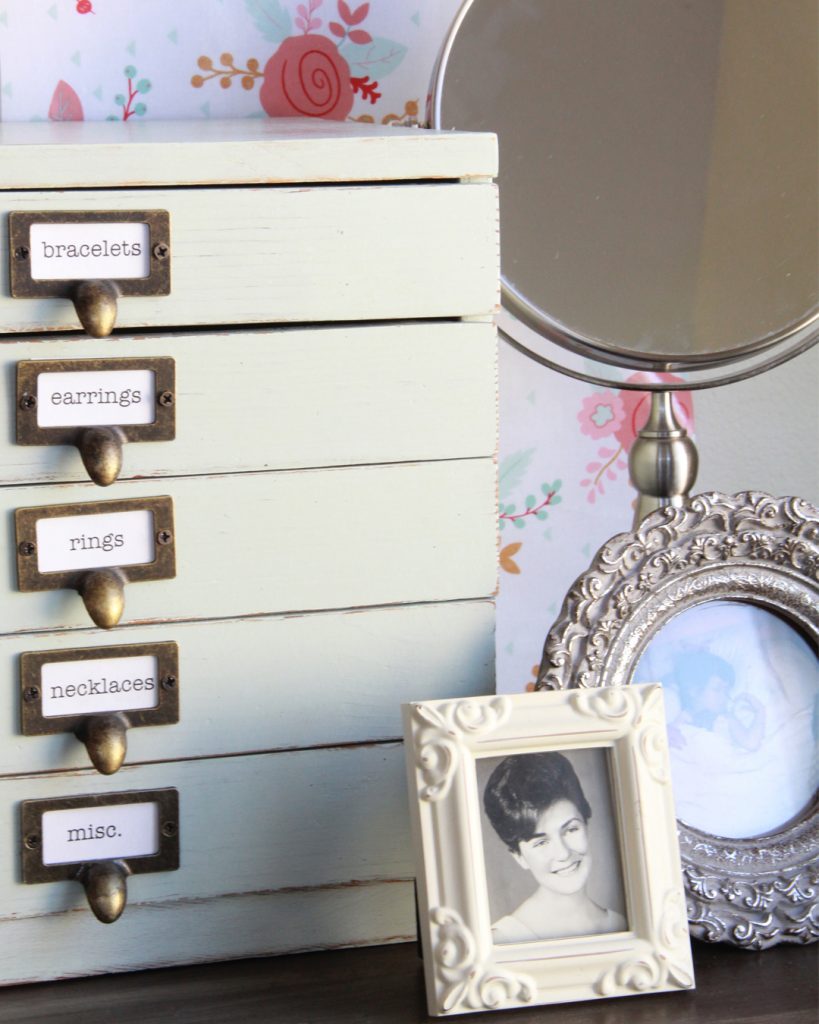
I also grabbed a sample size jar of paint from Home Depot on the way home for just $2.97. It’s called “Moon Glass” by Behr, and it’s a perfect match for the fabric.
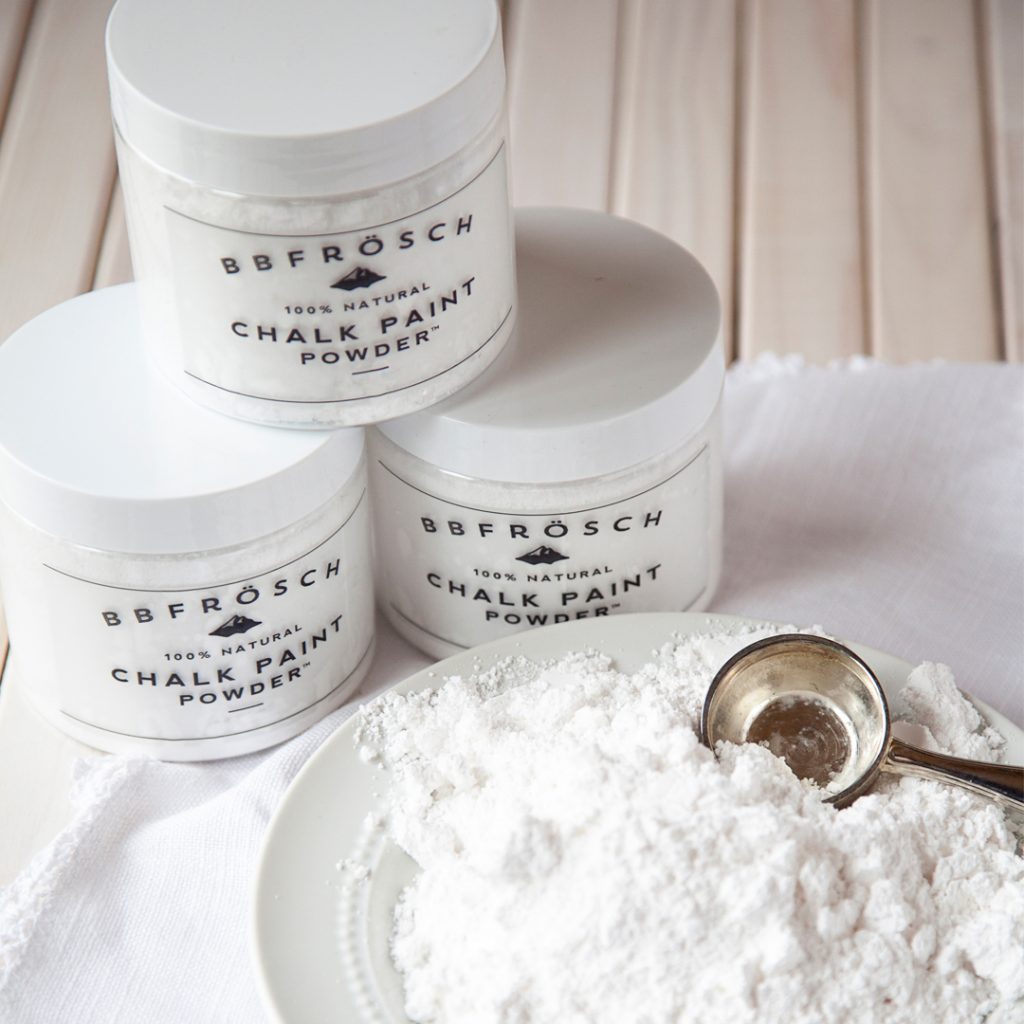
I mixed the paint with BB Frösch Chalk Paint Powder to turn it into my own custom chalk paint. Not only does the powder help the paint bond without having to strip the existing finish, it allows me to distress and wax to just the kind of finish I was looking for.
The whole process took less than an hour:
- 1 minute to mix my chalk paint (click here for a quick how-to)
- 2 minutes to remove the wooden knobs
- 20 minutes to paint two coats
- 5 minutes to distress with 220-grit sandpaper
- 10 minutes to wax with BB Frösch Clear Premium Finishing Wax (dried and cured in about 15 min. while I worked on the next two steps)
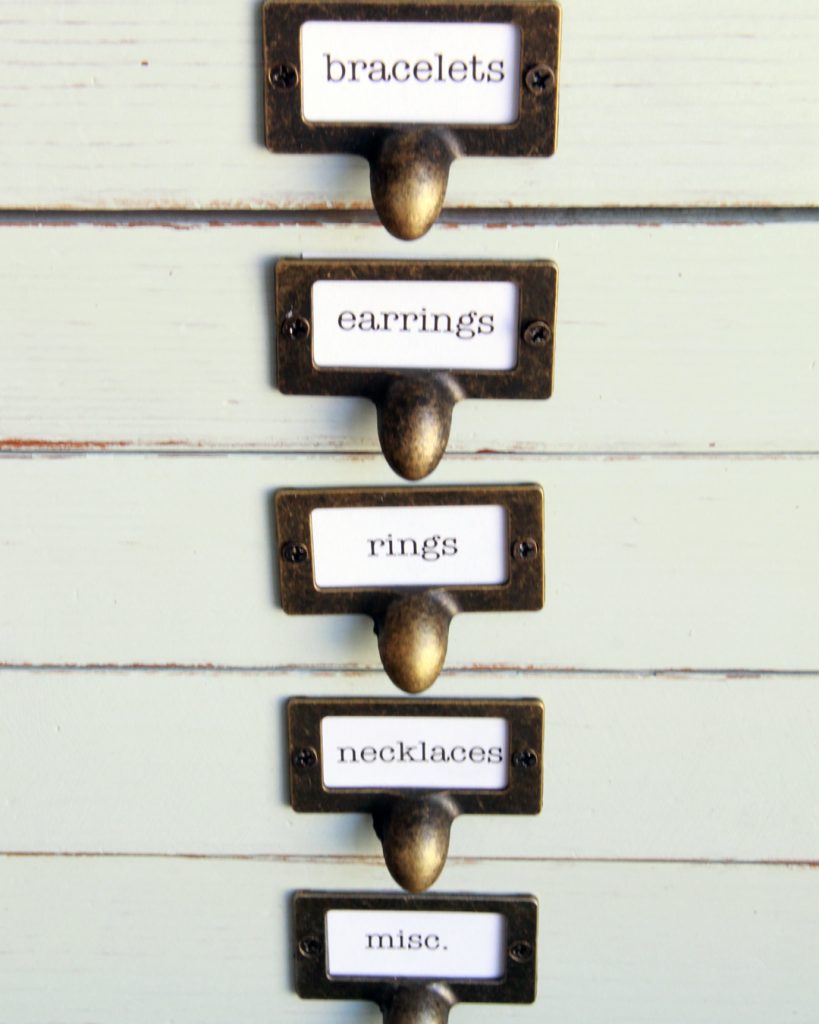
- 10 min. to line up and screw the new drawer pulls on
- 5 minutes to print tags to go in the drawer pulls
- 5 minutes to cut fabric to line the drawers
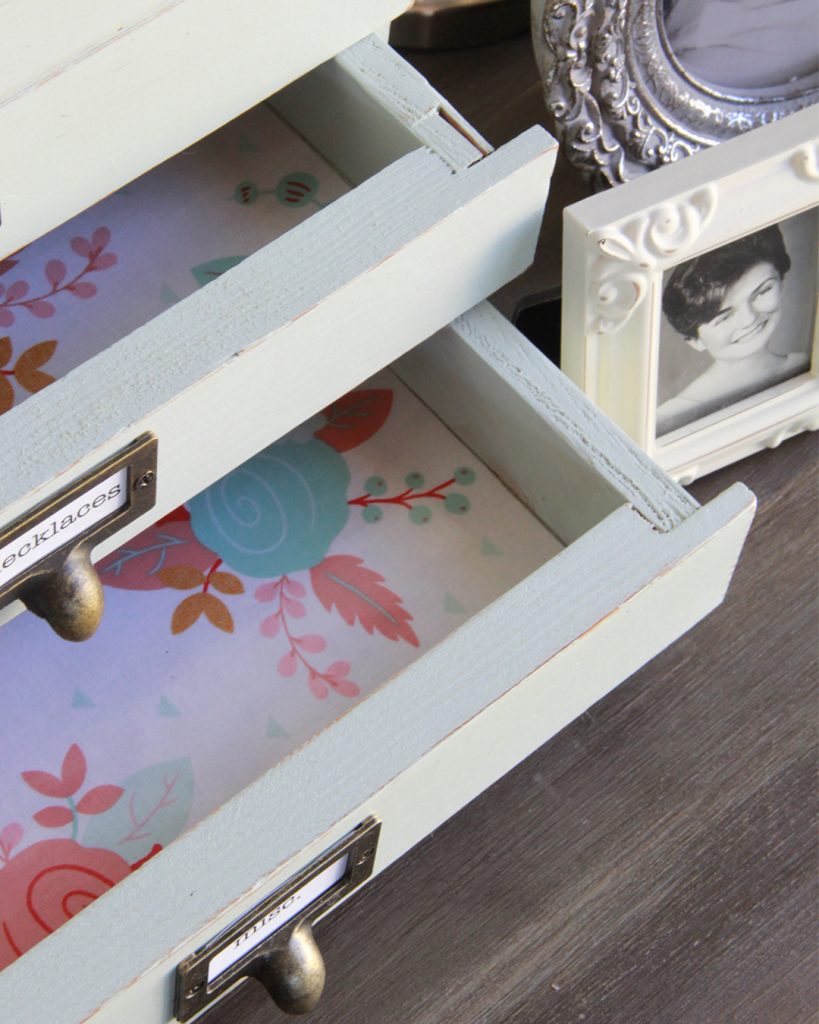
Even though I may be hard-pressed to actually fit everything into this little chest, I must say I’m pretty pleased with how it turned out! I like how it seems to go with the time period of some of my favorite framed photos of loved ones.
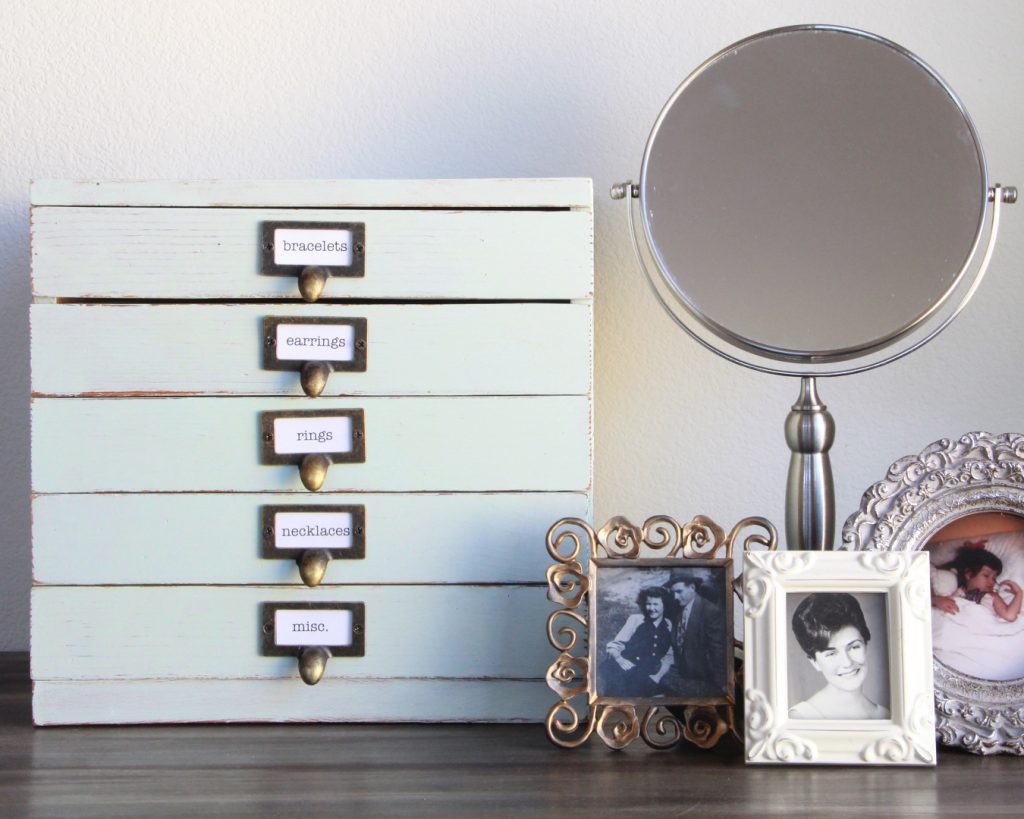
Yay for projects that take less than an hour and hardly make a mess!
Need more affordable chalk paint inspiration? Follow BB Frösch on Instagram, Pinterest and Facebook.
You can also sign up for a full online workshop here.

OMG that is so cute!!! You definitely made quite the transformation to it!!!!! I have been eyeing that fabric in Hobby Lobby for a while now and am trying to come up with something to make with it. I am thinking some throw pillows in the other coordinating patterns they have. Thanks for sharing about this paint too, I have been looking for a chalk paint to do some chairs in. I’m going to have to check this out 🙂
I am thrilled I found your blog. It’s great! My project for this afternoon is to look for drawer pulls like these. 🙂 Thanks for the inspiration.