This post was sponsored by Better Homes and Gardens at Walmart. I received compensation from BHG at Walmart. All Opinions are 100% my own.
I think I saw somewhere today or yesterday that there are only 46 days left until Christmas. I might have had a mini panic attack. How can that be? I swear it was just the 4th of July! Haha! Anyway, I resolved this year to have my shopping done BEFORE Christmas eve and I am happy to report that I have…. started! {Insert fist pump.}
I feel like if I can get a handle on the shopping stress then decorating will be so much more enjoyable for me!! Don’t get me wrong, decorating is ALWAYS fun it’s just so much better when there aren’t outside stresses right? Amiright?

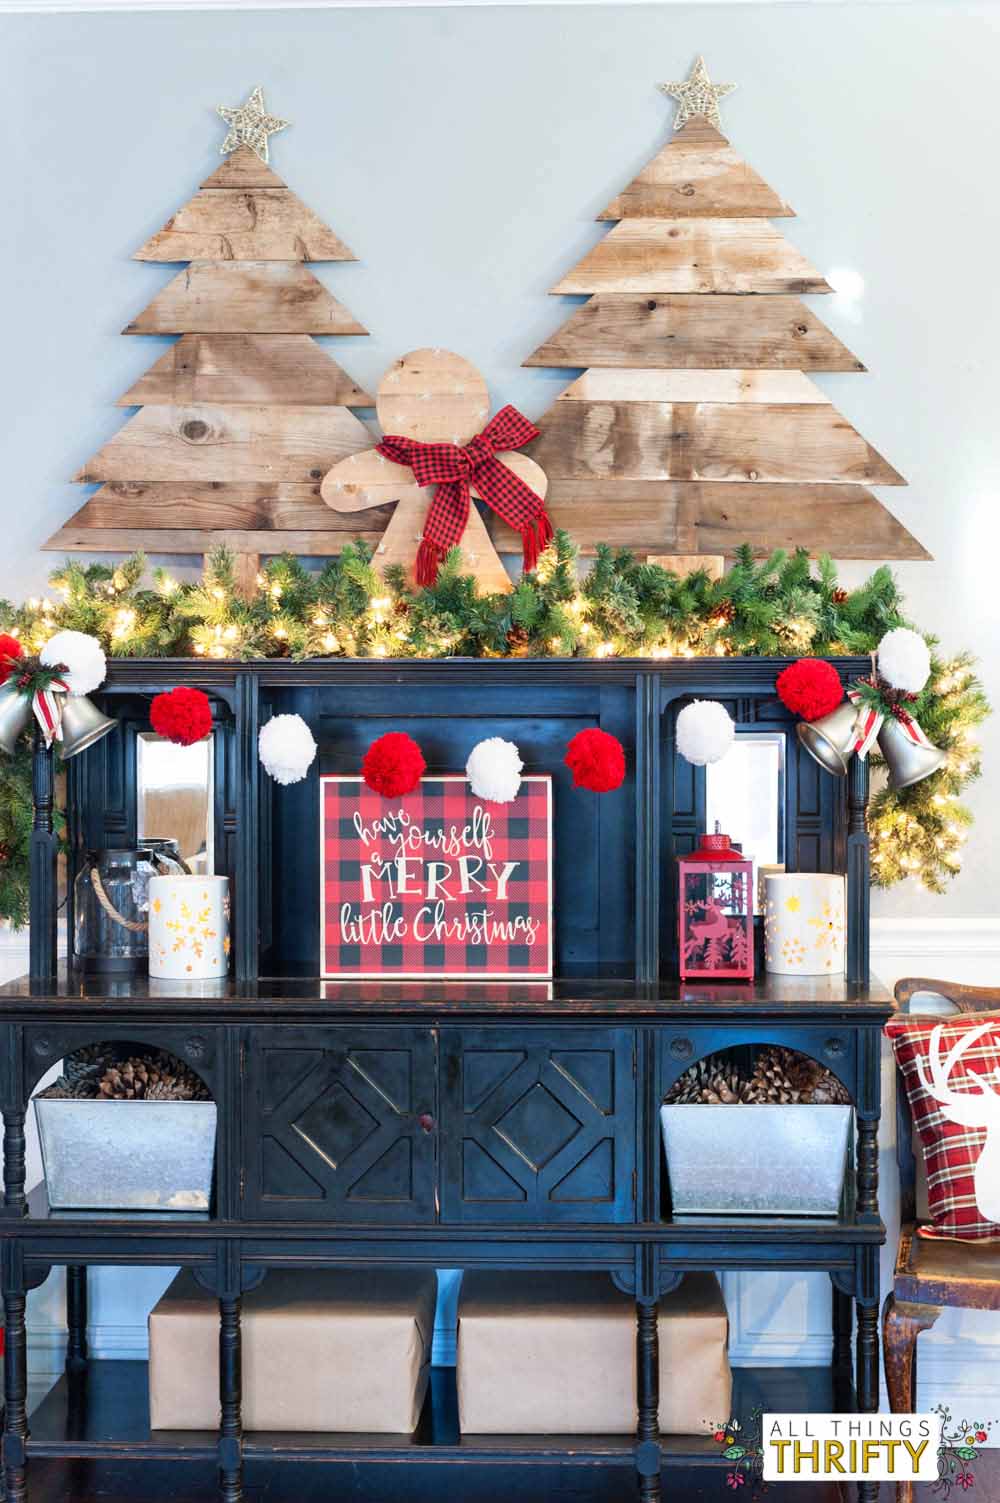
BHG Red Christmas Lantern
When I saw some BHG plaid place-mats at Wal-mart, I knew I had to use them. I mean isn’t that burlap just the cutest? And for less than $4 each, I grabbed a couple! Then came the light bulb idea! Wouldn’t these make the most darling pillow? With the burlap trim, all I’d have to do is sew my 4 edges. Boom!
Here’s what you’ll need for your adorable plaid Christmas pillow:
- Any (2) BHG Plaid place-mats {I liked these ones too!}
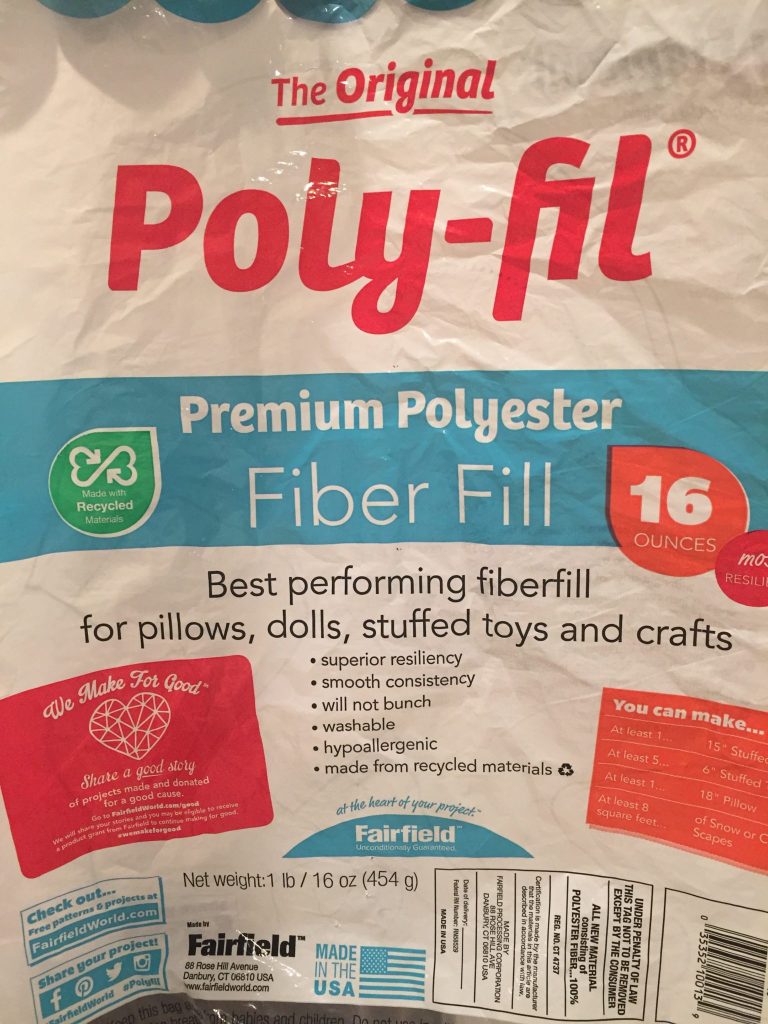
- Batting {I used one bag of 16 oz poly-fil.}
- Sewing machine or no-sew tape would work too!
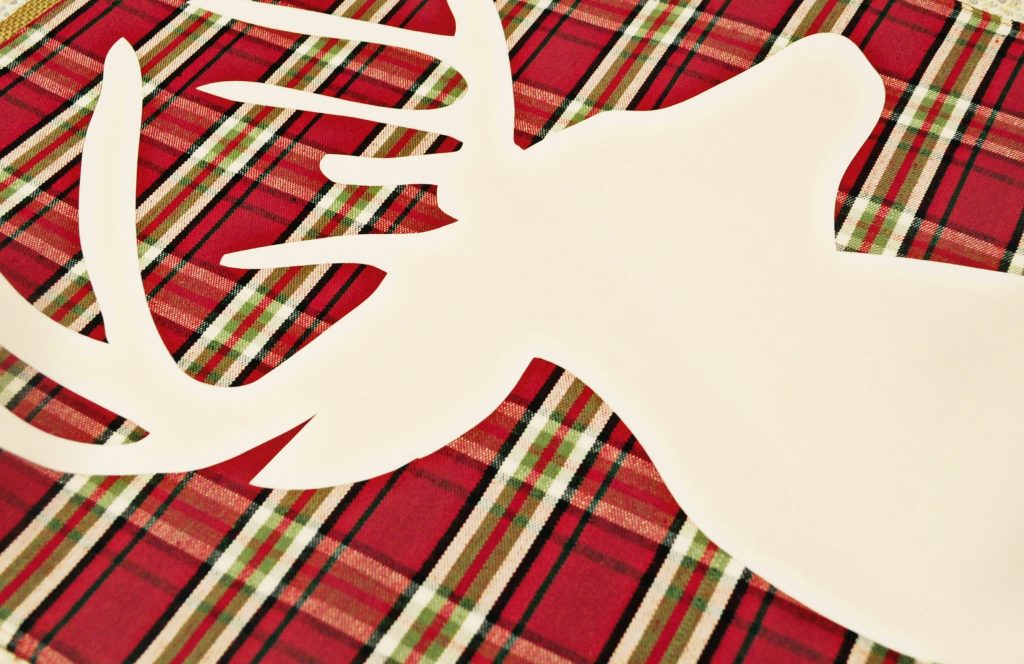
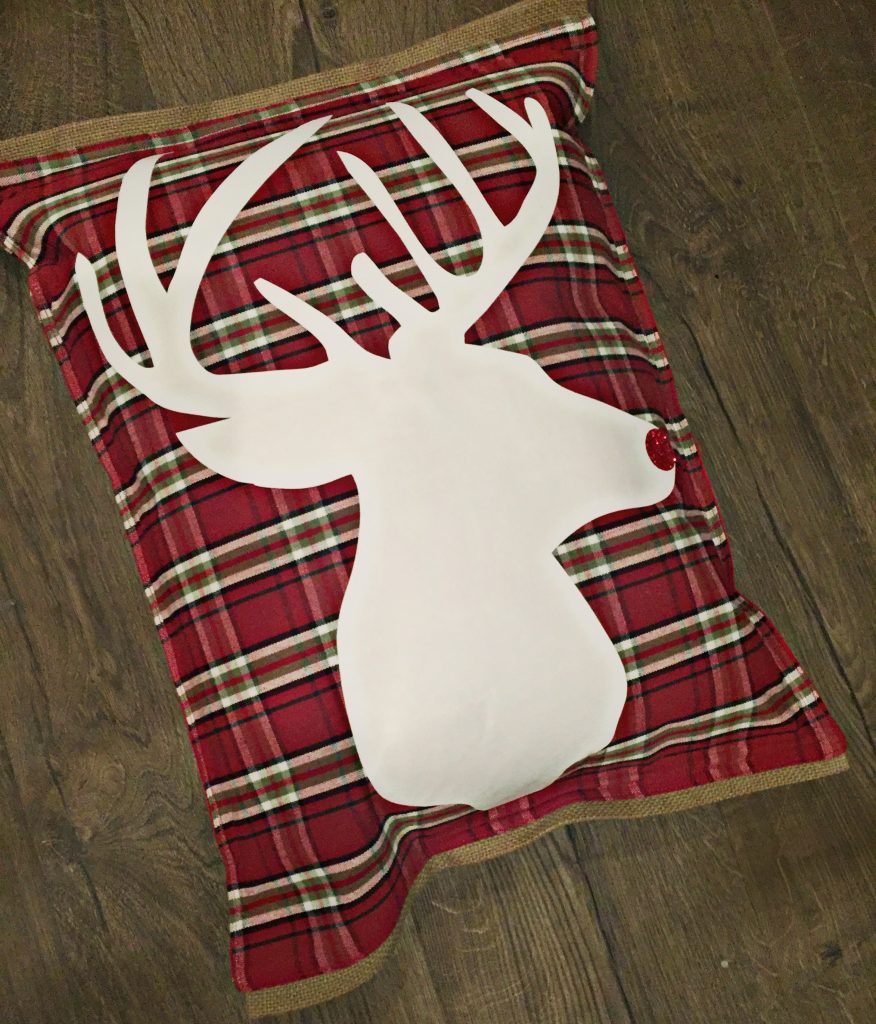
- Any iron-on Christmas image {We used our trusty silhouette to cut out the cute deer head and nose and applied using an iron-on material.}
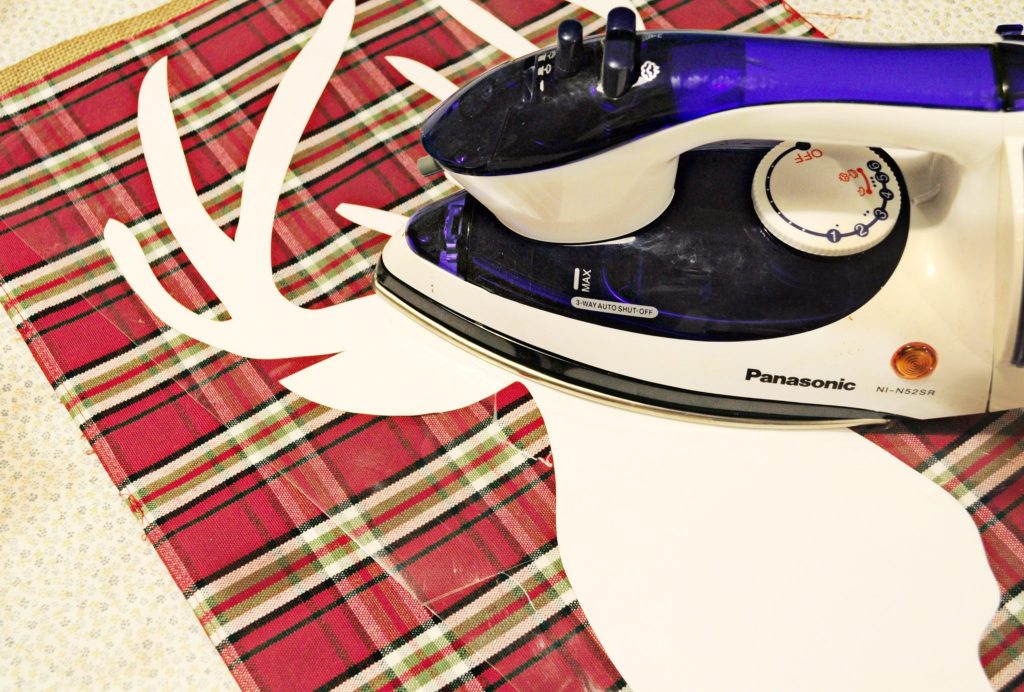
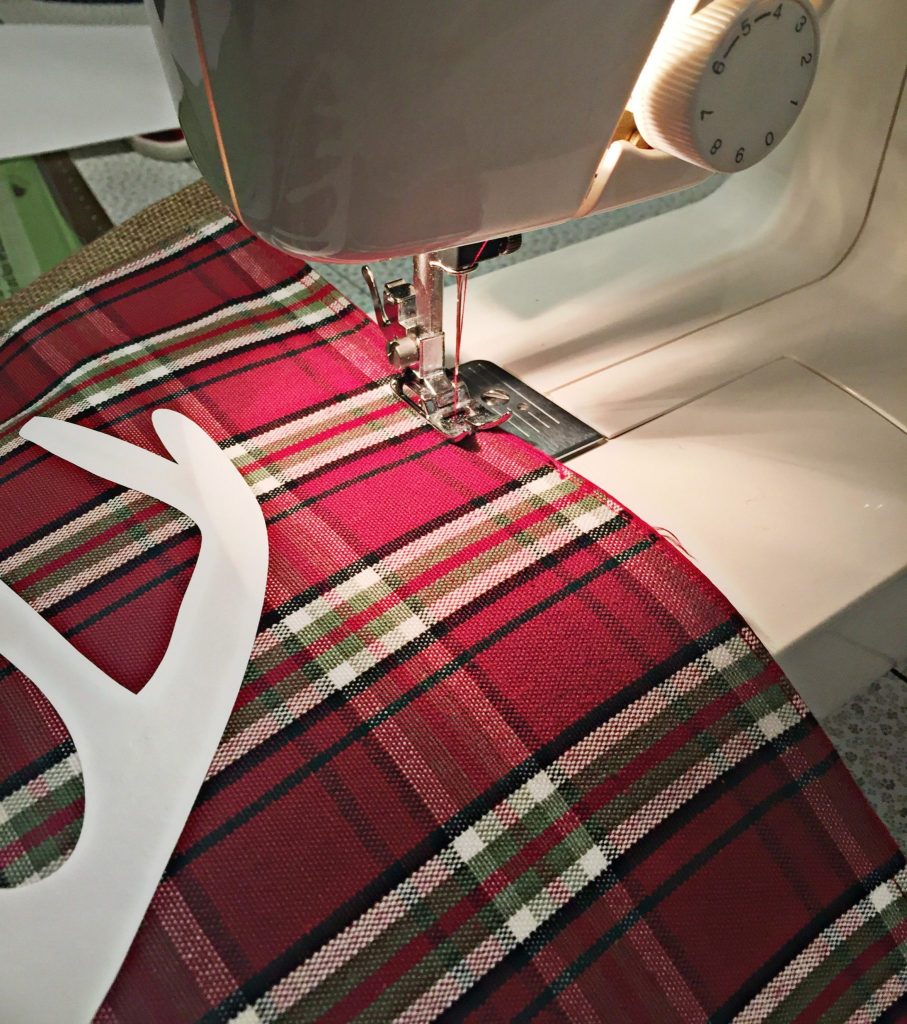
Before you sew your pillow together you will want to apply your image. Start by cutting out your image. {here is the one we used!}
Next, you will iron it on. Make sure you press hard, and iron it on thoroughly. I especially made sure to go over the antlers really good! After that is on, you can layer the nose on top. Again make sure it is good and stuck.
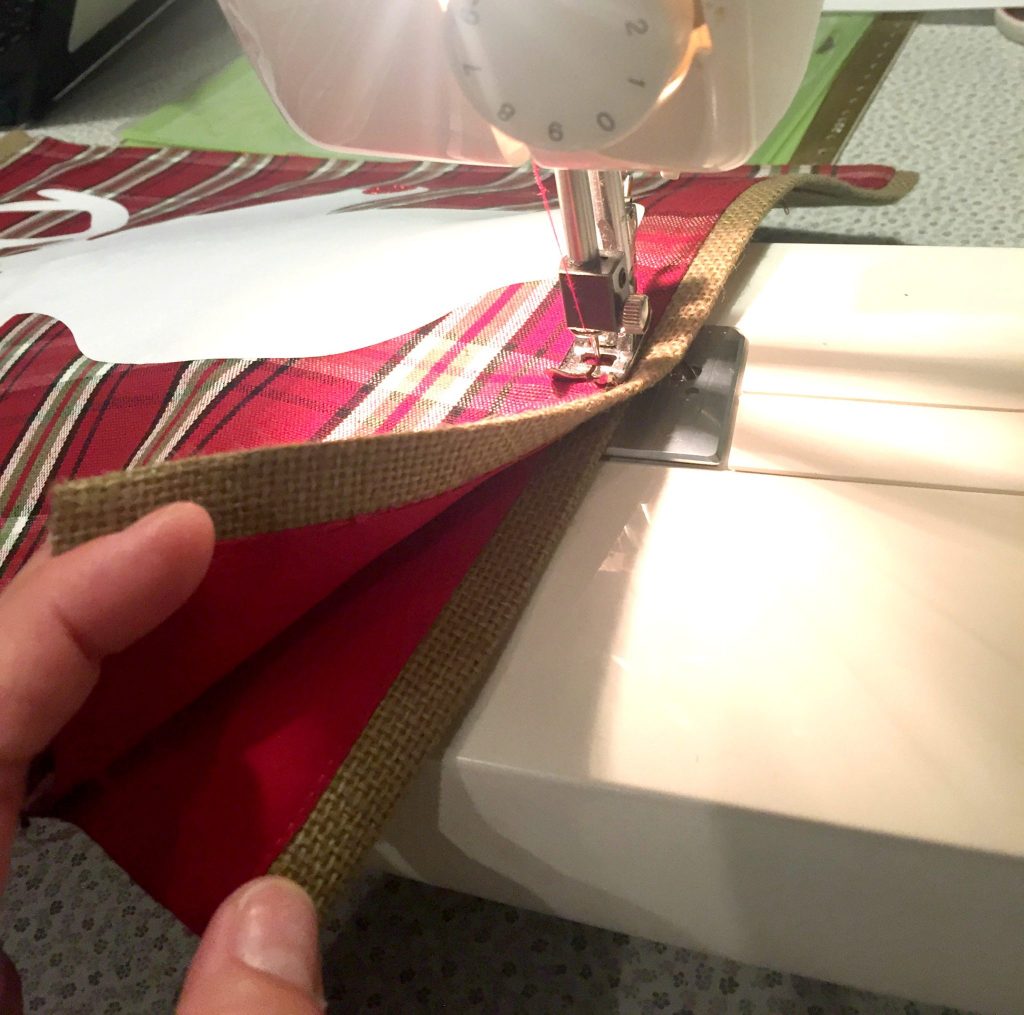
Once that has cooled you can sew your place-mats together. I didn’t sew them inside out like you typically would for a pillow. I wanted the burlap to be outside plus I kinda wanted a more rustic look. Ha! So around you go.
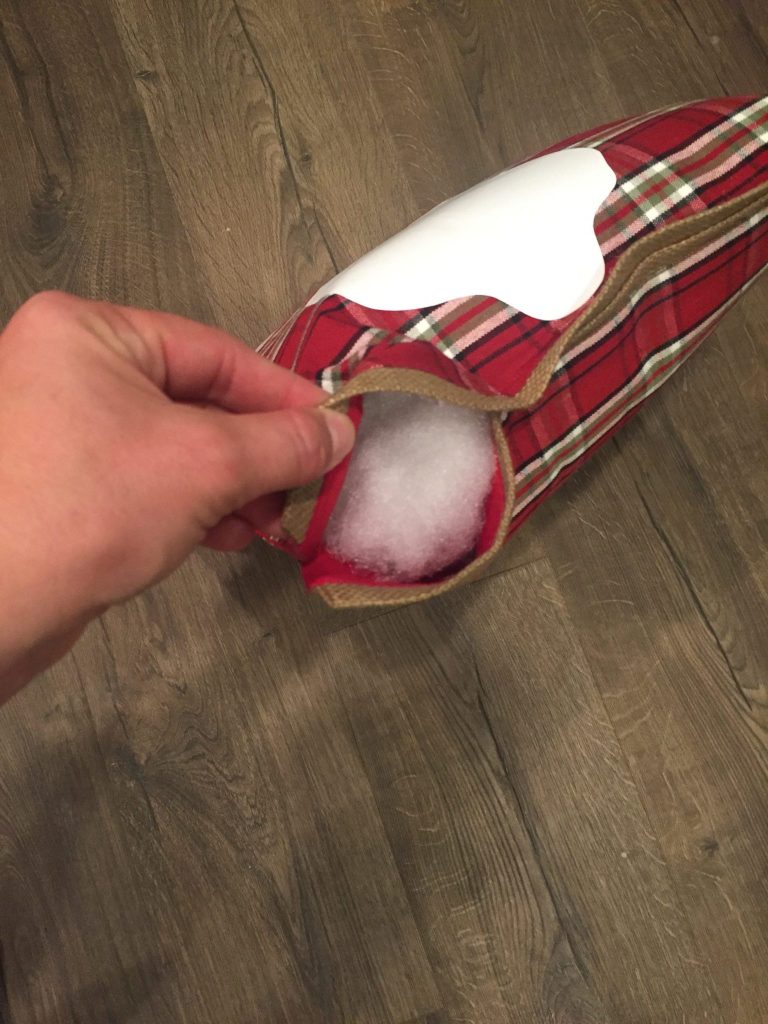
At the bottom, I left about a 6″ hole. That is where you will put your batting.
I started by putting in chunks of the batting and then using a large wooden spoon, I made sure to get it in all the corners. I used the whole 16 oz bag!! I wanted it nice and full and wanted to avoid weird ripples in the side.
Ta-da!
When it is all full, just sew that space up. It was a little tricky because of thickness but I just went slow and made sure to back stitch!
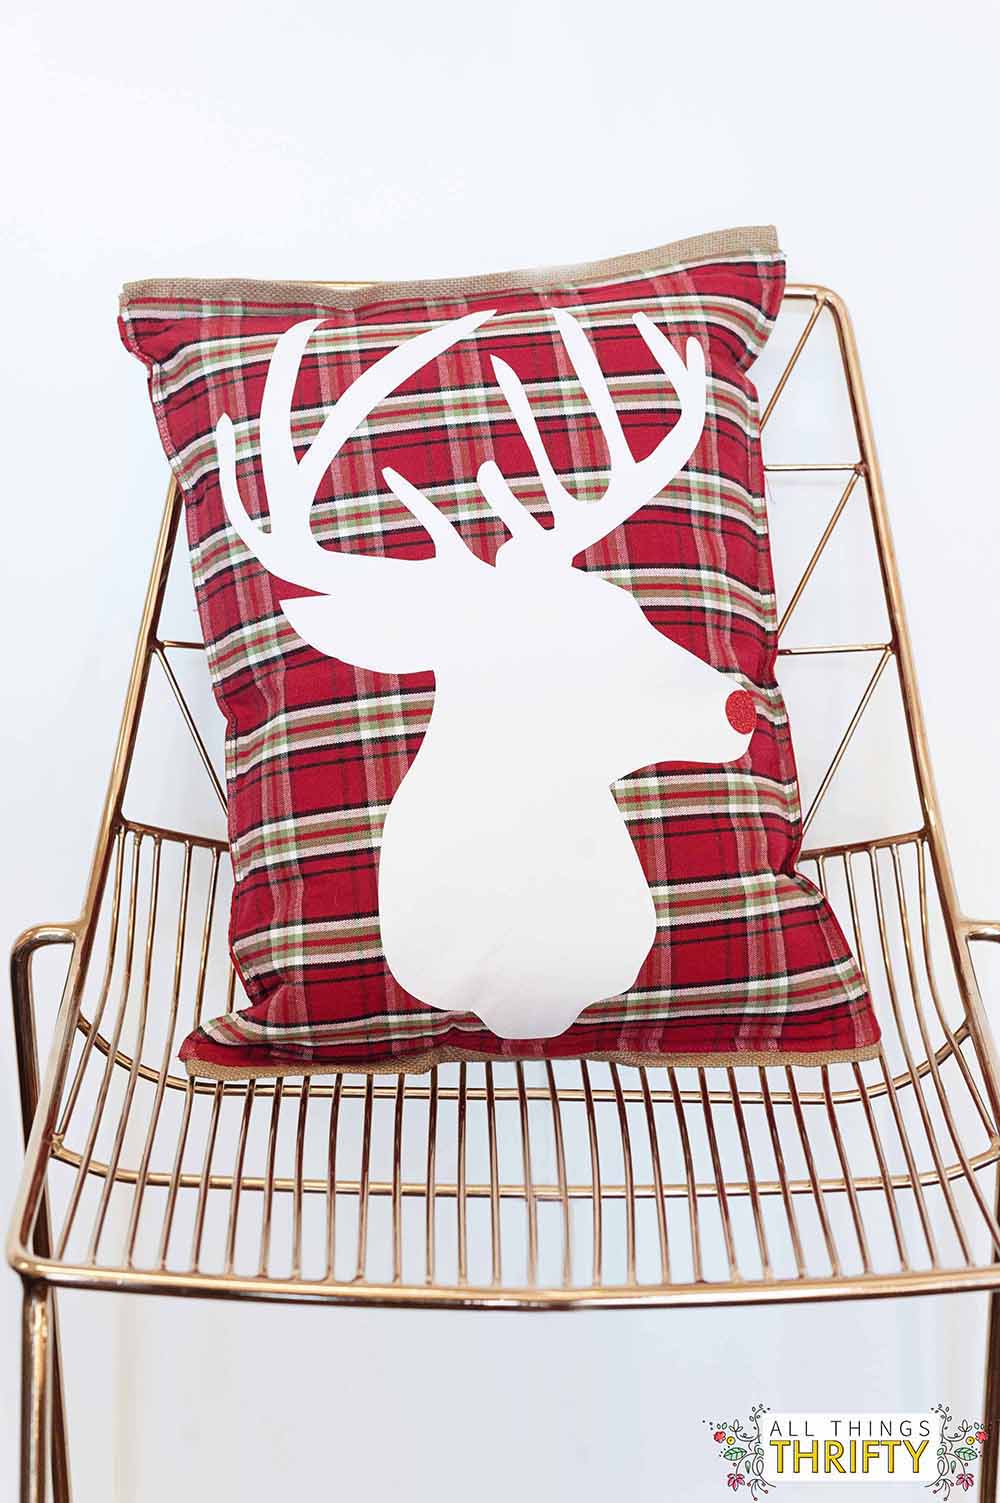
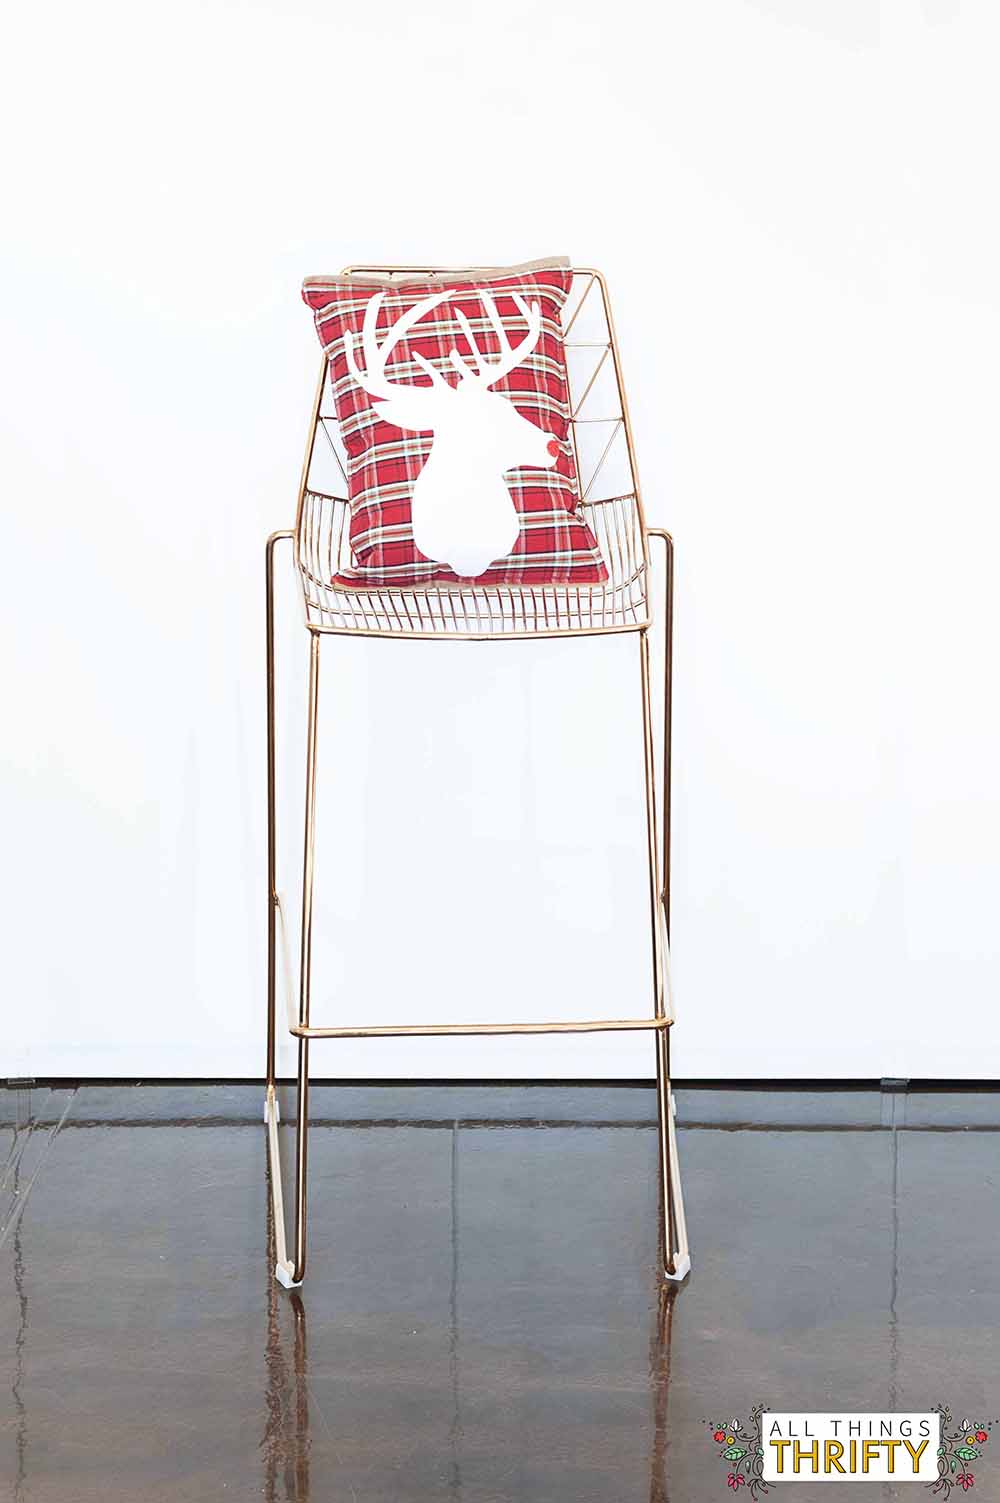
Hello adorable Christmas pillow! For less than $15, I call that a success!!

Better Homes and Gardens and BHG Live Better is a great place for inspiration!
Follow them here:
Twitter: https://twitter.com/BHGLiveBetter
Facebook: https://www.facebook.com/BHGLiveBetter?ref=br_tf
Pinterest: http://www.pinterest.com/bhglivebetter/
Instagram: http://instagram.com/bhglivebetter_
This is so stinkin’ cute!
This is a fun and easy idea