A friend recently let me borrow her fake fireplace mantle to use for our trade show booth. All it needed was a little paint and something to fill the hole:
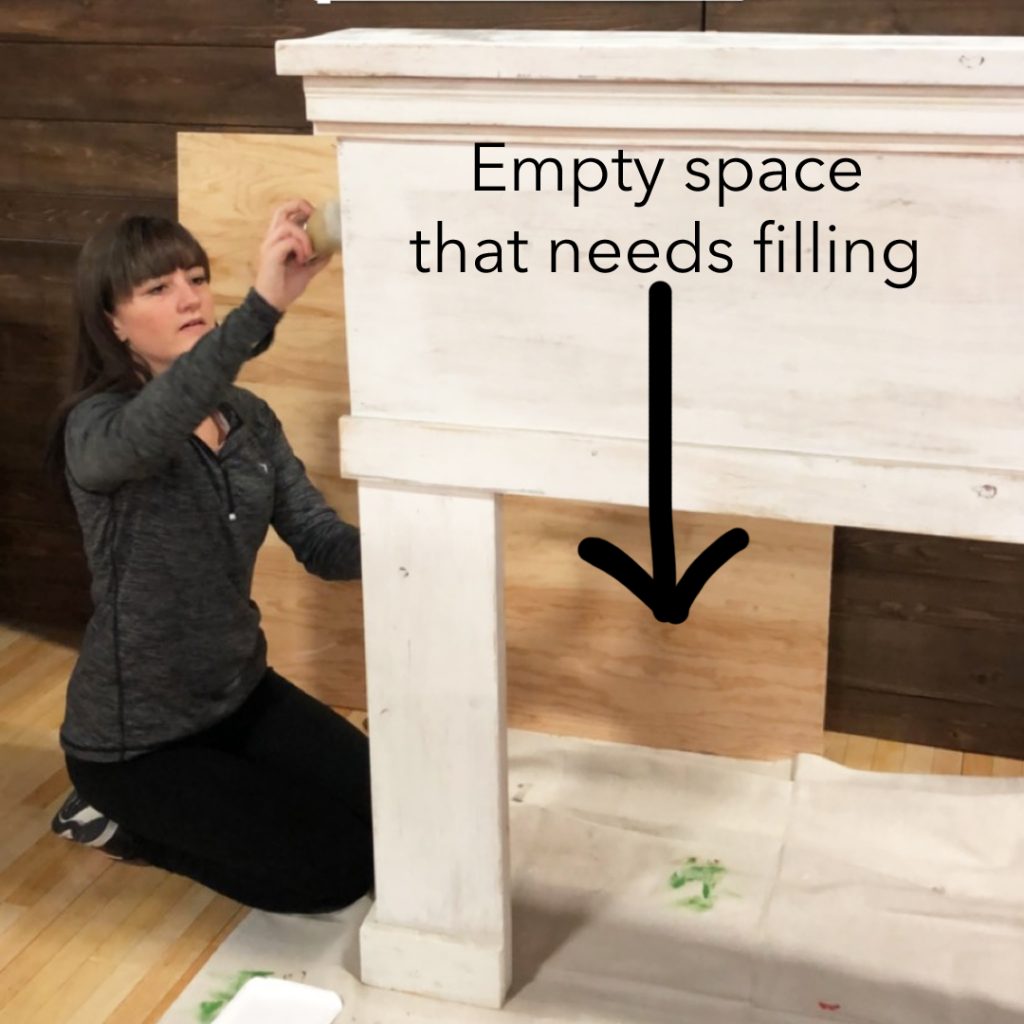
I’ve been itching to share how easy it is to paint tile, so this was the perfect project!
I cut a piece of wood to use as backing, then used Liquid Nails to attach 25 6” ceramic tiles:
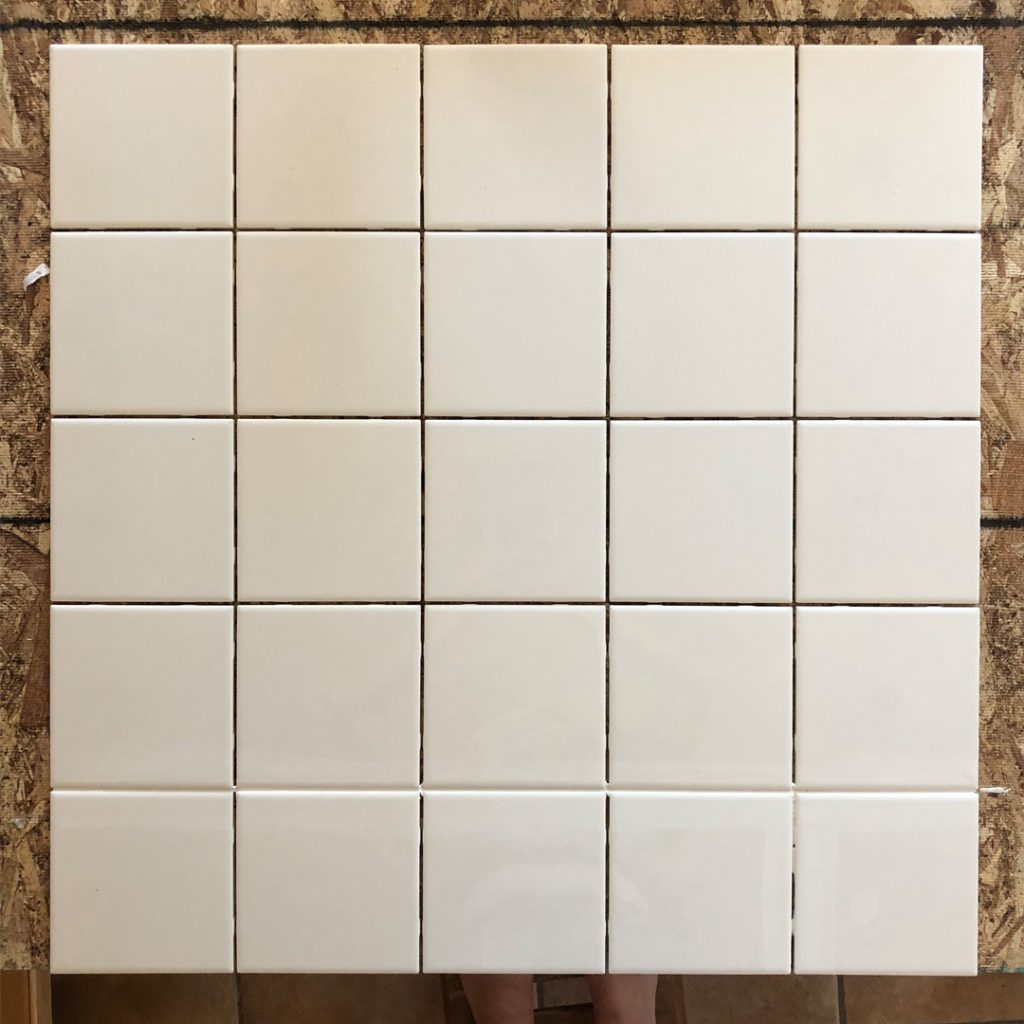
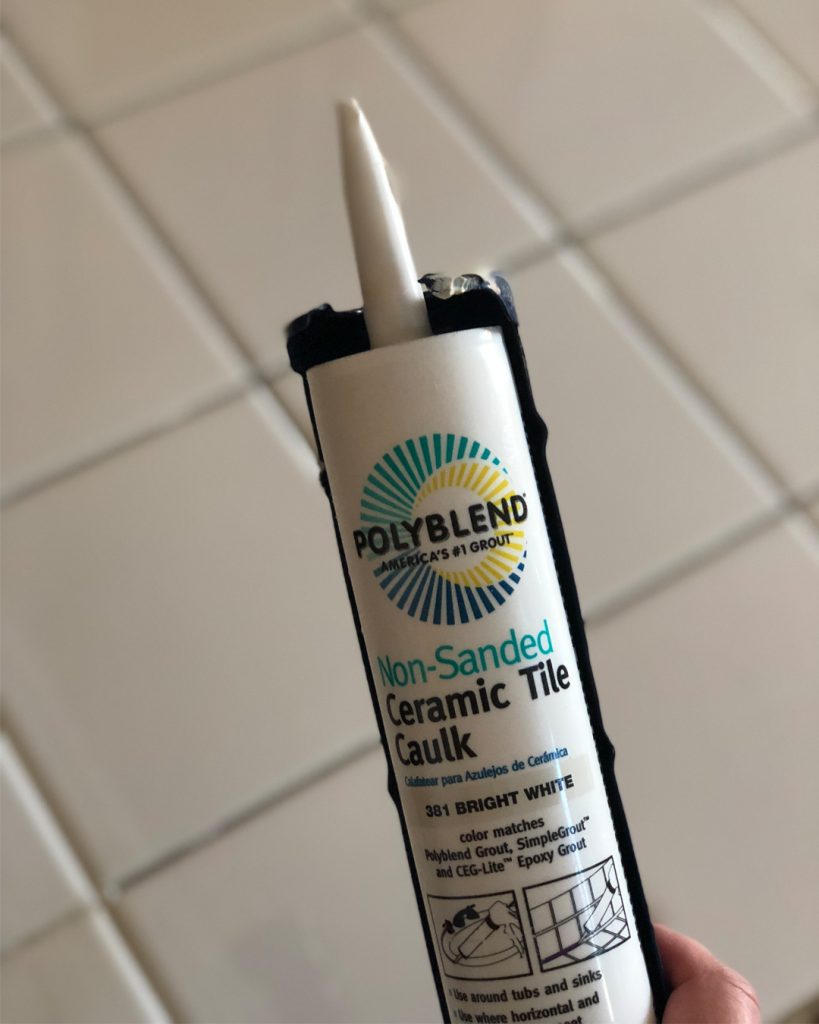
I grouted with unsanded ceramic tile grout:
I used my Silhouette to create a vinyl stencil that exactly fit the 6” tile. If I were doing a whole floor, I would use a reusable stencil.

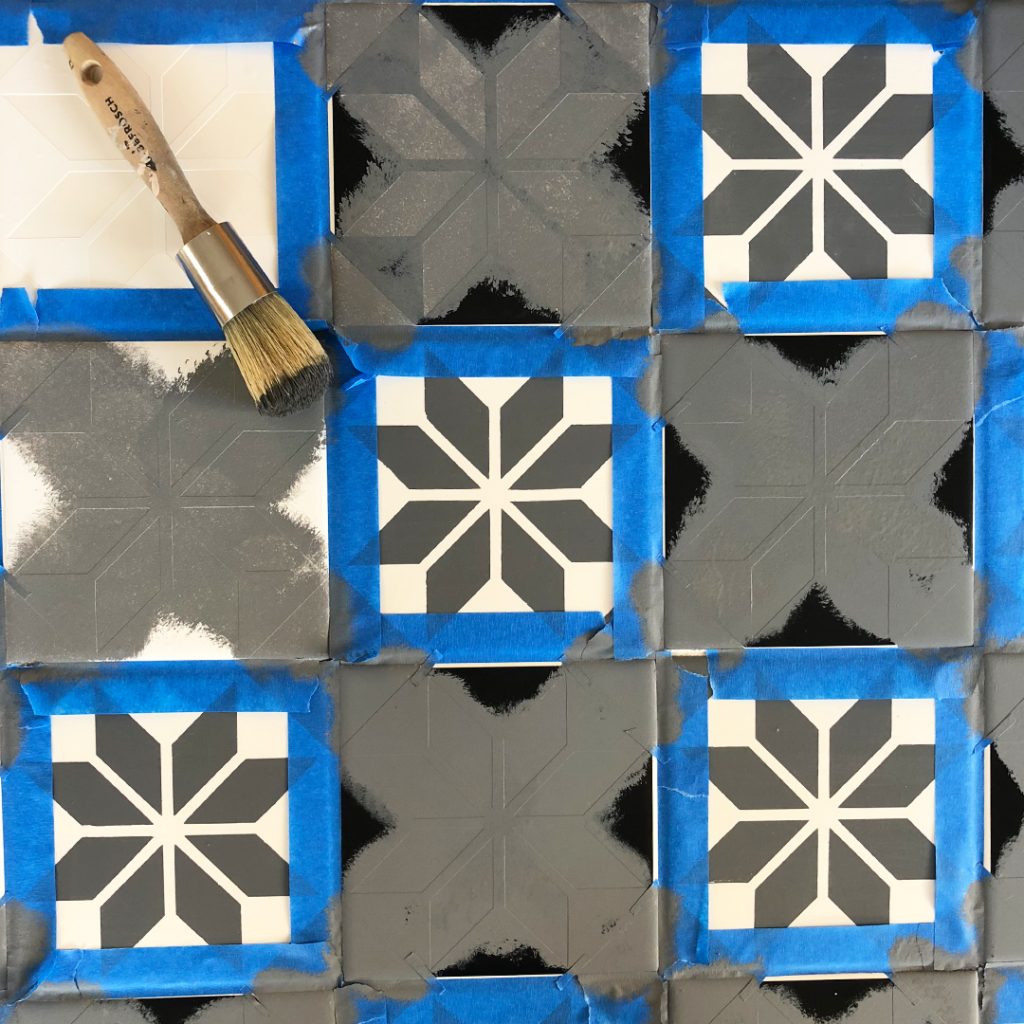
To avoid getting paint on adjacent tiles, I taped off with painters tape. I did every other tile on the first round, then did the remaining tiles once the first ones were dry. As always, I used chalk paint made with BB Frösch Chalk Paint Powder.
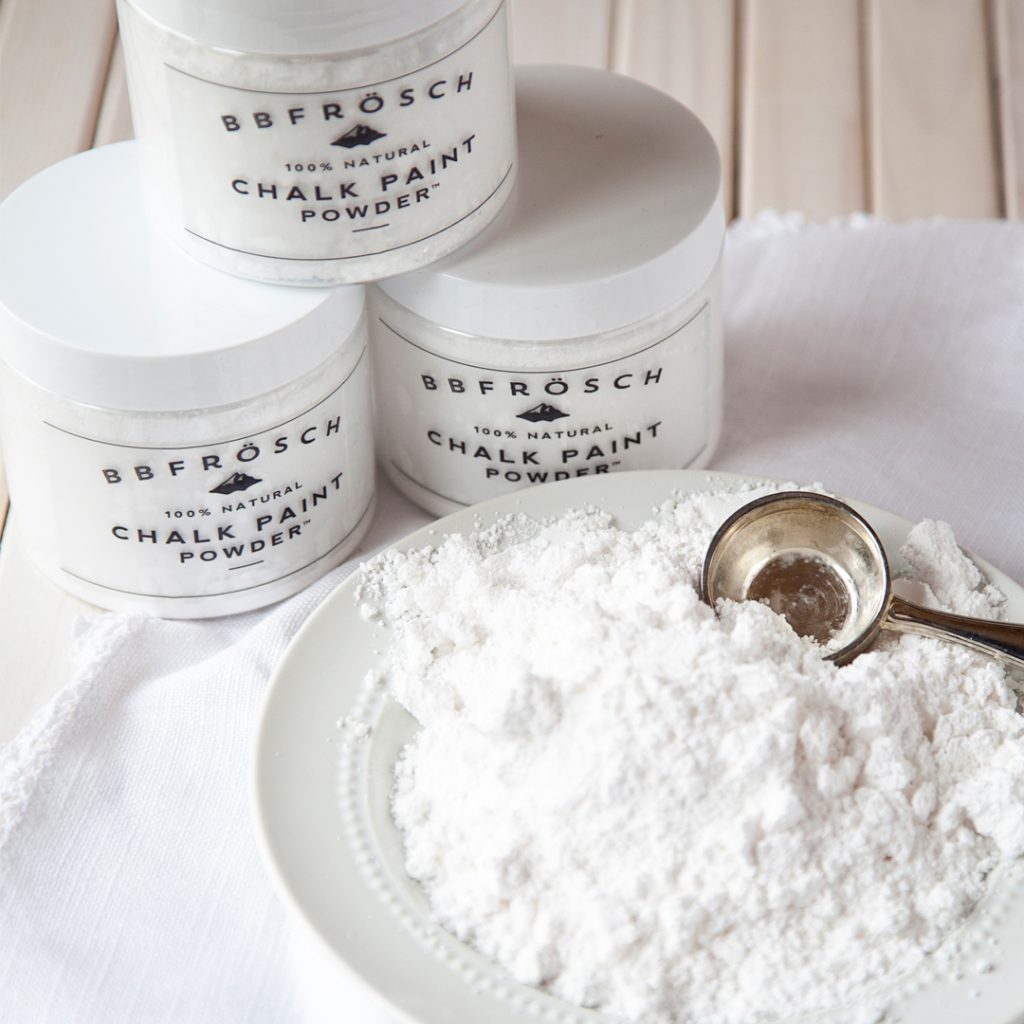
Since ceramic tile is pretty slick and less porous, I added half again as much powder as the directions call for to help with bonding. Not only is pre-mixed chalk paint way more expensive than making my own, you can’t adjust it the way you can with BB Frösch.
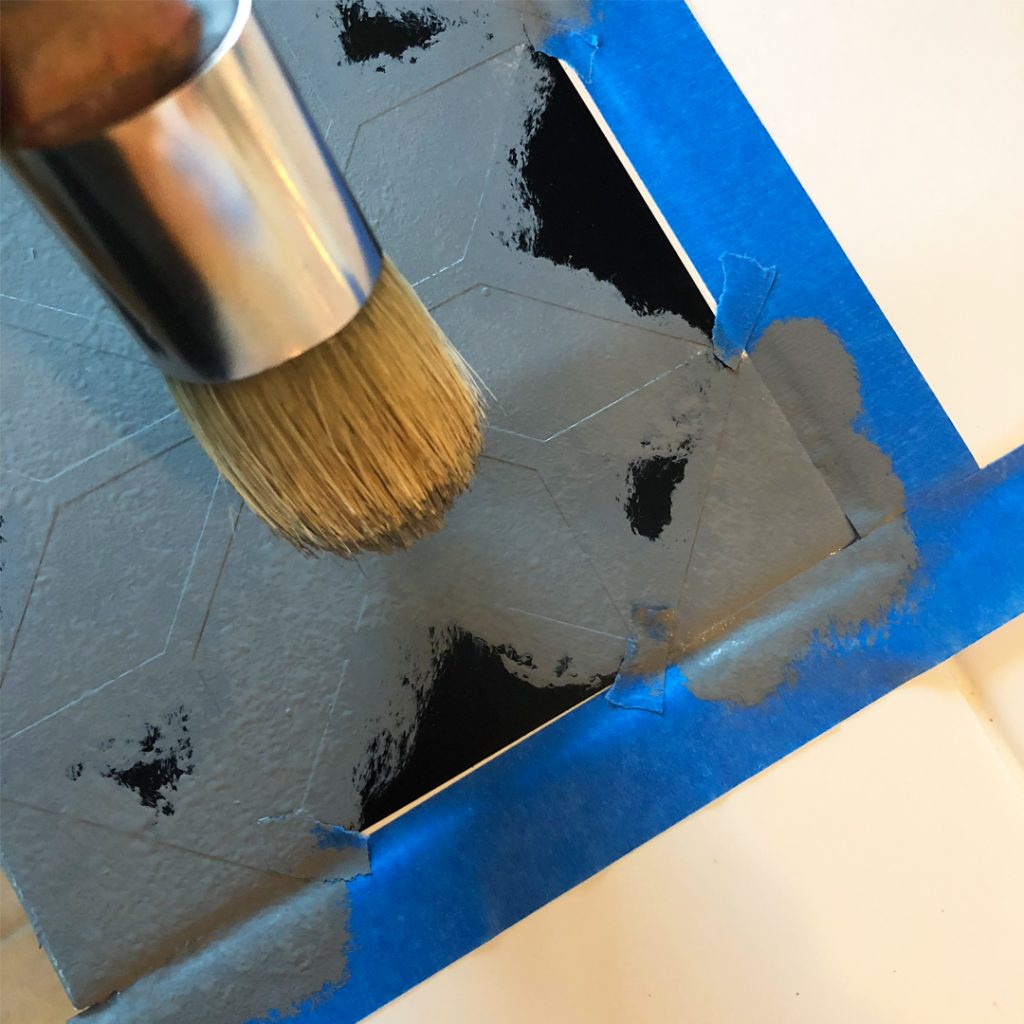
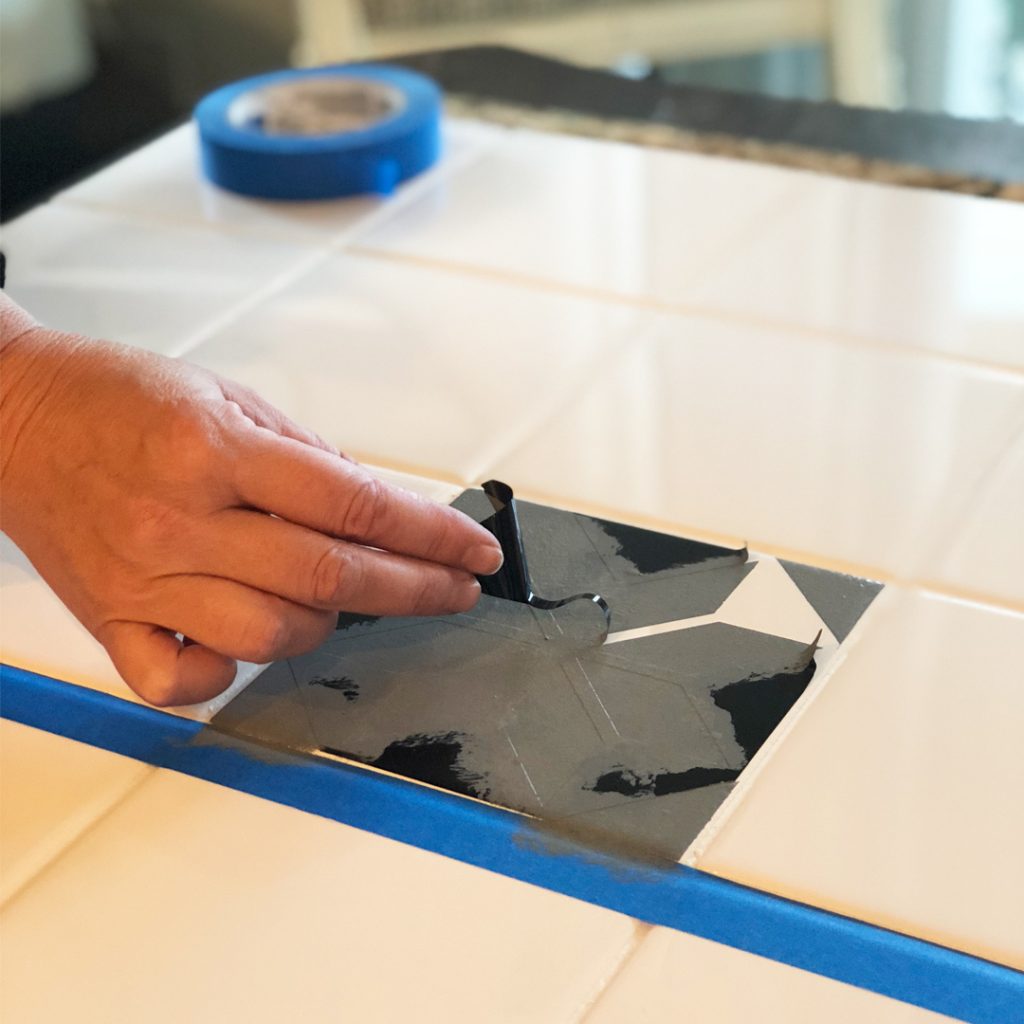
I practiced on one tile before doing the whole thing. I found it was better to do two thin coats of paint instead of one thick one. I also applied the paint in a dabbing motion so it wouldn’t bleed under the stencil. Finally, I removed the stencil VERY carefully when the second coat was close to dry.
Once I knew what I was doing, I taped off and stenciled every other tile. Once the first set was dry, I did the same with the remaining tile.
Even though the paint dried very quickly, I gave it 24 hours to cure before applying a protective finish.
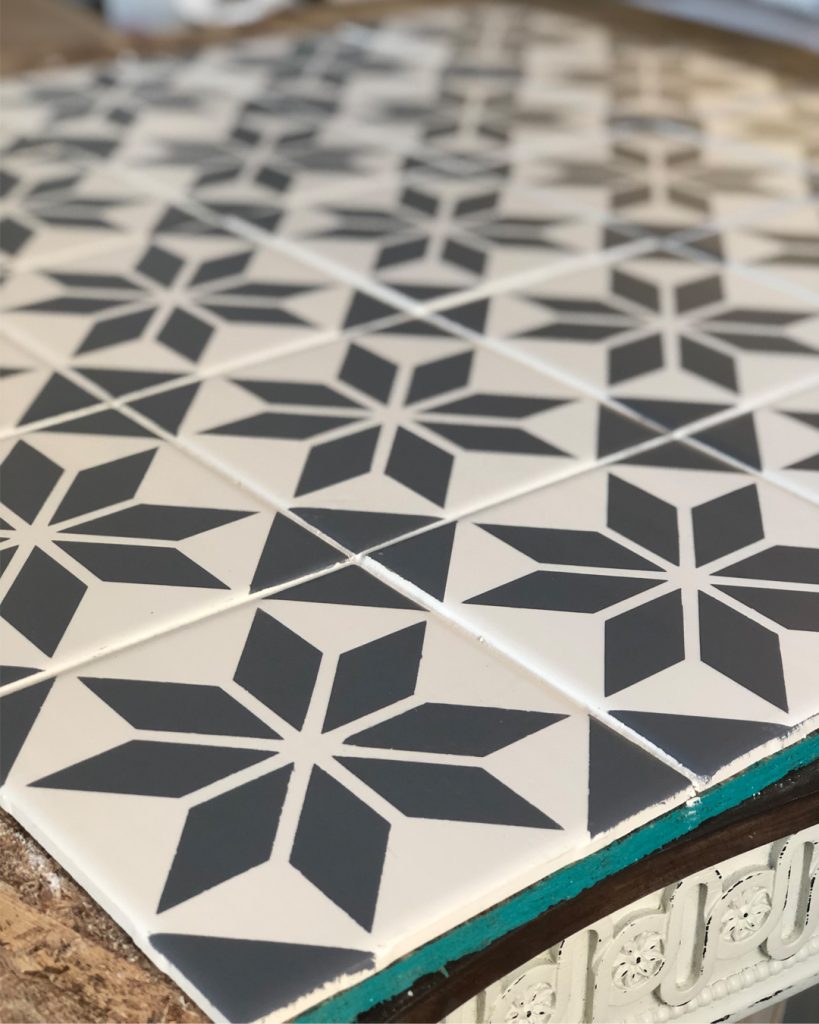
As with any chalk painted surface, you MUST seal and protect your beautiful work! I decided to use a poly acrylic this time since, typically, tile would be on a floor and you wouldn’t want to wax a floor. I used Minwax Polacrylic in matte (I accidentally bought satin and photographed it, then switched it out for matte.)
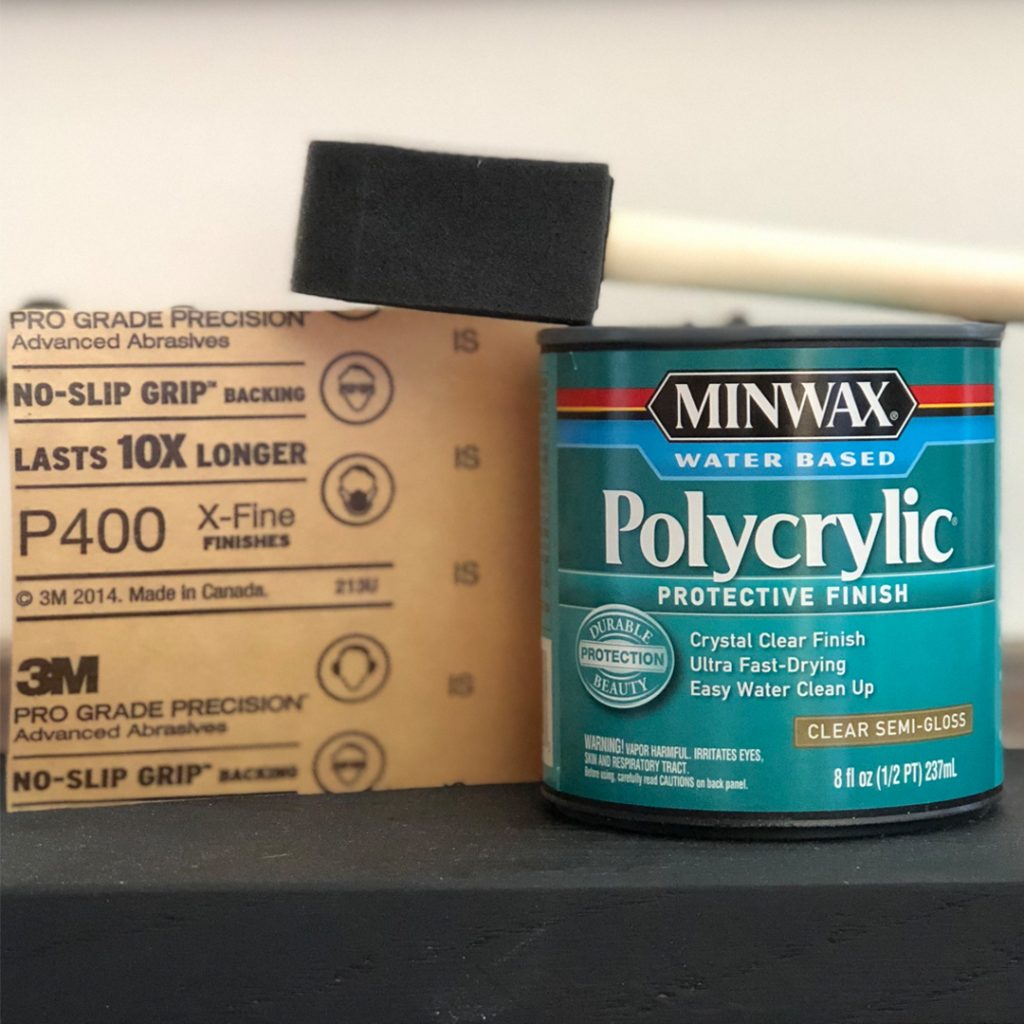
First, I smoothed the painted tile gently with 400 grit sandpaper. That made it so smooth! This is a pretty important step, in my opinion.
I applied the poly with a sponge brush. When applying poly, it is important to keep a wet edge with your brush, meaning you don’t want your brush to get dry as you apply. Apply one thin coat, and don’t go over the poly that has already been applied, or you will lift your paint.
Allow the first coat of poly to fully dry (at LEAST two hours.) Before applying a second coat, sand the first coat with 400 grit sandpaper.
I applied three coats of poly, sanding in between each coat, for a nice, durable, smooth finish. This process took a LOT longer than my usual process of waxing a chalk painted surface!

Once the tile was painted and sealed, we just screwed the tiled board into the back of the mantle.
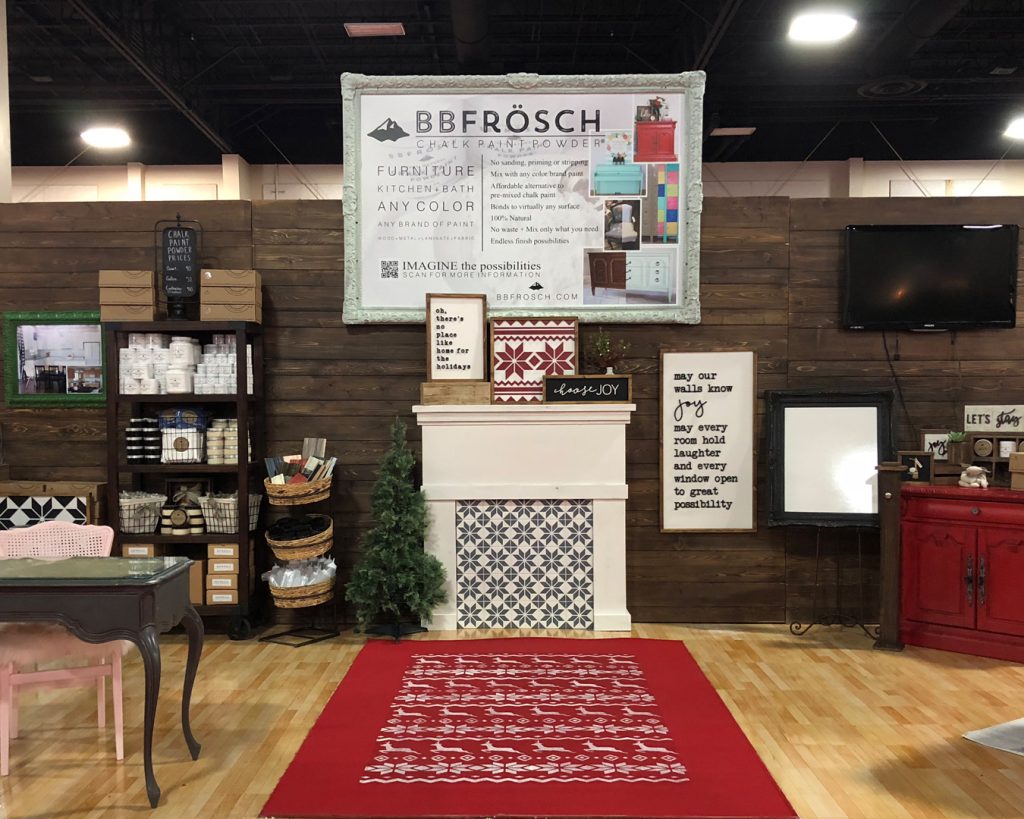
It was the perfect addition to our booth for Pinners Conference in Salt Lake City. I had so much fun creating the painted tile insert, I made another stencil and painted one of my rugs to match!
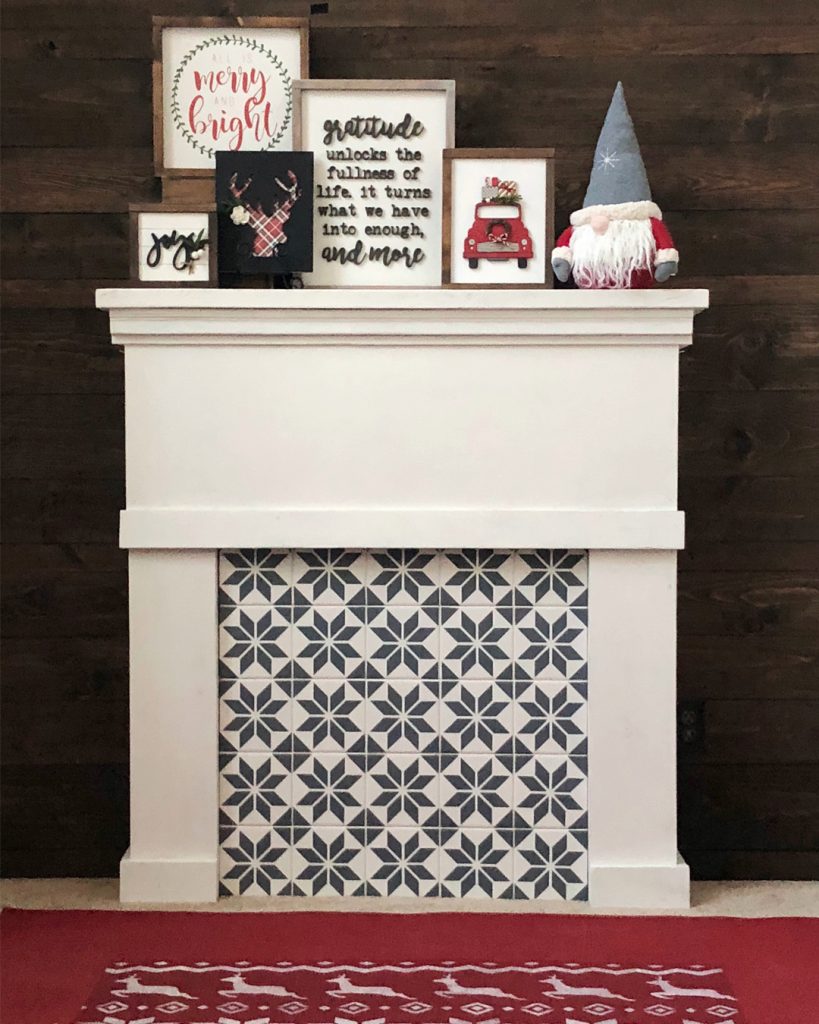
I love it so much, that I decided not to just save it for our show booth, so I brought it home and put it in front of my faux-stained wall for the holidays! You can find the pocket frames and artwork from my friends over at Details2Enjoy.
Find more affordable chalk paint inspiration at bbfrosch.com. Follow BB Frösch on Instagram, Pinterest and Facebook.

Love your work and you let me discover chalk paint powder, what a great tip.
When I do my floor I will send you a picture.
Thank you.