Hi thrifty friends! I am so happy to be back at All Things Thrifty for my fourth contributor post. I hope you remember me from my others posts on my DIY “upholstered” chair with fabric and Mod Podge, my DIY Art Canvases and my thrifty Princess Art, but as a reminder, I am Tasha and I blog over at Designer Trapped in a Lawyer’s Body. So, so happy to be here!

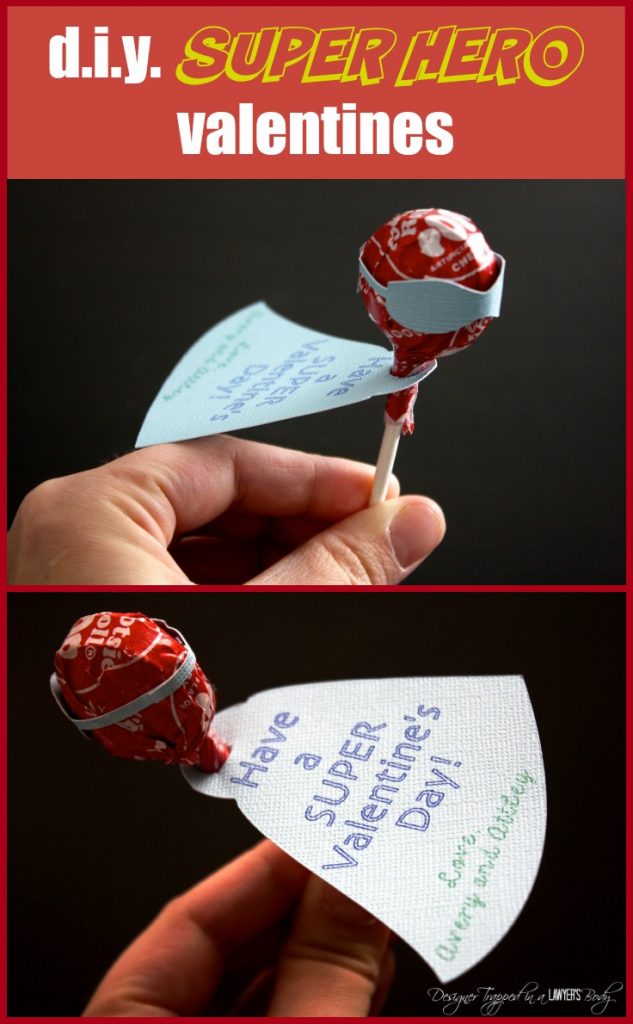
Today I am going to show you how I made these ADORABLE superhero tootsie pop Valentines for all of the boys in my twin girls’ preschool class. I think the boys will absolutely LOVE them! {I made cute butterfly Valentines to give to the girls–that tutorial will be coming soon on my blog–I hope you will come check it out!}
Materials Needed:
- Silhouette CAMEO or Portrait machine
- 12 x 12 inch card stock
- Silhouette sketch pens
- Tape
- Tootsie Pops
Steps:
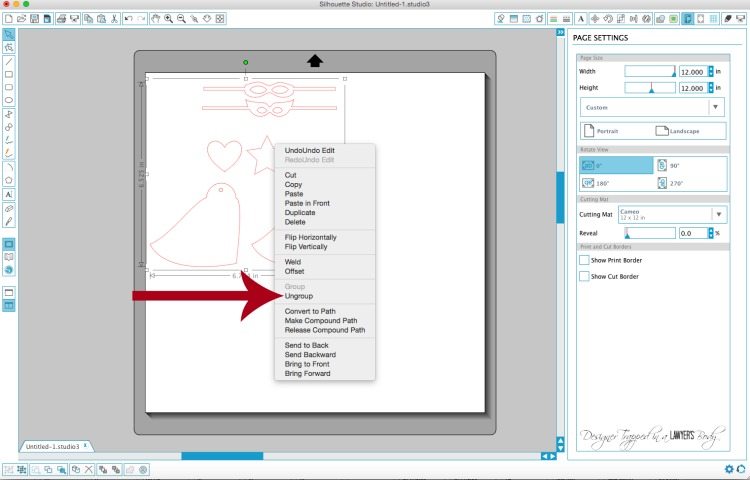
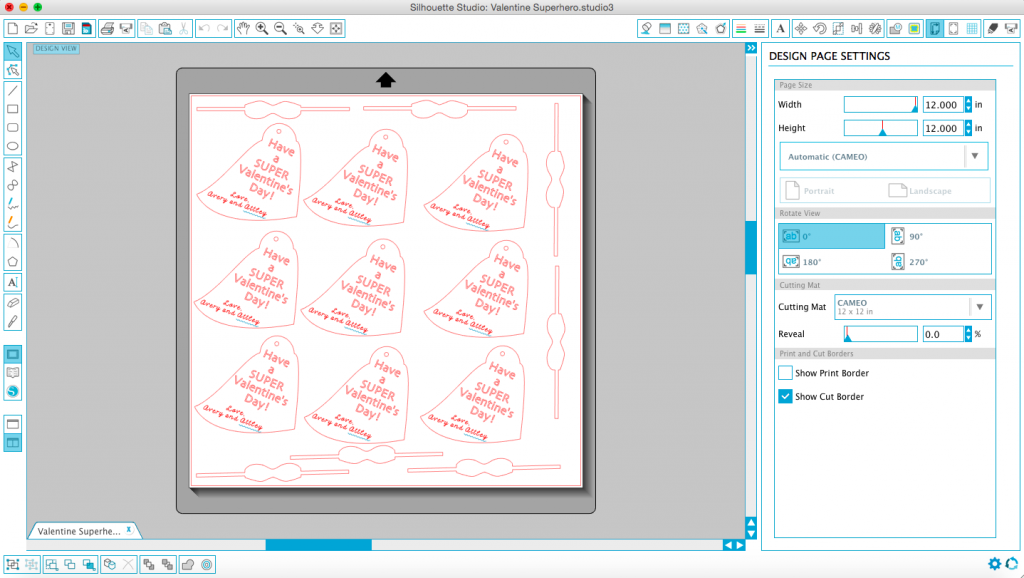
1) Using your Silhouette Studio software, begin by adjusting your page settings to 12 x12 inches.
2) Next you need to create your cut file. You could certainly create your own from scratch, but I purchased the Hero Lollipops {Design ID #55326}.
3) If you purchase the same design I did, this is what your screen will look like when you open up your cut file.
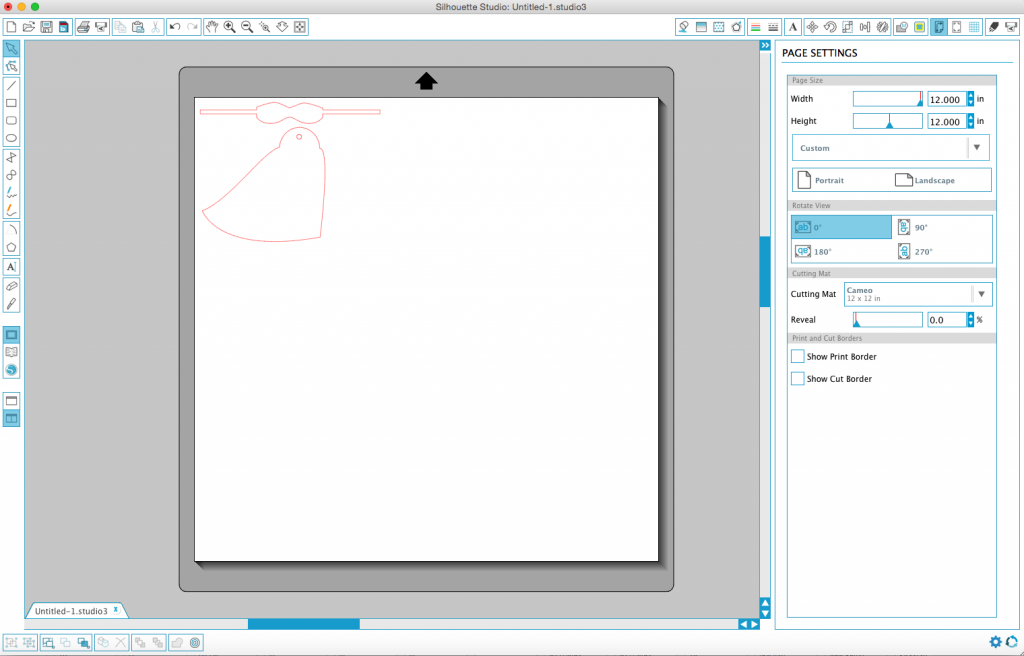
4) I did not want to use the stars or the inner cuts on the masks, so I right clicked and selected “ungroup.” This allows you to delete those shapes that you don’t want to use.
5) After you have ungrouped the shapes, delete what you don’t plan to use. This is what I was left with.
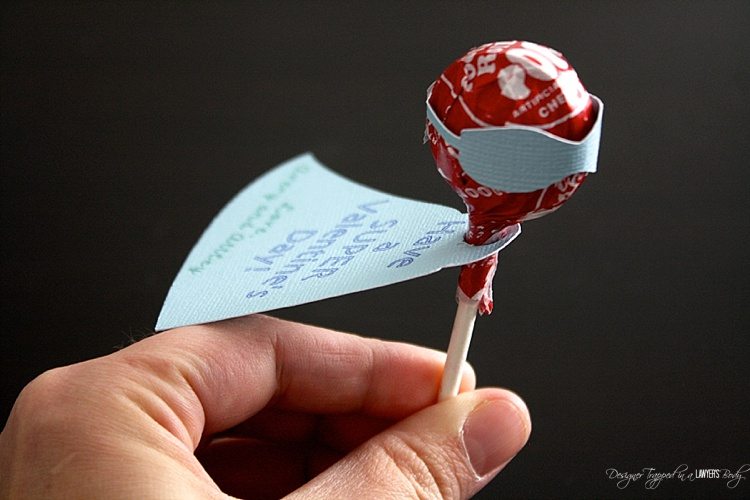
6) Next, add whatever text you would like to the back of the cape using your text tool.
7) Finally, duplicate your shapes so that you cover the entire page with capes and masks. I was able to cut 9 capes and 7 masks. I had to use a small piece of card stock to cut additional masks.
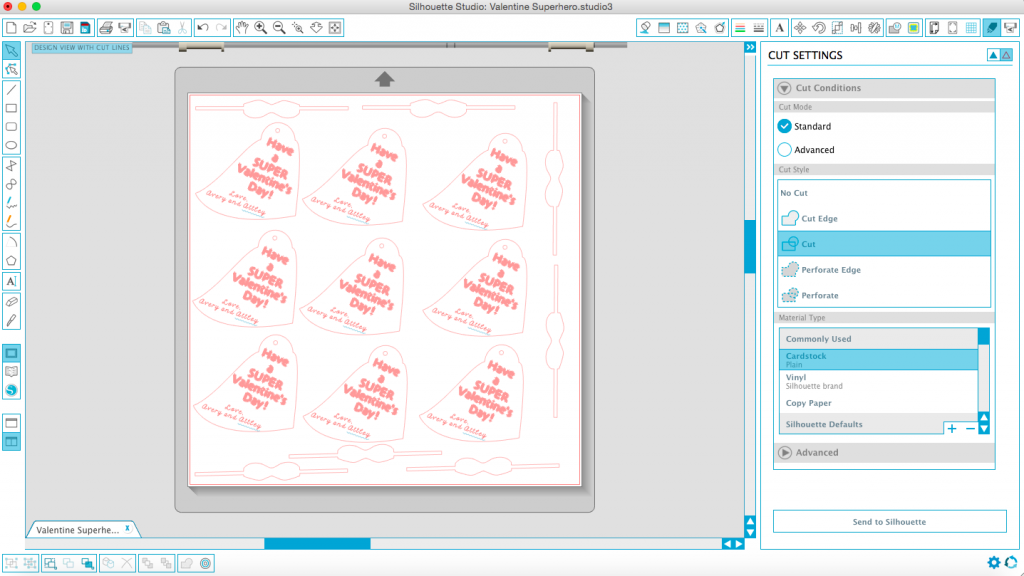
8) Once you are happy with your design, place your cardstock on the cutting mat and open the Cut Settings window. By default, all lines in your project will be set to “Cut.” Just bear in mind that with sketch pens, the pen will be drawing instead of cutting. Anything that is set to “Cut” will instead be drawn with your sketch pens. So, if you want to use two different colors like I did, you have to select the portion of your design that you do not want drawn the first time around and change the cut style to “No Cut.” I used the blue sketch pens on my first pass, so I adjusted my settings accordingly. Only the portion of your design with a thick red line on top of it will be drawn {see below}. Load your first color sketch pen and send it to your Silhouette!
9) After the first part of your design has been drawn, DO NOT UNLOAD YOUR CUTTING MAT OR ADJUST IT IN ANY WAY! Instead, reverse the steps outlined in step 8 above. You will want to change the part you have already drawn to “no cut” and the second part to be drawn to “cut.” Be really careful not to accidentally move any part of your design as you do this. Then, don’t forget to change the color of your sketch pen before you send it to your Silhouette!
10) Once your entire design has been sketched, you still need to cut out your design, so DO NOT UNLOAD YOUR CUTTING MAT OR ADJUST IT IN ANY WAY! Again, you are going to repeat the steps in number 8 until all of your text has been changed to “not cut” and your capes and masks have been changed to cut. Be sure to also change the “material type” to “cardstock” and load your blade. Mine cut perfectly with the recommended blade setting of 4. Then, send it through your Silhouette one last time!
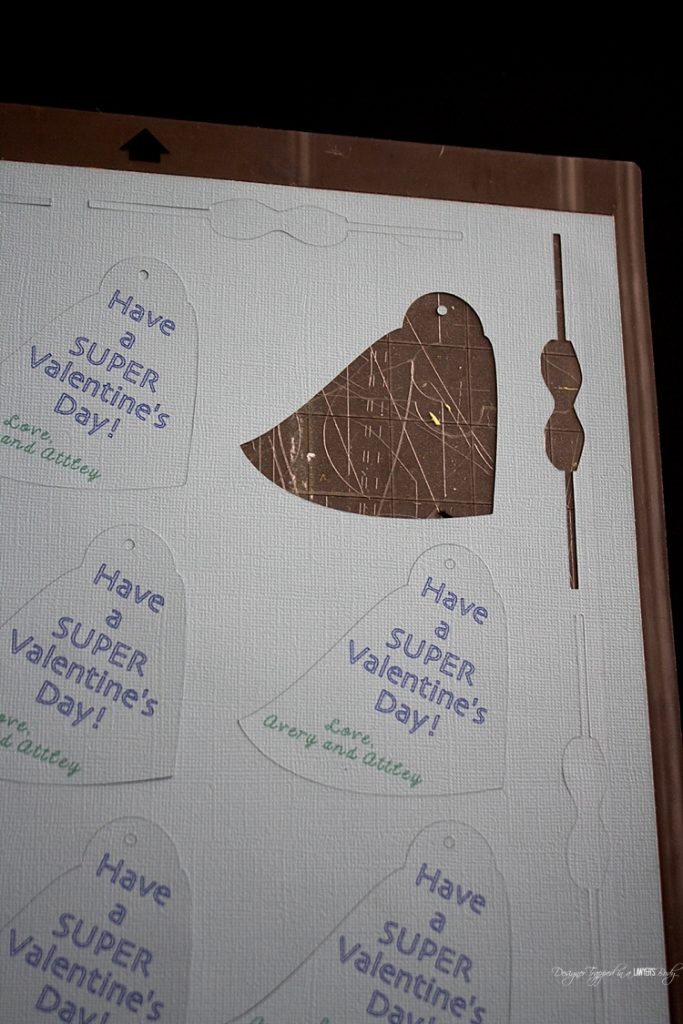
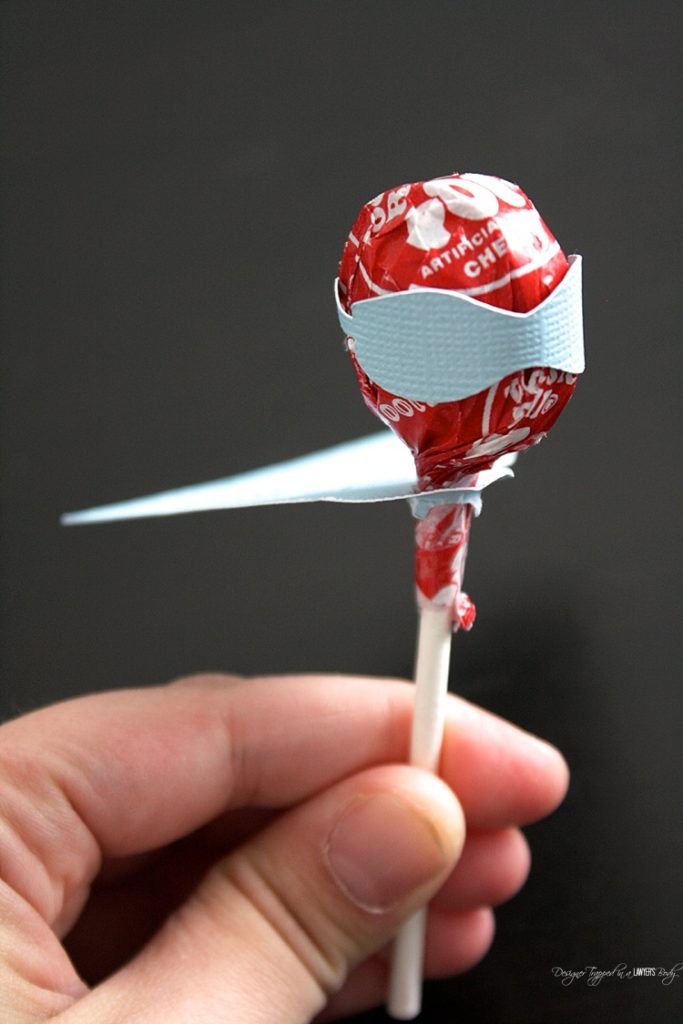
11) Once your design is all drawn and cut, remove the shapes from your cutting mat. You will probably need to enlarge the hole that the lollipop stick will go in just a bit–a regular hole punch works well.
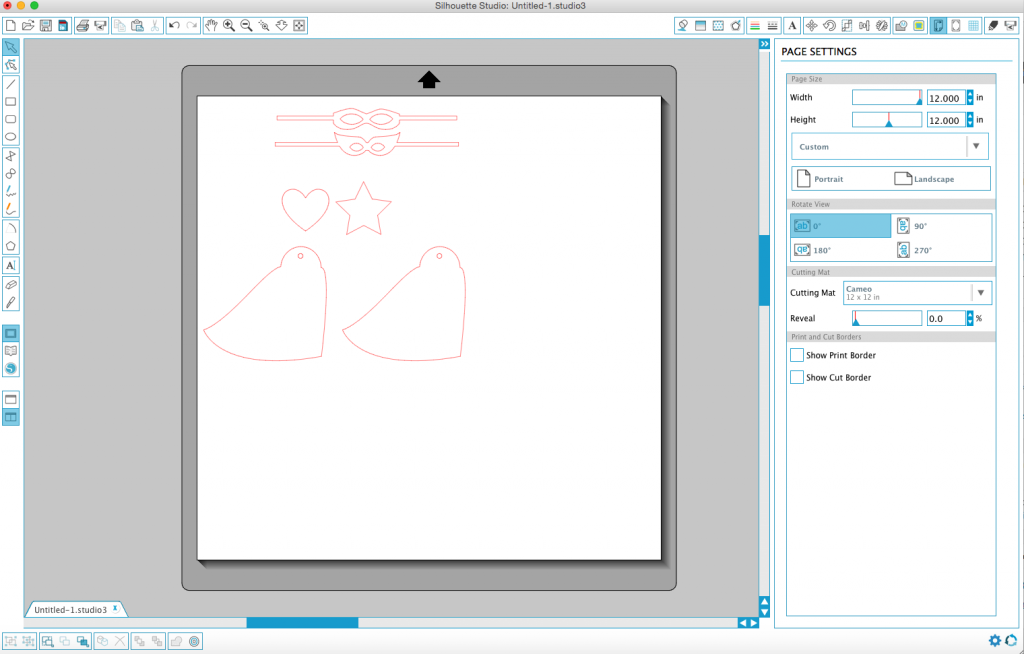
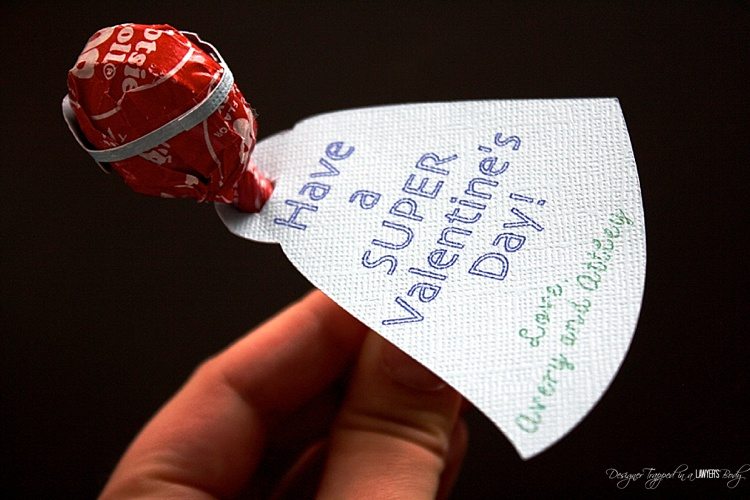
12) Place your lollipop through the whole and wrap the mask around the lollipop, securing it in place with a small piece of tape.
That’s it! How ADORABLE are these?!
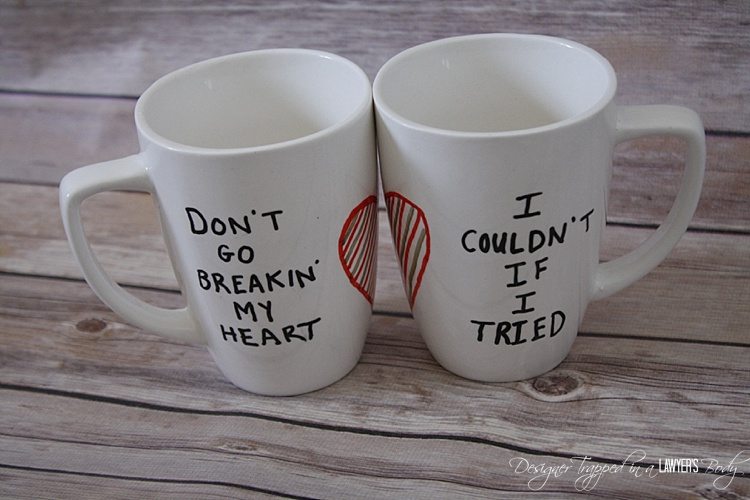
If you enjoyed this project, you may also want to check out my DIY his and hers Sharpie mugs:
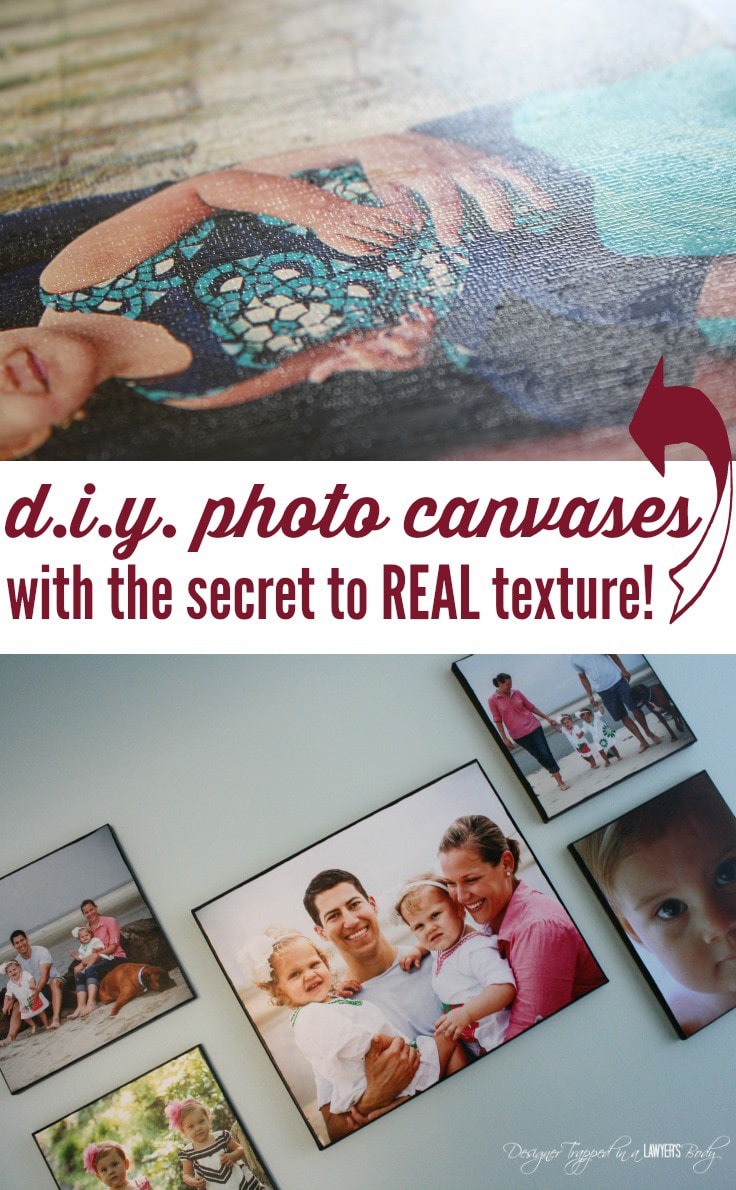
Or my DIY photo canvases with the secret to REAL canvas texture:
Or my DIY felt doll tutorial:
Thank you so much for hanging out with me today! I can’t wait to join you again when I am back for my next contributor post. Meanwhile, I would love for you to come hang out with me over at my blog! You can find me over at my blog, Designer Trapped in a Lawyer’s Body or connect with me on social media. You can find me pretty much everywhere 🙂 See you soon!
Facebook | Twitter | Instagram | Pinterest | Google+ | Hometalk
Cute idea, but I would venture to guess that at least 85% of the readers of this blog don’t have one of those machines.
Thanks, Uta! You could certainly use scissors and pens to make your own without a Silhouette. It would take longer, but would be just as cute!
I love this blog! and the tootsie super valentines are so cute. I am curious, what inspired you to publish this blog?
~Sister Bentley
So cute! I love it. I did some years ago with felt and Im pretty sure my fingers darn near fell off in the process. I have a silhouette but I have yet to brave the whole “figure out how to use this thing”. I just might have to do this now… one of my 3 boys will probably want some.
Thanks, Aurie! You should totally break into your machine. It’s easier to use than you think and once you start, you won’t be able to stop!
Perfect gift idea for my two grandkids! Brody, 8 and Dahlia, 5. I didn’t have the machine/program but eyeballed your pattern and drew it on a blank piece of paper as a template. I practiced handwriting the sayings onto the templates first to make sure of fit. Used colored pencils. Cut out the shapes on colored card stock I had. Turned out super cute. Now to buy a couple of tootsie pops and get them in the mail (they live in another state. ): Thanks so much!