Hello darlings! It’s Kenz here from Interiors By Kenz. I have a public service announcement for you! Save your wrapping paper tubes while you finish up your last bit of Christmas preparations. I have a fantastic way for you to upcycle your wrapping paper tubes, Christmas lights, and cardboard boxes just in time for your New Year’s Eve parties.
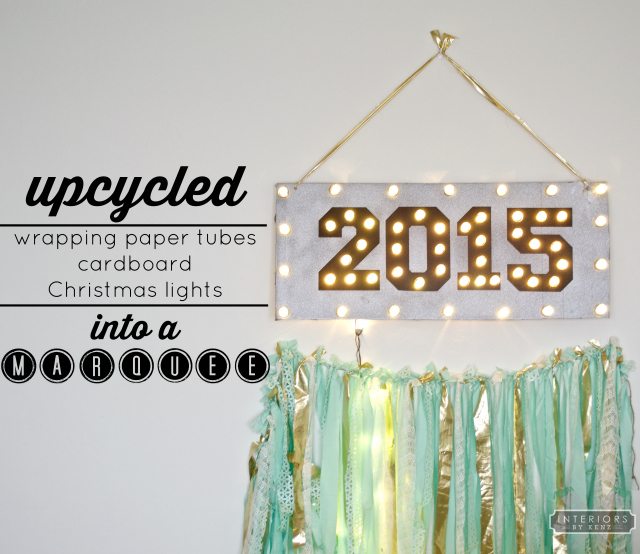
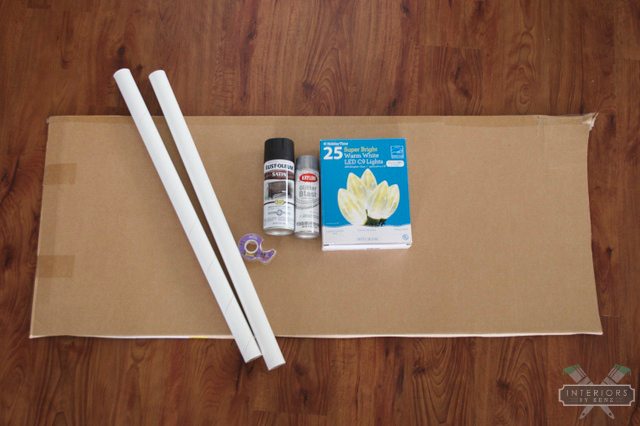
This marquee is quite simple to make. Way easier than it looks! The only tools needed are an xacto knife and a glue gun. Supplies needed: Cardboard, wrapping paper tubes, spray paint, outdoor Christmas lights. I used RustOleum black satin, and Krylon silver glitter blast. I cut my piece of cardboard off the side of a box. The measurements are 20″ x 46″.
I marked the wrapping paper tubes in one inch increments, then sliced them with an xacto knife.
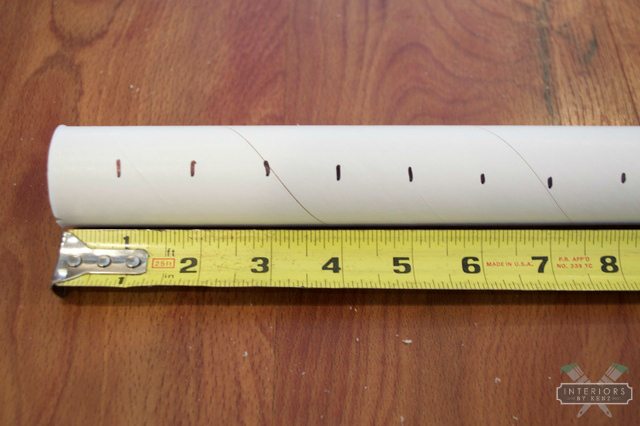
After I had my 2 tubes cut, I laid the slices out to make sure I had enough.

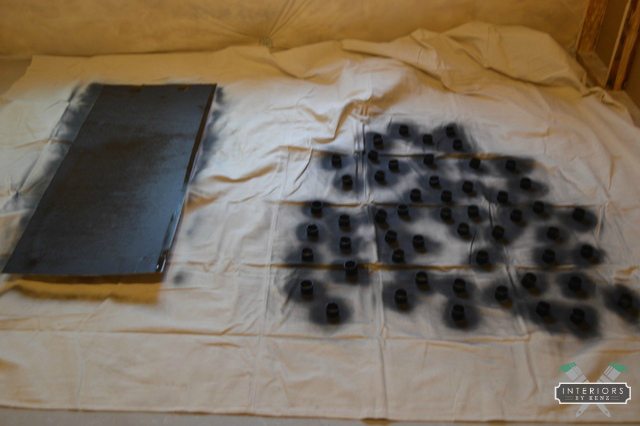
I proceeded to spray the cardboard and tube slices with black spray paint.
I used my Cricut Explore to cut a 12″ vinyl “2015.” However, you do not have to have a vinyl cutter to do this project. You can easily hand-paint a “2015” onto your cardboard sign.
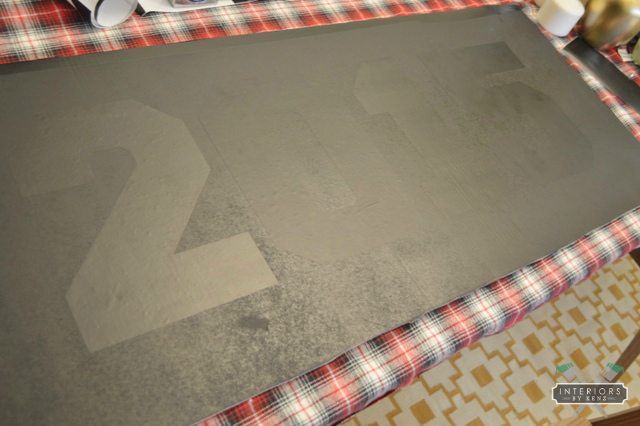
I carefully centered my numbers onto the cardboard, then spray painted the glitter blast onto the board.
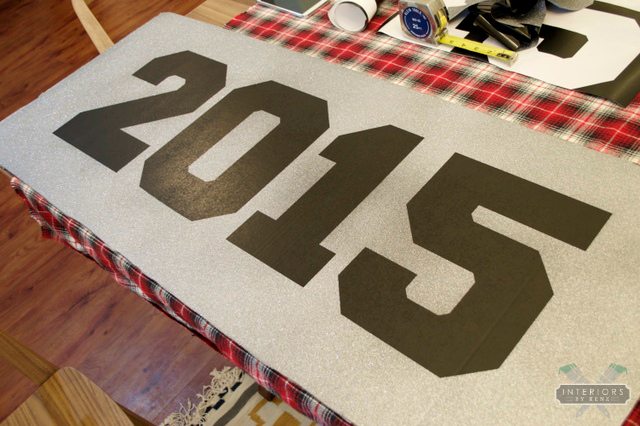
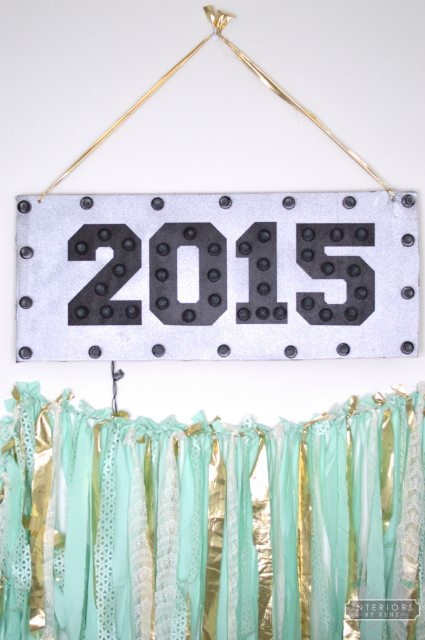
I peeled off the vinyl numbers, and this was what it looked like. SO GOOD!
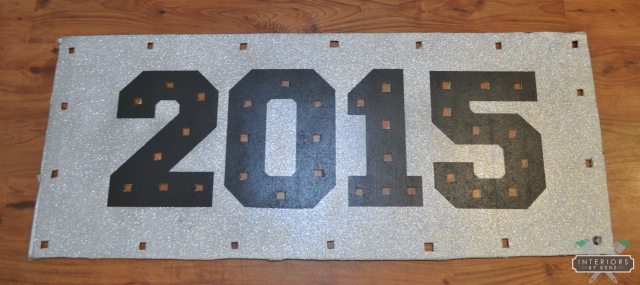
I laid the tube slices back on the board and marked an “x” where each one was so I would know where to make a cut for the lights.
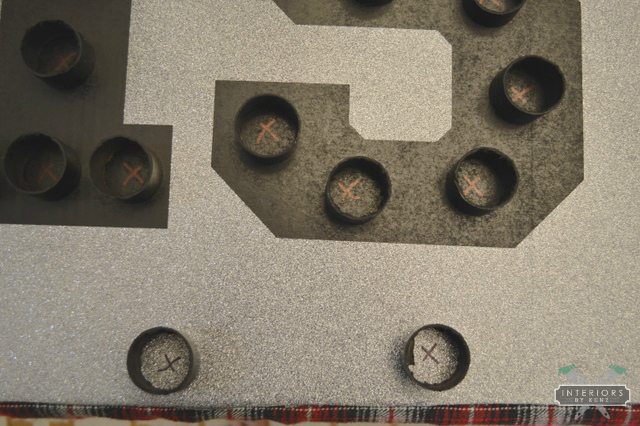
It was easiest to cut a square with the xacto knife right on top of the “x.” It sounds time-consuming, but it wasn’t at all. It went really quickly!
Using hot glue, I attached the wrapping paper tube rings around the holes. This also went by really fast.

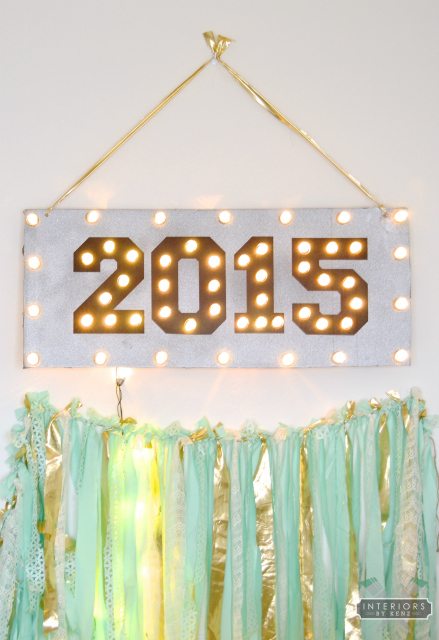
After the rings were secure, attaching the lights was no big deal. I unscrewed the bulbs, pushed the threaded end through the hole, and screwed the string end of the lights from the back side of the board.
I poked holes in the cardboard and tied a gold fabric strip to it so I could hang it. I covered the majority of the cord with a fabric tassel backdrop. This marquee would be perfect behind your food table at a New Year’s Eve party. It would also make a great photo booth prop. Even with the lights off it looks pretty spectacular!
Keep in mind, since this is cardboard, you probably shouldn’t leave it unattended as it could potentially be a fire hazard.
This project is an easy way to recycle materials you most likely have on hand. It’s inexpensive and sure to bring life and energy to your celebrations.
Have a happy and safe New Year!
this is awesome! love it! 🙂
I really really love this! Whenever I see these kind of signs, I always think they look great but seem really labor intensive and/or require power tools and such that I don’t have. Thanks so much for this easy alternative! I don’t think I’ll have time to make one for the New Year, but I’ve bookmarked this because there are so many occasions that this would be perfect for!
xx Kathryn
This is such a cute and simple idea! And the you could really use this Tutorial for Any type of marquee you want!
HAyden
Mylifeashayden.blogspit.com
I can’t even handle how cute and easy this is! So perfect!
Absolutely LOVED this Kenz. What an awesome project! And it looks so amazing. Love the streamers you added as well 🙂
As always, what a fun idea! Way to go Kenz! Glad to see a post from you!