I am so excited to show you the faux brick panels in this room! I get asked a lot about using them in our last house!
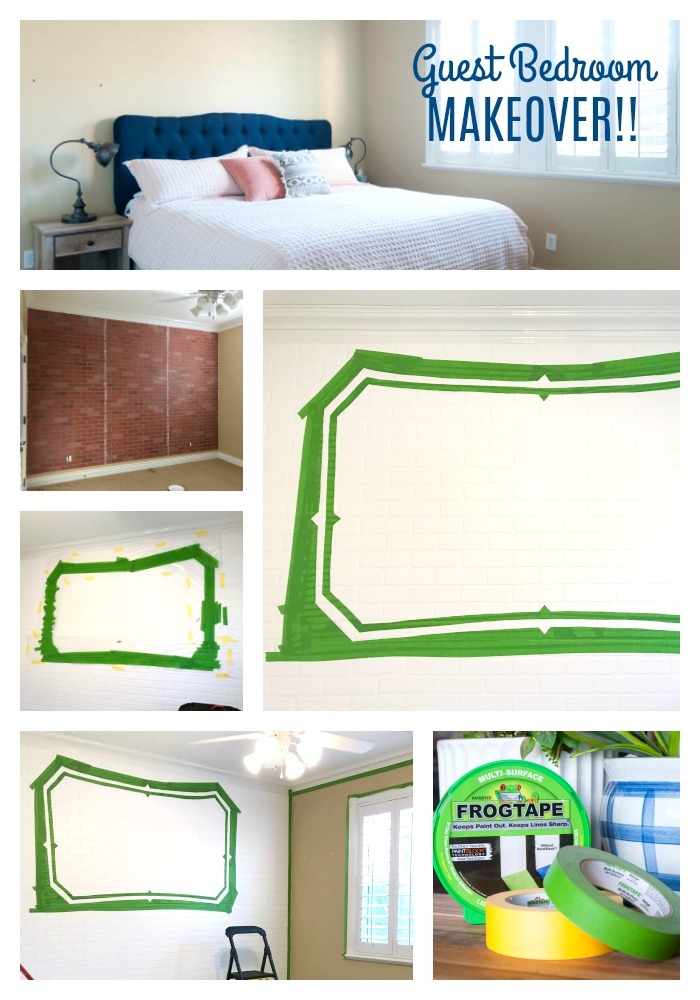
We are making progress to our guest room makeover! I’m excited to show you what has happened so far in our FrogTape® Paint Over Challenge project!
If you missed what this contest is all about, all you need to know is that if I win, I will get to donate $10,000 to juvenile diabetes! So, I’m extra excited and we are going all out to win!
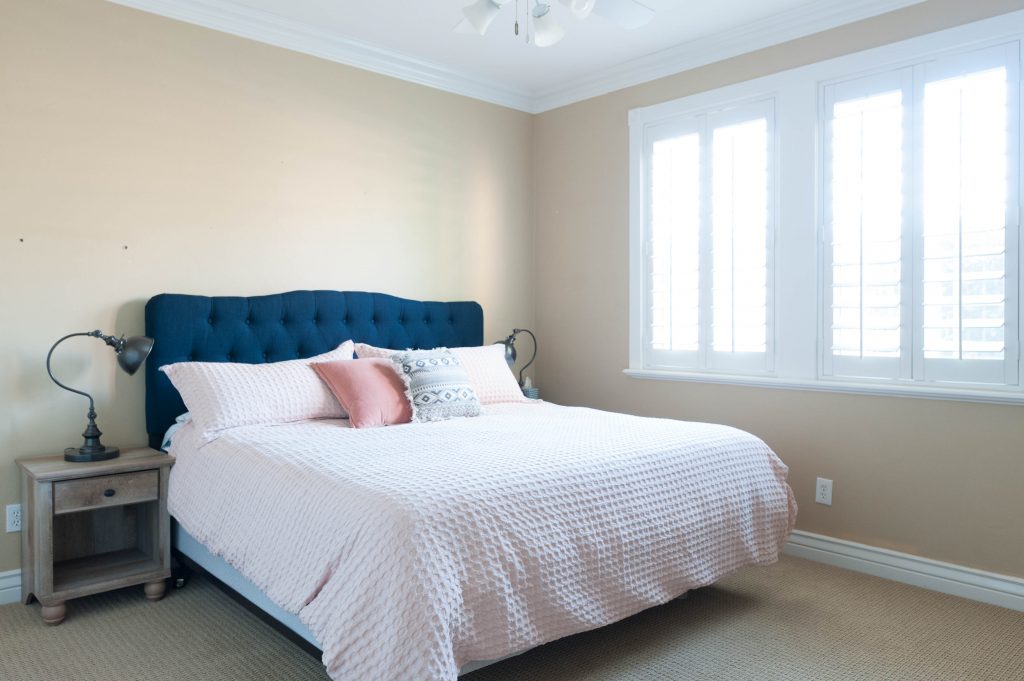
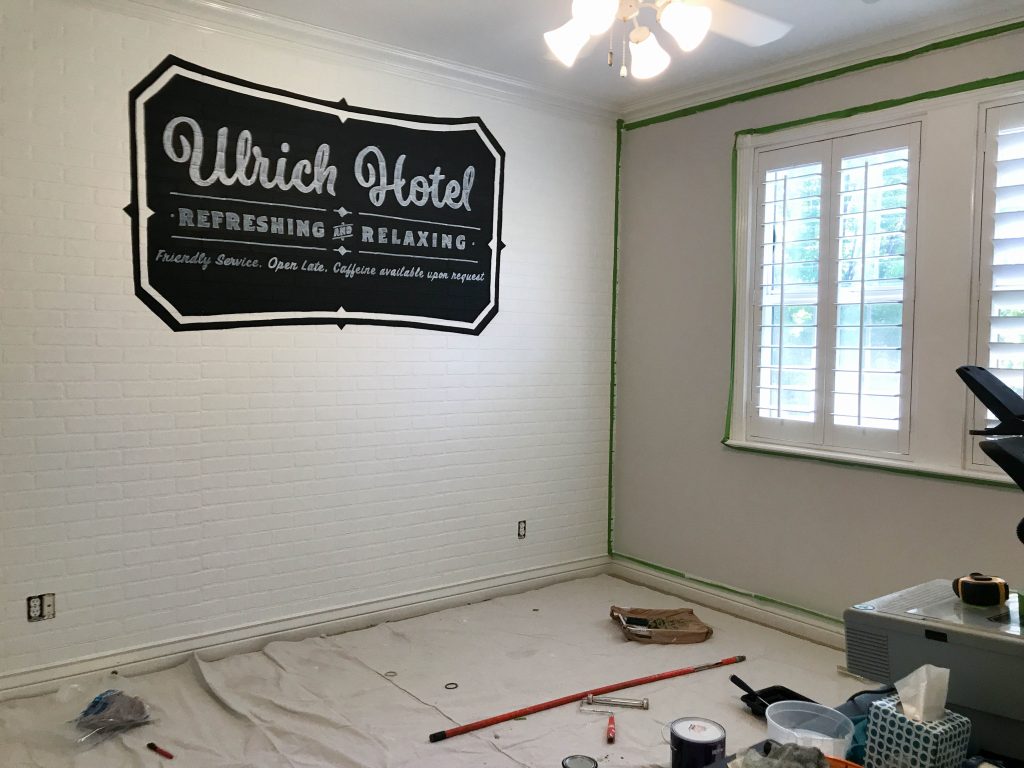
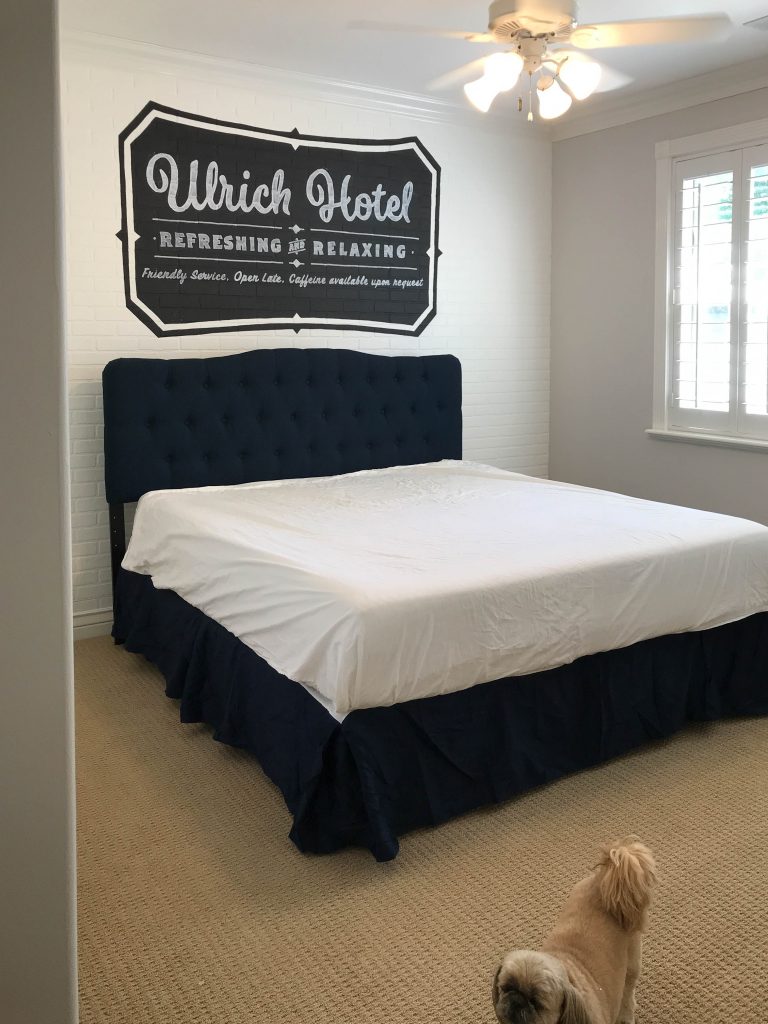
The guest room is getting a hotel hip vibe makeover with faux brick panels!
Even though pictures of the process are great, I decided that a video of the progress might be even more fun! I’ve watched this dozens of times. It’s mesmerizing!
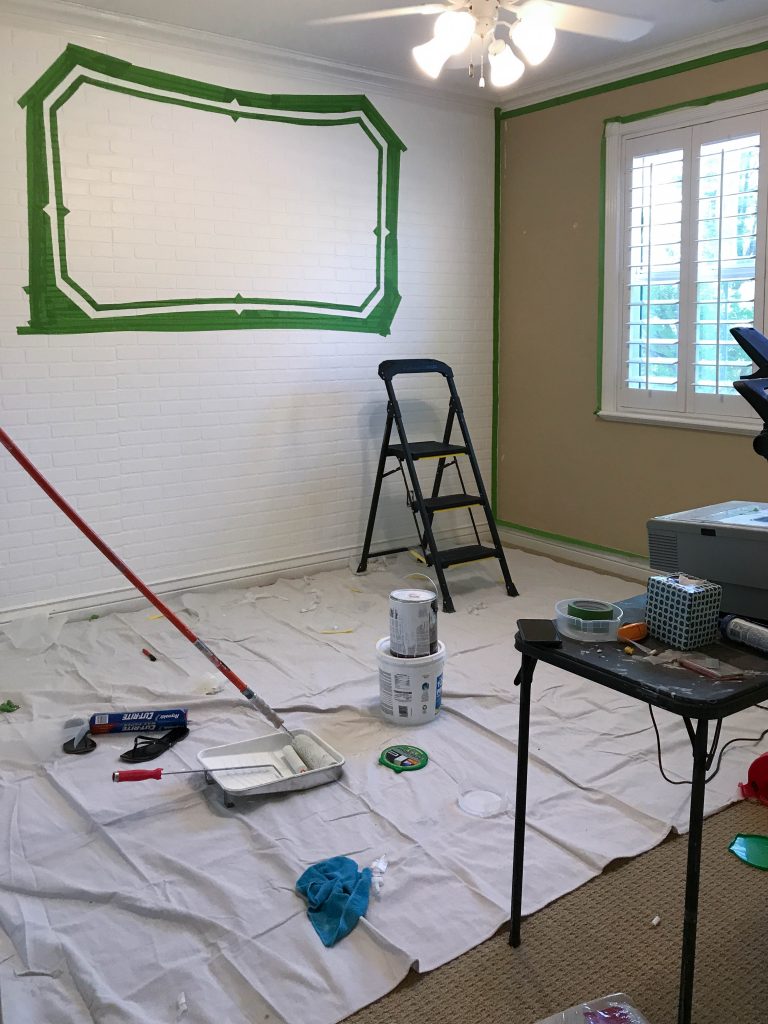
We had a $1000 budget and started by adding faux brick panels as our focal wall behind the bed. We bought the faux brick panels at Home Depot, and they only cost about $27 each. So, the entire brick wall was less than $100. 
Then we painted the room and brick with my favorite FrogTape® and Behr paint combo. The color of the brick was a custom white color to match the existing trim, and the walls are painted with 50% lightened Repose Gray.
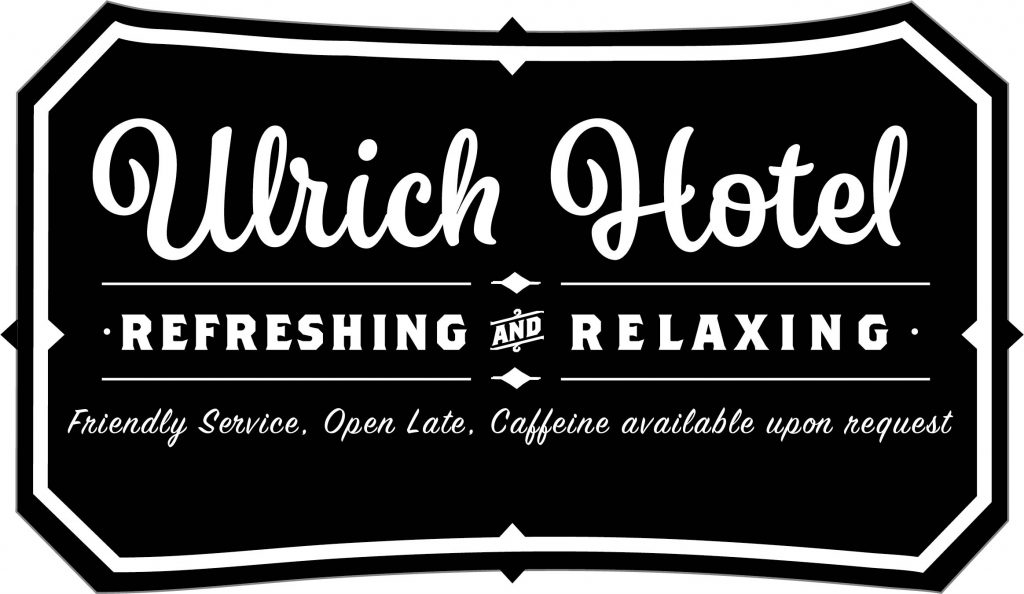
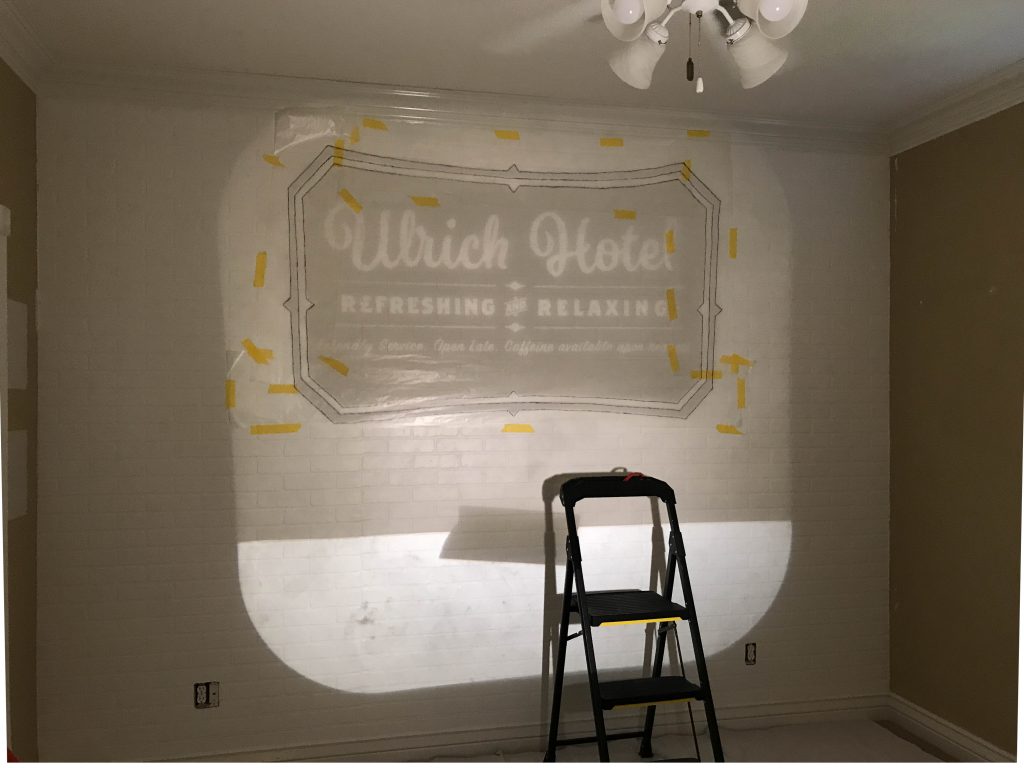
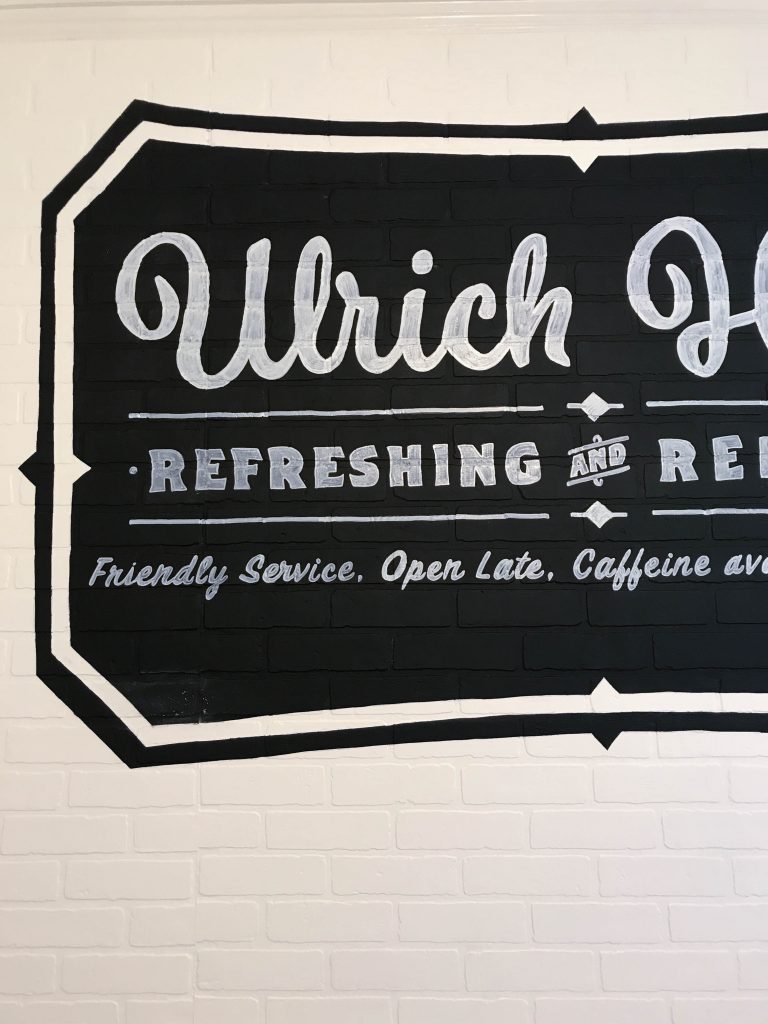
I wanted the brick to be the focal point of the room, and I wanted it to feel like the side of an old building, so I had my cute neighbor design me an Ulrich Hotel logo for the occasion.
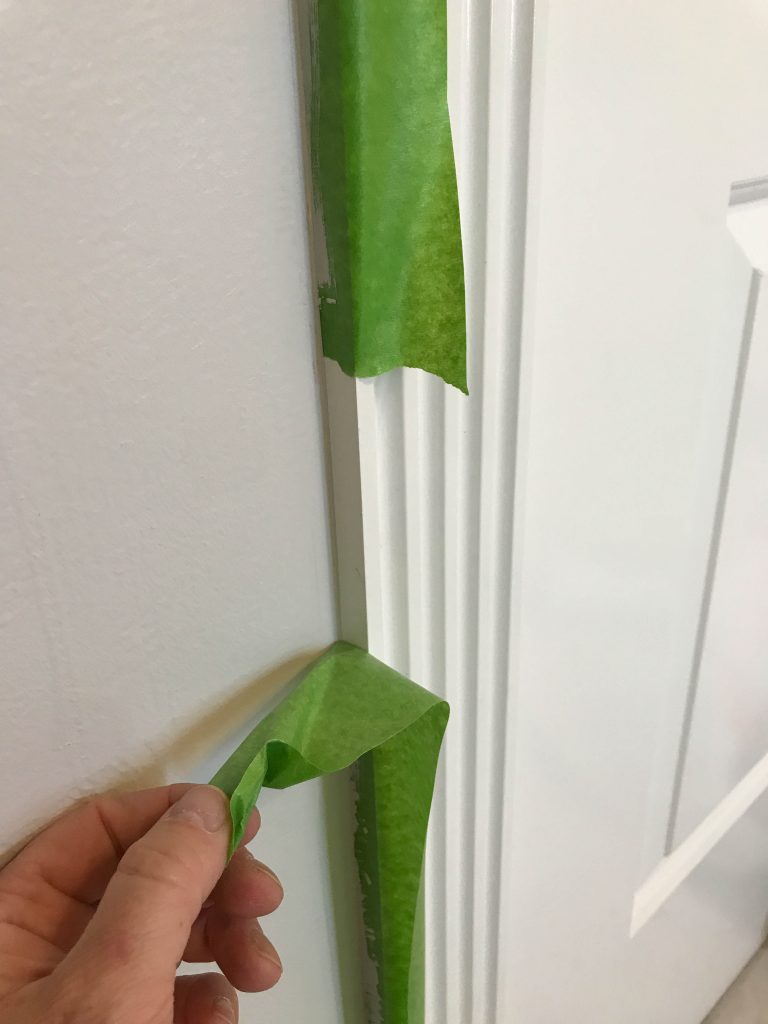
I used my old school projector to trace the frame of the logo onto the brick with pencil first, and then I taped wax paper to the newly painted brick. I used FrogTape® delicate surface painter’s tape for this because it works great on newly painted walls and won’t damage the new paint.
Then, I traced the frame onto the wax paper with a black permanent marker.
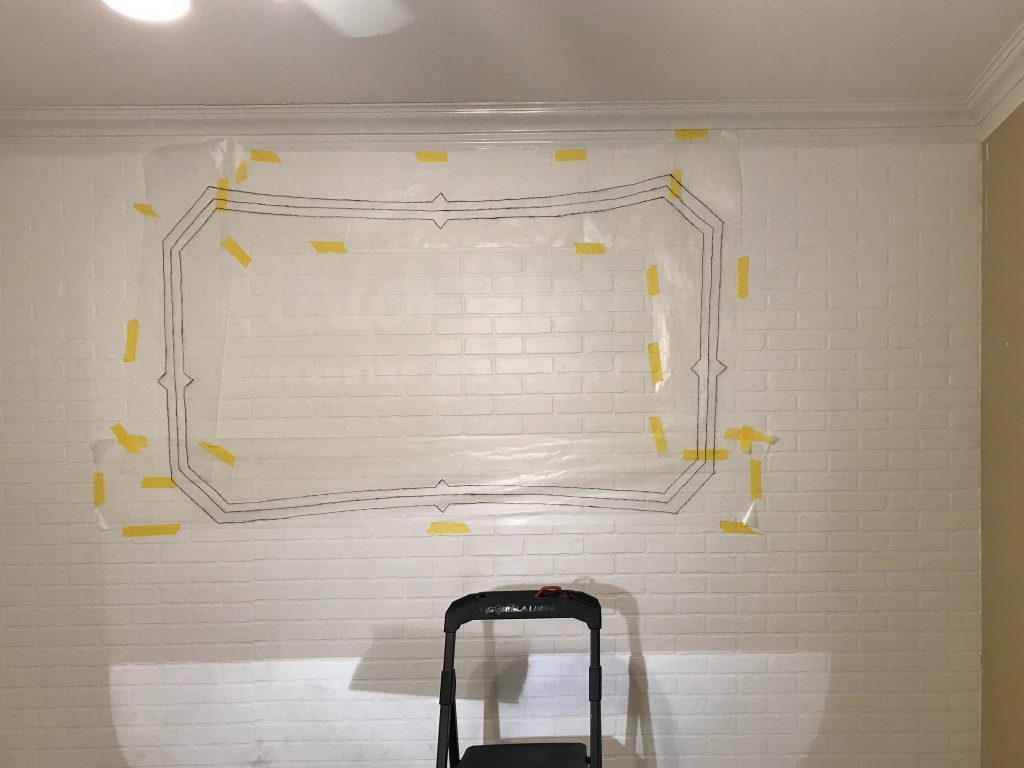
Next, I covered the frame with FrogTape®.
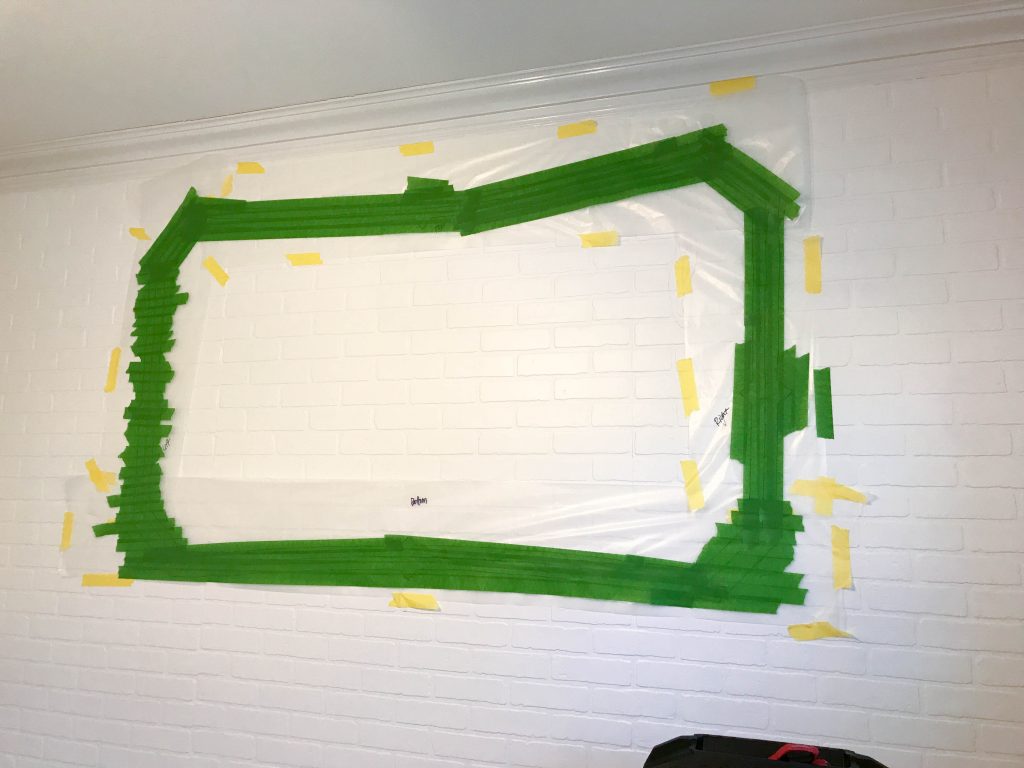
When I took the wax paper off the wall, the frame pattern was perfectly traced on the underside of the wax paper.
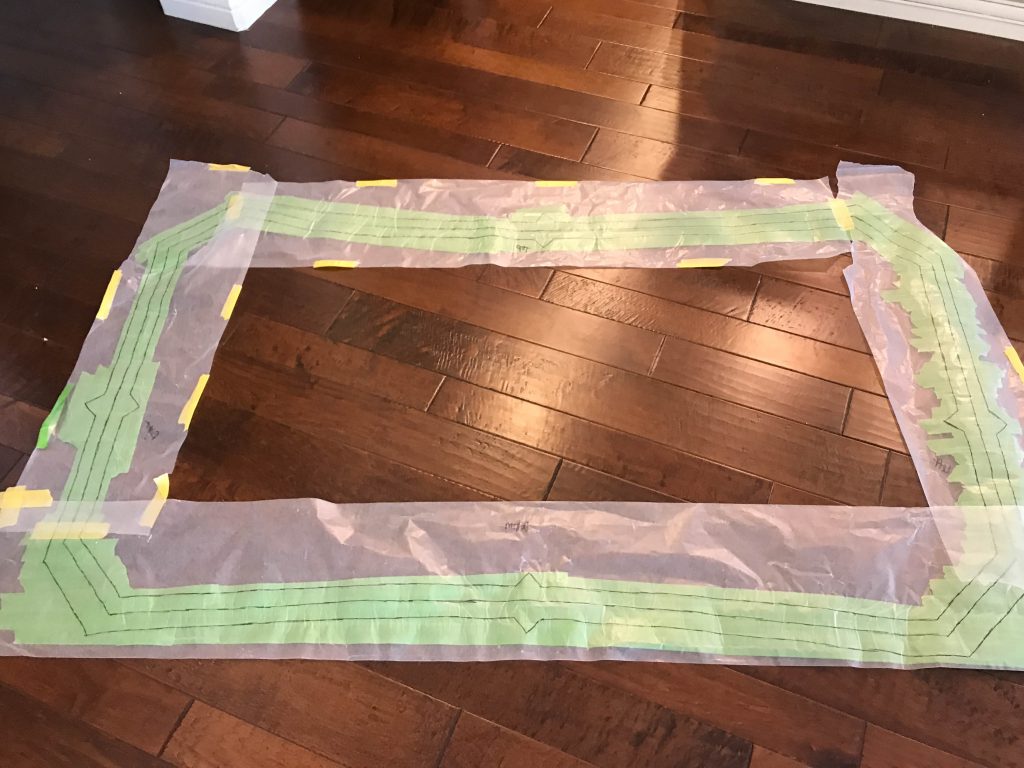
Now all I needed to do was cut the pattern with my scissors and go to town.
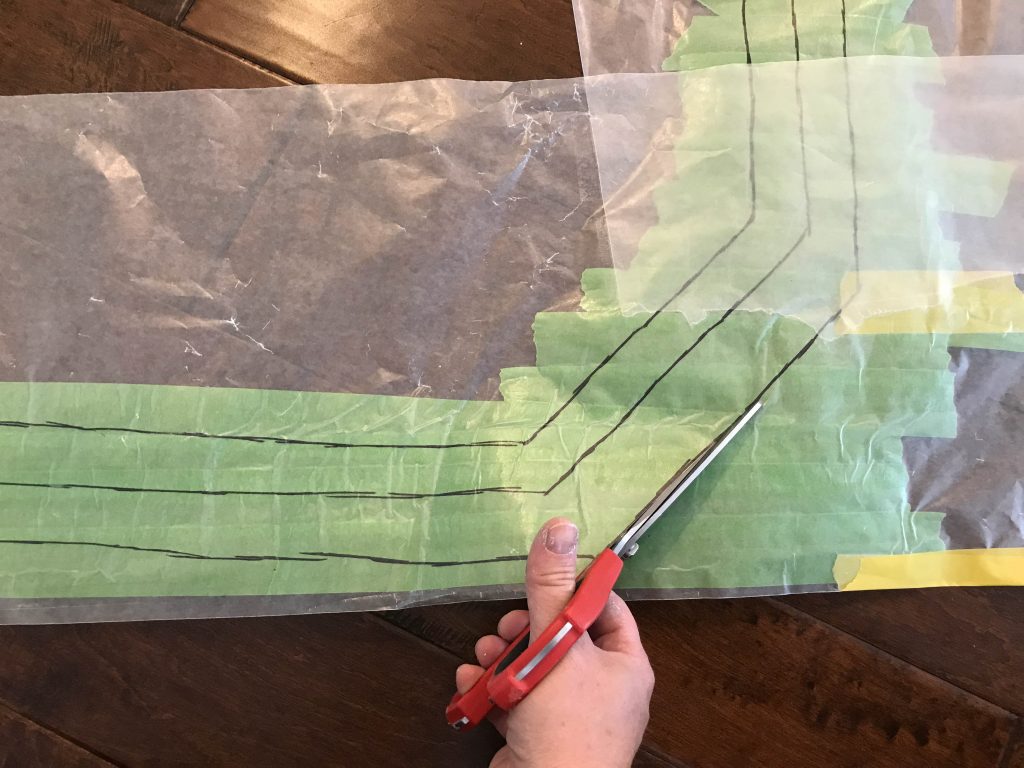
Although it may seem complicated, this entire process only took me an hour to complete from start to finish.
Then I painted the wall with flat black paint.
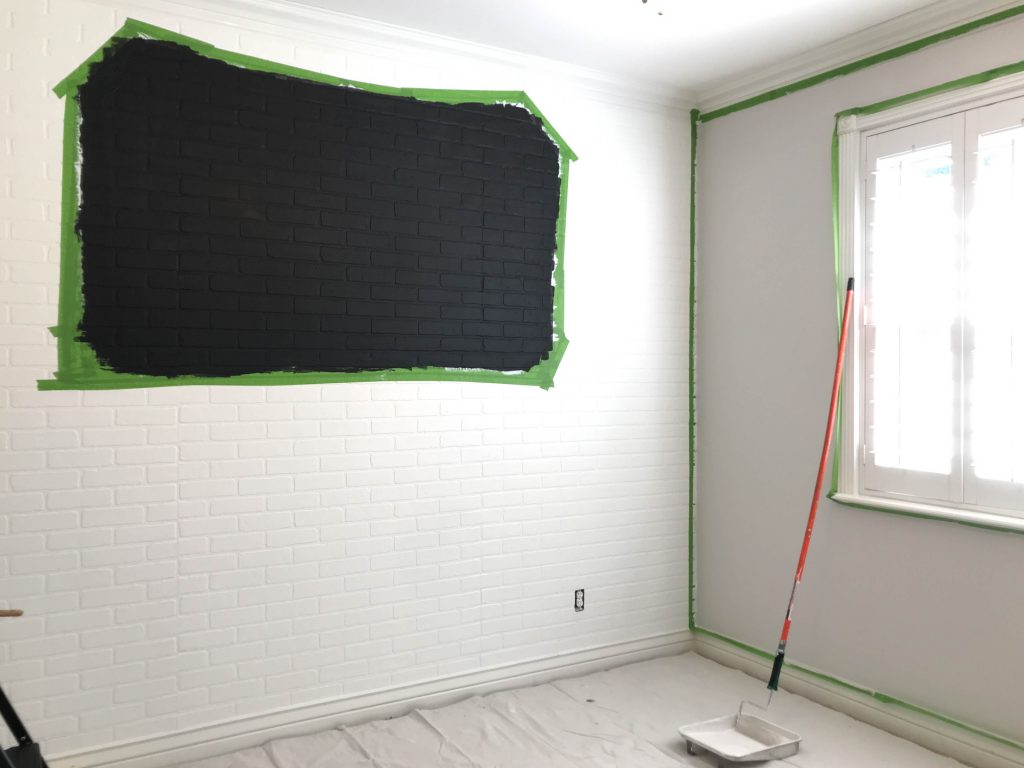
Then all I needed to do was trace on the hotel logo.
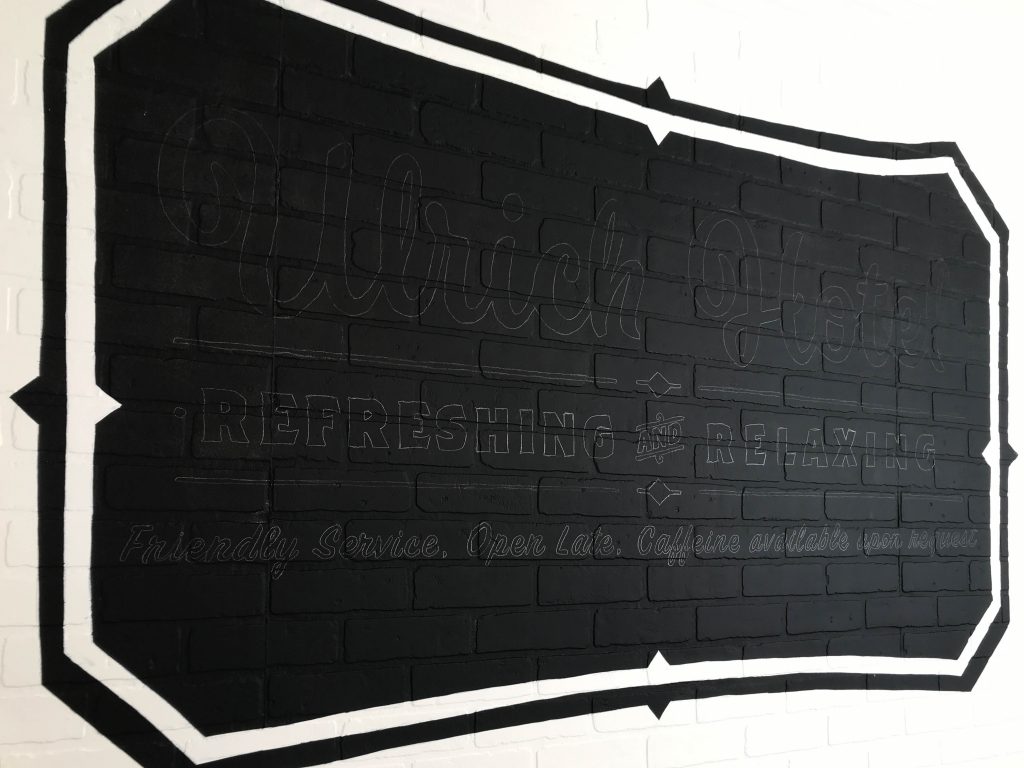
I used a pencil and my overhead projector to trace the outlines of the logo. Every single time I whip out the overhead projector, it brings me back to middle school math for some reason! HAHA.
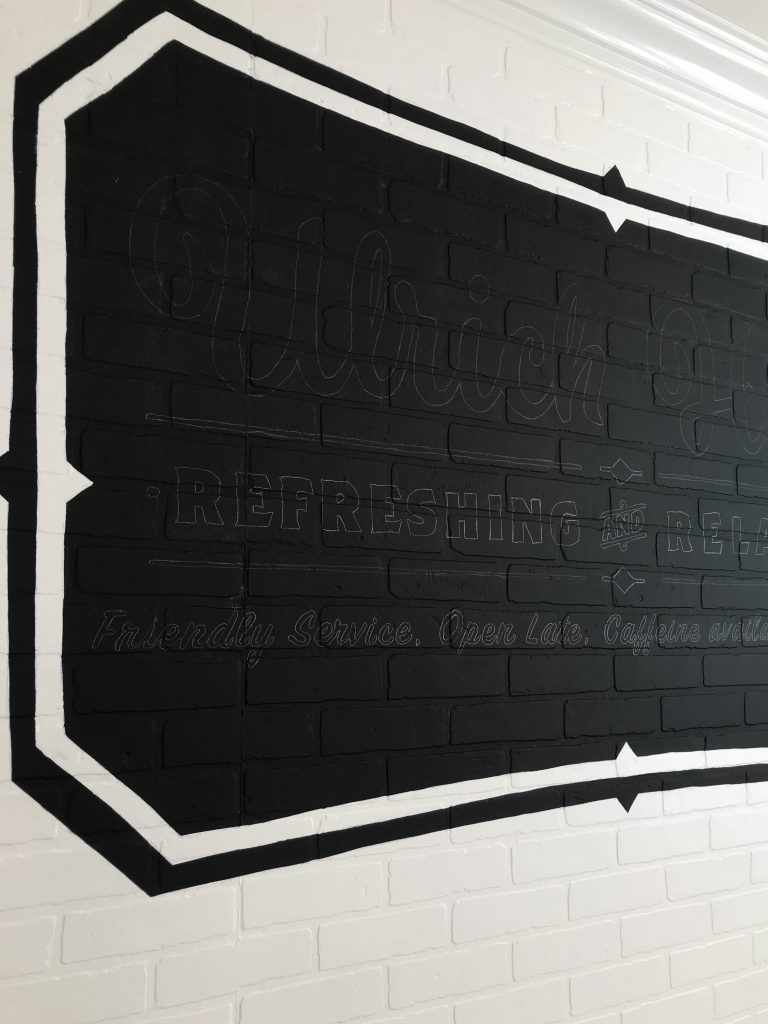
Then after the logo outlines were traced, I used a white, oil based sharpie paint pen to paint the words onto the black brick.
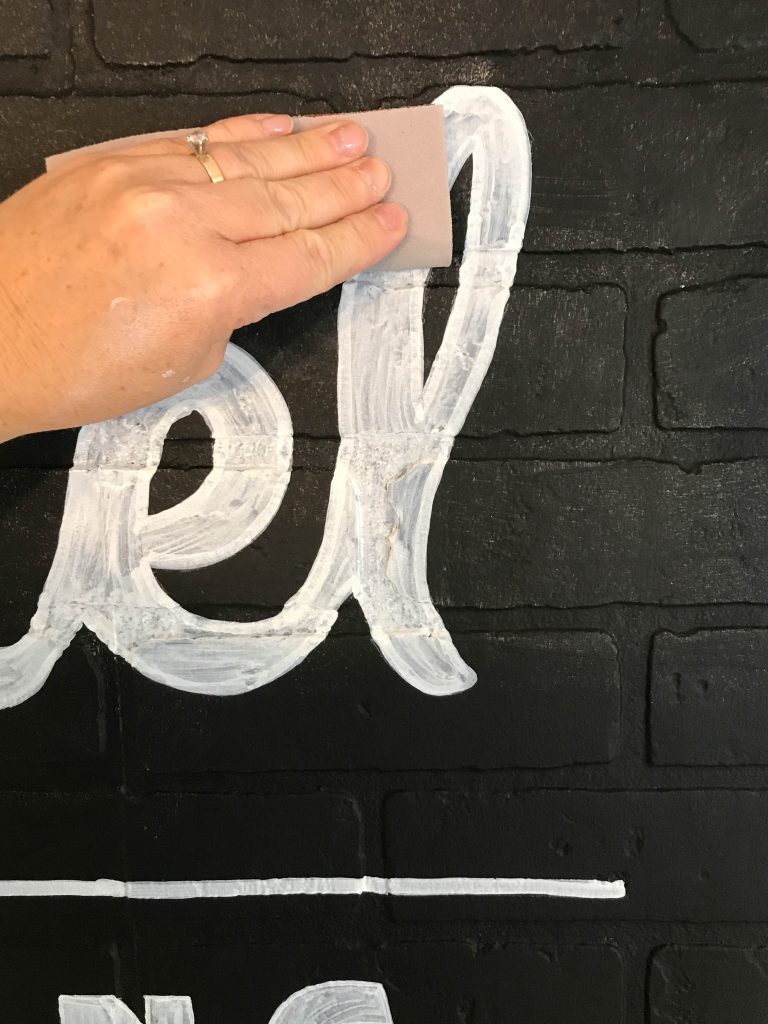
Painting the words took a few hours and then I sanded it slightly with 400 grit sand paper to give it a slightly aged look.
I’m super excited to show you the room reveal, and don’t forget, I’m counting on you to come back and vote on May 21st. Because I want to win the contest so that I can donate $10,000 to juvenile diabetes which is very near and dear to my heart because of my friends from Kisses for Kycie.
I’m so grateful for FrogTape® for inviting me to be part of this contest. I cannot wait to see what the other bloggers have done in their rooms too!
Stay tuned! The final reveal will be on May 21st!
xoxo,
Brooke
How many coats of white did you need on top of the faux red brick?
We primed it first with Zinsser 1-2-3 and then we did 2 coats of paint.
I LOVE IT – I have been dying to see this tutorial since I peeked at the pics in the dashboard a couple weeks ago.
The faux brick looks AMAZING! Well done!
Beautiful idea and beautifully executed! I’m inspired to do something like this in the side of the sheshed we are building.
Thank you!
I love this! I have already purchased the faux brick panels but I would like to know how you covered the seam.
We caulked it with paintable caulk before we painted them white. 🙂
BEAUTIFUL
Are you kidding me? Brooke, this is AWESOME!
I’d love to know how you attached the faux brick to the wall. I’m considering using it as a backsplash.
We brad nailed it into studs. We marked the studs with a stud finder before we started. 🙂
What a great idea! I love it.