A friend recently asked me to makeover her table that looked like this:
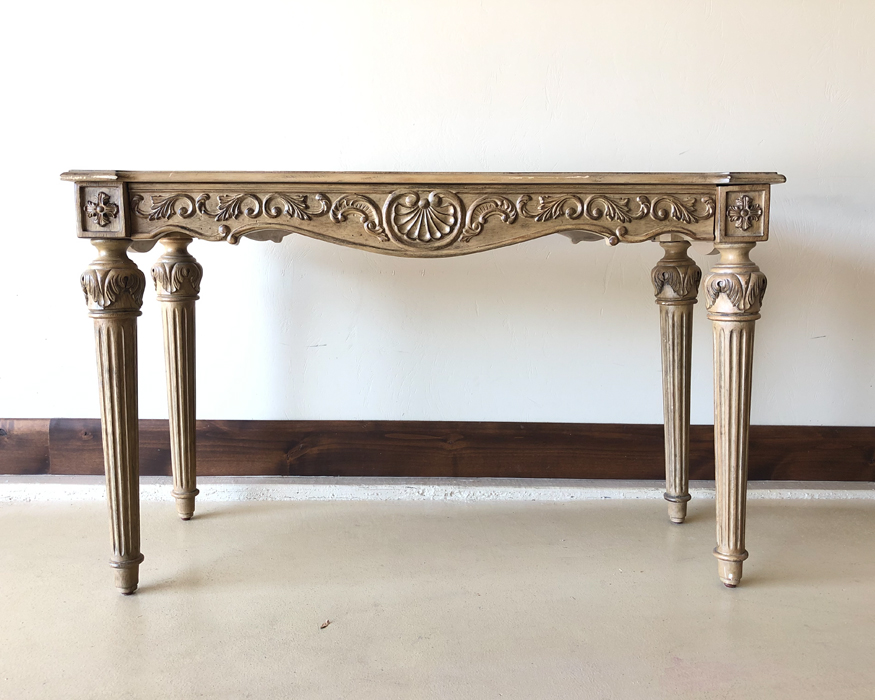
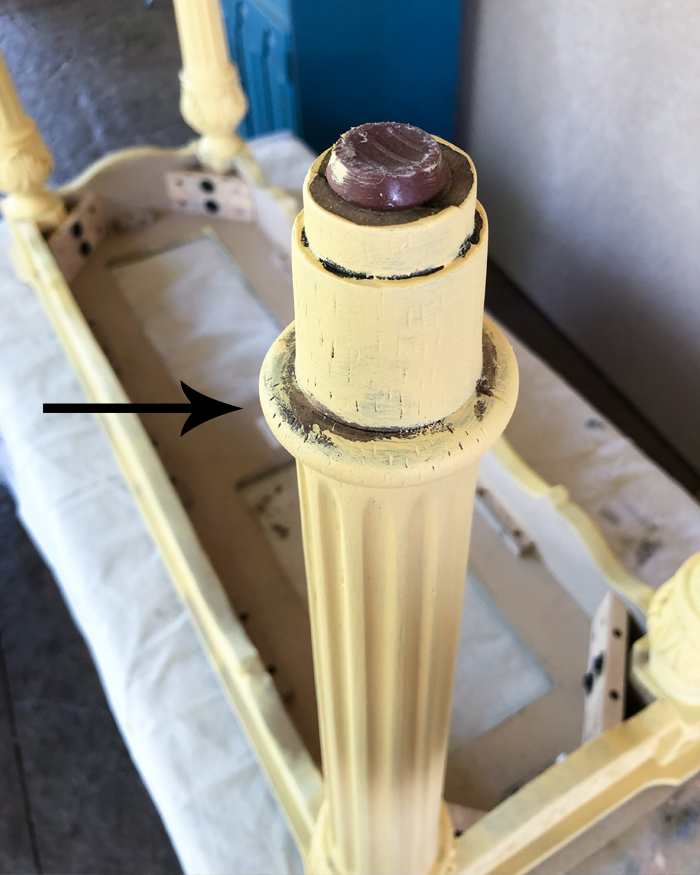
To be honest, I wasn’t a fan of the color she wanted, but the color choice turned out to be the least of my concerns when I got an up-close-and-personal look:
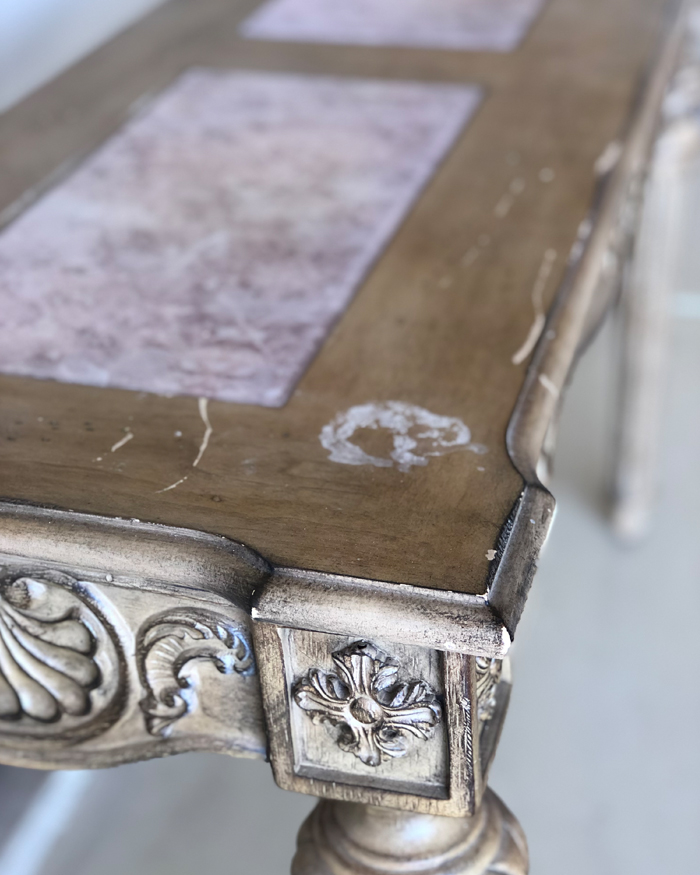
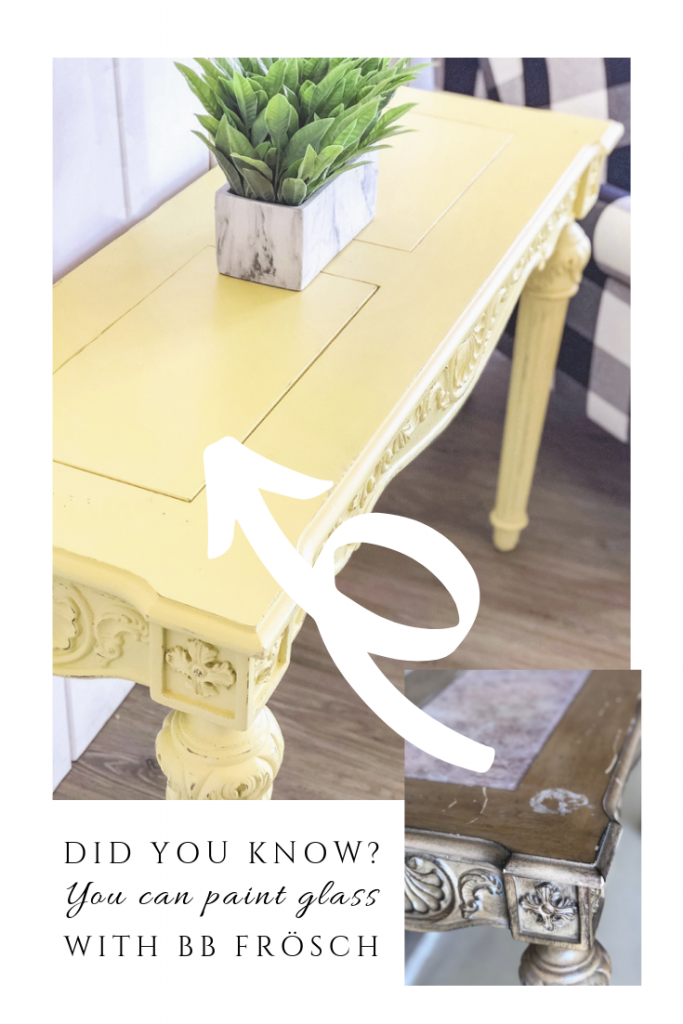
Not only was there a lot of damage, there were two hideous glass inserts that had some sort of coating on the back that was supposedly meant to look like marble. Blech!
One of the beauties of chalk paint is that you can paint mismatched surfaces like glass and wood to match.
I had Home Depot color-match a sample-sized jar of paint to Sherwin Williams Classic Gold SW 2831, then I mixed it with BB Frösch to make my own chalk paint.
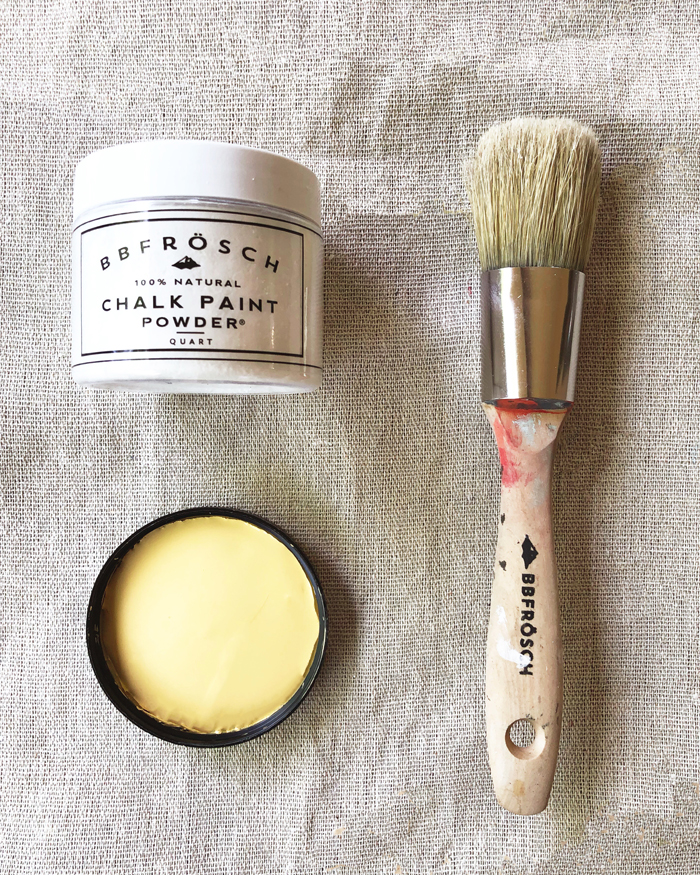
For anything with lots of embellishments, like this table, I strongly recommend a BB Frösch chalk painting brush. It allows you to easily get into all the grooves without flipping your paint everywhere.
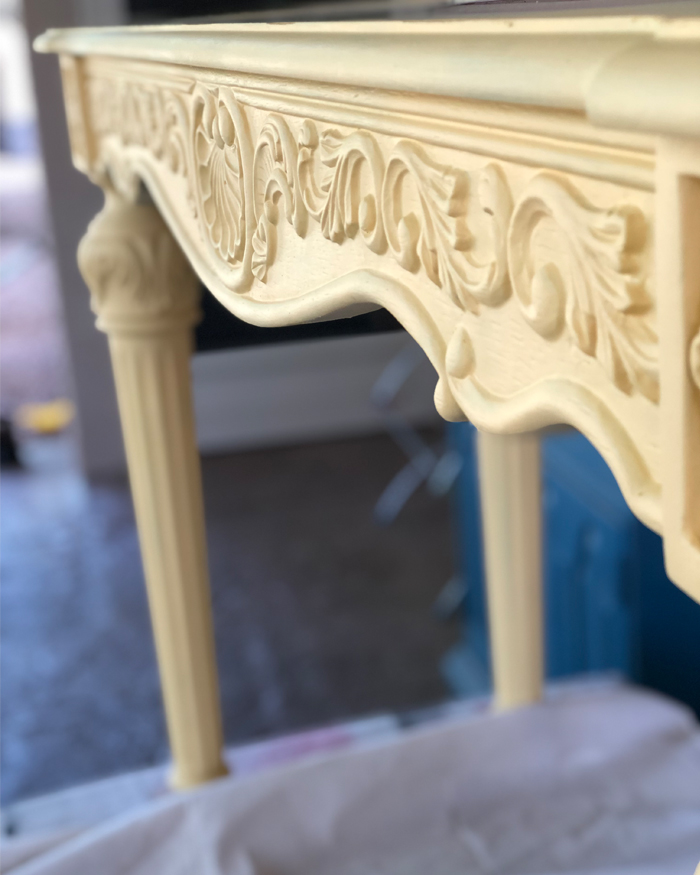
Yellow often takes more coats than other colors, so I was pleasantly surprised it required only two coats.
TIP: When painting tables, I recommend turning the table upside-down to get the spots you didn’t know you missed. Even though the spots may never be seen when the table is upright, it’s just more professional.
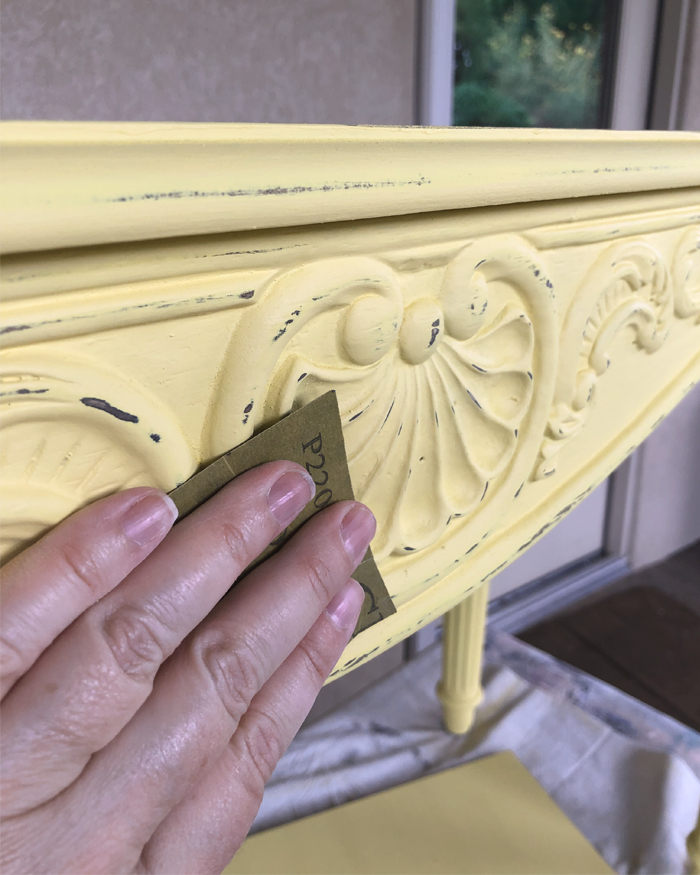
To highlight the embellishments a little more, I gently distressed with a piece of 220 grit sandpaper. Any time you are distressing embellishments, be sure to use flat fingers or a sanding block so that you just distressed the raised areas. Distressing in the grooves doesn’t look natural.
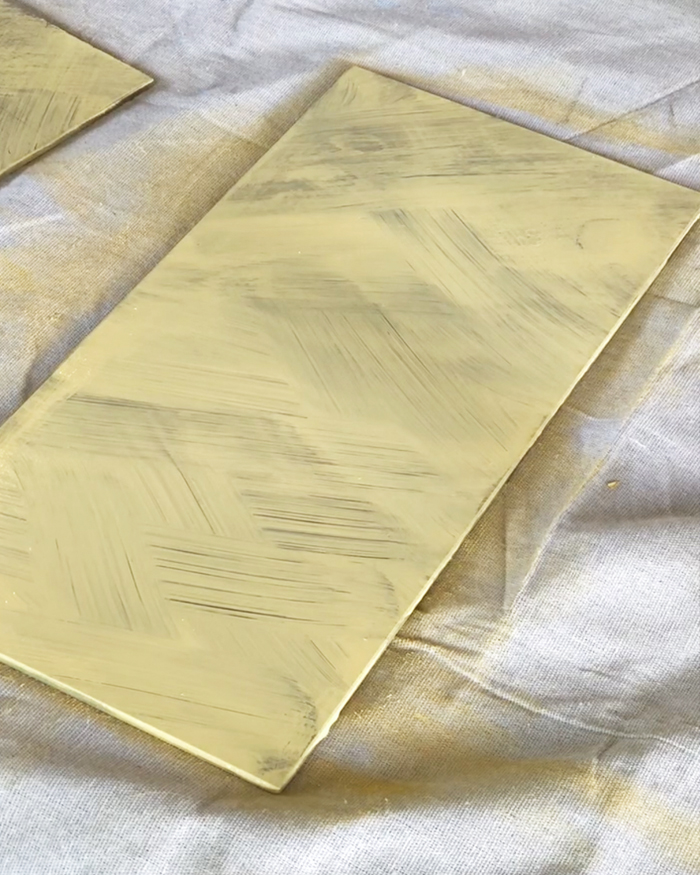
To paint the glass inserts, use cross-hatch strokes (at least on the first coat.) This helps the second coat to level in nicely. The paint will not cure for about a day or so even though it dries quickly. It’s okay to paint the second coat when the first coat is dry, but since it hasn’t cured, it’s important to make sure you don’t overwork your brush. If the paint does lift, allow it to dry, gently sand the affected area to smooth, then paint again. This is the glass after the first coat:
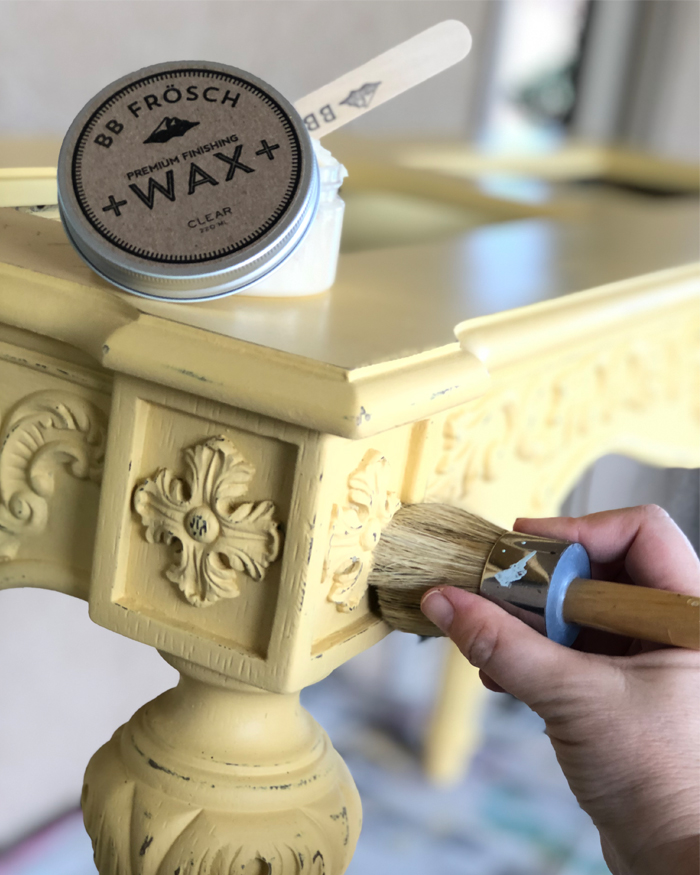
Once the table and glass were painted, I waxed everything with BB Frösch Clear Premium Finishing Wax (glass included!) When you have a piece with lots of embellishments, a wax brush is a must-have to get into all the grooves!
As for the glass inserts, no one need ever know their sordid fake-marble history.
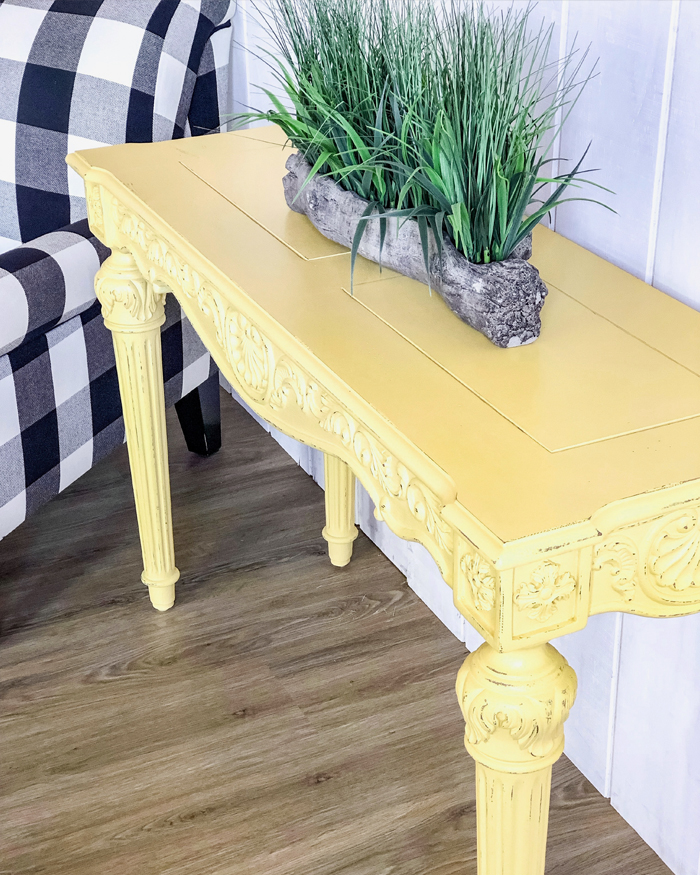
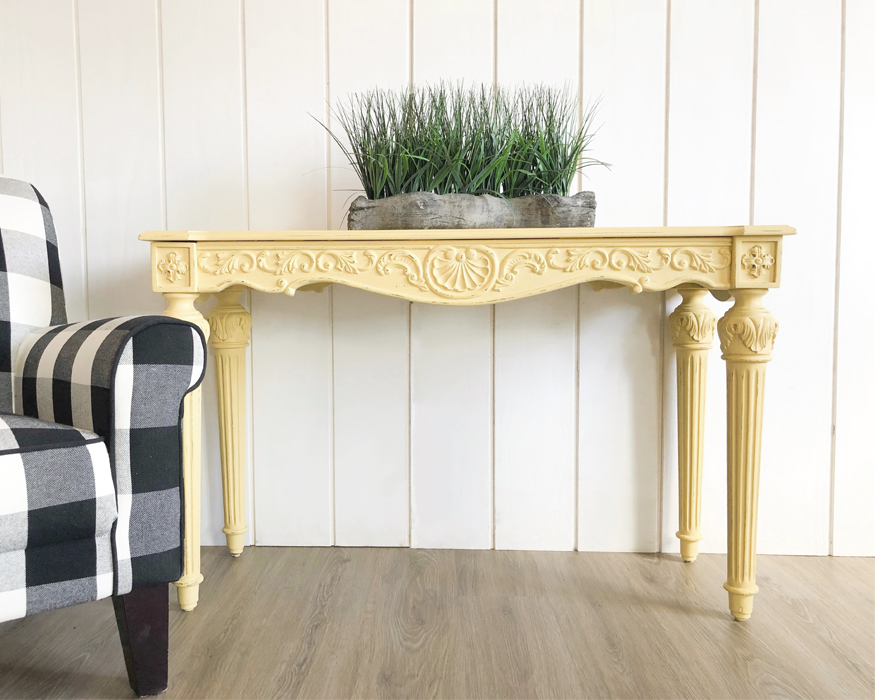
After all was said and done, I ended up loving the yellow after all!
Follow BB Frösch on Instagram, where you can find more affordable chalk painting makeovers (like cabinets, floors, furniture, and more!)
Find more affordable chalk paint inspiration at bbfrosch.com. Follow BB Frösch on Pinterest and Facebook.