I’m a sucker for the clearance section at any store, and IKEA is no exception. I found this gem there the other day:
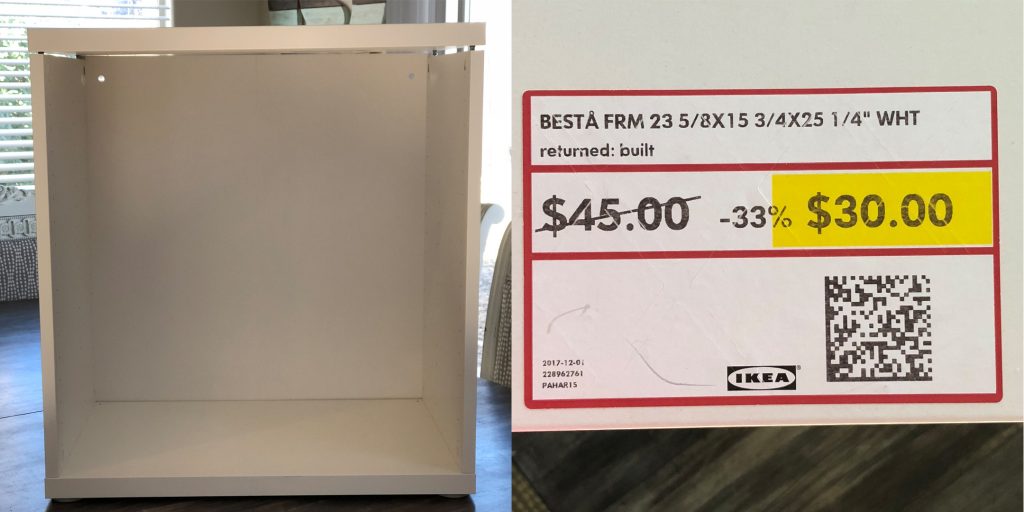
As far as I could tell, the only problem with it was that it looked like…well, a boring laminate IKEA bookcase. I may be the only person on the planet who buys brand new furniture just so I can paint it, but thirty bucks and the fact that I didn’t have to assemble anything made this a great deal.
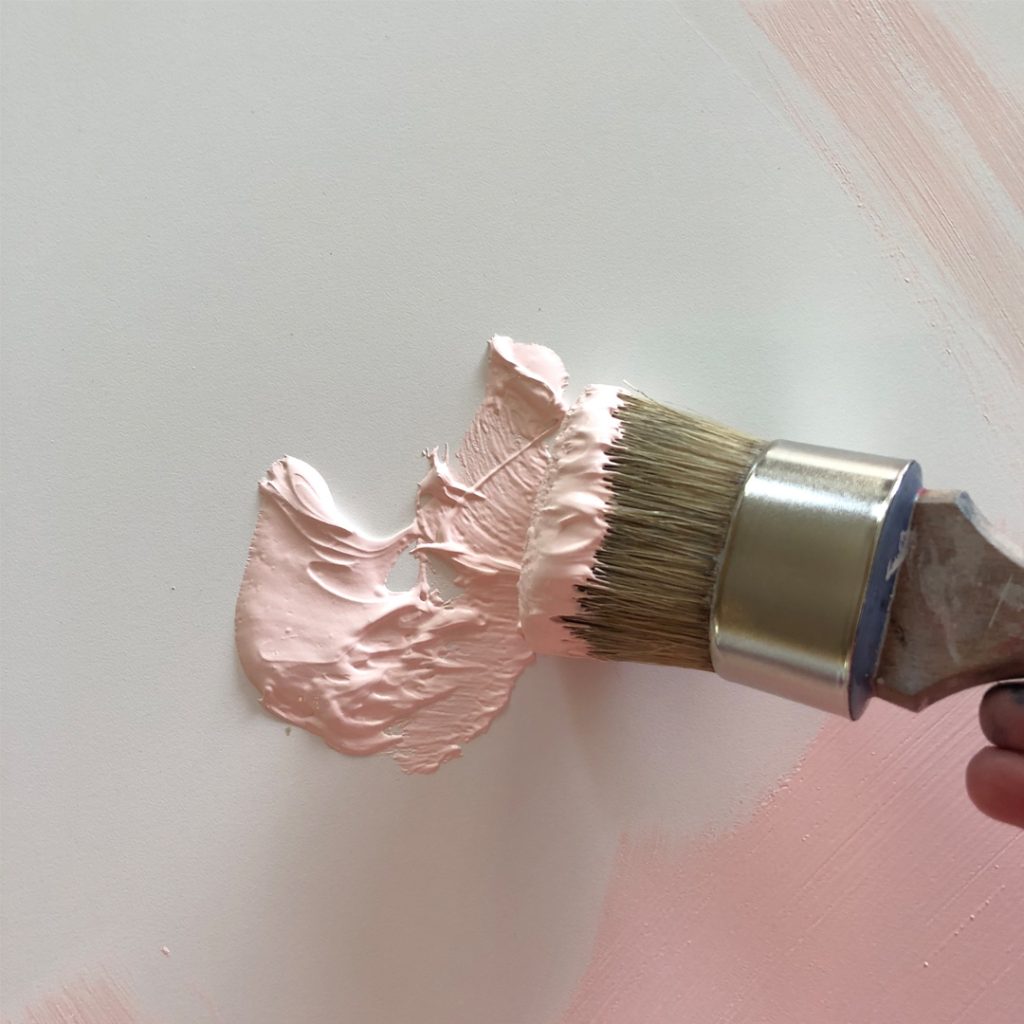
I already had paint on hand—the pink was already mixed with BB Frösch from my filing cabinet makeover (Benjamin Moore Pacific Grove Pink). I mixed the navy paint (Benjamin Moore Hale Navy) with twice as much BB Frösch Chalk Paint Powder as the directions call for because I wanted a little extra bonding for the laminate. I also used a light gray that is not pictured here. It was also already mixed and leftover from a previous project.
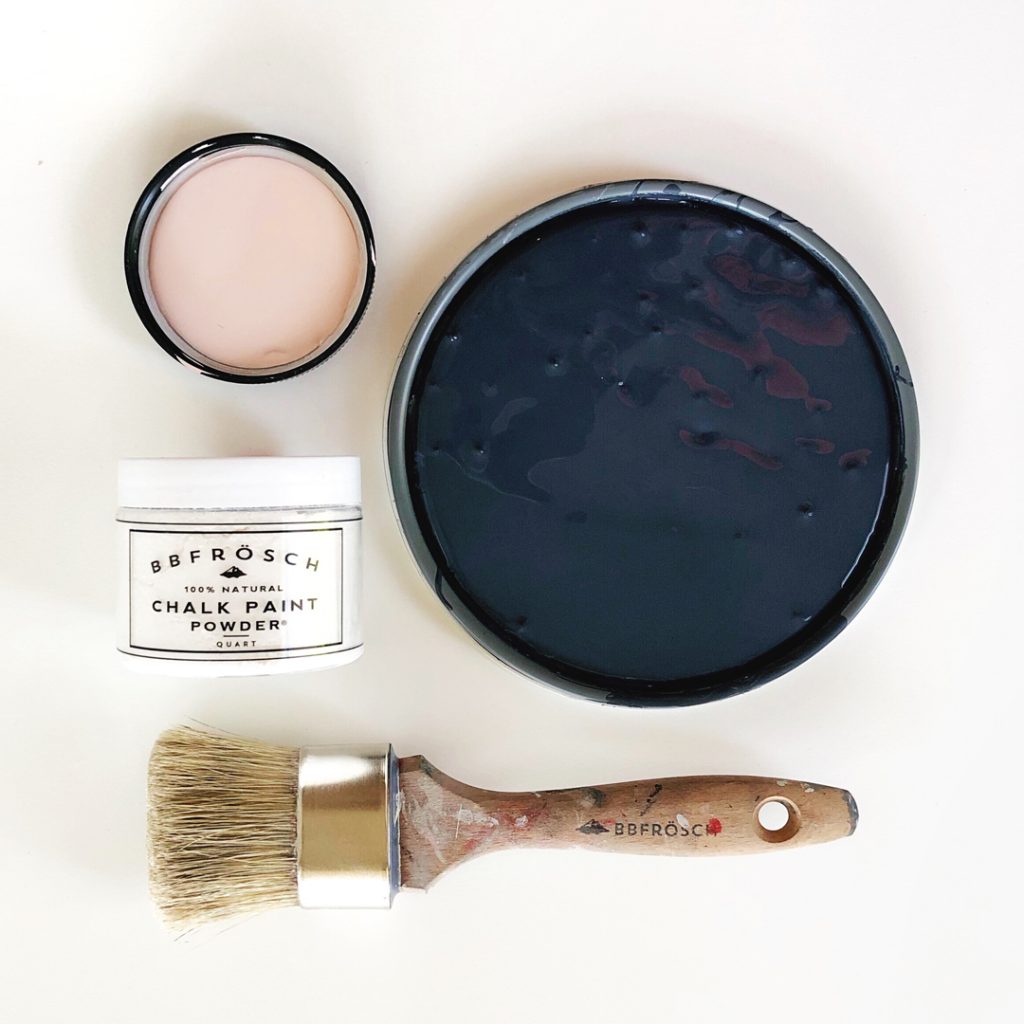
NOTE: If you don’t add BB Frösch Chalk Paint Powder to your paint, your paint will peel right off laminate.
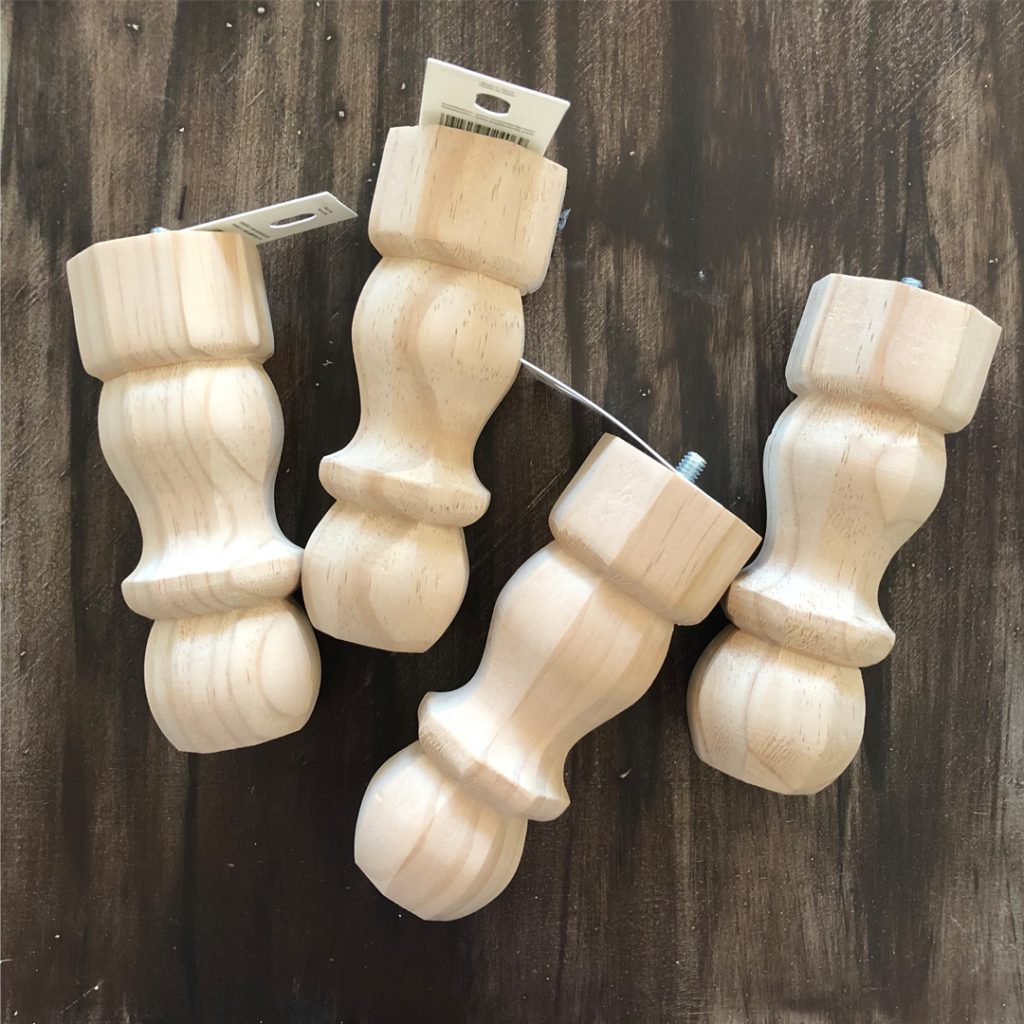
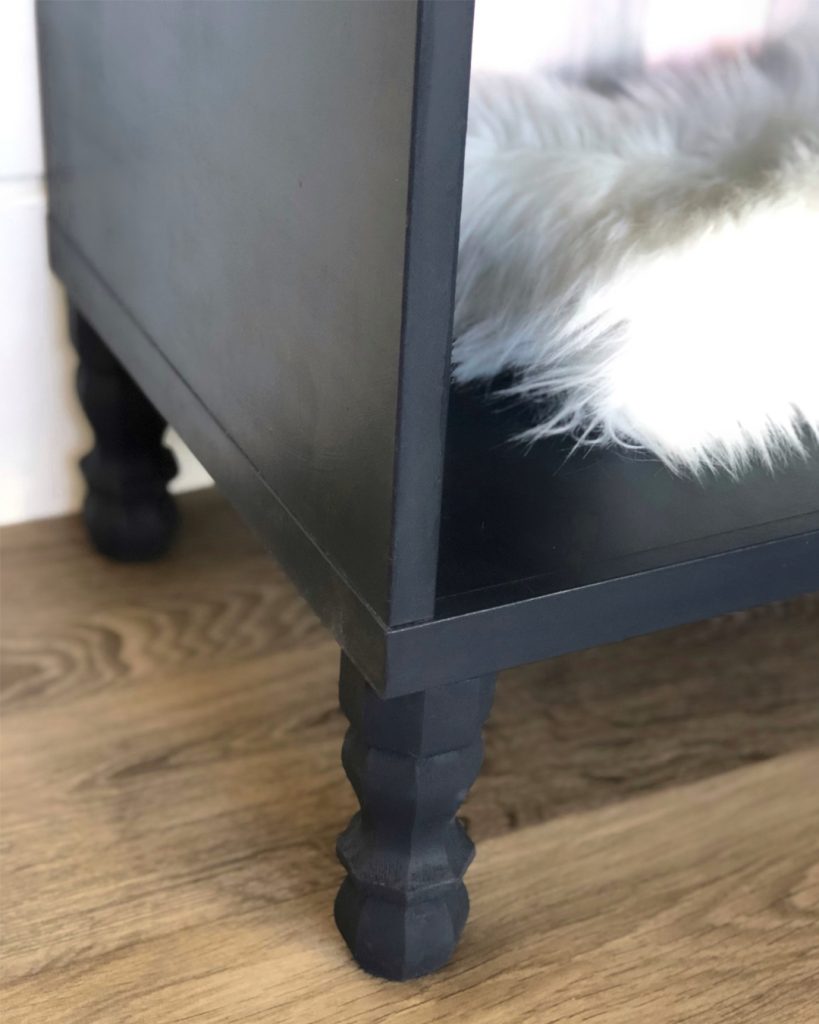
I also used wooden furniture legs from Home Depot. They cost less than $4 each.
I removed the back of the bookcase and painted it separately. I almost always remove the backs of bookcases and hutches because it is a LOT easier to paint that way.
The pink paint had gotten kind of thick (like frosting) because I had mixed it several months ago. Usually, I tell people if their mixed paint thickens after storing to just stir and thin slightly with water. For this project, I decided to use the thickened paint—the coverage was incredible (one coat) and it applied great!
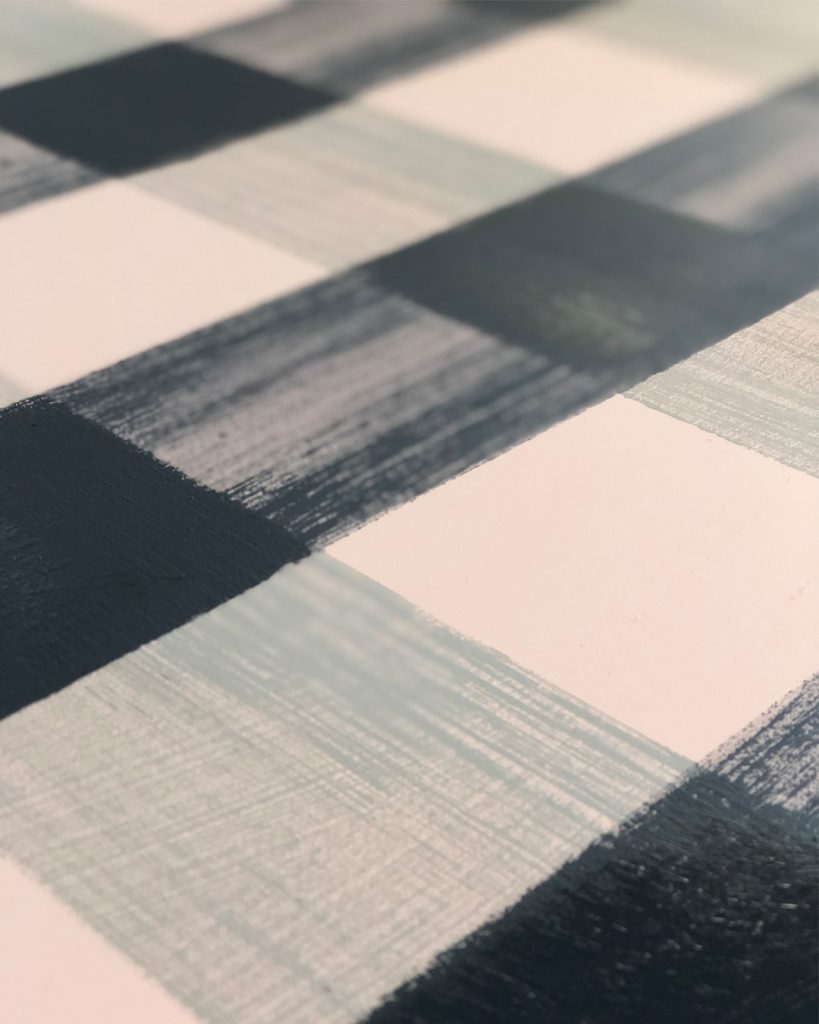
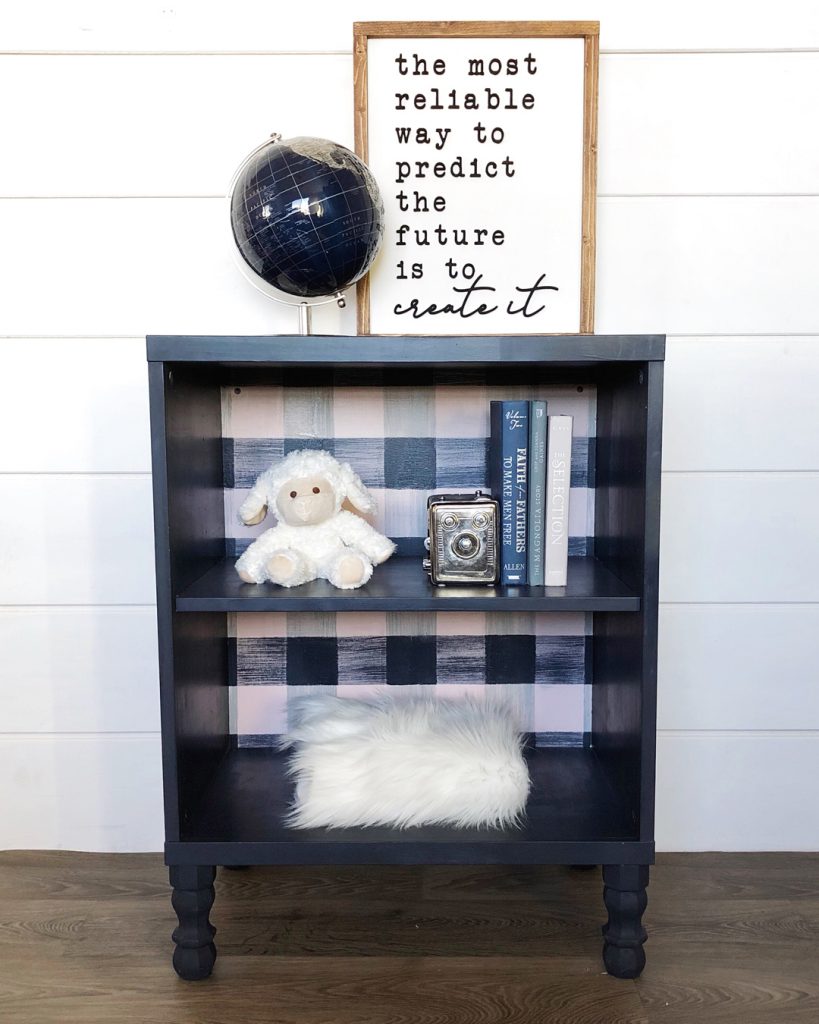
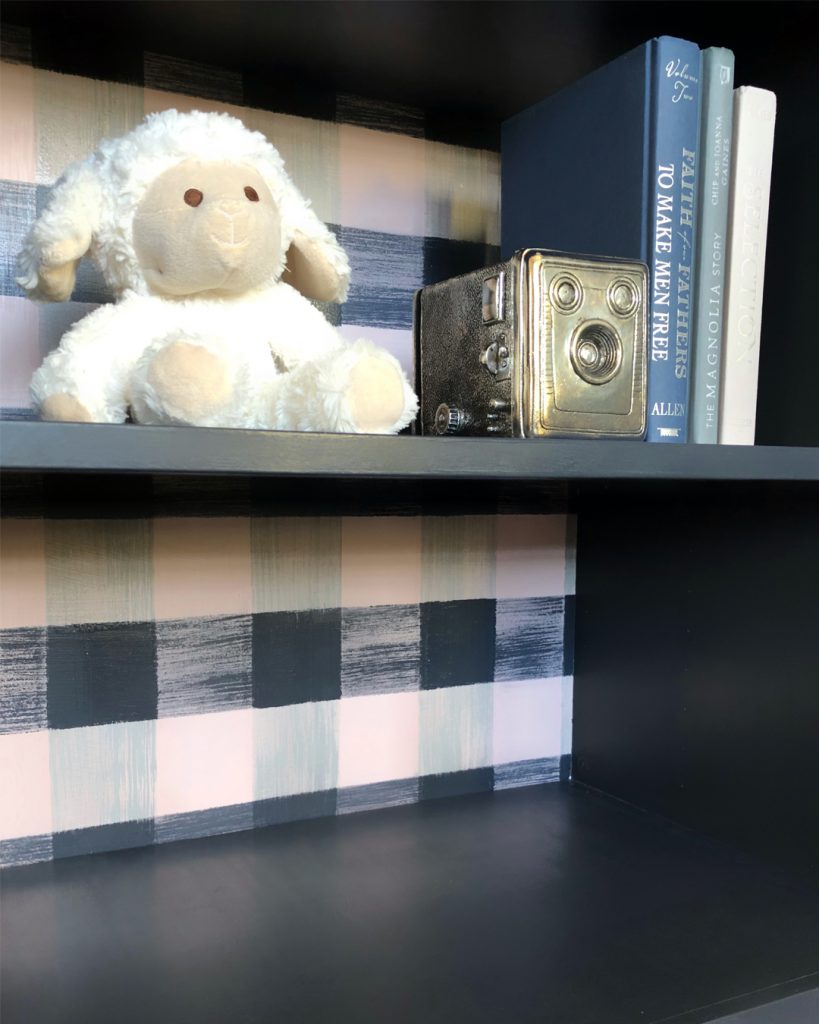
I wanted a buffalo check background, but I didn’t want the squares to be “perfect.” I wanted them to look a little more like they do when they are on fabric. So, instead of taping of stripes and squares (which would have taken a lot longer, anyway), I just measured and marked off every three inches. Then, I used a stencil edge as a guide, and painted grey stripes 3” wide. I used a cheap chip brush to create the look I was after.
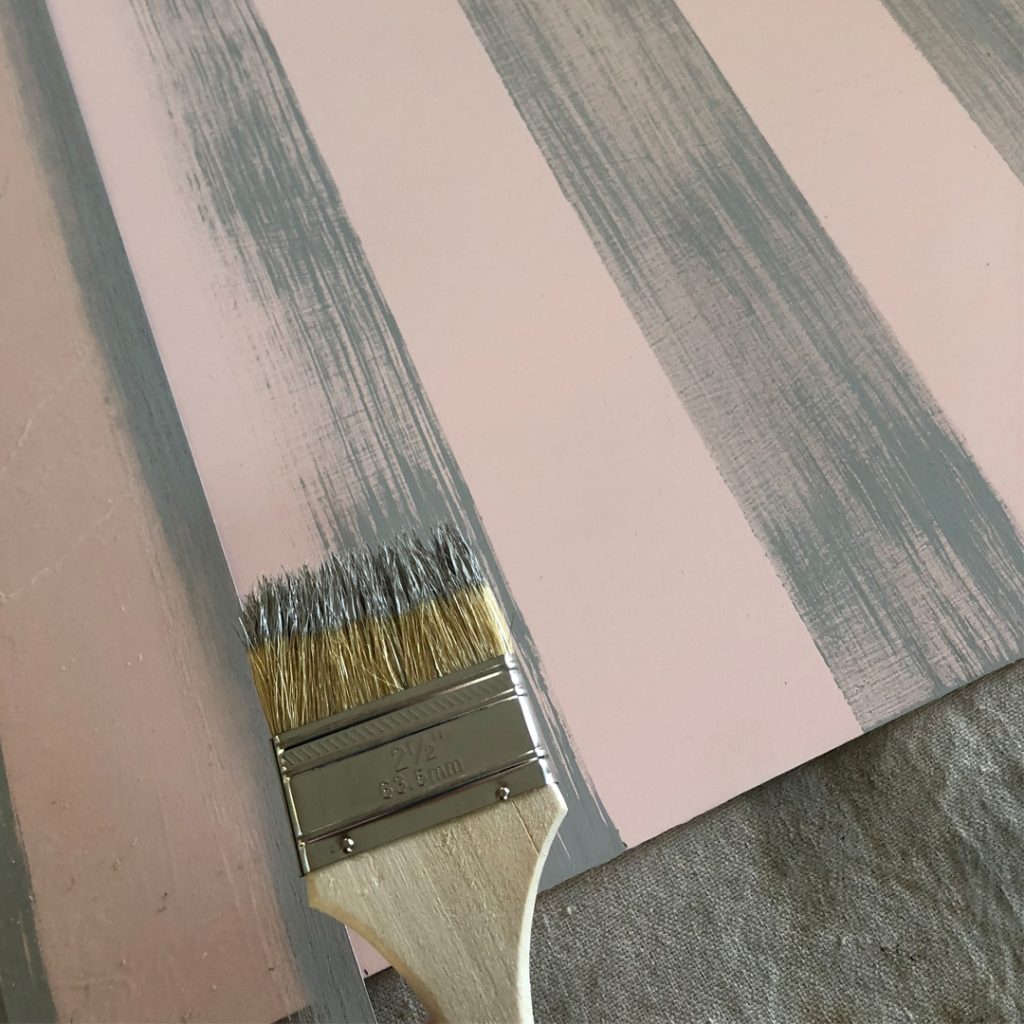
When the grey stripes were dry, I did the same thing going the other direction with navy paint. Then, I used the edges of small stencils to section off where I wanted the darker blue squares to be.
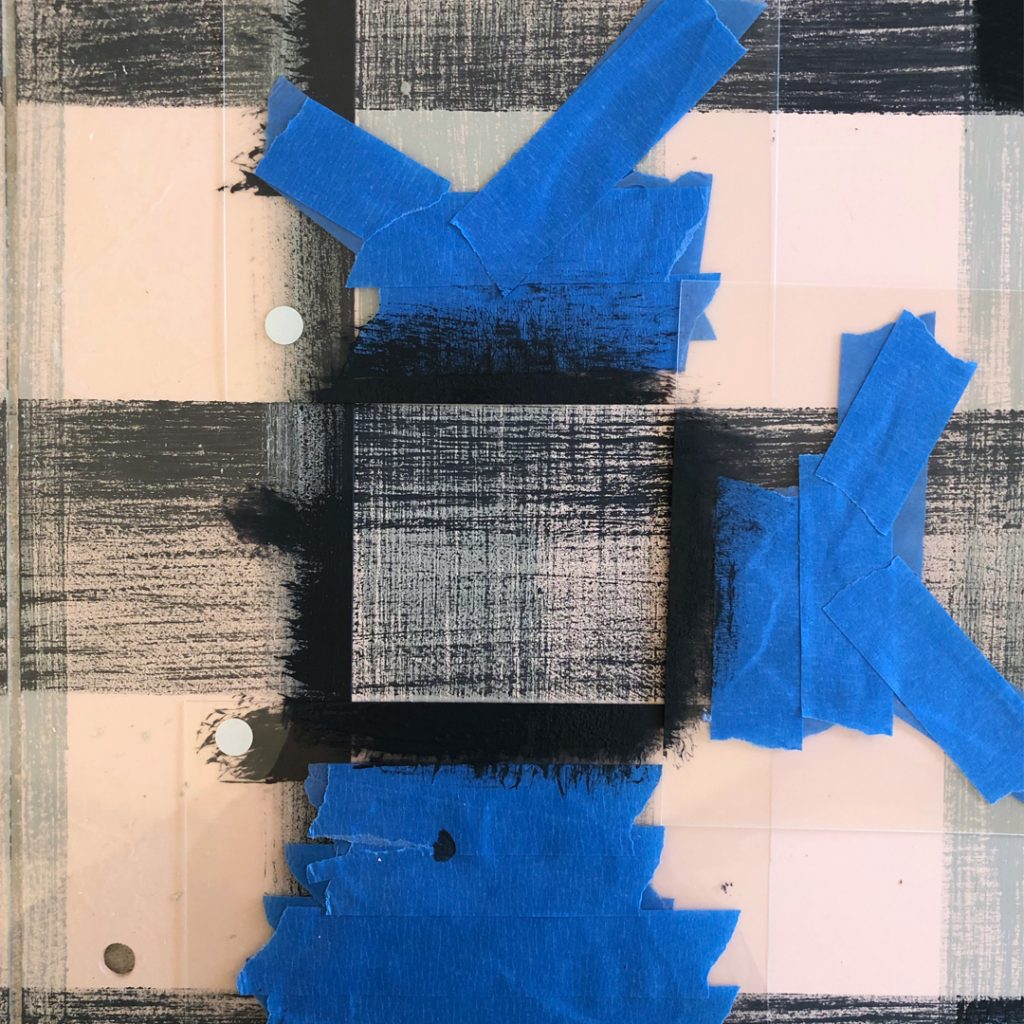
The blue tape is covering the stencil patterns that I didn’t want to accidentally paint.
I just went over these squares a couple more times with the navy paint so they would look more solid.
I painted the rest of the bookcase navy. The first coat never looks awesome!
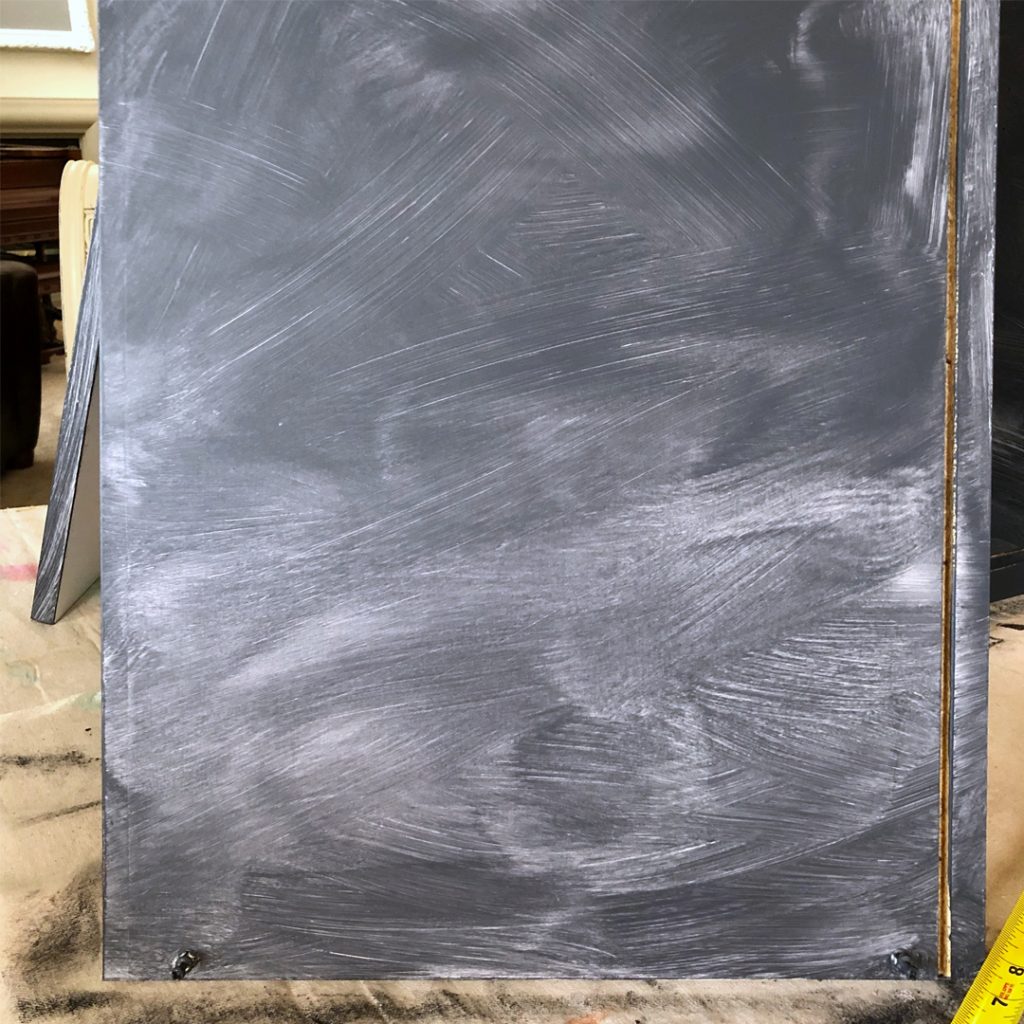
When painting laminate, it is better to start with one thin coat, then let the paint cure overnight. Even though the paint will dry in minutes, it will lift a lot more easily if it hasn’t cured. I painted the second coat the next day, and two coats was all I needed. When painting the second coat, don’t overwork your brush, or the first coat will lift.
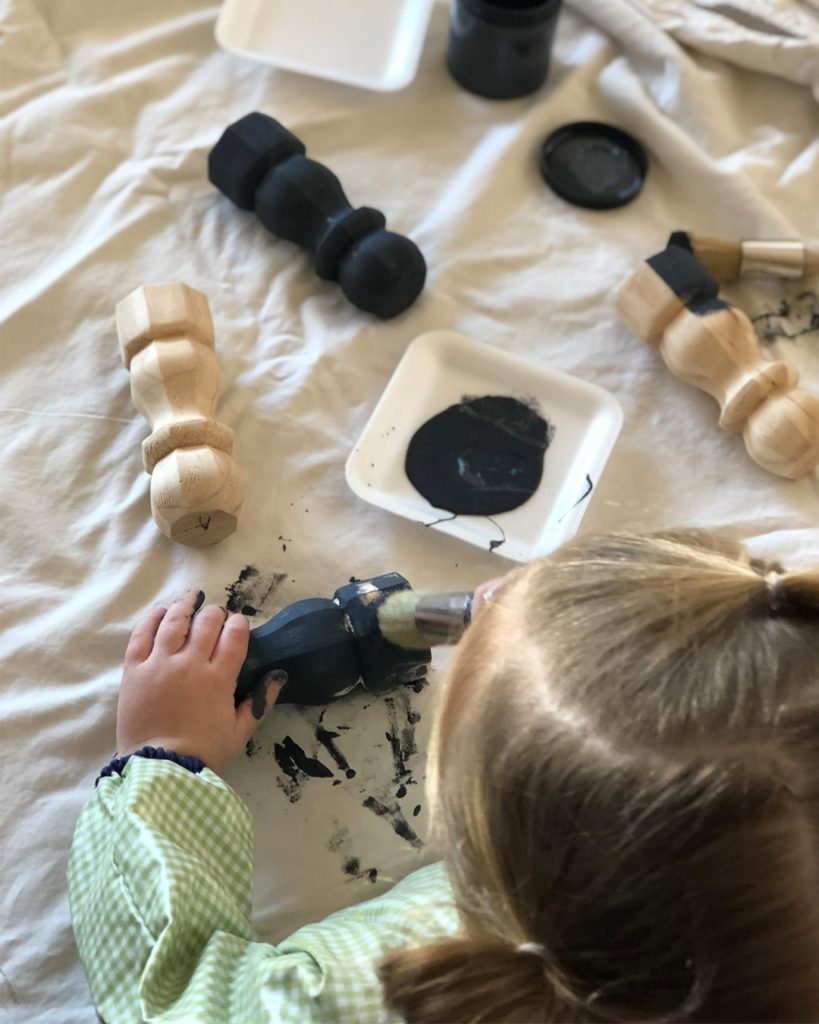
Once the bookcase was painted, I enlisted the help of my trusty assistant to paint the legs.
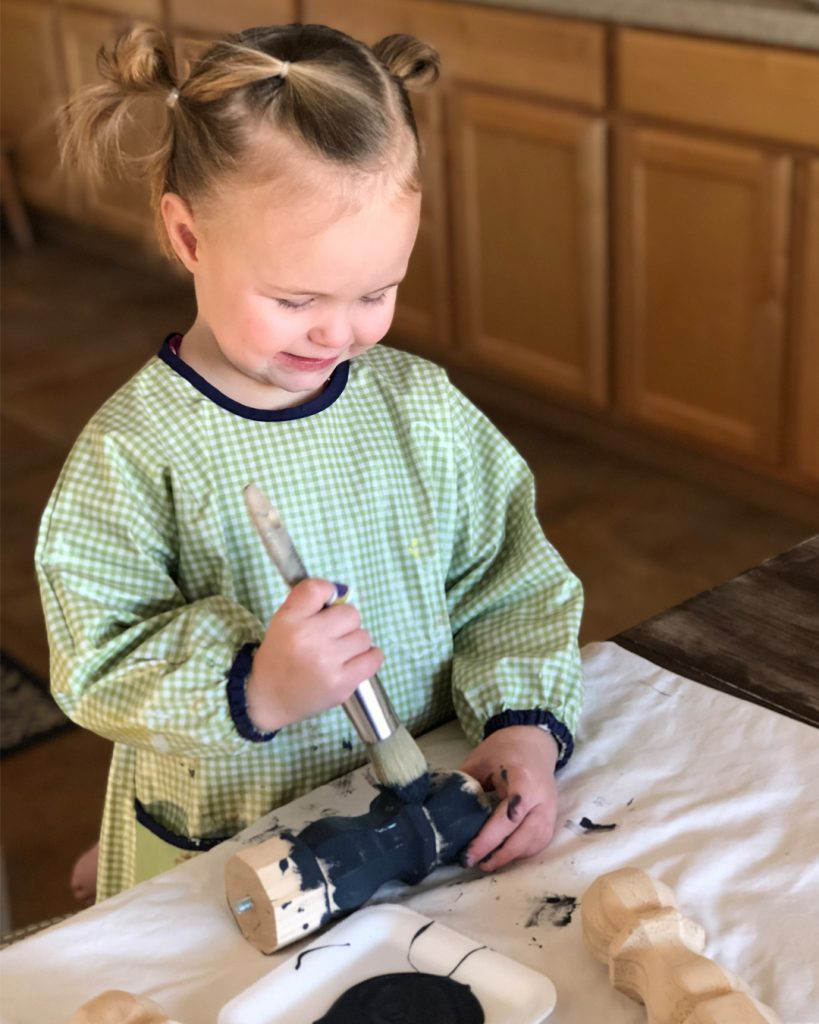
This is one of my favorite things about chalk painting. My granddaughter always wants to help, and I don’t have to say “no.” The paint won’t hurt her, and she actually does a better job of painting in cross-hatch strokes than most adults!
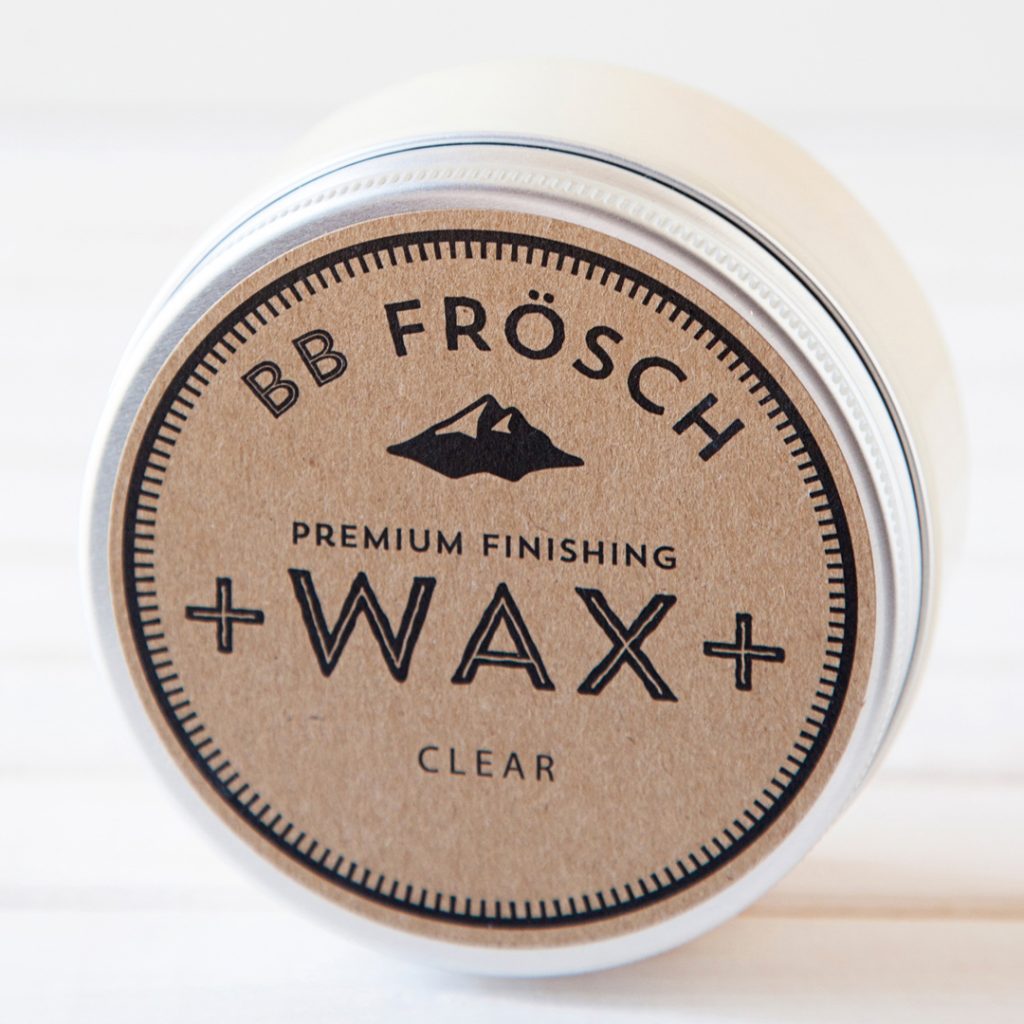
Finally, I waxed the entire piece with BB Frösch Clear Premium Finishing Wax.
Fun fact: apparently, IKEA knows their bookcases are a little boring, so they pre-drill them for legs to be screwed in! This made attaching the legs a lot easier than I had anticipated.
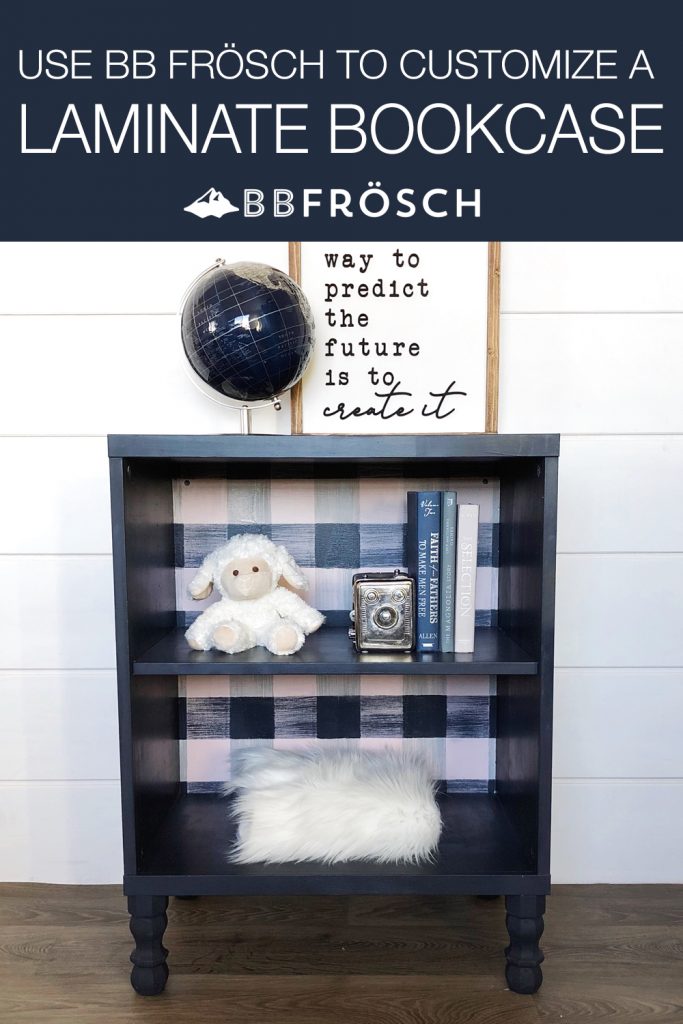
With a little help from Blaire, my new bookcase looks a million times better than it did in the back of the IKEA clearance center!
If you’ve a got a chalk painting project waiting in the wings, or if you now have the itch to head to the IKEA clearance center yourself, GOOD NEWS! Use code THRIFTY at bbfrosch.com through 12-16 to receive 15% off any order over $25. There is a darling Holiday Express kit that is the perfect gift that you may want to grab for a friend and yourself.

Find more affordable chalk paint inspiration at bbfrosch.com. Follow BB Frösch on Instagram, Pinterest and Facebook.

I completely love what you did with that book shelf and the touch of gingham is perfection!
Lauren,
http://www.atouchofsoutherngrace.com
Turned out really great! The little surely made it extra special with her paint techniques. Thanks for the great tips like the pre-drilled holes.