Hi there, All Things Thrifty readers!
We are crazy excited to be added among the happy family of contributors here! We are Zest it Up, a couple of gals who have ventured into the worlds of blogging, catering, and designing….well, pretty much we tackle whatever we can get our hands on.
Sam and I are friends who got tired of saying “someday” about our dreams, and decided to switch things up to “someday today!” As Zesters and fellow thrifters, we literally began our company with the cost of a couple of cans of spray paint and some gorilla glue, transforming a side of the road, beaten up desk into something special. (And guess what! We turned around and sold it for somewhere in the ballpark of $250….KA-CHING!) I guess you could say our seed money was practically the size of a mustard seed, and we are totally jazzed to see how it’s growing!
Blogging on zestitup.com for the last 2 years, Sam and I continue to bring that same knack for thrifty zesting to an array of projects that venture from the kitchen, to décor and trends. Our biggest thrill is when we get the chance to take a discarded object and turn it into a treasure.
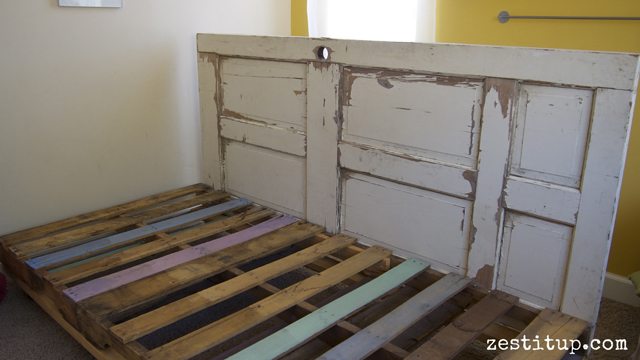
That brings us to this first project that we want to share with you. How about a junked door and a simple pallet? Everyone loves pallets, and here is a new way to make something fabulous for the garden or the home!
Let’s dive in…
Supplies:
- large pallet
- 2 x 4 (two)
- wheels (4)
- old door
- drill
- measuring stick
- screws/bolts/nuts/washer
- long metal supports for the sides (ummm, yah, don’t know a more technical name)
- mattress
- quilt
- grommits & eyelits/hammer
- twine
- pillows
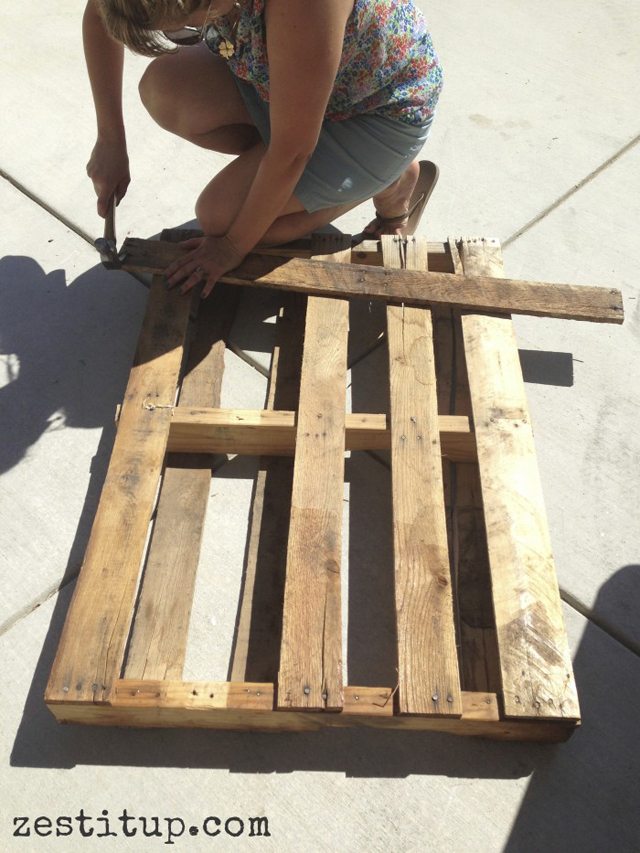
First Chanda Panda started with her muscle power to remove nails from the pallet board to create one larger platform for our bed. Since we want a daybed big enough for a twin size bed we needed to combine two smaller pallet boards…check it out below!
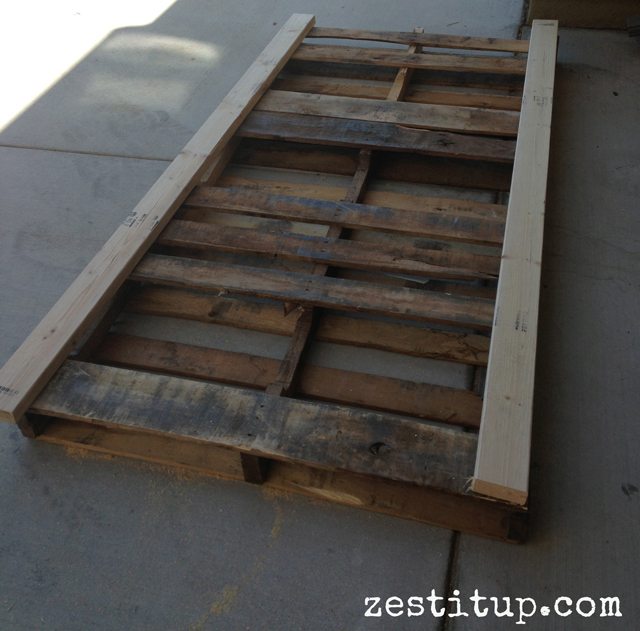
We have our two smaller pallet boards and we are attaching a basic 2 by 4 them with screws to make one larger platform to hold the mattress.
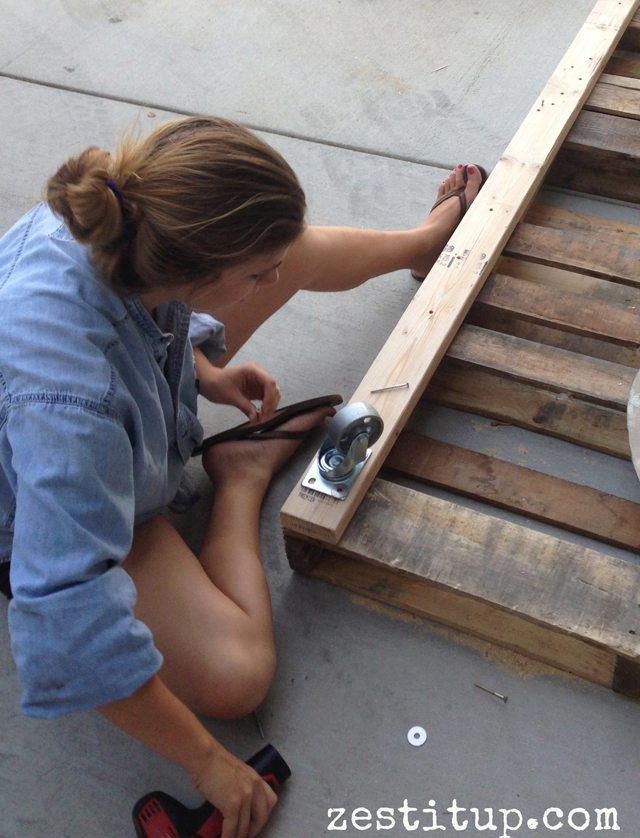
Next up Sam is adding some spiffy wheels to make our pallet bed easy to move around in the space- also elevating it off the floor a bit.
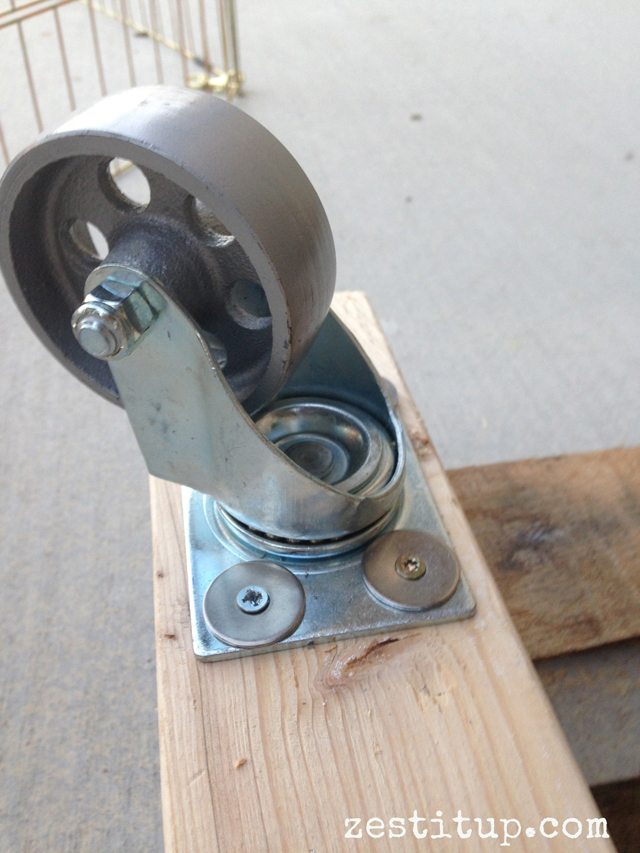
Wheels- check!
Now it’s time to lay the door next to the pallet board base and measure exactly where we want to attach the bolts that will hold our “headboard” door into place.
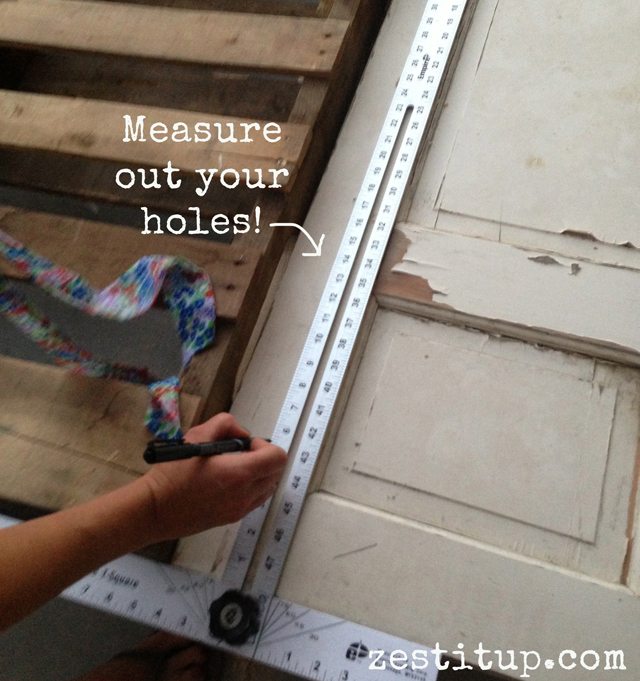
We are marking these spots with a sharpie along the door to know where to drill holes later. We spaced our bolts about every foot or so….
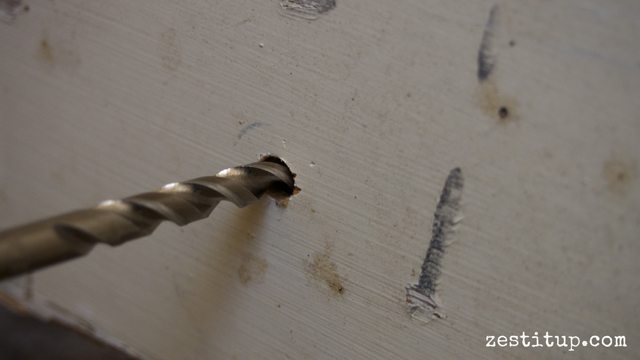
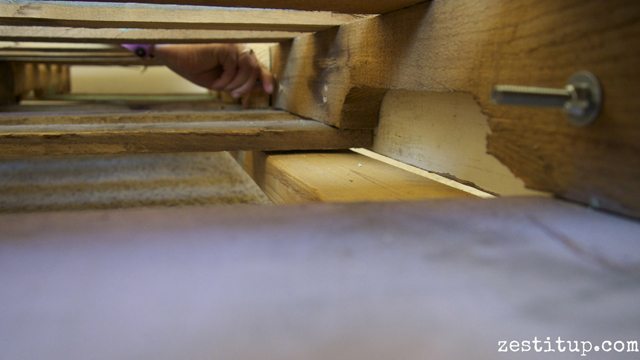
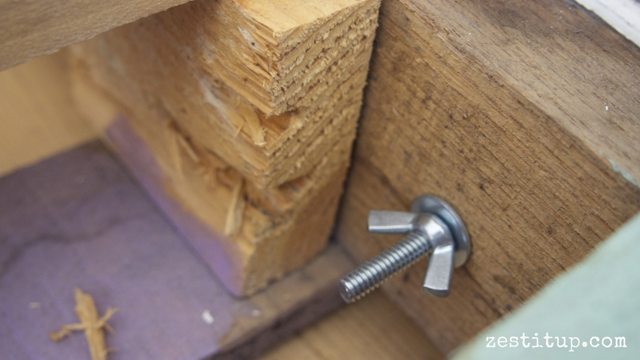
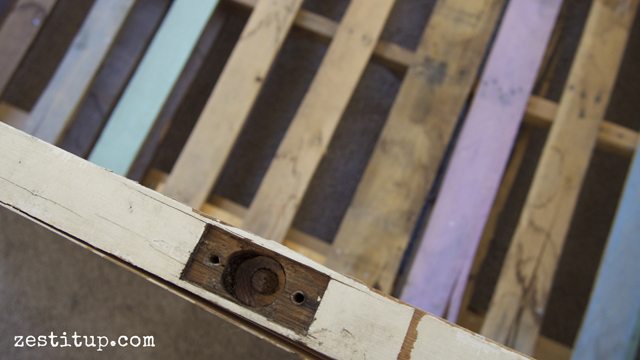
Time to drill the holes for our bolts to sink into and hold the door into place…
Got all your tools?
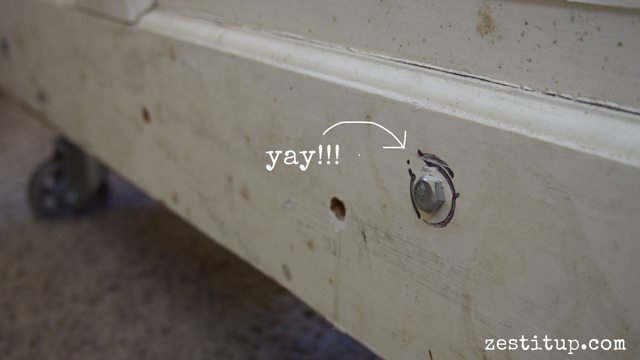
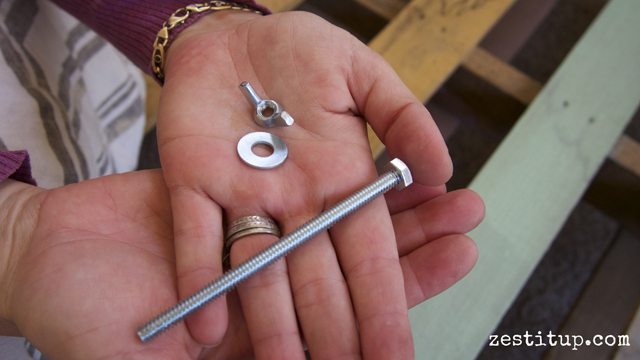
This next step can be tricky- be sure to grab hubby or a friend to help hold the door while you slip your bolt through the hole and then tighten into place on the other side of the door, we are VERY visual so these pics will say it better….
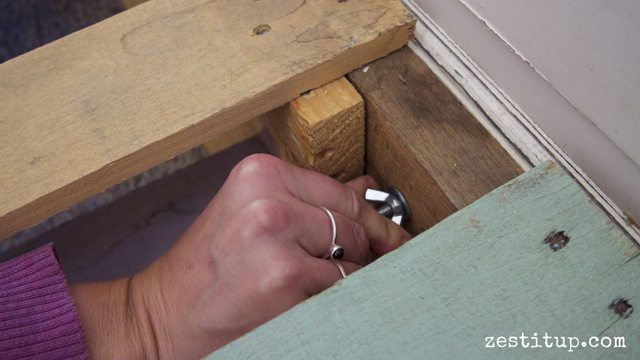
Got your door in place and secure??
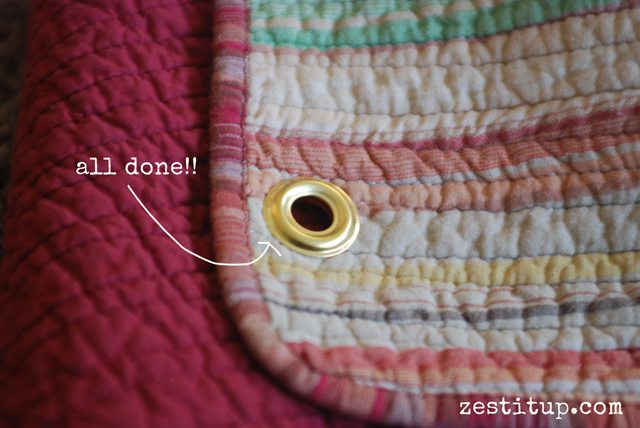
So now that we have the main structure of the door set, time to zest up your mattress!! We had an old mattress from my college days that we were able to snag. But now to make a cute cover…we decided that we needed something durable and cute. After a quick trip to Goodwill we scored this beautiful quilt for only $5 and made our own lace up system to cover the mattress….
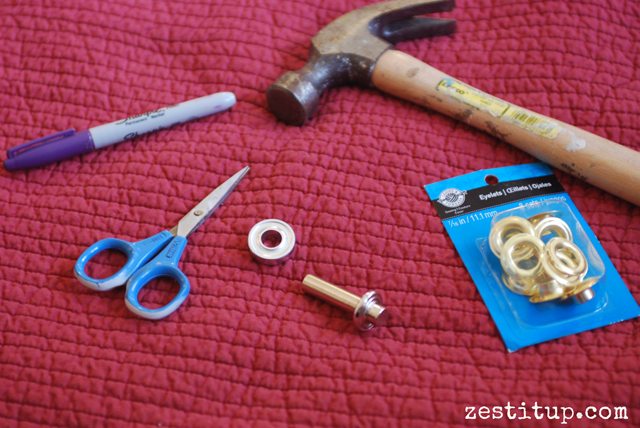
Got your grommet tools? Let’s add grommets along the edge to lace up the quilt…
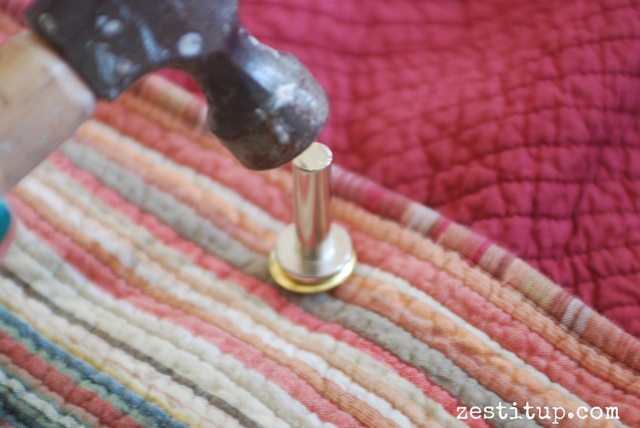
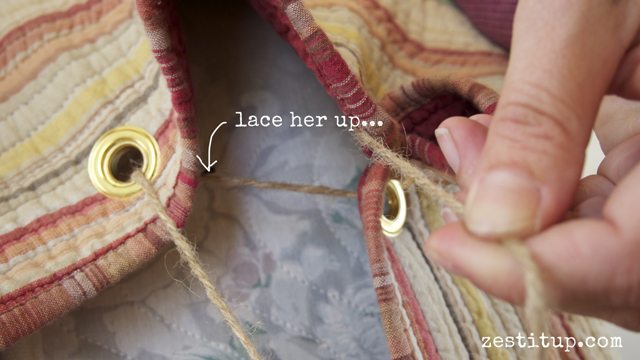
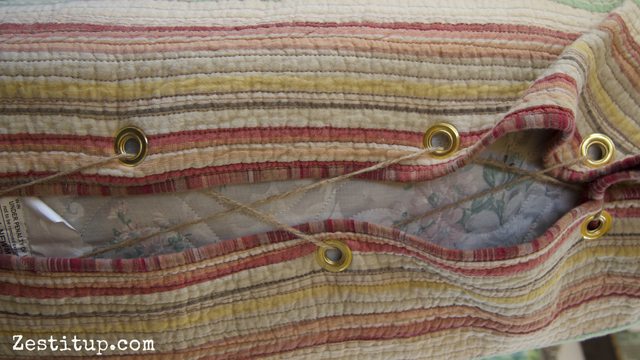
Got your blanket turned into a corset?? Snazzy ehh! Makes cleaning easy too- phew!
I think the best part about this little thrifty find was that we saw the same quilt at Bed Bath & Beyond a week later for wayyyyyy too much $$$
Score!
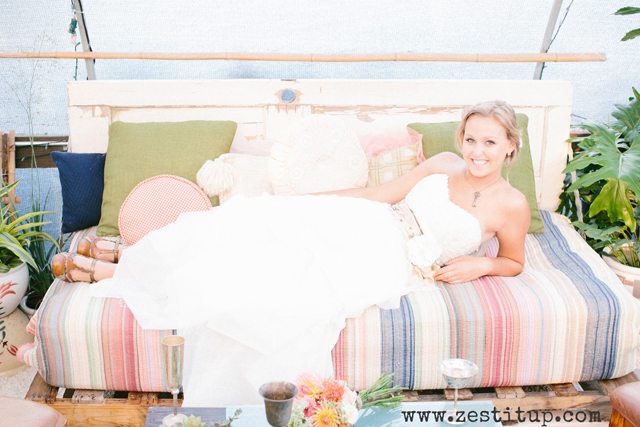
You ready for the final reveal??
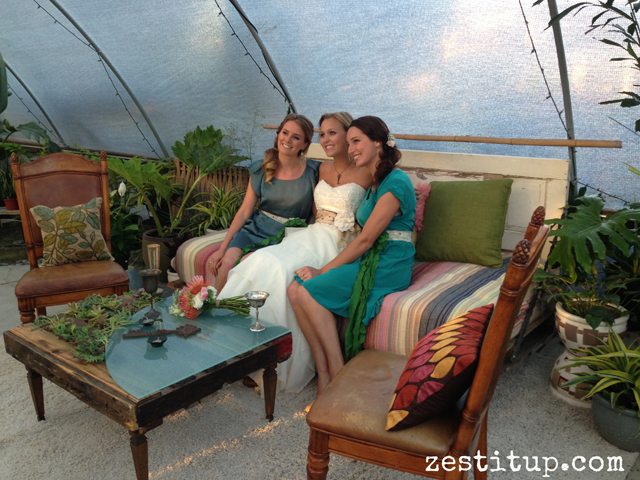
We made this daybed for a Secret Garden Bridal Shoot we designed- it was perfect for the bride to lounge on while enjoying mimosa’s with her girls on her big day!!
(Do you see those “long metal supports” that we scored at Home Depot for the side supports?
They help take the weight when someone leans back. Just a few screws and voila!)

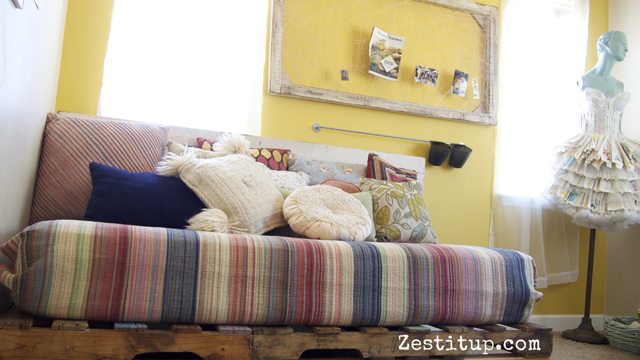
But of course now we get to “store” it in our craft room that we often video blog in- whoop whoop!

Thanks for zestin’ up your Tuesday with us!!
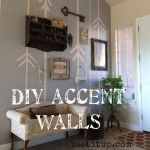
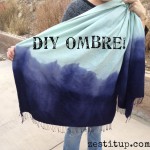
We love to bring flavor and charm to the kitchen, home, your next special event- and even closet! Check out these zesty ideas below…


We can’t wait to show you more fun thrifty ideas soon, but in the mean time check out more zest over at zestitup.com!!
xo
Sam & Chanda
love, love this tutorial! I was just talking to my husband about making a pallet lounger for our lake house and voila!!!
I gasped when I saw this. One question…..where did you purchase those great vintage looking wheels/casters?
Aww thanks Brenda, this would be adorable for a lake house!! You will have to send us pics of your creation 🙂 We got these snazzy wheels at good old Home Depot- nice and easy one stop shop!
OMGeee! This is gorgeous! Does the blanket seem to stay in place fairly well with this corset method? I have a LOT of rowdy kids, all of whom I’m sure would be working it over in no time. Love the pillow collection too!
Thanks Sabrina!! I have a puppy who is always jumping up (kinda like some rowdy kids-hah) and the blanket stays very nicely. The trick is to find a blanket that is large enough to cover both sides of the mattress and also pull that string tight like a corset. I love that it comes off so easily to clean too-score!! We got those pillows from treasure hunting at thrift stores- so fun!!
What a great tutorial! I’ve got a few pallets laying around that I never did anything with. I might have to try this!! Thanks!
Serena @ Thrift Diving