I came across the most amazing upright grand piano in a local facebook group for only $50!
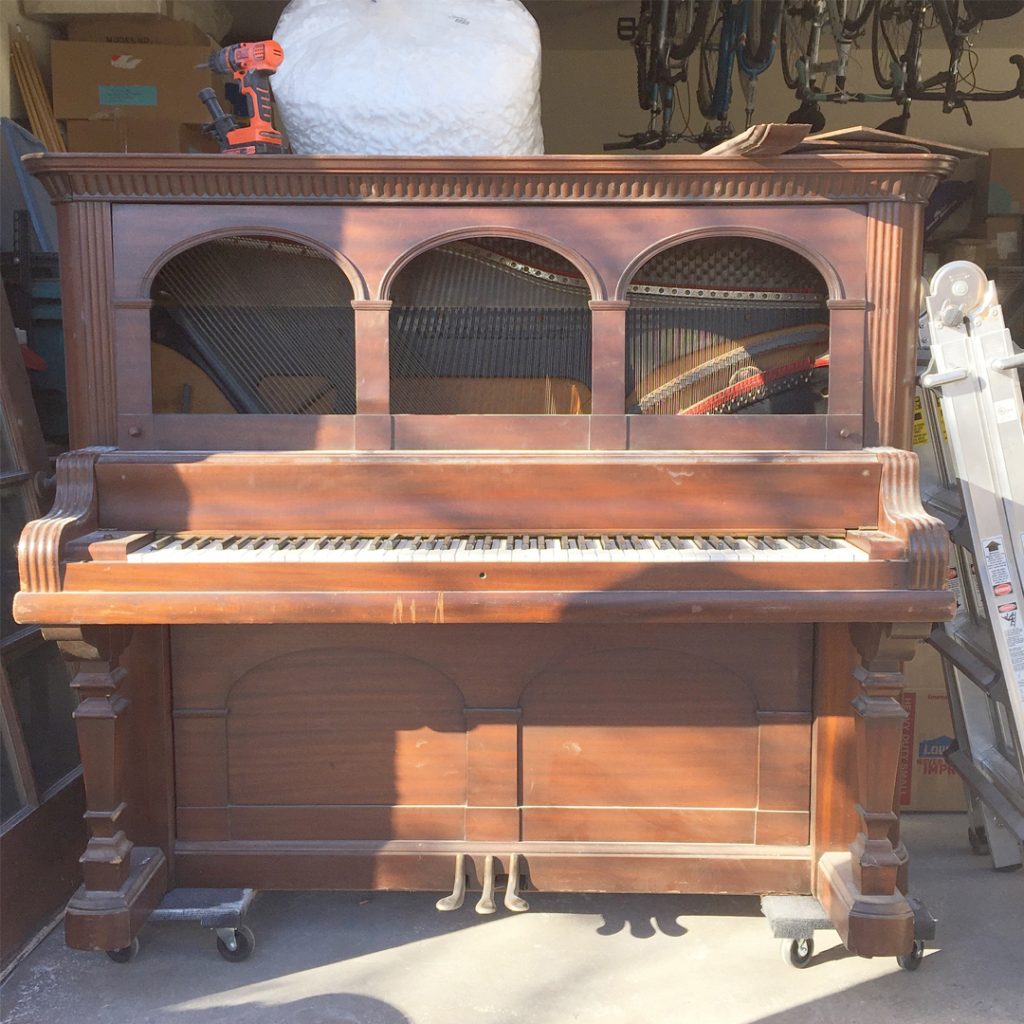
The second my husband returned home and rolled it off the truck, the $50 price tag became clear…

Needless to say, my dreams of no prep work were dashed due to peeling veneer, giant gouges and plain old neglect. Sadly, the damage was not only cosmetic, and without an expensive overhaul, this piano was not playable.
Not all hope was lost, though, because this wasn’t my first unplayable-piano-rodeo. Four years ago I unburied an old upright from my in-laws garage and created an epic piano desk:
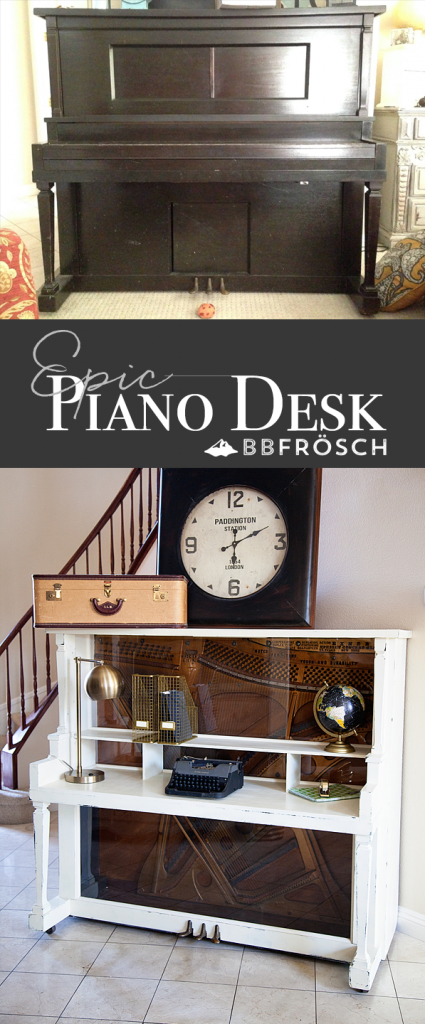
I had another piano-to-desk candidate on my hands, but it took me over a year to rally the energy to tackle the prep work. I recently sold my giant navy credenza and was left a big space to fill, so the time had come.
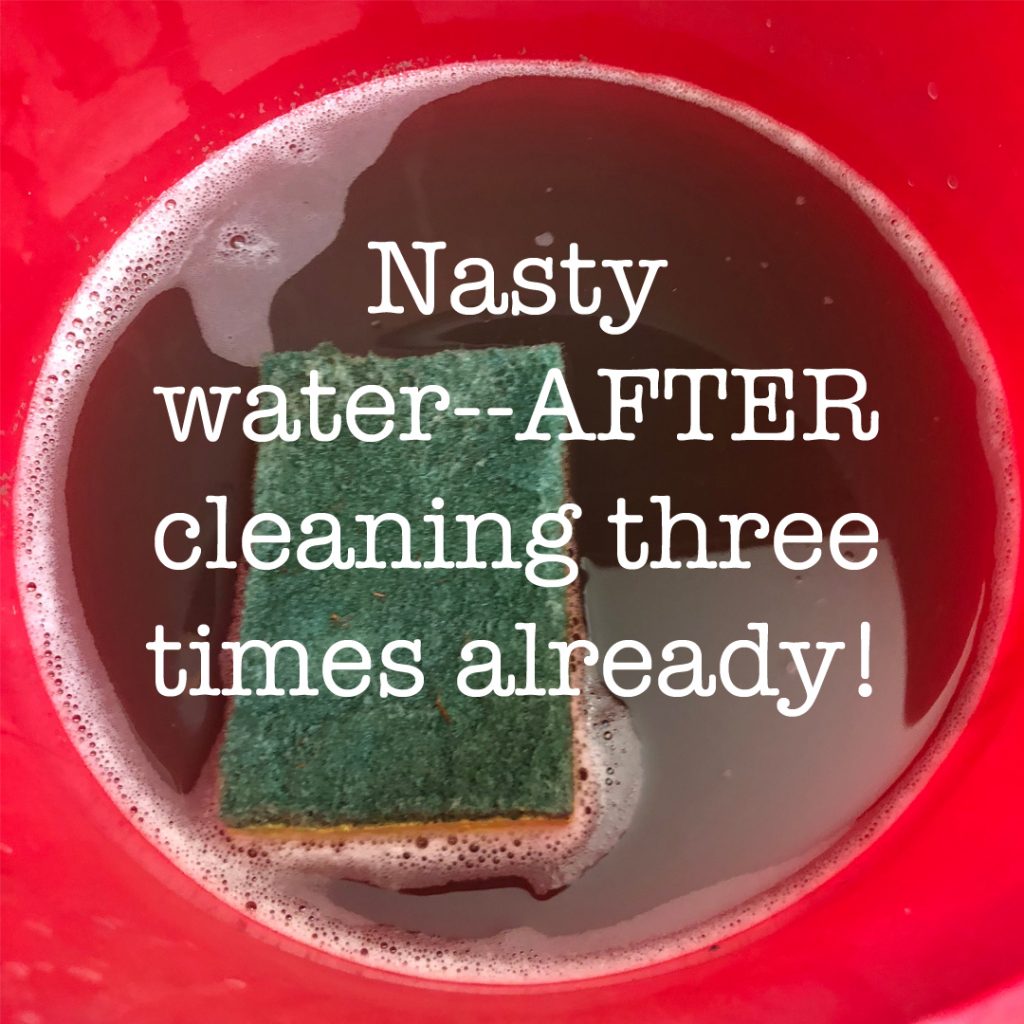
My husband deserves gigantic props on this makeover because, projects like this are no joke! If you ever tackle one, it’s a good idea to have a friend or husband who is on board to help with the dirty work. When I say dirty, I mean DIRTY! After removing the keys, key cover, and wood to reveal the piano guts, we found generations of dust and gross-ness.
This was my cleaning bucket after the THIRD cleaning with a Pine-sol solution:
I tried removing dust from the piano guts with a shopvac, which didn’t do the trick. Then I tried blowing the dust out with the air-blower attachment on my paint sprayer. That helped a little, but not enough. Finally, we dragged the piano outside, and Jason took a power washer to it.
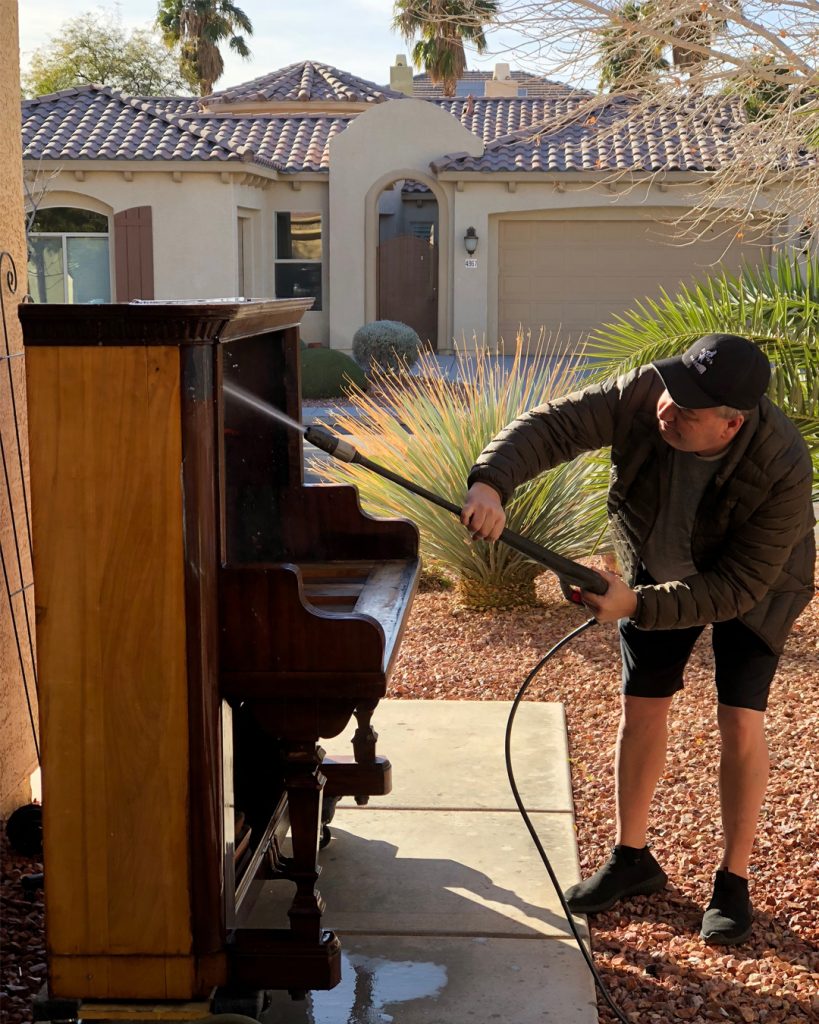
Note: I would NOT clean a piano this way if it were ever going to be played again!
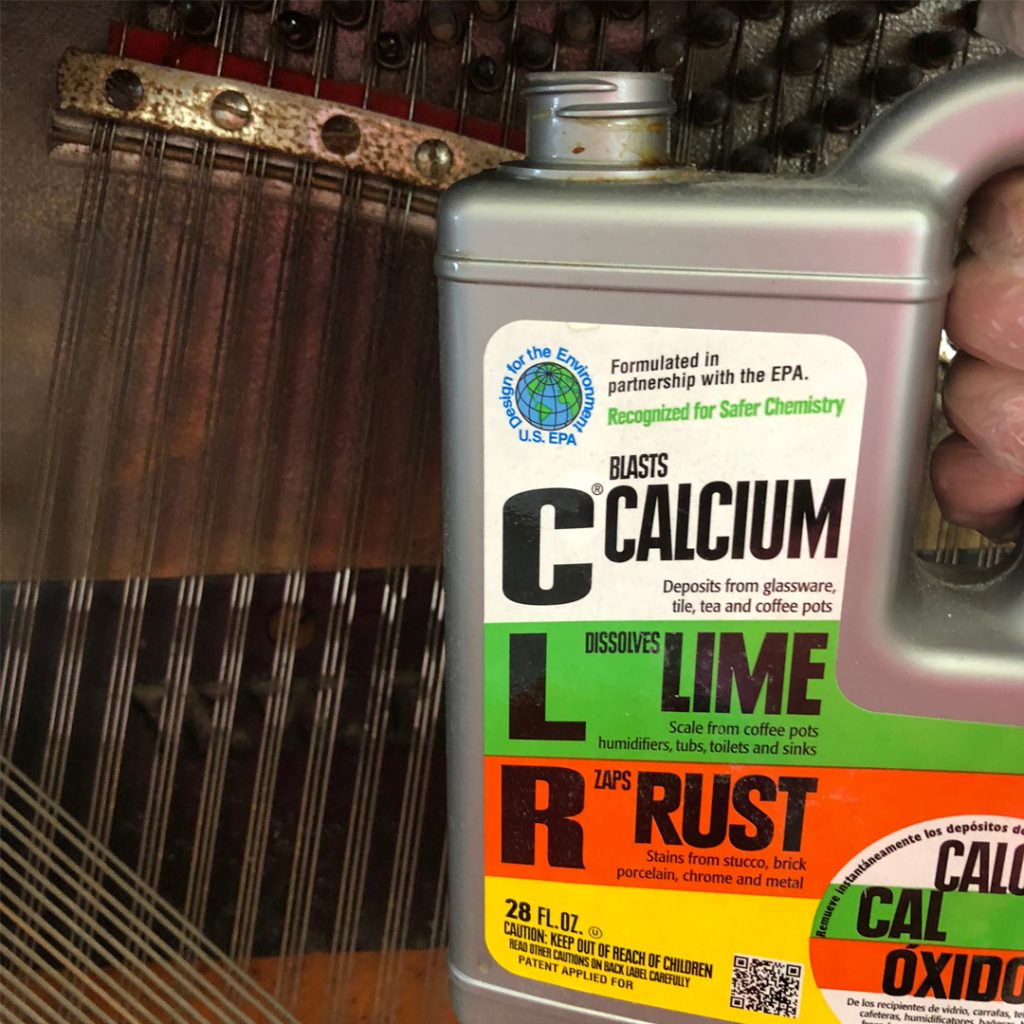
I used CLR to remove as much rust as possible from the strings and metal parts.
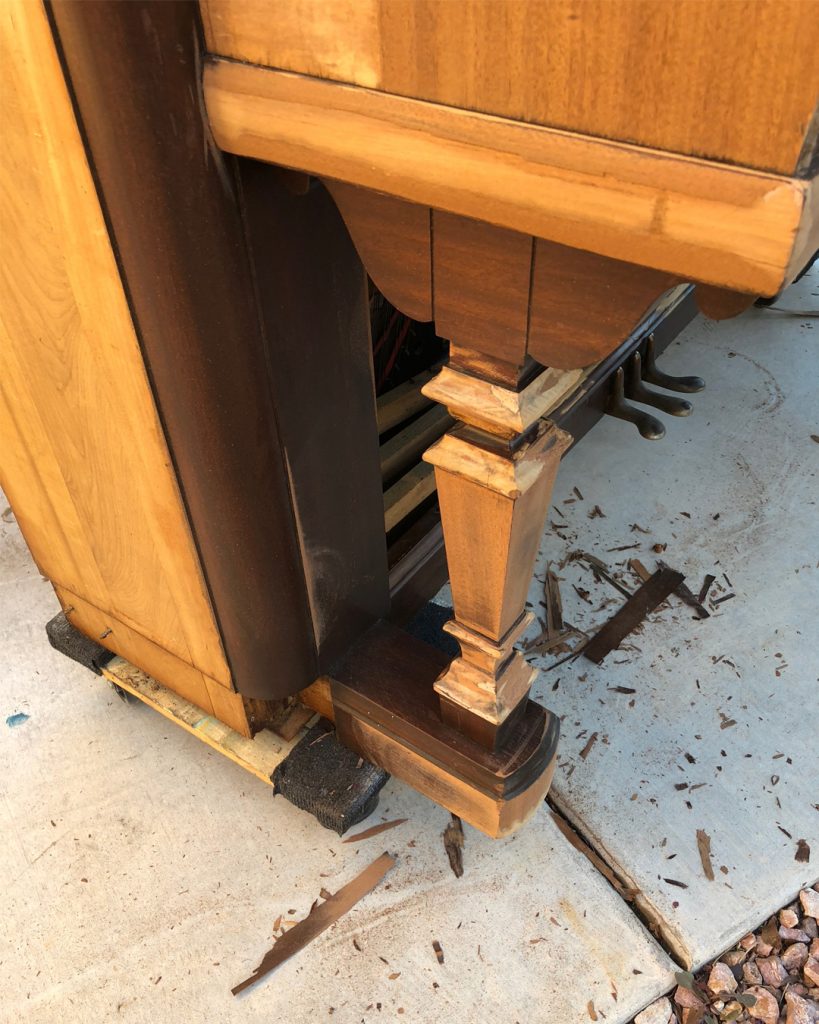
Besides the biggest cleaning I’d ever done in my life, there was a TON of peeling-veneer removal and sanding. I never remove veneer that is in good condition—I just paint right over it. But, if paint or veneer is chipping and peeling, you have to remove it.
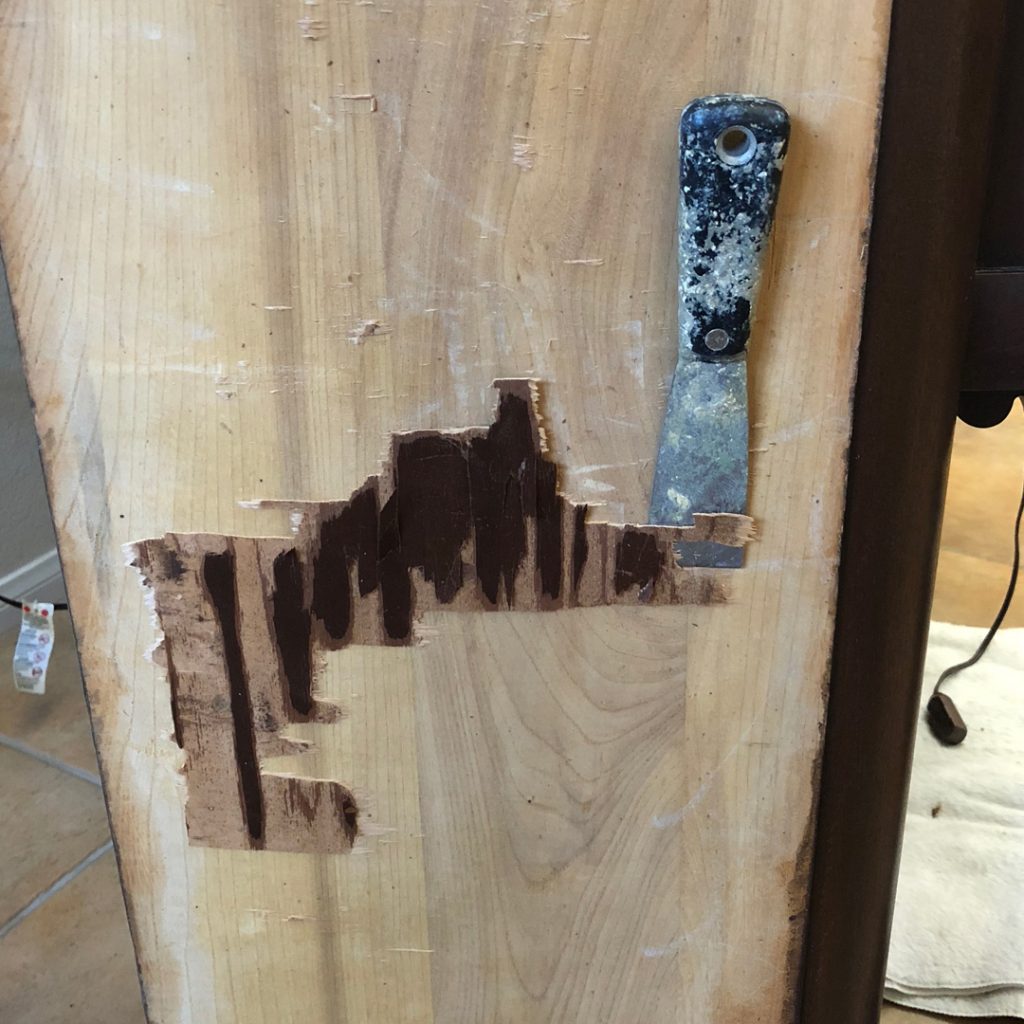
Once I’d removed the parts I wouldn’t be using and the peeling veneer, I filled the gouges and sanded. Then sanded some more. You can see I really only needed to sand the areas that had the most damage.
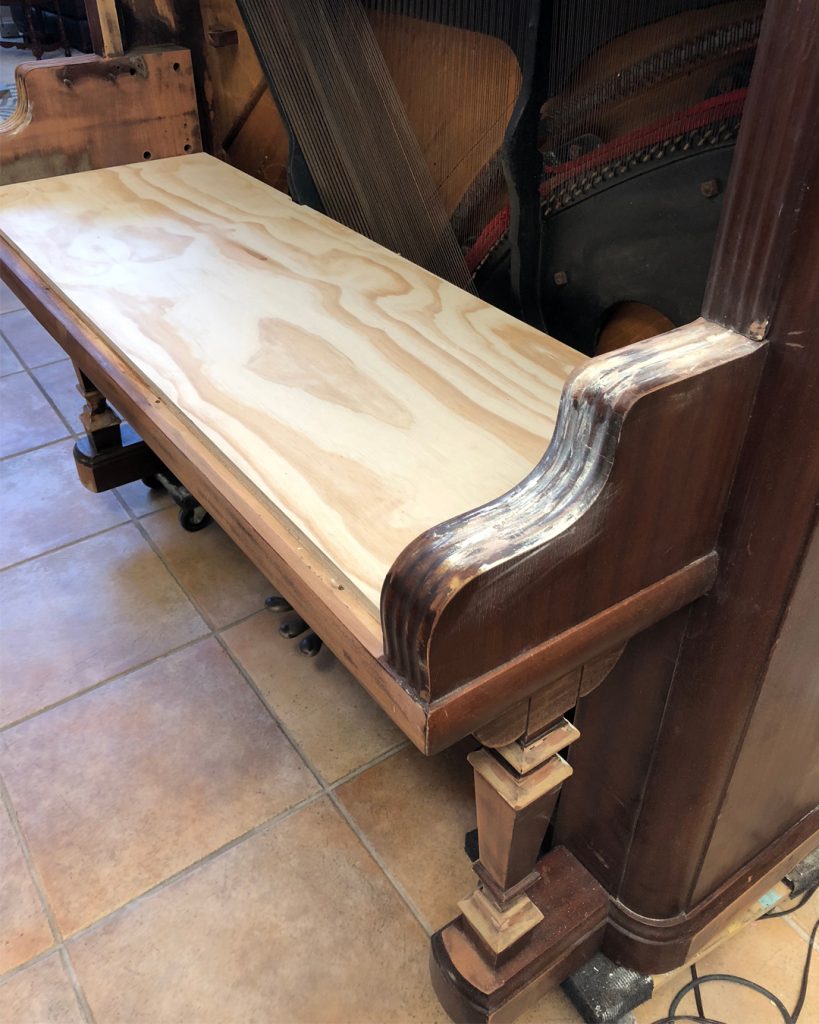
Then, we cut a piece of plywood for the desktop.
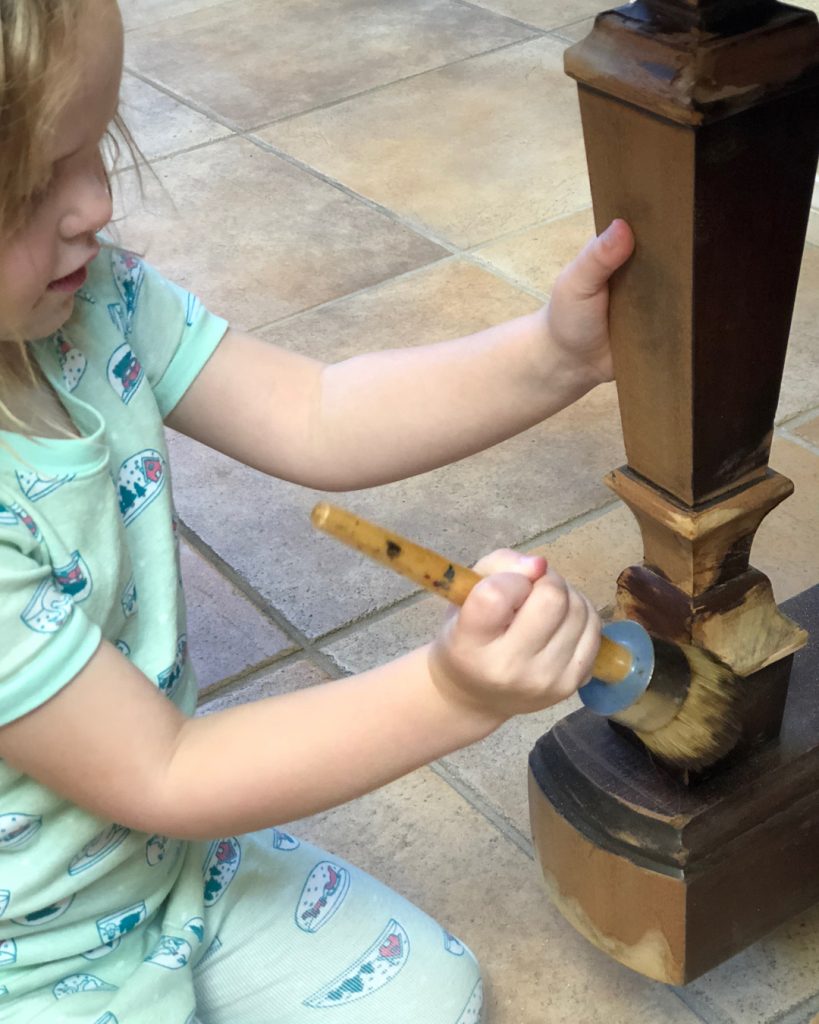
I used BB Frösch Dark Premium Finishing Wax to dark wax the areas that had been sanded just incase I wanted to distress a little after painting. This way, the dark wood would show through and not the lighter raw wood. Blaire helped with this part.
FINALLY, it was time to paint! I made my own chalk paint by mixing BB Frösch Chalk Paint Powder with my all-time favorite navy, Benjamin Moore “Hale Navy.” This was the piano after only one coat. I used large and small BB Frösch paint brushes. These brushes are designed to promote the self-leveling properties of chalk paint, which is great when you don’t want to see brush strokes.
One nice thing about this kind of paint that isn’t often talked about is that the underlying surface can be a mix of veneer, raw wood, and different species of wood, but once it’s all painted…you’d never know!
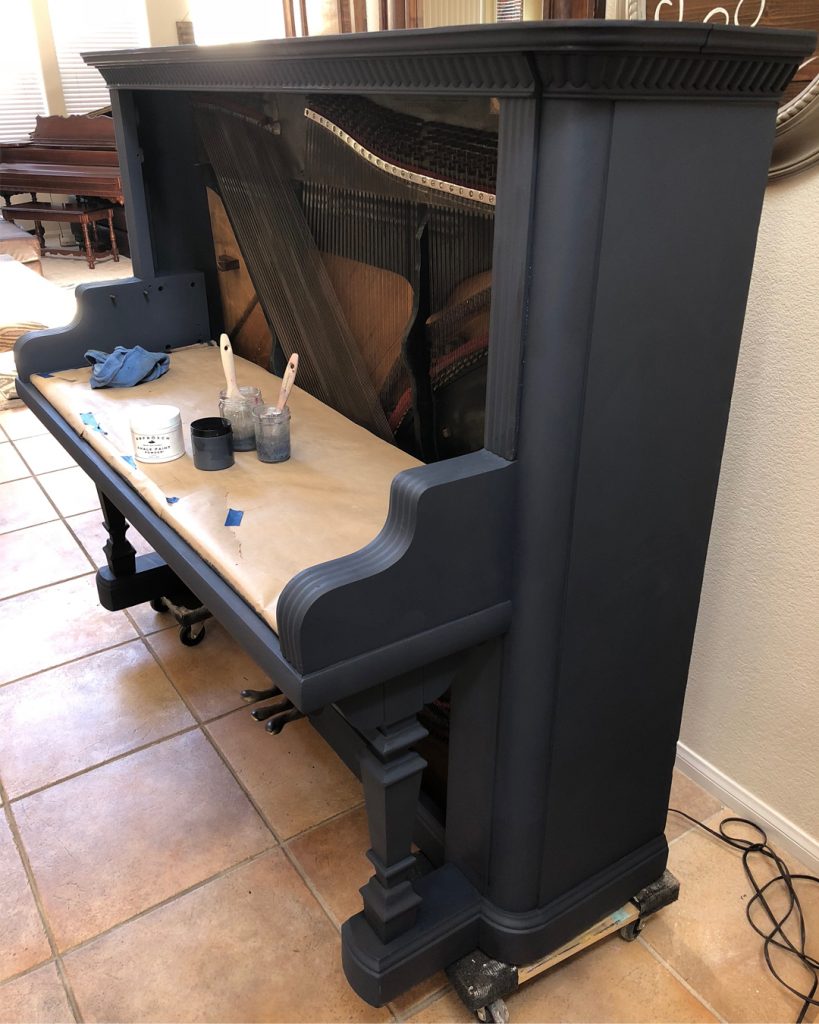
The coverage with BB Frösch and this navy is amazing every single time. I ended up needing only two coats!
Note: The white piano desk took three coats because I was painting white over black.
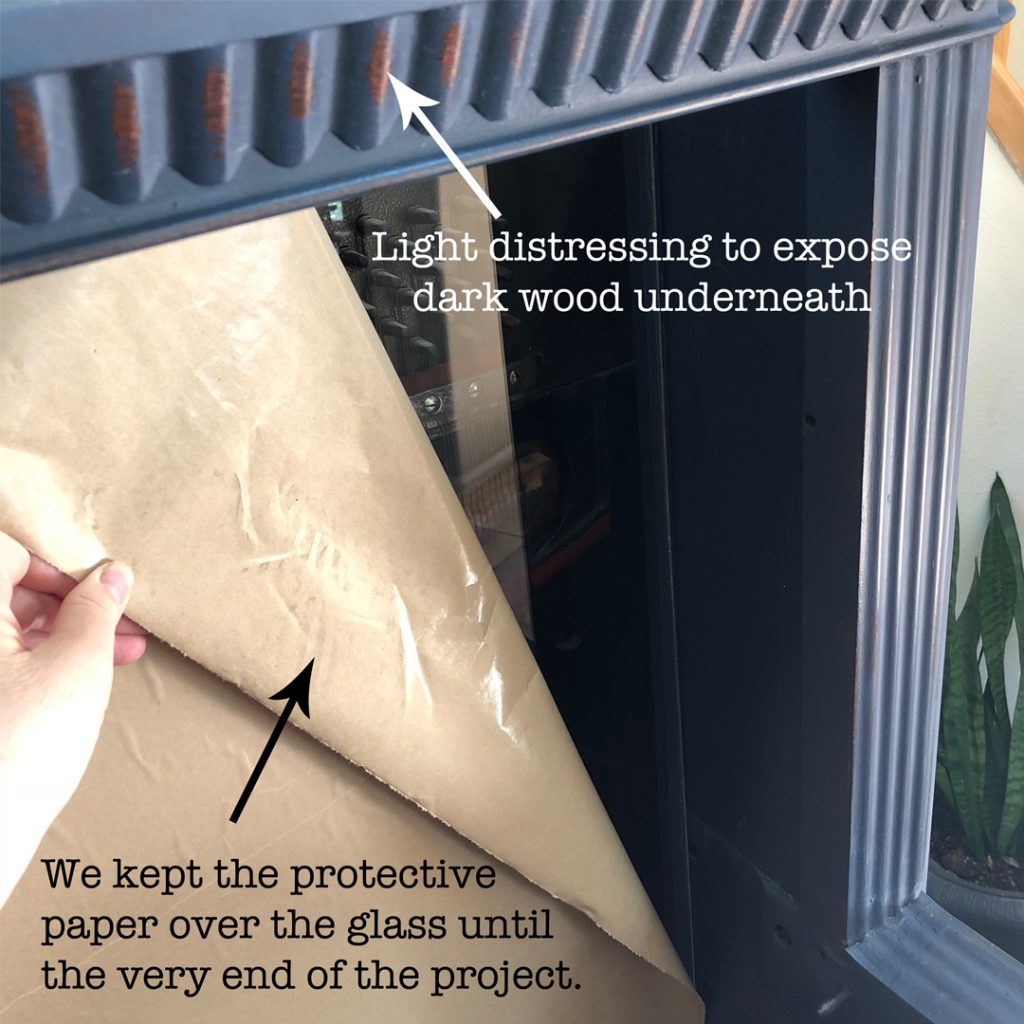
I did a little light distressing with 220-grit sandpaper, then sealed with BB Frösch Clear Premium Finishing Wax.

I added a little dark wax over some of the grooves to help them show up and appear a little more aged, but I didn’t photograph this step. Painting and waxing were the fastest part of the whole project!
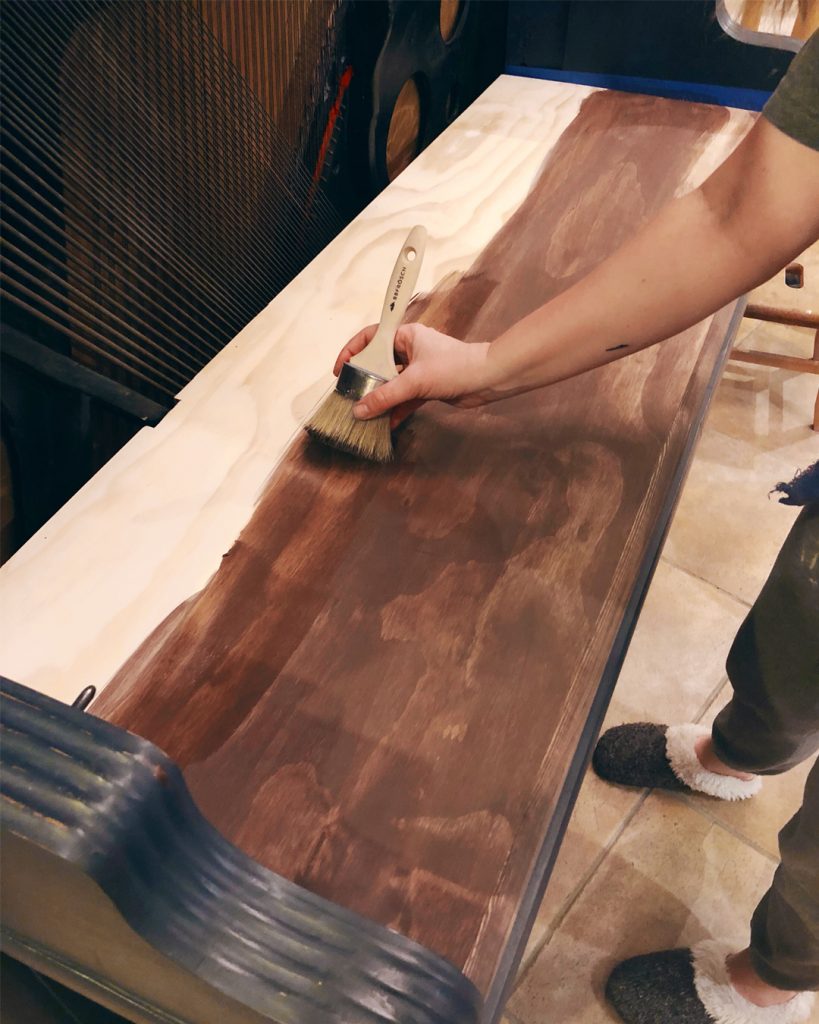
Once the navy parts were painted and sealed, I used BB Frösch Chalk Paint Powder, mixed with Benjamin Moore “Mink” as well as BB Frösch Dark Premium Finishing Wax to create a “faux” stain for the desktop. If you know me, you know I NEVER use traditional stain! Faux staining with chalk paint is way easier and way less messy. Click here for a faux stain tutorial.
Next, we installed plexiglass to showcase the amazing interior. I wasn’t about to cover it all up, especially since we worked so freaking hard to clean it! We had a local glass shop cut two pieces to fit the top and bottom. This cost about $130.
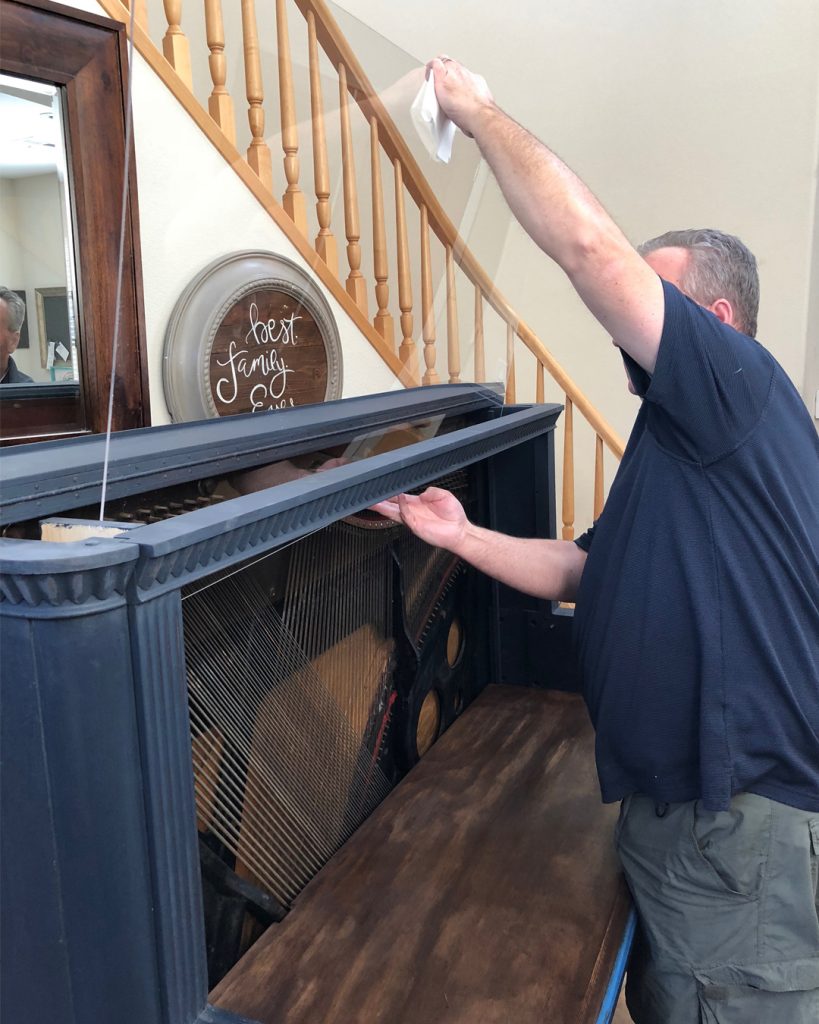
Note: Jason spent a fair amount of time cutting and installing trim to secure the plexiglass. Since every piano is different, I won’t make this post even longer by explaining this part of the process.
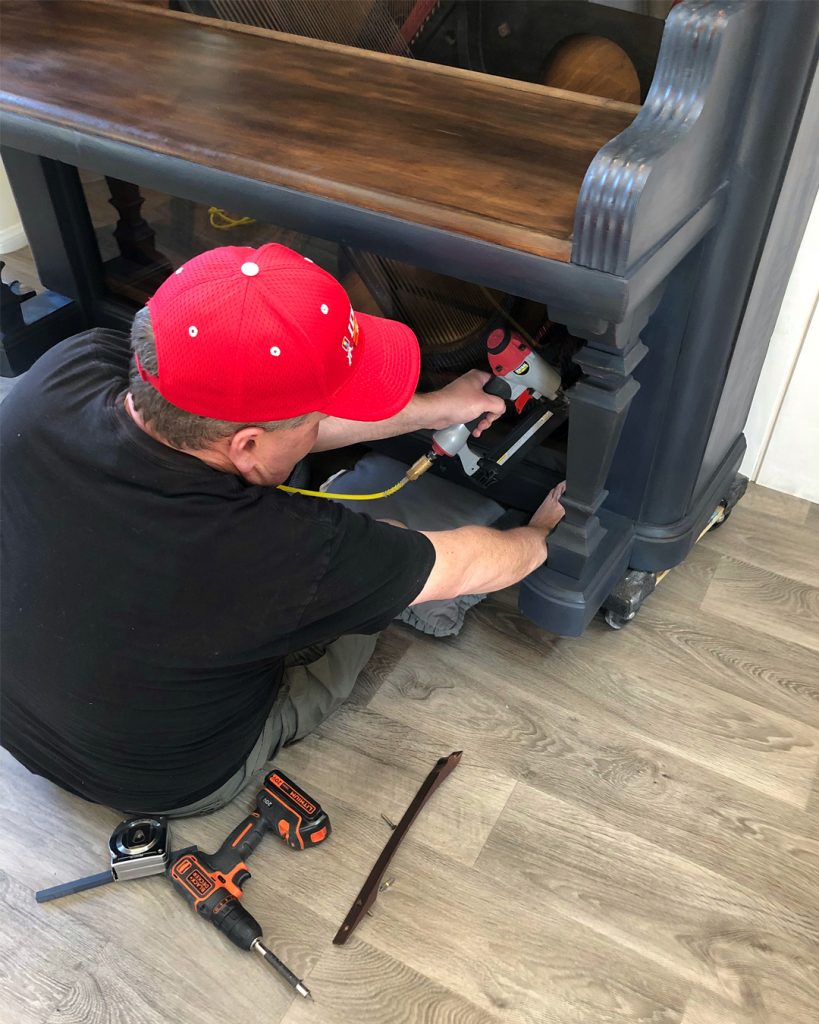
It will probably be another four years before I take on a project this monumental, but I’m loving my new desk!
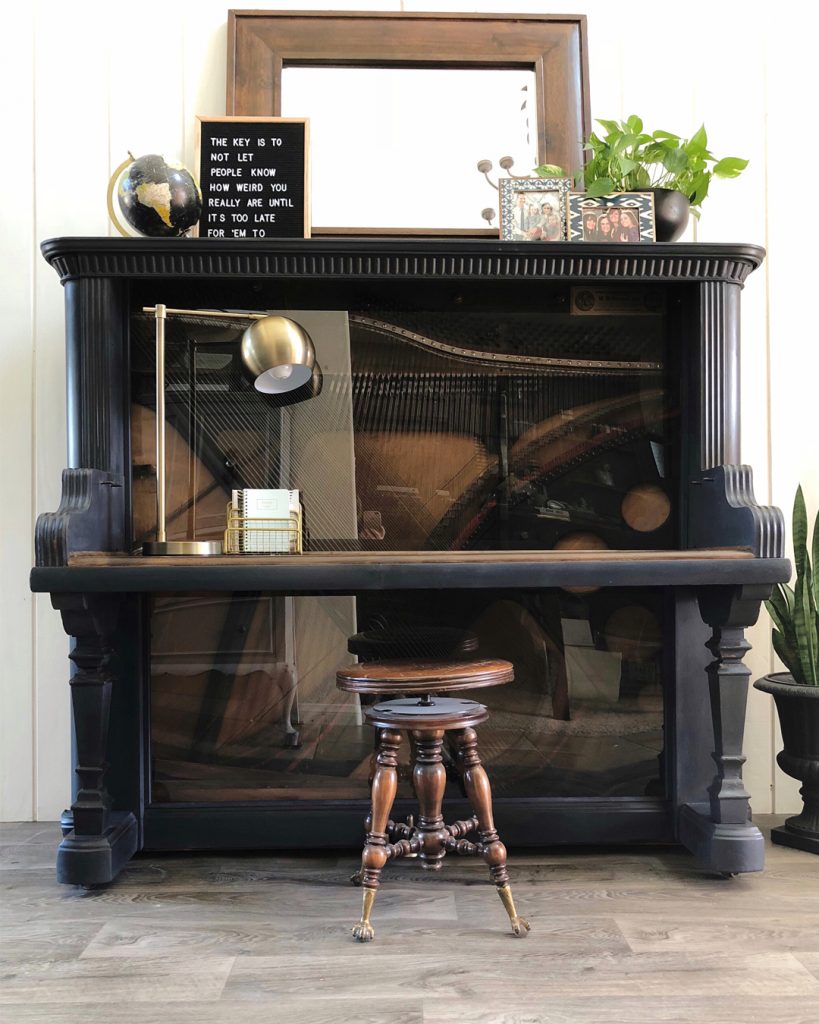
Photographing the strings and “piano guts” without the reflection of me in my jammies or the disastrous office behind me proved to be more challenging than the makeover itself!
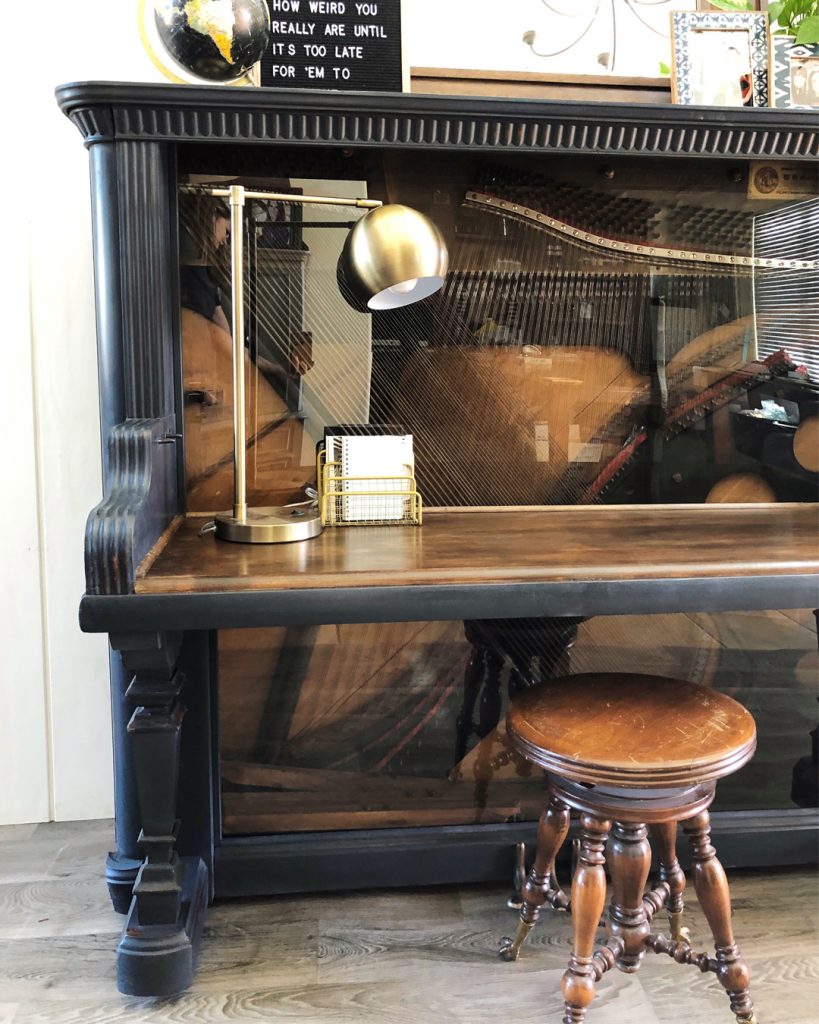
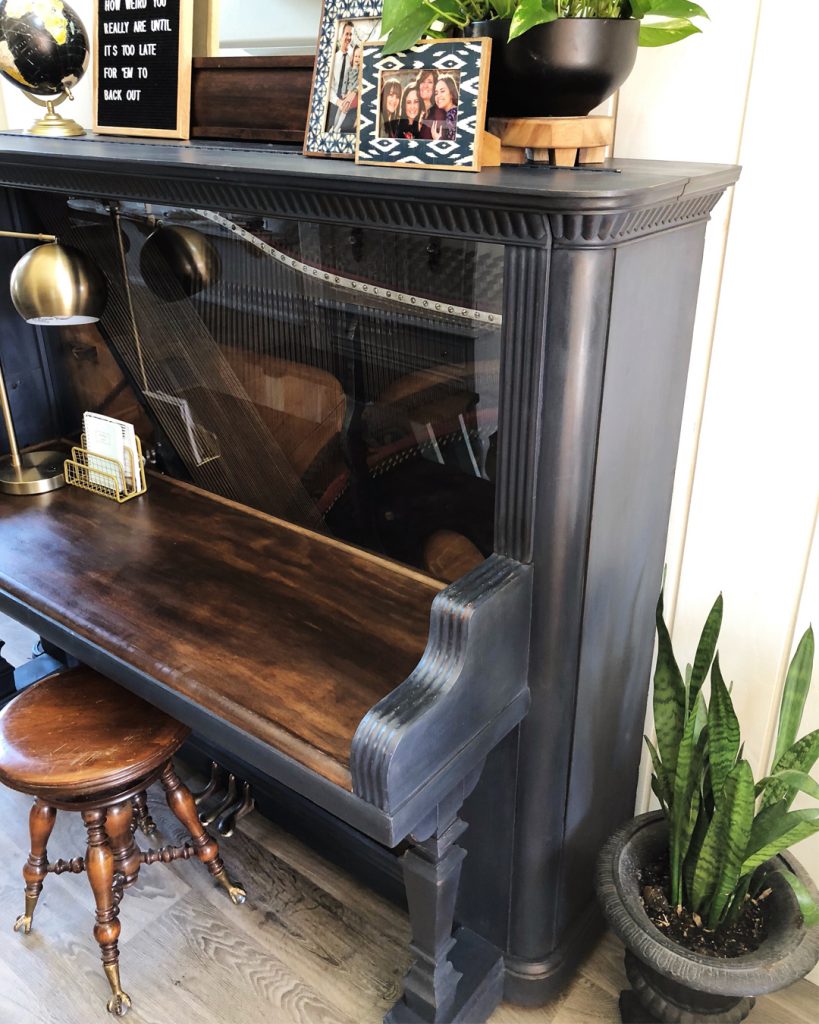
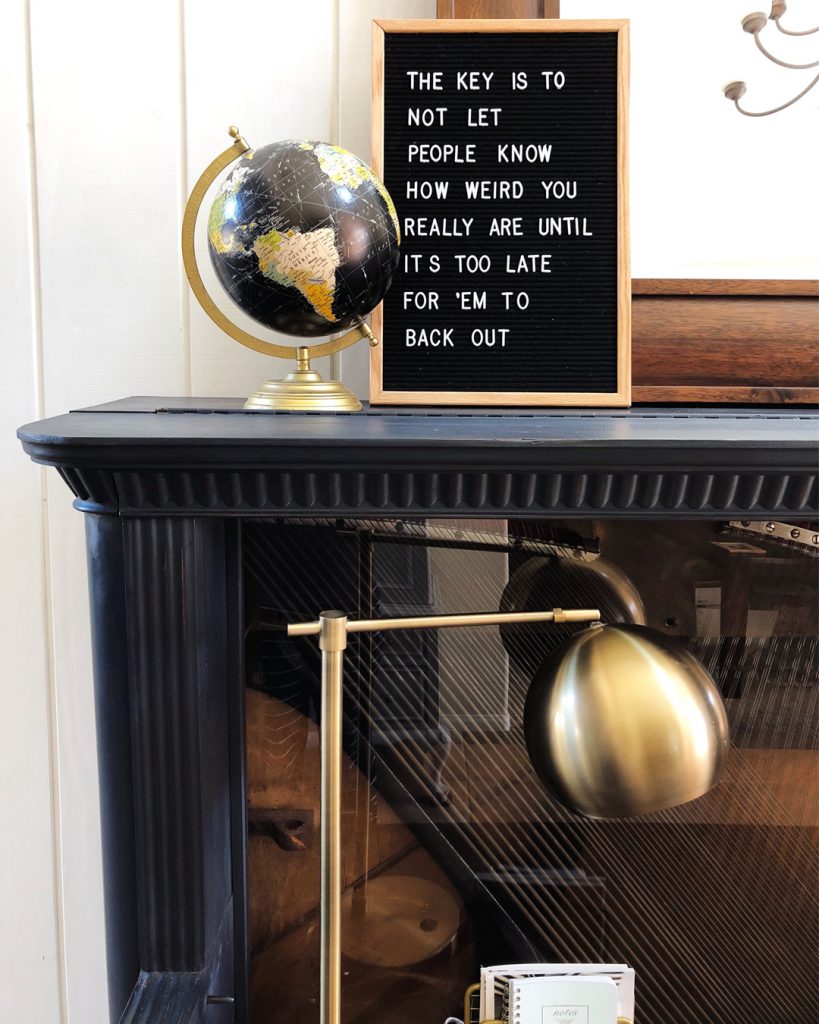
Notice I still have the same globe and light from the first piano-to-desk makeover…
Find more affordable chalk paint inspiration at bbfrosch.com. Follow BB Frösch on Instagram, Pinterest and Facebook.


Holy cow!! That is gorgeous!!! What a unique desk!
Thank you!
This is gorgeous! I love the color, love looking through to the strings, and love your creativity of turning it into a desk.
I have a $75 piano from the thrift store that the tuner said was a piece of junk,…then he told me that the piano is 100 years old. Which of course made me love it more! A desk will now be my piano’s fate as well someday. Thank you for your inspiration on a beautiful piece of furniture!
Sadly, many pianos have become worthless as pianos, so turning them into something else is awesome. Be sure to share your makeover when you tackle it!
Absolutely love it!! Not sure I have room for one in my small house but will measure and keep on the look out for one. Thanks for the inspiration.
You’re welcome!
This is absolutely incredible. My mother in law just got rid of an old Piano…I sure wish I had thought to do. This with it! Oh well. Maybe next time.
Amazing! Love it…
That is SO GOOD. Wish I would have held onto my great-grandma’s monster of an old upright piano to do this. I’ve been searching for a desk. I do not have the courage to do what you did though I admire it!
I have a player piano sitting in my garage from husbands grandparents…it has made 4 house moves from Missouri to North Dakota and back again….still waiting for the $1000.00 plus to restore it to play a trunk full of scrolls we have…maybe it’s time for a new life as a desk . Thanks for sharing your beautiful inspiration.
This is absolutely beautiful. What a great way to repurpose an old piano, that is no longer usable, while preserving the integrity of the piece. I have an old upright piano that had been in my family for many many years that I used to practice piano on 30 years ago when I was a teenager. When my father brought it home it had been stored in an old family barn for some time, after the previous family member no longer needed it. He had it tuned so that I could learn to play with the help of an instructor. I have no idea how old the piano is but I do believe it is beyond repair, or that the repairs would be more costly than I am willingly to pay. The piano is a very dark wood and a bit dreary to me, but as a lover of all things old and sentimental, I couldn’t bring myself to sell it. But after reading this blog, I believe I will hold off on that, and consider repurposing it into a desk. Thank you for sharing your idea. I just may be able to save a family heirloom after all.
I am wondering about the resale of an item like this? Do you think there is a place in the market for resale of piano desk?
I have a 100 year old beautiful tall organ that I thought of doing this with as it needs bellow and doesn’t play.
Give me your thoughts please.
Cal–
Resale always depends on several factors like location, market, finished product, etc. I sold my firs piano desk about four years ago for $1900!
Great job. Saving this piece of history and making it sing again.
Breaks my heart to see old unloved pianos smashed and trashed.?
This is virtuoso upcycle and will bring joy for years as it did in its past….
Oh my gosh …. very nice ! I want to do or have someone make a desk out of my husband’s grandmother’s piano …. it hasn’t been played or tuned for at least 40 years. I called a store that sells pianos and he said he could show me how to take it apart …. but the heavy (250 to 300 pound metal) not sure what to do with that. The piano is in the basement 🙁 …… I have to find someone to do the woodwork/ shelves ….. I am excited and so hopeful . Any suggestions ?? Thank You . Yes your desk is great!:)
Beautiful. I have an old piano that we “gutted” for a desk, and even with the harp and sound board removed it is very heavy. I hope mine will look good when it is done – but your piano desk is spectacular.
I really appreciate the detail with which you described your project, and I love how your piano desk turned out. For the past seven years, I have been creating piano art , but have recently decided to turn a couple piano cases into desks. I was clueless as to how to start on the project, but your article was a great help. Thank you very much for posting this.
Angela–
I’m so glad this gave you some ideas and inspiration! I hope you will share your piano makeover(s) when you’re done!
Kristin
I love this! and, would really love to try this… is there a reason u did not use glass? Doesn’t plexiglass scratch easily? Thanks!!
Lynn–
Plexiglass-glass can bend around pieces of the piano that couldn’t be removed. We find that the plexiglass doesn’t get rubbed or scratched in this application. Hope this helps!
Kristin
Can you show how you pulled the piano apart in order to get to the guts?
Karly–
Every piano I have done this kind of makeover with is slightly different. Usually, the pieces that need to come of to reveal the inner parts of the paint are just screwed on. Occasionally these screws can be a little challenging to find, but they’re there!
I have my Great Grandmother’s piano that is not playable. I am trying to talk my handy husband into making something beautiful like this out of it. This a amazing.
Do it! You’ll will gain a whole new love and appreciation for the piano that is no longer playable!
Fabulous!
I’m wondering if you kept the keys in place and just covered them with the plywood, or did you remove those?
Lib–
For this makeover, we removed the keys and used them for a different project.
Kristin
This is a lesson in never give up. We just moved across country and my Great grandmother’s piano came with us. My husband is giving a great gift of love and has gutted the piano as far as we want it to be. He is making into a craft/sewing desk for me. I am helping where I can, but he is doing most of it. I will do the finishes. What a guy. Wish I could include a picture.
The pressure washer didn’t damage any of the brass?
Shawna–
It didn’t!